
Our ’92 Starcraft came with a cheap awning. No use going into details about how it worked or what we didn’t like about it. It was the standard crappy awnings most tent trailer manufacturers include with the camper. When we were planning the camper remodel and new awning was high on the list. After a lot of research and Internet surfing we decided to get a Fiamma F35 awning. There were a few things we liked about the Fiamma awning:
- Fairly light
- Enclosed in a clamshell aluminum case, instead of the vinyl bags found on most tent trailers
- Quick and easy to set up
- Can be set-up in carport mode or attached to the camper body
Specifications:
- Length: 8’2″
- Overhang: 7’5″
- Weight: 19lbs 10oz
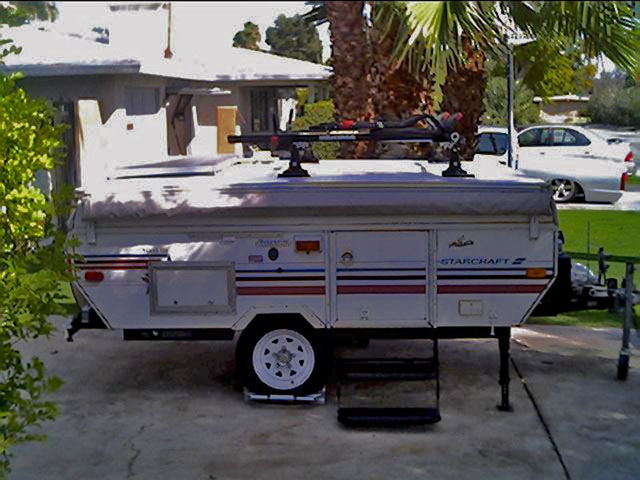 Above: Trailer with the old bag awning attached.
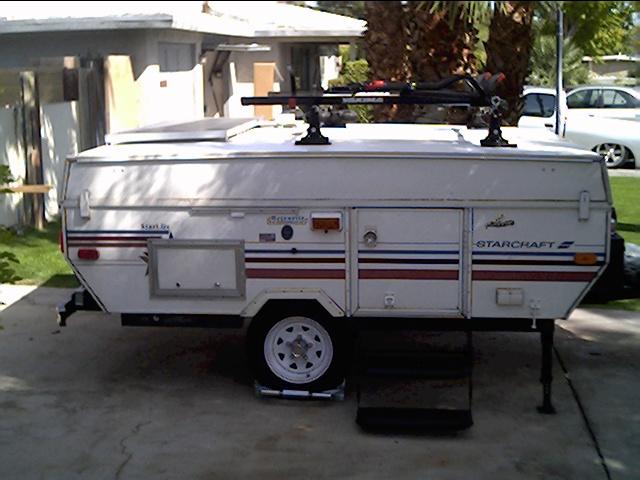 Above: Awning removed.
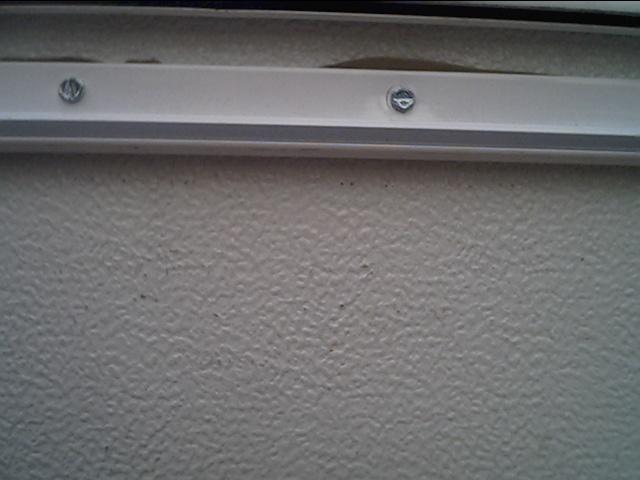
Tent trailers that have an existing bag awning will need to replace the awning rail. Because of the shape of the Fiamma case the standard awning rail will not work! Trust me on this, I learned by experience. You can order the proper awning rail from Fiamma.
 Above: Cutting the awning rail to fit.
 Above: Applying RV sealant tape to the back of the awning rail. The rail will be mounted to the side board of the roof, which will ensure a secure installation.
I decided to leave the old awning rail in place. This was a “just in case” decision. Because the original rail followed the curvature of the roof, I could not install the new rail in that location anyway; the new rail must be absolutely straight.
 Above: Installing the rail. Note that the old rail is an inch or so above the new installation.
 Above: New rail at the end of the camper roof. Notice how the old rail actually overlaps the new one due to the curvature of the roof.
 Above: Installation of awning rail completed and the awning assembly is now attached.
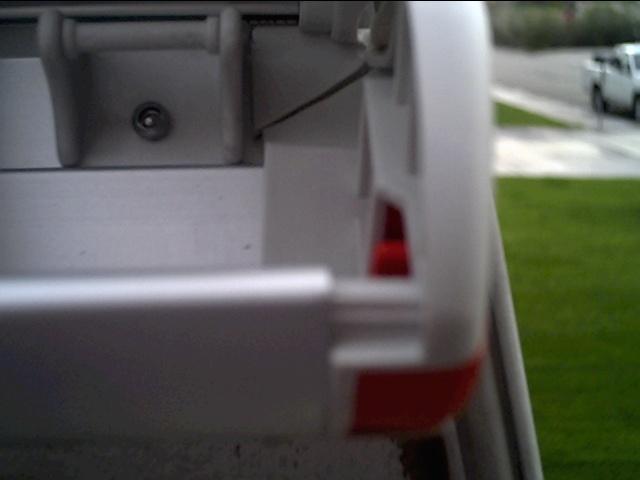
 Above: Each end of the awning case has a red button. Press each button to release the awning latch.
 Above: Top of awning case opened to remove awning for set-up. Notice that instructions are found on the inside of the awning cover.
 Above: At the center of the awning is a web strap to easily lift the awning out of the case. Very nice touch and extremely convenient.
 Above: The awning rolled out of the case. The back edge of the awning material is permanently attached to the case.
 Above: At each end of the housing there is a fitting to accept the back end of the awning rafter.
 Above: At the front edge of the awning is a metal tube, which act as the load bearing header for the awning. The rafter and leg-post are stored inside this header-tube during transport.
 Above: The rafter and leg-pole pull out of each end of the header with very little effort.
 Above: The rafter and leg assembly rotate for ease of set-up.
 Above: The rafter and leg assembly are attached to a pivot and can be rotated and adjusted independently.
 Above: Bottom of the leg pole. The length of the pole is adjusted with a flip lock cam assembly. It will not slip — unlike the twist lock system our original awning has. Also the foot of the leg has a hole in the center for easy staking in the ground. The leg can also be attached to the body of the camper, which we found to be the most convenient method.
 Above: Back end of the rafter that attaches to a pin in the awning housing.

 Above: The foot of the leg placed into the catch on the side of the camper. There is a roll pin at the top of the catch that is pushed down to lock the foot of the leg.
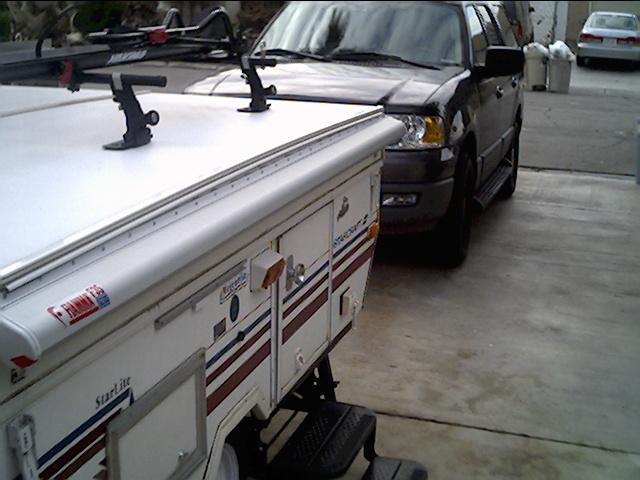
 Above: Awning set-up complete.

 Above: Awning leg/pole is a 3 piece telescoping assembly. The bottom section uses a push-pin mechanism to lock it in place. Above this section the flint lock adjusts the height of the pole.
 Above: Awning material stretched tight. The housing is towards the right side of the picture.
 Above: Awning material is translucent. Perfect amount of light keeps things cheery during the day.
 Above: The rafters have button adjustments. You want the rafter to be short enough to slip into the pin in the awning case, and then it is simple to pull the rafter tight.
 Above: Diffused light through the awning.
 Above: Legs shown set up in carport mode.
 Above: Leg adjusting flip lock assembly (opened)
 Above: Leg adjusting flip lock assembly (closed)
 Above: Close-up of the leg pole foot.
 Above: Accessories — the red strap is a back up for the red button locks. I guess the guy lines are for the extra set of tent stakes. Never used them. We almost always attached the legs to the side of the camper.
 Above: Looking up at the awning fabric. The front header is on the right side of the picture.
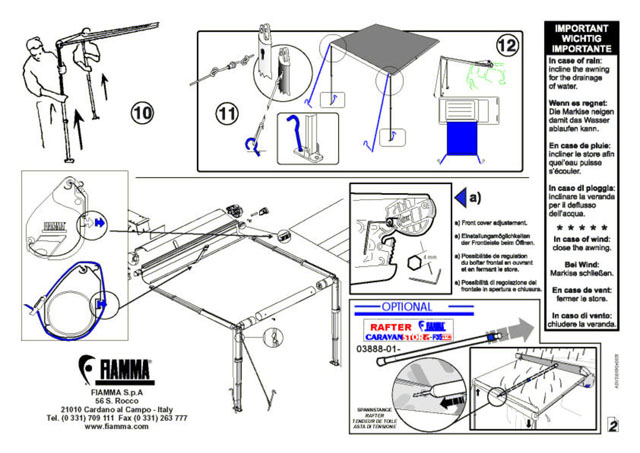
Below is the instruction sheet that was included.

Dealing with wind
Wind is an awning’s worst enemy (along with an awning that is not pitched correctly to drain water in the rain). For the past 20 years I have been using the Camco Awning Hold Down Strap Kit below.
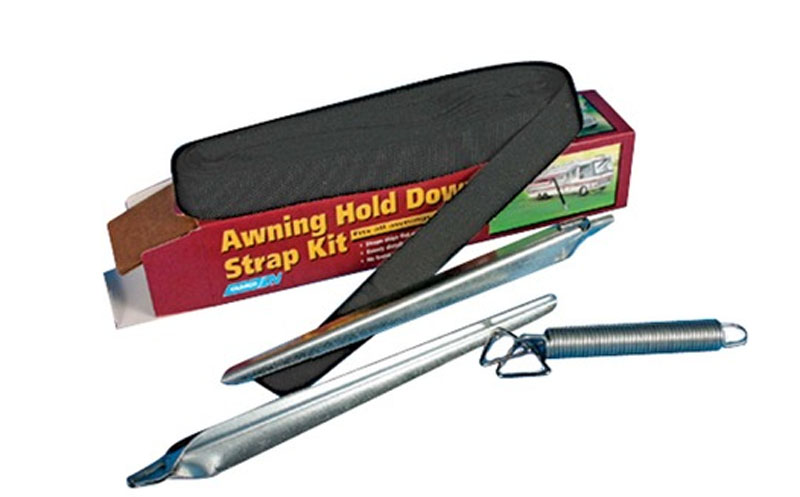
See the Shademaker Awning page for pictures of the hold down kit in action.