Wednesday, January 23, 2012
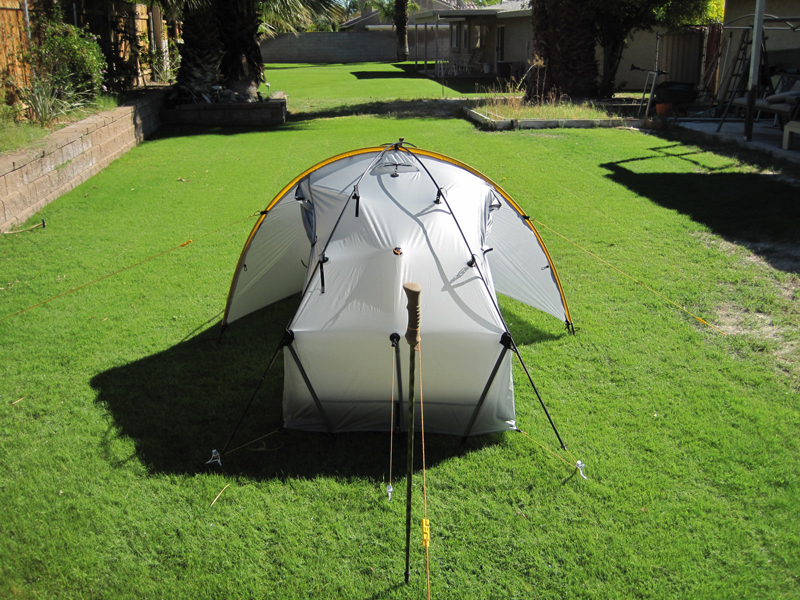
I’ve owned this tent for over two years now. It works so well, I really don’t give it much thought. When I am backpacking in windy, wet, cold weather this is the tent I take. It isn’t super light at 3 lbs, plus another 12 ounces for the optional crossing poles. But when I am sleeping in wind-blown rain or snow, I am thankful I brought it. And it isn’t my go-to tent for 3 season use. It is my winter tent. It is made by a company named Tarptent.
The optional crossing poles are meant for more severe weather. But, without the optional crossing poles, and adding to guy lines to the single crossing pole on each side of the tent, this shelter is super stable. I have pitched it this way in winds of approximately 30-40 mph.
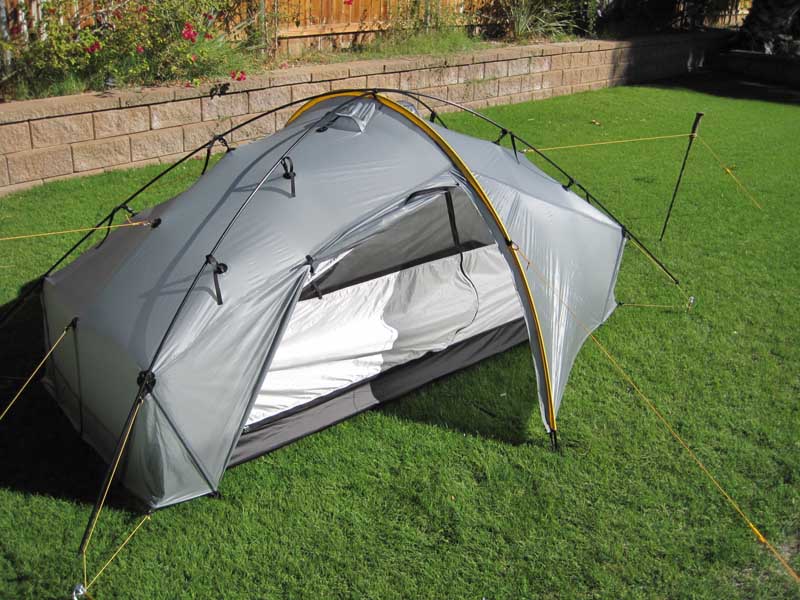
Above is the Scarp 1 without the crossing poles, and side guy lines attached to the single hoop pole.
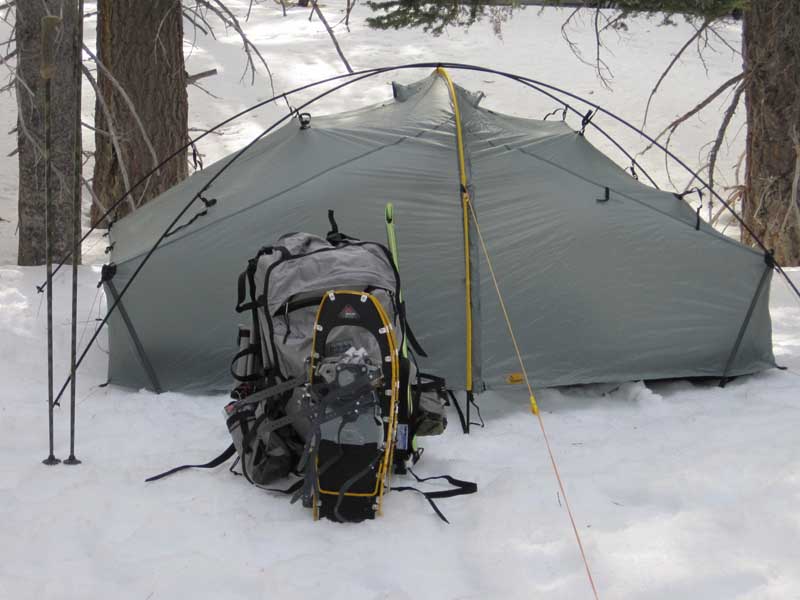
The Scarp 1 does a decent job shedding snow, so in moderate snow it is a 4 season tent. I wouldn’t want to be in it in a severe snow storm. There are more appropriate shelters available.
Tarptent lists it features as:
- Four season protection
- Double wall, dual entry, and dual vestibules
- Free-standing with optional 12-ounce pole set
- Separate living compartment clips up to fly and is completely removable.
- Interior never gets wet during entry, exit, setup or takedown in storms.
- Roomy with excellent gear storage space
- Small packed size
- Taut pitch with PitchLoc foldable corners
- Reflective spectra cord guylines
Specifications from the Tarptent website:

The pictures below were taken when I set-up the tent to seal the seams. The workmanship & material quality, and design elements are top notch. The tent is delivered with with the inner attached to the fly.
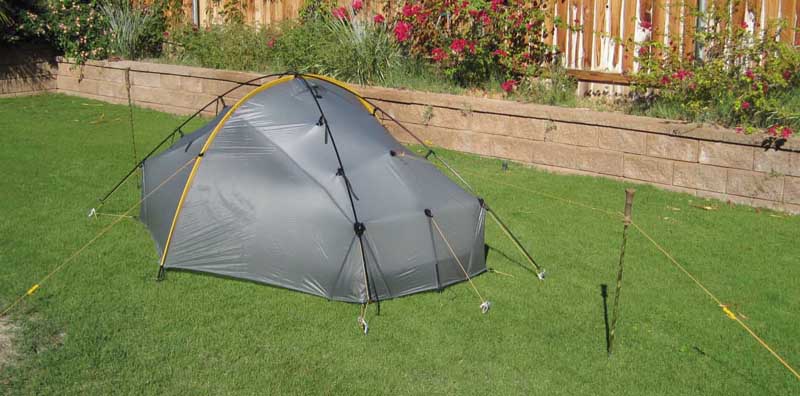
Here is the tent with everything. Optional crossing poles, tie outs on the main hoop and optional canopy support using trekking poles. The side tie outs really made the tent much more secure. I don’t think the optional canopy support with the trekking poles, might help during snow for snow load, but really does not help stabilize the tent.
Each corner has sewn in “V Struts” and each end an attached strut. Also all guy line attachments have an effective built-in tensioner.
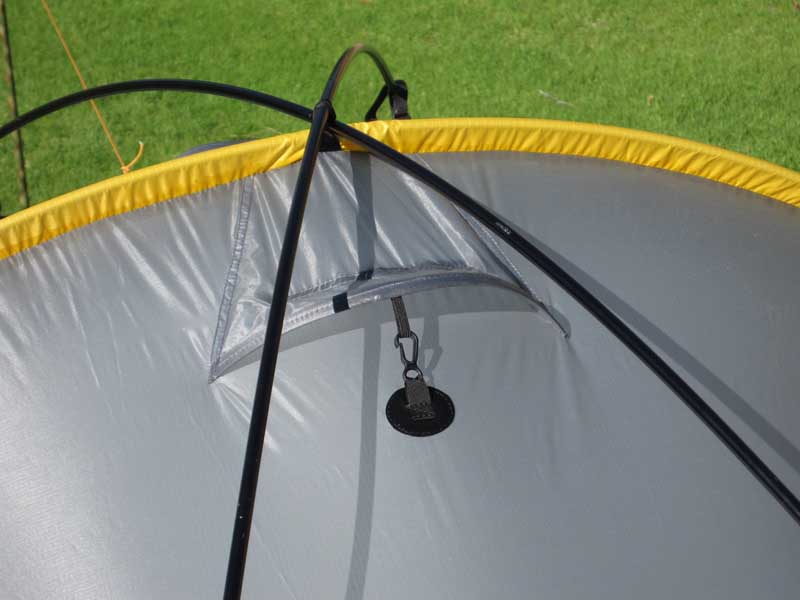
Shown are the crossing poles and one of the two vents at the top. Vents can be adjusted from inside, or closed entirely with Velcro.
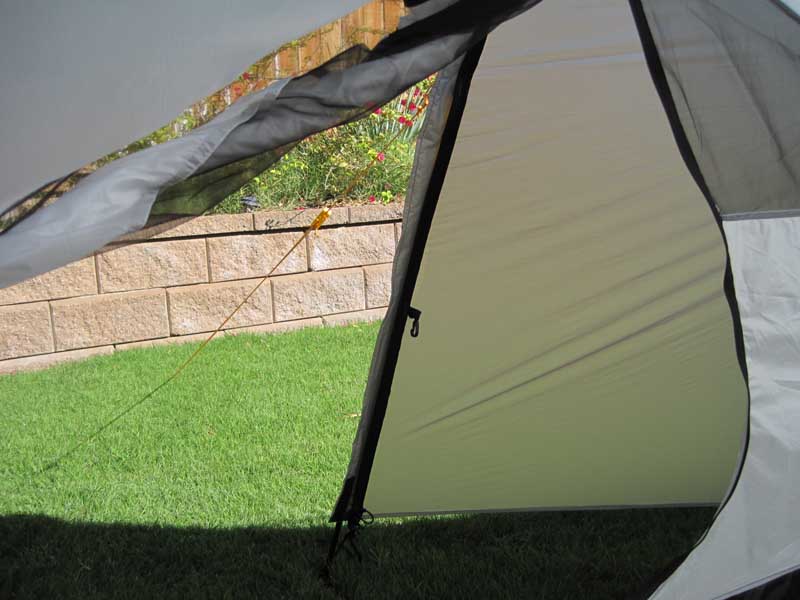
 Side view with rain fly door open. The bottom bathtub floor is the black stripe, center of the nest is nylon and the top section is mesh. As you can see, the vestibule is fairly large and there is one on each side. Normally I store gear on one side and cook on the other.
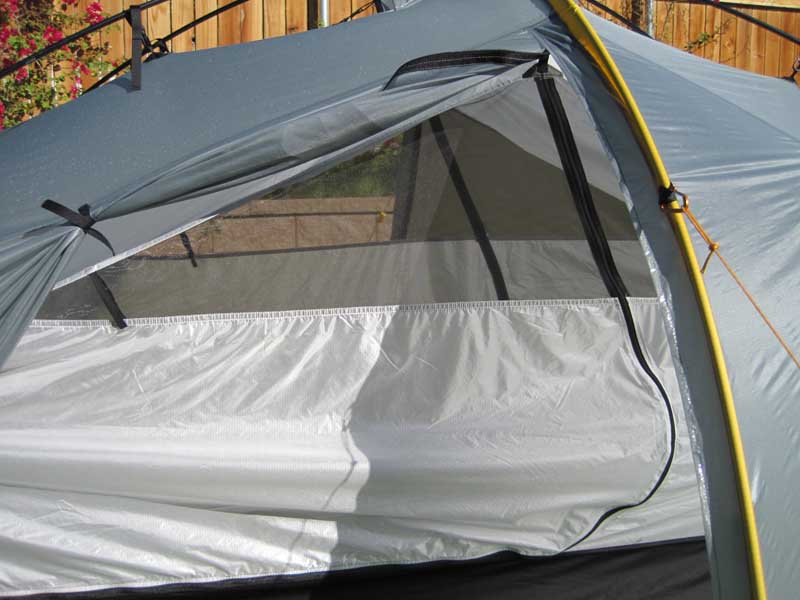 Side view with both rain fly door opened. The middle left of the picture shows the Velcro tie-back. Below that is the tie-back strap for the inner door to be rolled up. This strap is a piece of elastic, not Velcro At first I thought Velcro would be better, but it would stick to the mesh.
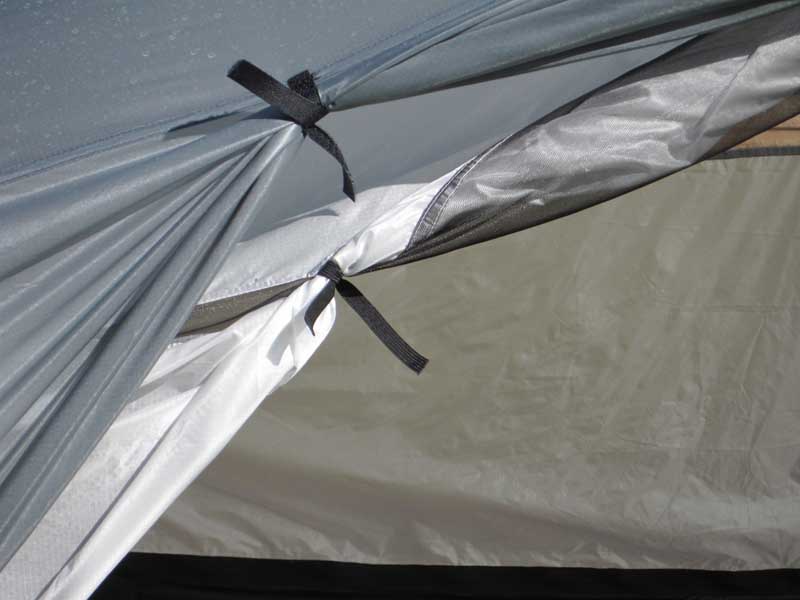
Fly and inner ties.
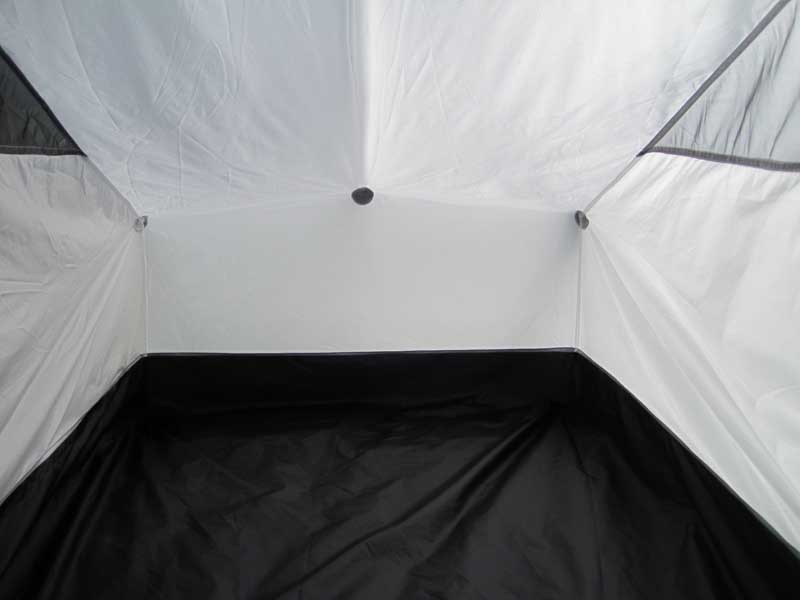 Interior view. Notice how the mesh goes all the way to the end of the inner. The 3 dots are patches that hold the inner clips for attaching to the fly. It is not easily visible, but the black bottom is the bathtub floor with extends up a few inches from the ground.
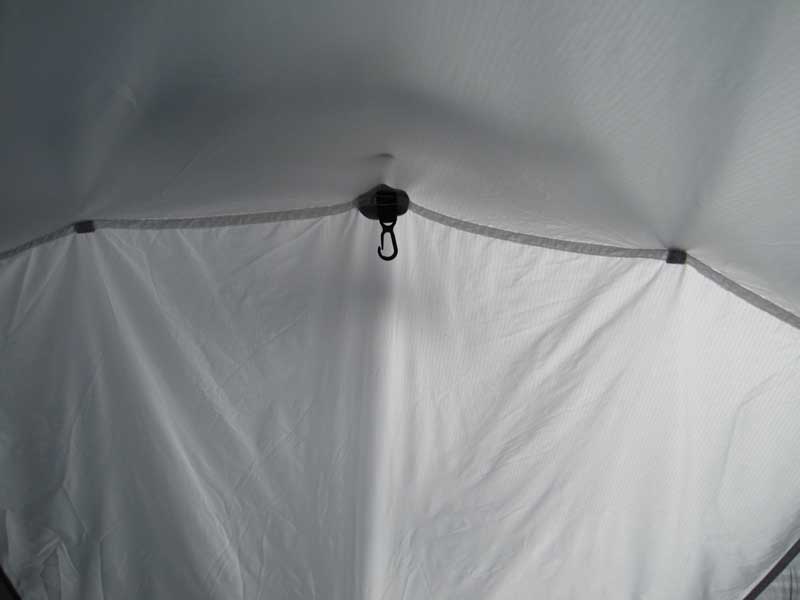
At the very center is a clip to hang something like a lamp.
Along the same seam as the hanging clip is a hook on each side/top of the inner. You could run a length or cord across the top of the inner to hang something also.
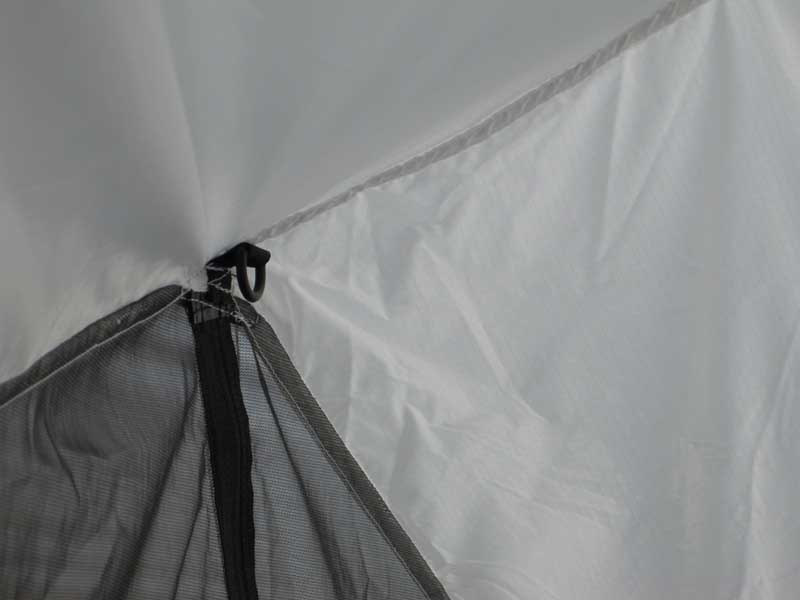
Shown is the stationary part of the fly with the doors opened. In the center is a clip. Not sure what it is for.
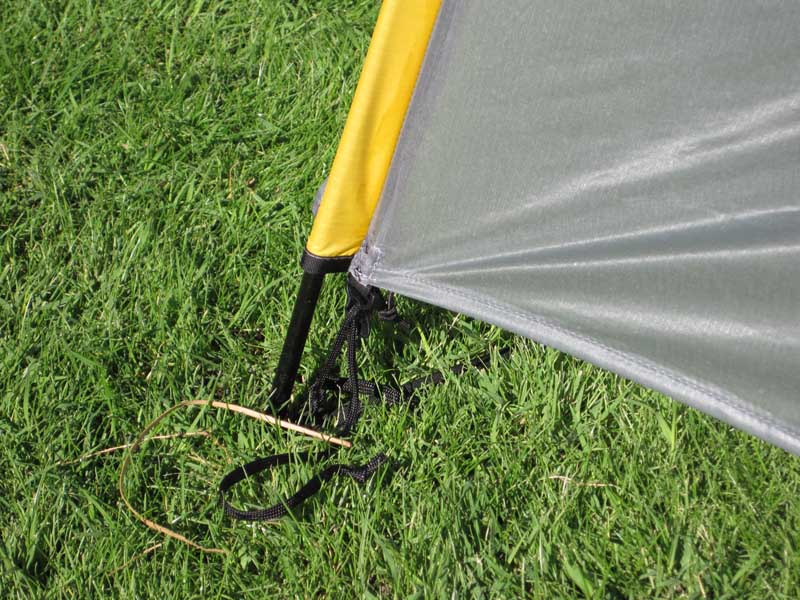 The yellow sleeve holds the hoop pole. The cord on the ground is a tensioner that pulls the sleeve taunt, otherwise it will bunch up an not be as low to the ground as need. Also there is a strap with connects the hoop on both sides of the tent and it runs underneath the nest.
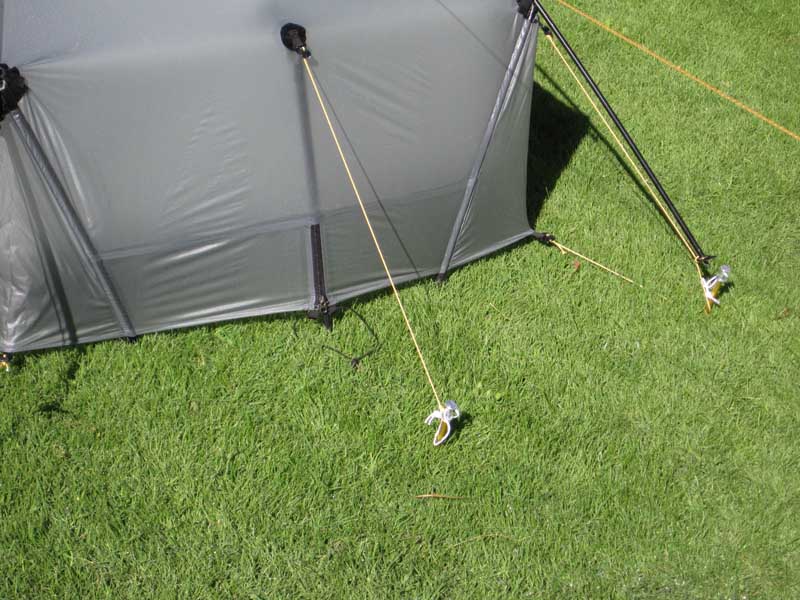
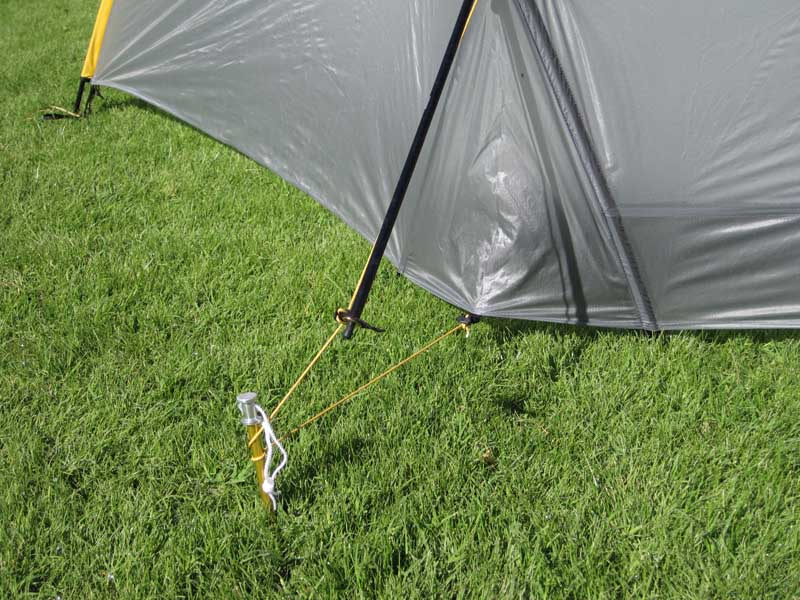 Corner tie-out. The cross pole connects to a grommet in the upper cord. Both the bottom cord and the upper cord have an adjuster sewn into the fly material. After using the tent several times without the crossing poles, I found the corner guys a little too short causing the corners to lift up. I have since installed longer pieces of cord.
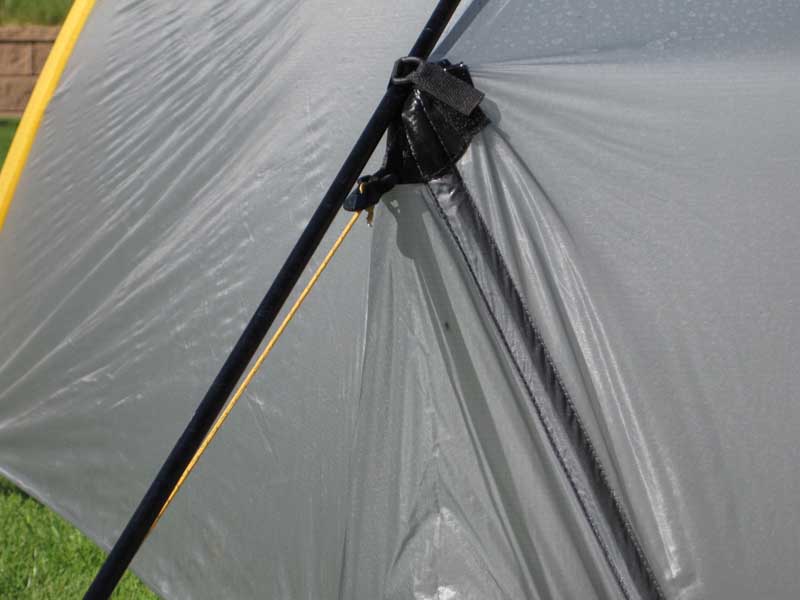
This is where the cross-over poles are secured above the corner “V-strut.” It is a d-ring and Velcro strap. The yellow cord is the tie-out and you can see the built-in cord adjuster.
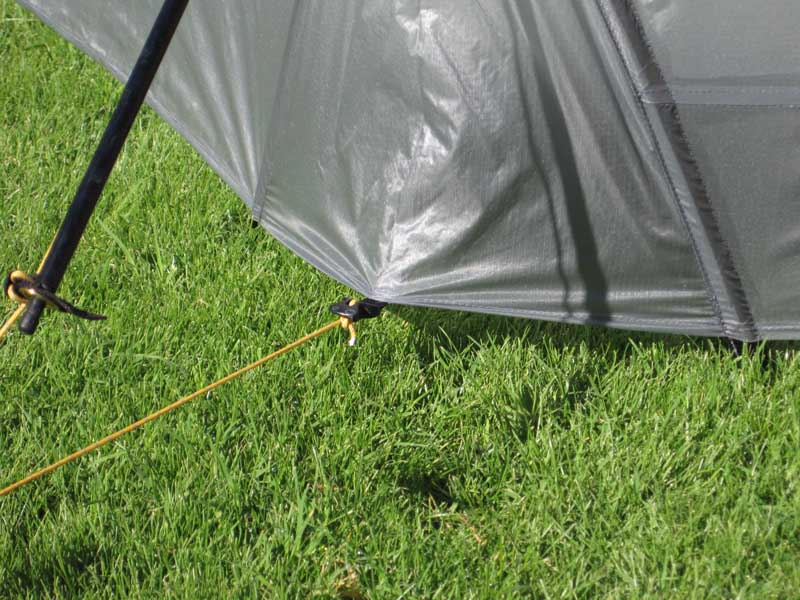 Lower corner tie-out adjuster.
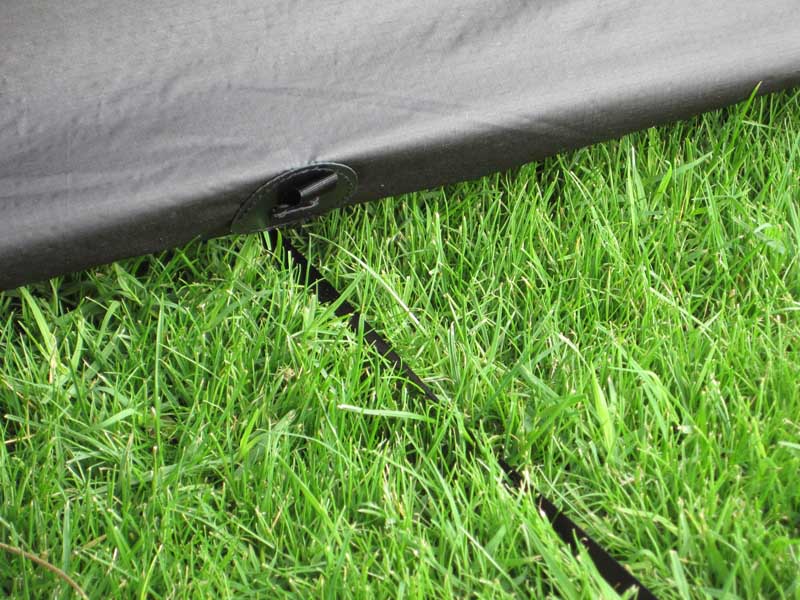
The black strap goes under the nest and connects to each end of the hoop pole. Also notice there is a loop on the bottom of the floor. I assume it is for a stake if you wanted to stake out the bottom of the nest.
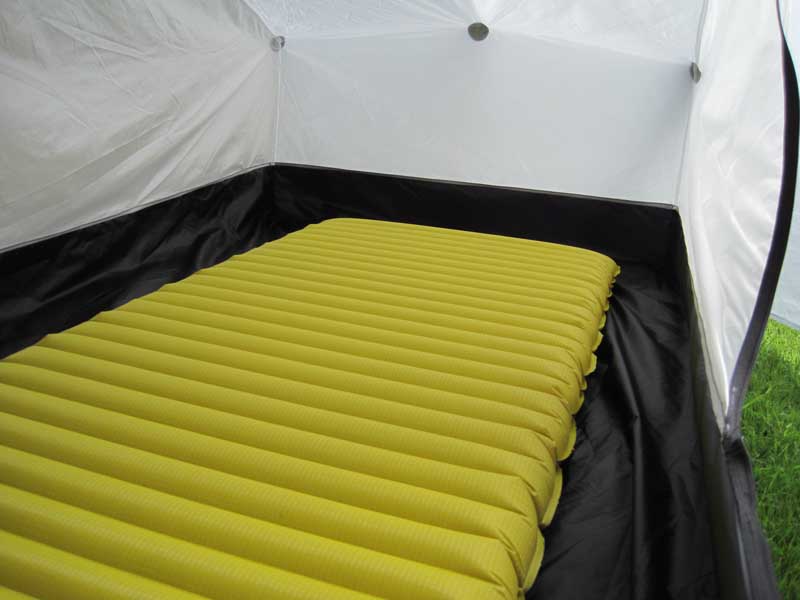 Regular size NeoAir inside. It is centered on the floor. Has about 6″ of space at the top and bottom and a little more on each side. I did not measure it, but there is plenty of interior room for the solo hiker. In use there is plenty of room for sleeping and keeping odds and ends inside the tent for easy access at night. Also, at 5’11” I find it easy to sit up inside, but I have to scoot a little bit towards the center.
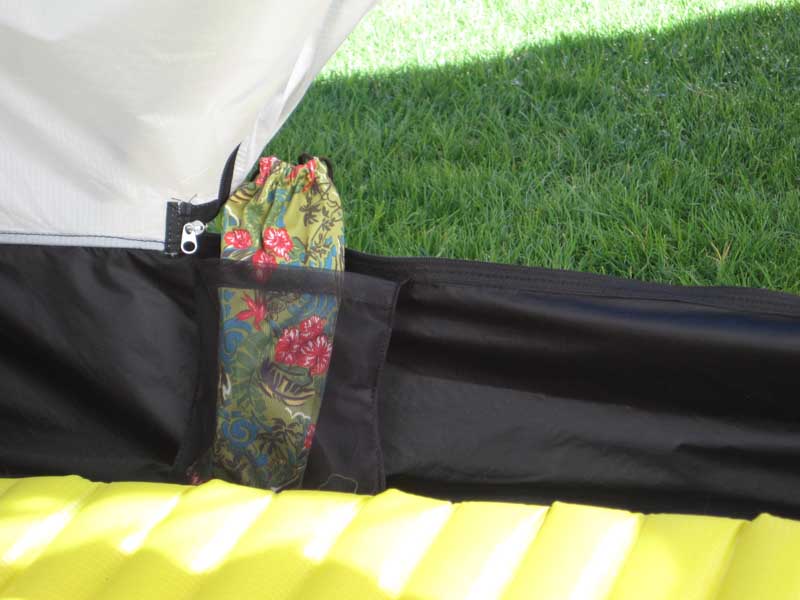 There is one small mesh pocket on each side of the tent. Here is a pair of sunglasses to give you an idea of the size.
 View from the “rear” of the tent show each of the vestibules (fly doors are rolled up).
 Some stuff in the vestibule. That is a 64oz Gatoraide bottle, a stuff sack, XC flats and a Caldera-F cone.
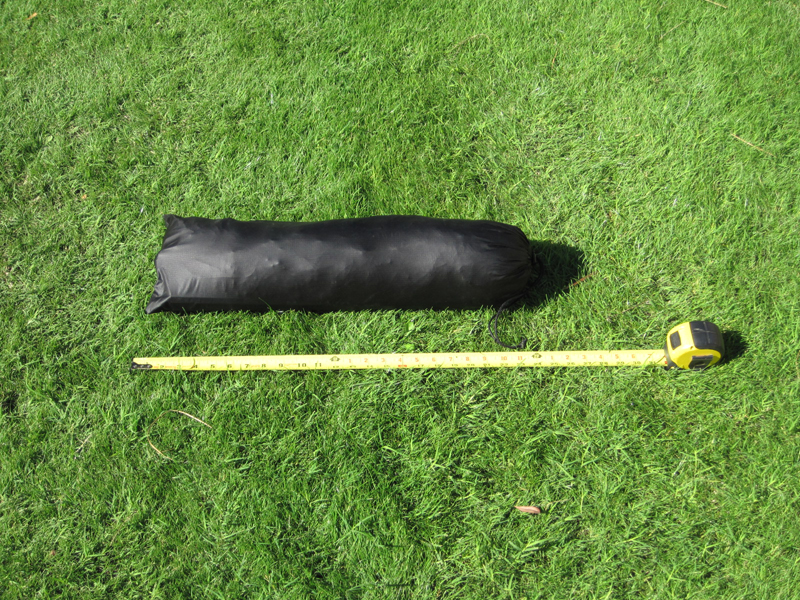 Everything stuffed into the sack. This includes the optional cross over poles, 2 extra stakes and two extra guy lines. Total weight after seam sealing is 4 lbs, O oz.