This isn’t the first time this has happened on our campers. The fix is simple.
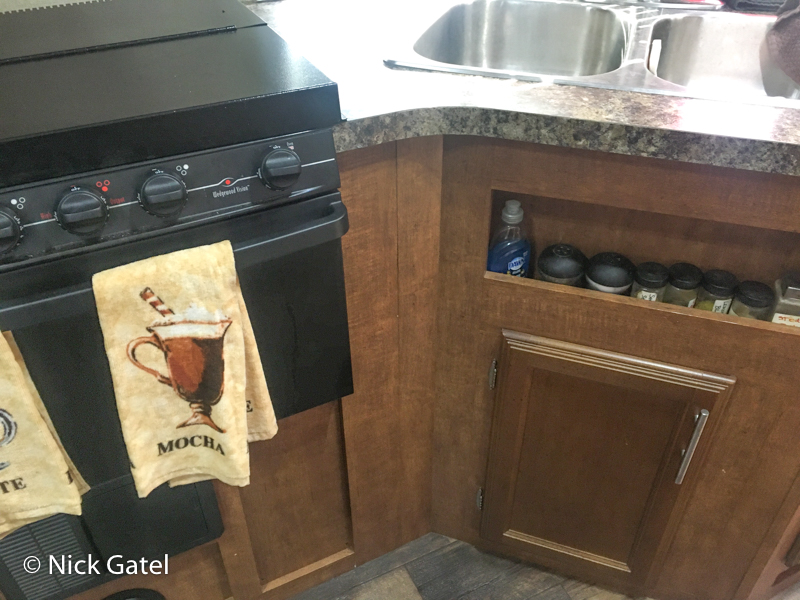
There are probably lots of YouTube videos on how to do this, so I just provide a brief overview of the steps I took to restore the countertop edging. Our countertops are covered with a laminate that is glued to a plywood substrate. It is similar to inexpensive countertops in houses. For those unfamiliar with laminate countertops, the most well-known brand is Formica, which should ring a bell if you are over 40 years old 🙂
There are a couple ways to do this. One is to use an iron or heat gun to reactivate the adhesive, then press the laminate back on and secure it while it dries. The other is to remove the old adhesive and re-glue it. I chose the second method, as it seemed it would be more permanent repair, plus the original adhesive had obviously failed once.
Our camper is now 8 years old and every summer it is subjected to ambient temperatures in excess of 120F, so I am not surprise the edging separates.
Gathering the Materials
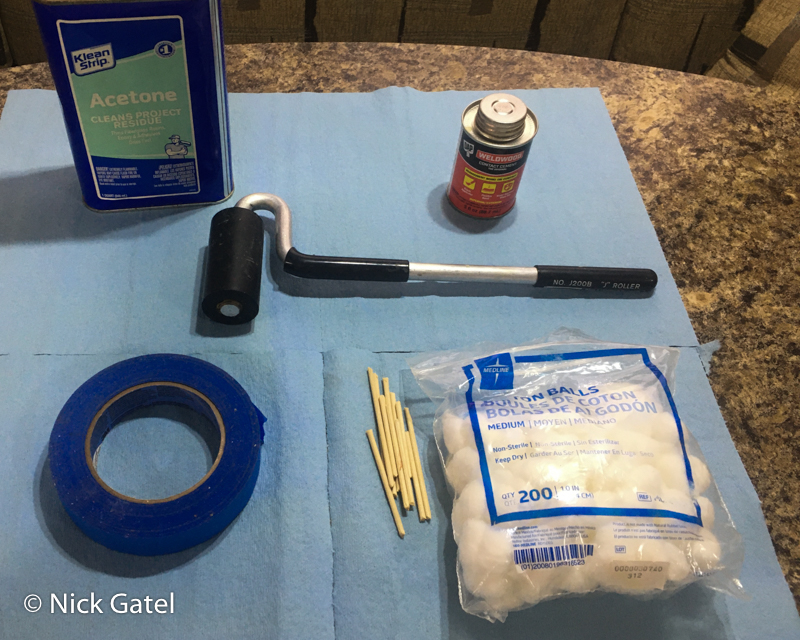
- acetone and cotton balls to remove the old adhesive
- small wooden dowels to keep the edging and countertop from touching while the adhesive gets tacky
- contact cement
- a roller to press the surfaces together and expel any air
- painter’s tape to secure the laminate while the adhesive cures
- painter’s blue paper towels for cleanup
- optional (not used) gloves to protect delicate hands
Preparation Decision
All the edging had not come loose, especially on our sink countertop, which I had repaired the other half that had come loose a few years ago.
If you want to remove all the edging and start over, you need to heat the parts that are still attached with a heat gun or hair drier to break the bond. Other methods may cause the edging to break. I opted to only re-do the pieces that had separated.
Removing the old Adhesive
Acetone makes short work of this. Soaking cotton balls with acetone, I cleaned each surface three times. Once the surfaces are not sticky to the touch, then all the adhesive has been removed. Make sure no cotton remnants are left behind on either surface.
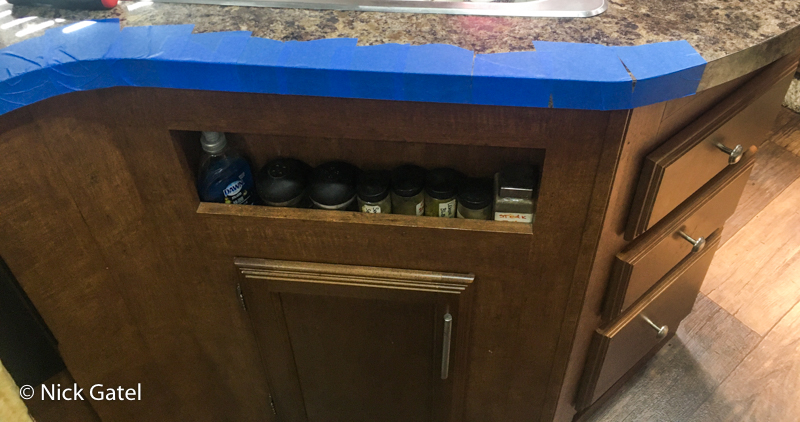
Applying the Adhesive
It is important not to allow the two surfaces to tough while the adhesive is setting up. Should the touch, they will be stuck together and, more than likely, not where you want them to be. I placed several pieces of doweling along the length of the countertops to avoid contact by the two surfaces.
The instructions said to let the adhesive sit for 20 minutes before attaching the two surfaces. Since it was over 110F, I waited 10 minutes.
A Roller is Critical
I already had one we purchased back in 2003 when we re-modeled our 1992 Starcraft Meteorite.
Carefully aligning the edging and removing dowels as one works along the edging, the roller allows ample pressure to press the pieces together without damage to the laminate and at the same time forces any air bubbles out.
Let the Adhesive Cure
We used painter’s tape to keep things in place. We let it dry for 24 hours.
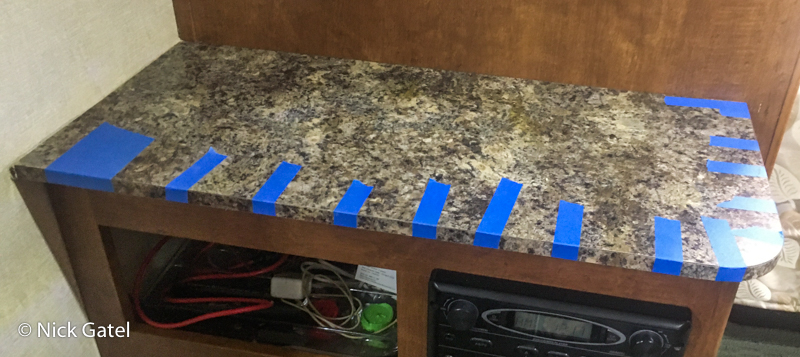

Admire Your Work and then Go Camping