
I thought the title might be an attention getter. With a little thought and the proper maintenance procedures, dealing with RV waste isn’t the awful task many make it out to be, and you should never have a Cousin Eddie moment. So I thought I’d share some of the sewer crap accessories we I use. To be accurate, sewage is not a we thing. Sewage is 100% percent my responsibility, except for the task of generating said sewage.
Since many of my readers are backpackers and don’t own a camper, waste tanks might be a foreign subject. Waste disposal for backpackers is simple. Find a suitable remote spot, dig a 6” hole, deposit your poop, wipe, burn the paper that is placed in the hole, pee in the hole if you need to pee, mix contents with a stick, and fill hole. Note that some locales require other specific techniques.
Recreation vehicles, on the other hand, are a more complicated matter. Most large campers have two waste tanks, a black and gray water tank. The black tank is connected to the toilet, and the gray collects liquid waste from sinks and the shower.
Our 1992 Starcraft tent trailer had neither. We used a Port-a-Potti and captured grey water with external tanks. Our 2006 Niagara Tent Trailer came with a porcelain toilet and a 9 gallon black water tank. It did not come with a gray water tank either. For methods of dealing with gray water on these two campers, you can read about our grey water solutions here.
With the black water tank on the Niagara, I had to learn how to dump and maintain it. It wasn’t difficult. Our current trailer has two 50 gallon waste tanks, which isn’t much different than the tent trailer, other than after dumping the black tank; the gray water tank is then dumped.
Instead of discussing how to properly dump your waste tanks, this link does a good job explaining the process.
Here are the things I use with our present camper and with our Niagara tent trailer, which was my learning platform.
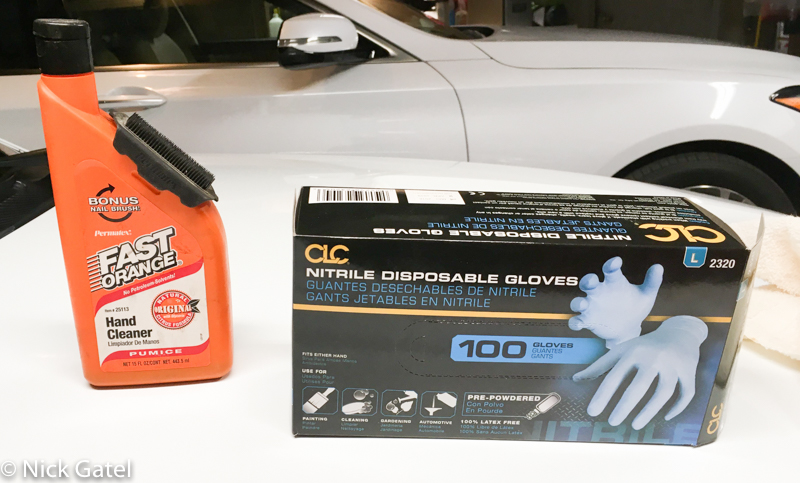
Gloves & Soap
Dealing with sewage doesn’t have to be a “dirty job.” Get yourself a box of disposable gloves and keep them in the camper along with some waterless hand cleaner or even some of that hand sanitizer stuff.
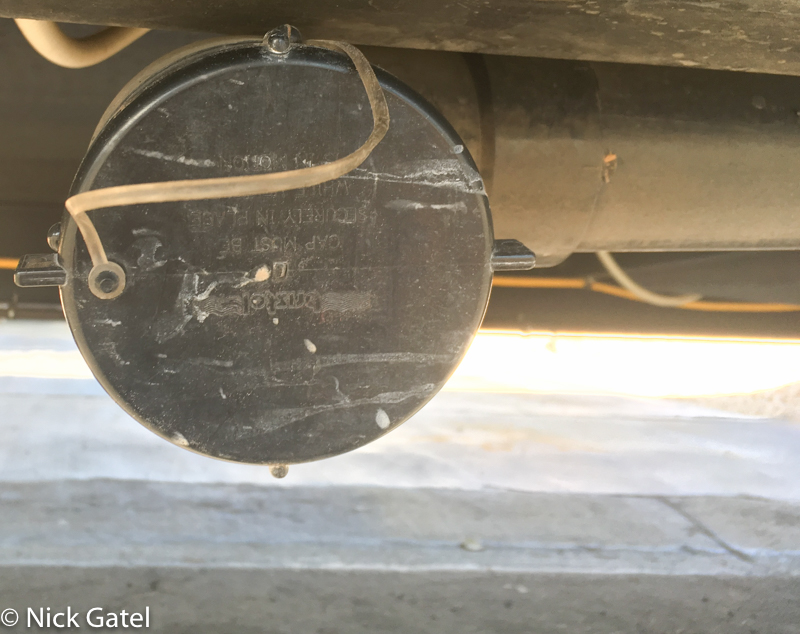
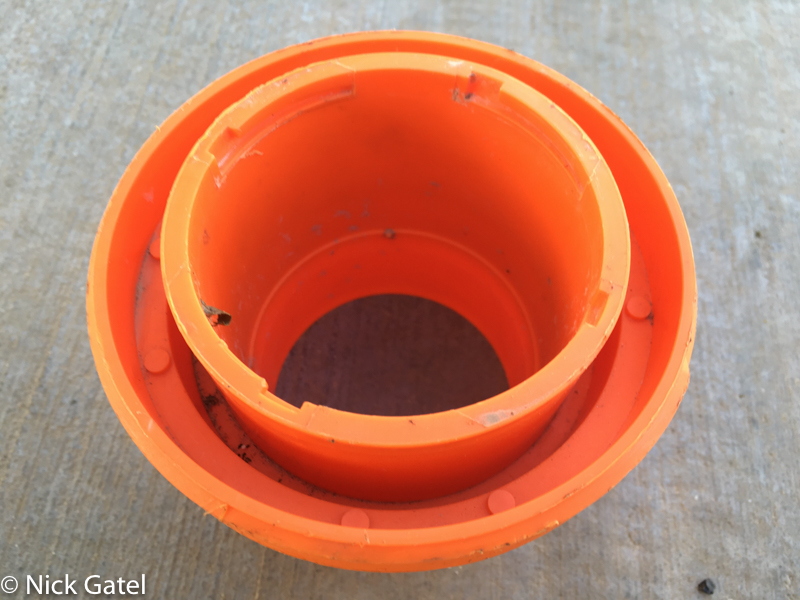
Sewer Cap
Seems that most campers come with the cheapest and sometimes hard to twist sewer cap, plus they only have two tabs to connect to the sewer pipe, which has 4 tabs. I had replaced the cap on our Niagara with an easy to remove cap that had an integrated handle, like a gas cap and it also had 4 tabs. I didn’t replace the cap on our current Milan RLS26 right away, because I kept procrastinating. Last December, when the temperature was 32F, one of the two tabs broke when I put the cap back on.


FloJet macerator pump (a.ka. the poop canon)

Because we almost never camp where there are hook-ups or a dump station, dumping the back tank in our Niagara was a daunting task, until I bought a FloJet Macerator Pump. Here is a link to a review I did on the poop canon when we owned our Niagara. I now use it to empty our waste tanks on our current camper.
If you read the link I posted on how to empty your waste tanks, you probably noticed it is recommended to dump the tanks when they are at least 2/3 full so the weight and volume of the waste will “rush” out of the tanks. Obviously, using the poop canon doesn’t accommodate this “rush” as the 3” sewer outlet is forced into a 5/8” hose fitting. However, the poop canon is effective because I am flushing the tanks at the same time using the FloJet, plus the black water tank has a built-in turbo flush mechanism that washes the walls of the tank with an external water hose. Lastly, I can monitor how clean the water going into the pump is using a clear adapter, which is shown in the poop canon review I linked to earlier.
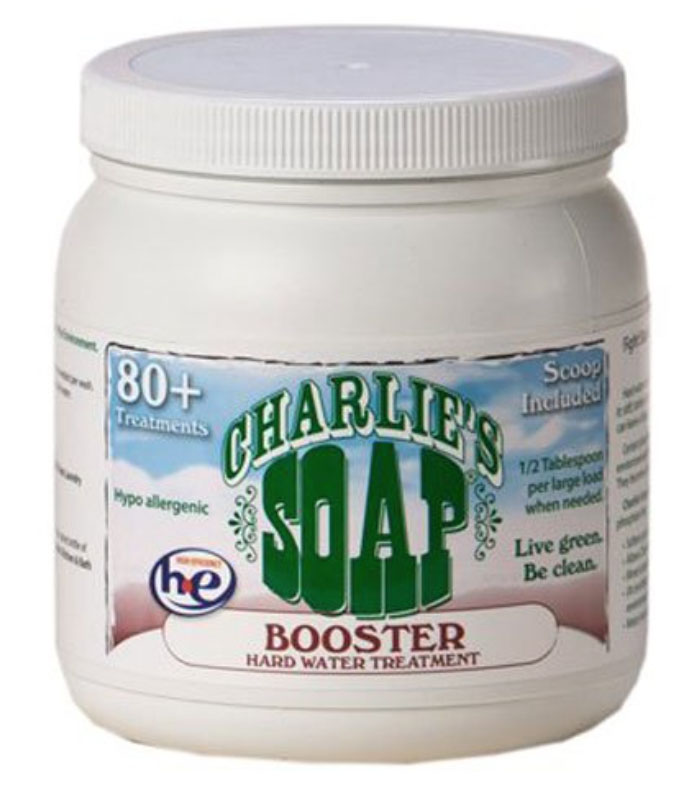
Lastly, when we leave the campground, I add a tablespoon of Charlie’s Soap Booster to both holding tanks. It helps to clean the sides of the tanks and the sensors for the tank monitoring system before I dump and flush the tanks.
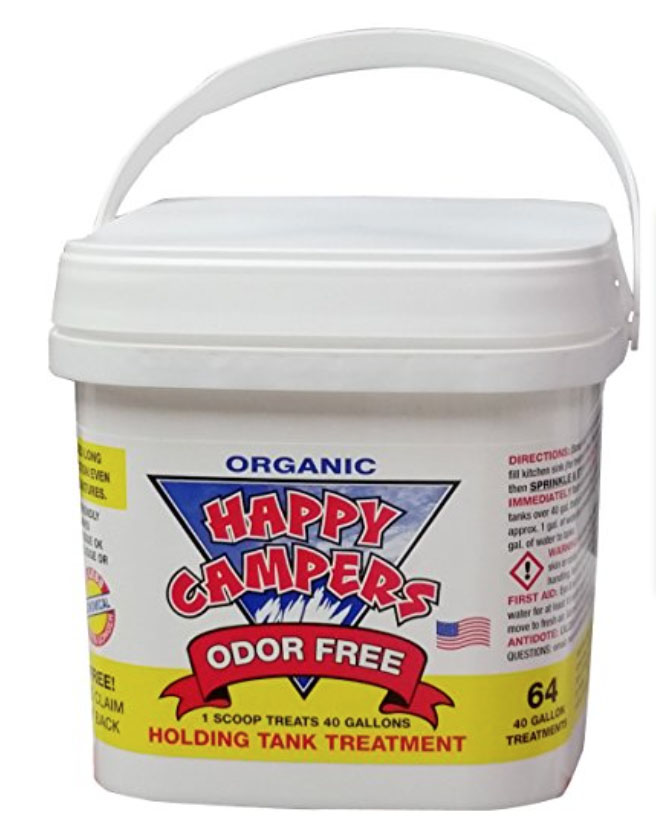
Black Waste Tank Treatment
We’ve tried just about everything and keep in mind we often camp in temperatures that are over 100F, which isn’t conducive to eliminating black tank smells. Only one product has passed my wife’s sniff test: Happy Camper Holding Tank Treatment.
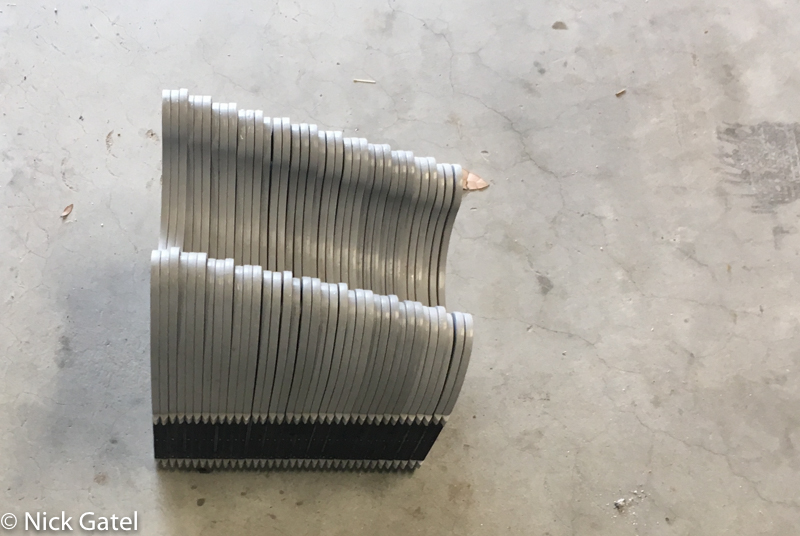
Sewer Hose
Okay, there are a gazillion options available. Unfortunately most people opt for the cheapest. We’ve traveled down that cheap road with awful results. Do yourself a favor and buy a quality sewer hose kit. I have been absolutely thrilled with the Rhino Sewer Hose Kit by Camco.

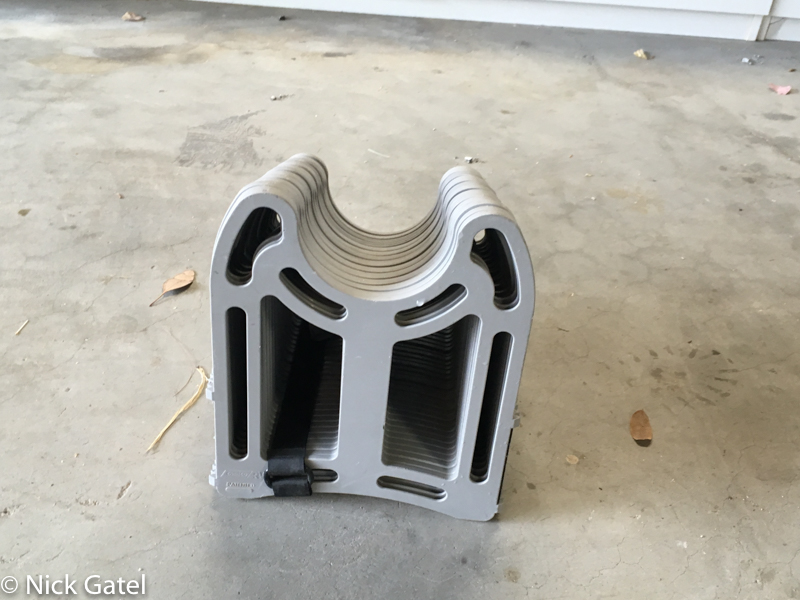
First of all, it is a stiff and sturdy hose. When it is compressed, it doesn’t flop around like most sewer hoses, making it easy to hook-up and store. Both ends of the hose swivel for easy hook ups and they also come with caps on each end for storage.


Also included is a sewer adapter.
The adapter has 4 notches for a secure connection to the matching tabs on the sewer hose.

The other end of the adapter has several different threads and has screwed into every dump fitting we have used.
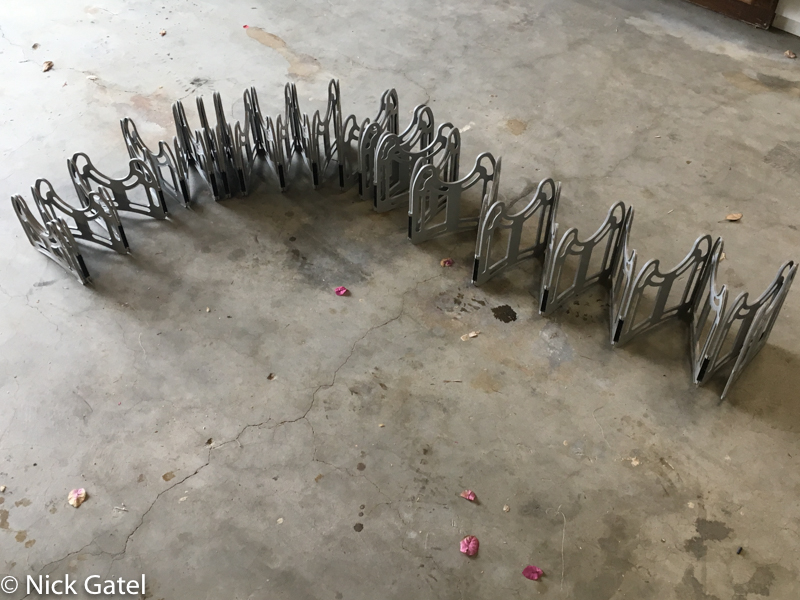
Sewer Hose Support
When you have one of those cheap slinky sewer hoses, you will need some sort of support to ensure the hose flows downward from the trailer to the sewer connection at the end of the hose. Since we started using the Rhino hose, most of the time we don’t need the support unless we are dealing with some very uneven real estate. But when we do need some hose support, we use this:
Storing your sewer hose
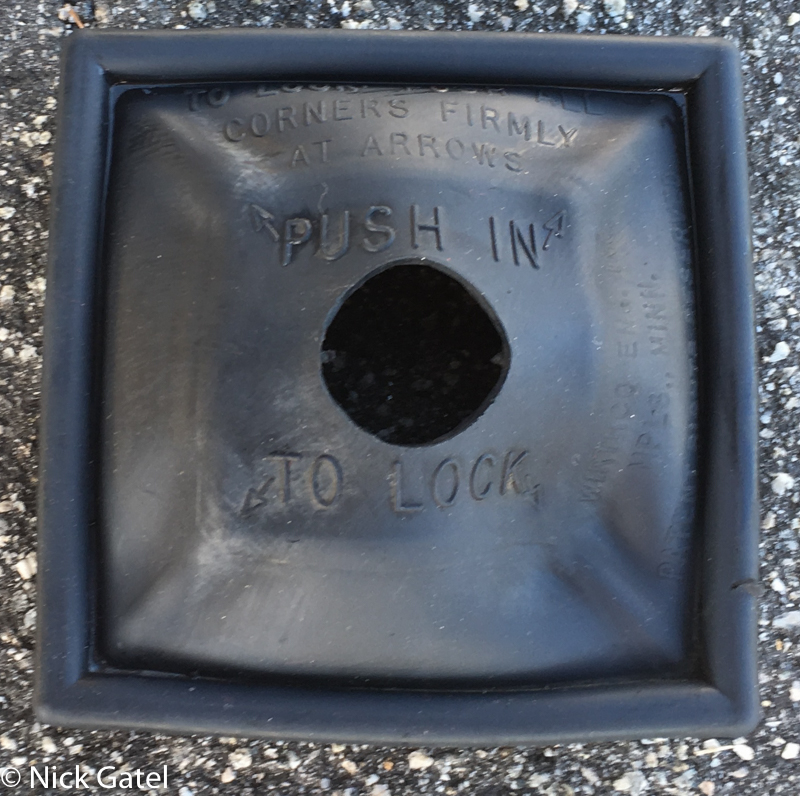
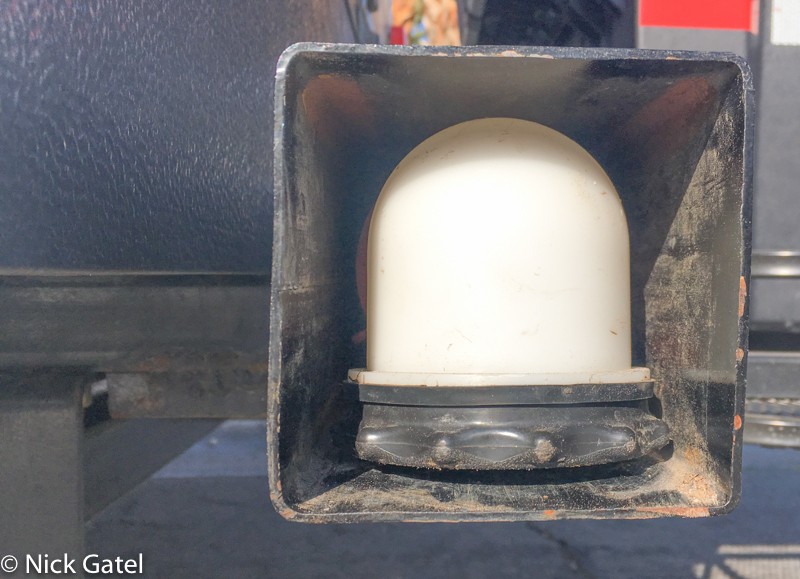
The best place to store you sewer hose is in the rear bumper. Even our Niagara had a square bumper for storing the hose. The Rhino hose will fit a standard 3” trailer bumper. One thing that is a pain with storing hoses in the bumper is the square bumper end plugs. I have been using these for over 10 years now.
The end cap has a hole in the center so it is easy to pull out of the bumper. When it is inserted into the bumper, you simply push in each corner and it quickly locks itself into the bumper. Genius. And Cheap!

This website may be compensated for linking to other sites for sales of products. As an Amazon Associate I earn a small fee from qualifying purchases at no additional cost to the purchaser.

YOTU Black Disposable Nitrile Latex & Powder Free 6-Mil Gloves 100 Count, Textured, Mechanic Wearing, Cleaning, Food Black X-Large
$16.99 ($0.17 / Count) (as of April 16, 2024 05:09 GMT -07:00 – More infoProduct prices and availability are accurate as of the date/time indicated and are subject to change. Any price and availability information displayed on [relevant Amazon Site(s), as applicable] at the time of purchase will apply to the purchase of this product.)

Camco Replacement RV Sewer Hose Storage Cap | Seal RV Sewer Hose Before Storage | Black (39452)
$10.18 (as of April 16, 2024 06:09 GMT -07:00 – More infoProduct prices and availability are accurate as of the date/time indicated and are subject to change. Any price and availability information displayed on [relevant Amazon Site(s), as applicable] at the time of purchase will apply to the purchase of this product.)

Flojet 18555-000A Portable RV Waste Pump with Garden Hose Discharge Port – 12 VDC Motor
$240.00 (as of April 16, 2024 06:09 GMT -07:00 – More infoProduct prices and availability are accurate as of the date/time indicated and are subject to change. Any price and availability information displayed on [relevant Amazon Site(s), as applicable] at the time of purchase will apply to the purchase of this product.)

Charlie’s Soap Booster & Hard Water Treatment 160 Loads (2.64 Lbs, 1 Pack) Natural Powdered Water Softener and Laundry Booster – Safe and Effective
$27.99 ($0.28 / load) (as of April 16, 2024 06:09 GMT -07:00 – More infoProduct prices and availability are accurate as of the date/time indicated and are subject to change. Any price and availability information displayed on [relevant Amazon Site(s), as applicable] at the time of purchase will apply to the purchase of this product.)
Happy Campers RV Toilet Treatment – 64 Black or Gray Holding Tank Deodorizer Treatments for RVs
$55.45 ($0.87 / Ounce) (as of April 15, 2024 16:26 GMT -07:00 – More infoProduct prices and availability are accurate as of the date/time indicated and are subject to change. Any price and availability information displayed on [relevant Amazon Site(s), as applicable] at the time of purchase will apply to the purchase of this product.)

Unique Septic System Digester – 4 Monthly Treatments – Helps Prevent Sewage Back-Ups, Clogs, Odors – For Household Use (32 oz.)
$18.99 ($0.59 / Fl Oz) (as of April 16, 2024 06:09 GMT -07:00 – More infoProduct prices and availability are accurate as of the date/time indicated and are subject to change. Any price and availability information displayed on [relevant Amazon Site(s), as applicable] at the time of purchase will apply to the purchase of this product.)
Happy Campers RV Toilet Treatment – 64 Black or Gray Holding Tank Deodorizer Treatments for RVs
$55.45 ($0.87 / Ounce) (as of April 16, 2024 04:54 GMT -07:00 – More infoProduct prices and availability are accurate as of the date/time indicated and are subject to change. Any price and availability information displayed on [relevant Amazon Site(s), as applicable] at the time of purchase will apply to the purchase of this product.)

Camco RhinoFLEX 15′ Camper / RV Sewer Hose Kit — Includes 4-in-1 Adapter, Clear Elbow, & Caps — Connects to 3″ Slip & 3″, 3 1/2″, 4″ NPT Threaded Sewer Connections (39770)
41% Off $62.99 ($4.20 / Foot) $36.97 ($2.46 / Foot) (as of April 16, 2024 05:09 GMT -07:00 – More infoProduct prices and availability are accurate as of the date/time indicated and are subject to change. Any price and availability information displayed on [relevant Amazon Site(s), as applicable] at the time of purchase will apply to the purchase of this product.)

“WirthCo 30000 RV Locking Bumper Plug – 4″””, black
$8.70 $8.57 (as of April 16, 2024 05:09 GMT -07:00 – More infoProduct prices and availability are accurate as of the date/time indicated and are subject to change. Any price and availability information displayed on [relevant Amazon Site(s), as applicable] at the time of purchase will apply to the purchase of this product.)