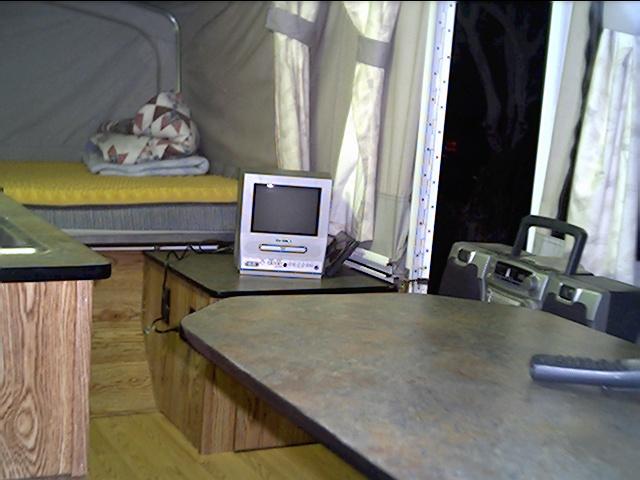
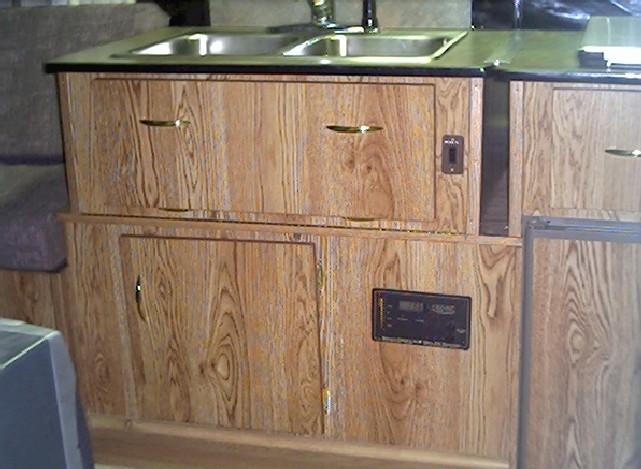
Interior Remodel

In 2003 Joyce and I gutted our Meteorite and started from scratch. That meant we redesigned the configuration of cabinets, the dinette, and added a refrigerator, shower, water pump, installed 12 volt fluorescent light fixtures, a water heater, a built-in catalytic heater, and a 3-burner stove.

We also changed the upholstery on the seats, replaced the foam in the seats and beds, and installed engineered wood floors.

Every camper owner should be concerned about the total weight of their rig. Almost any kind of modification would be too heavy for our Meteorite in its original configuration, which had a gross vehicle weight rating of 1180 pounds. Research showed that the axle could handle 2000 pounds and the limiting factor was the tires. The 4.80-8 tires were rated at 590 pounds each, which when doubled was the trailers rated weight.  So the first step would be be a Suspension Upgrade. We lifted the body allowing us room to install a set of new 12″ wheels and 5.30-12 Load C tires rated at 1045 pounds each. Since about 15% of the trailer’s weight would be on the trailer hitch, we would have a maximum gross vehicle weight of around 2300 pounds.

PLANNING

We probably spent more time planning the the rebuild than actual construction time. A lot of time was spent looking at other campers in person and on the Internet. We researched all kinds of options and equipment. Then we drew up plans, with an eye to installing everything in the most efficient and productive order.

GUTTING THE TRAILER

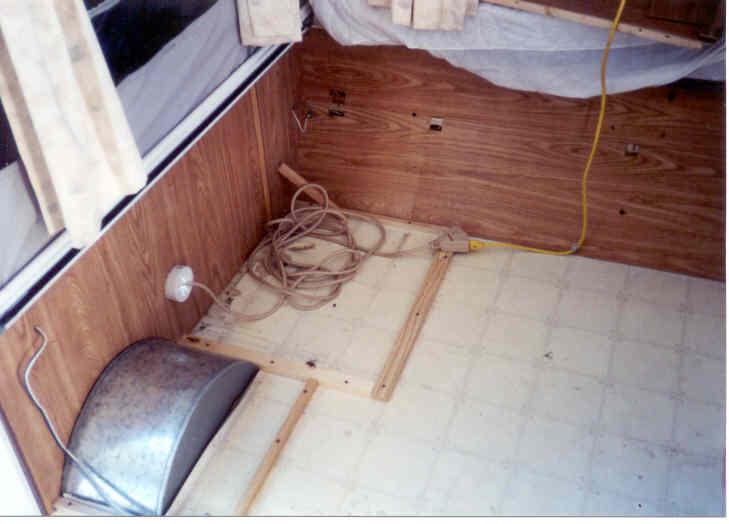
We removed everything from the interior but the flooring. This included all cabinets, wiring, plumbing and fixtures.

1093548958049309119
We left the flooring in place and would install the new flooring on top. This would help insulate and waterproof things.


FLOORING

1093548965049309119
Installing the bottom frames for the cabinets.

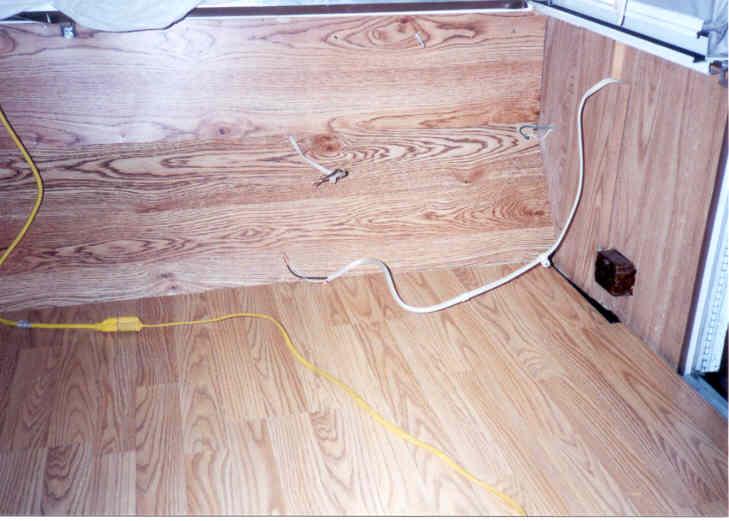
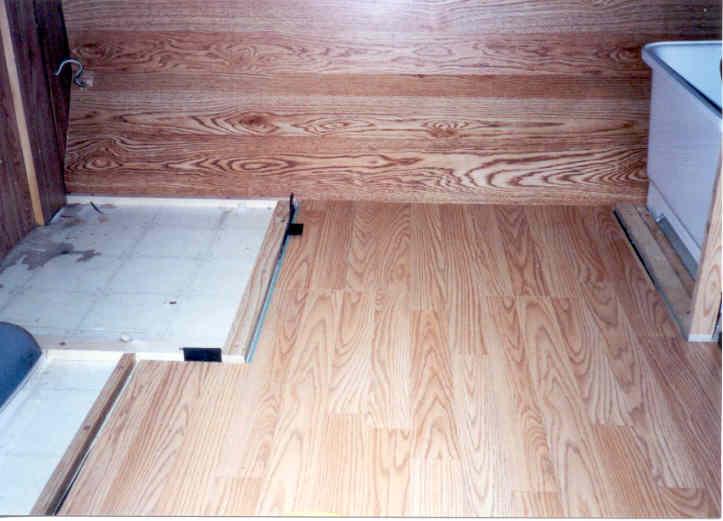
We decided to installed engineered wood flooring. The flooring is heavy, and to save weight, we did not install it wall to wall in some areas. We would butt it up to some of the cabinets, and go wall to wall in other places.
1093548979049309119
Flooring in the front of the camper. Note the new paneling on the front wall. This would match the paneling we used to build new cabinets.
1093548967049309119
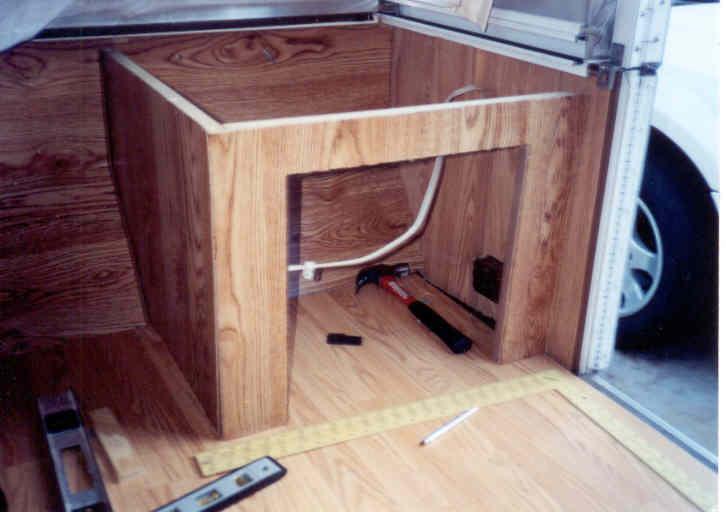
Flooring in the rear of the camper. Cabinets have been framed out on the floor.

CABINETS

We built all new cabinets from scratch.

1093548976049309119
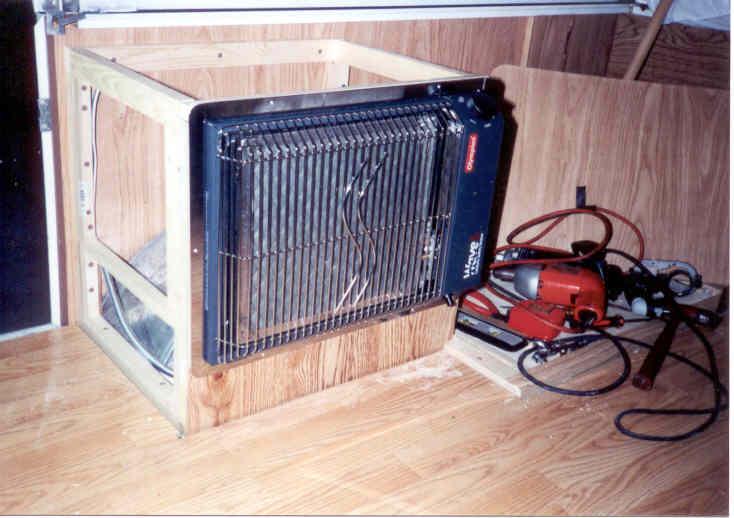
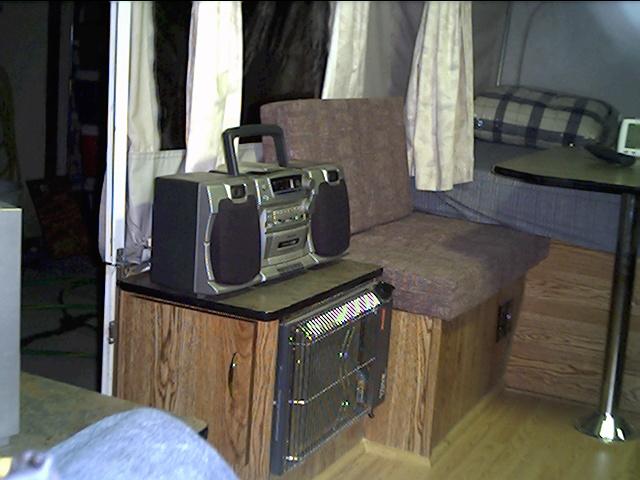
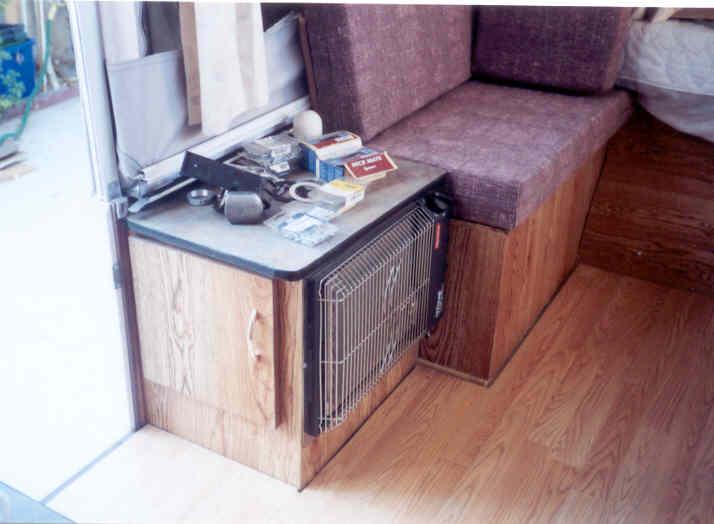
Rear curbside cabinets. The back one is the frame for the dinette seat storage. Front is storage and the built-in Olympian Wave 6 catalytic heater.
1093548984049309119
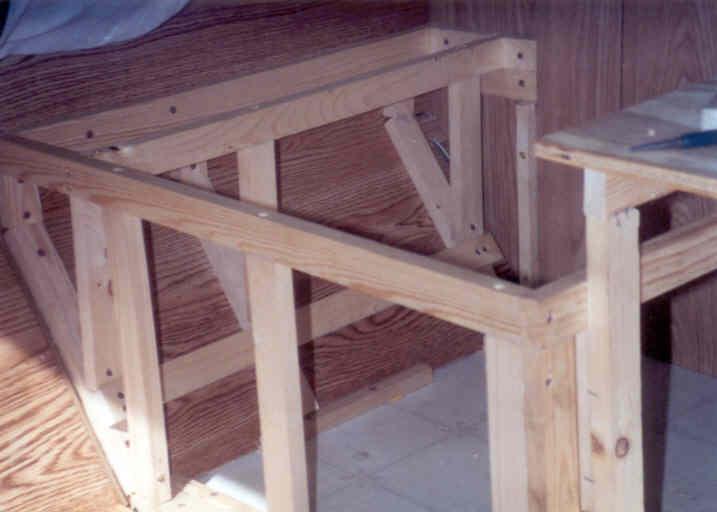
Constructing the front curbside cabinet.
1093548998049309119
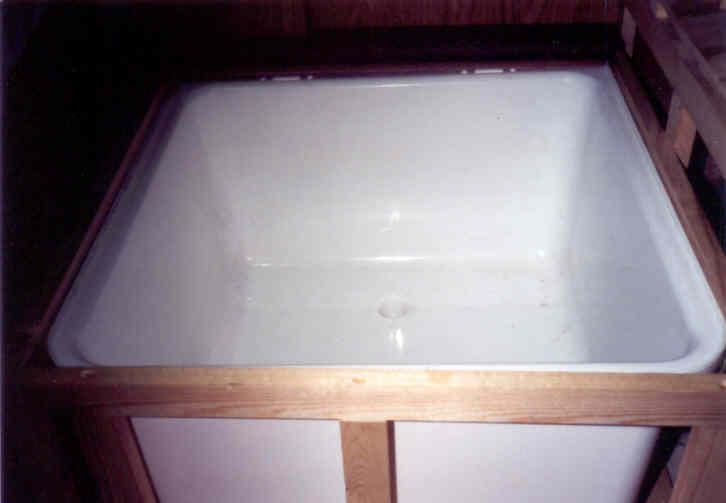
Building the street side rear dinette seat frame which would house the shower pan.

1093548974049309119

Below the shower is being assembled into the cabinet.

Click to see the complete Under Dinette Shower.
1093549002049309119 1093549005049309119

1093549021049309119
Finishing the trim.
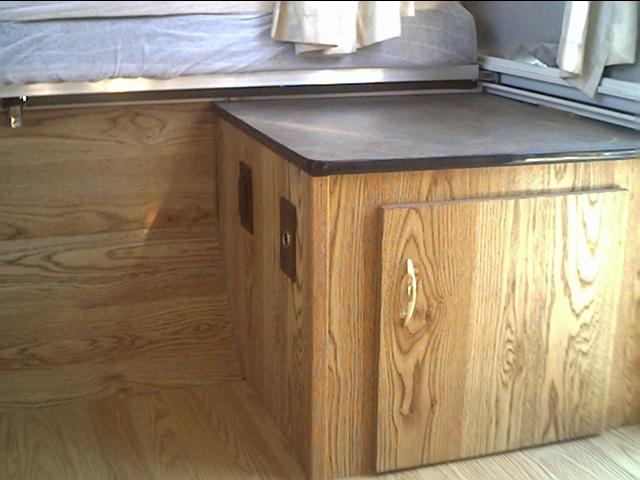
Front curbside cabinet completed. Note the Formica counter top and T-molding and the curved edges of the counter top.
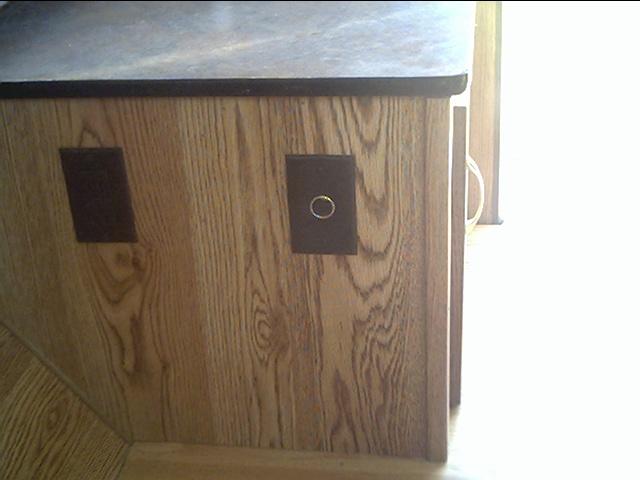
110 volt and 12 volt receptacles in the cabinet.

NEW FOAM AND UPHOLSTERY FOR SEAT CUSHIONS AND BEDS
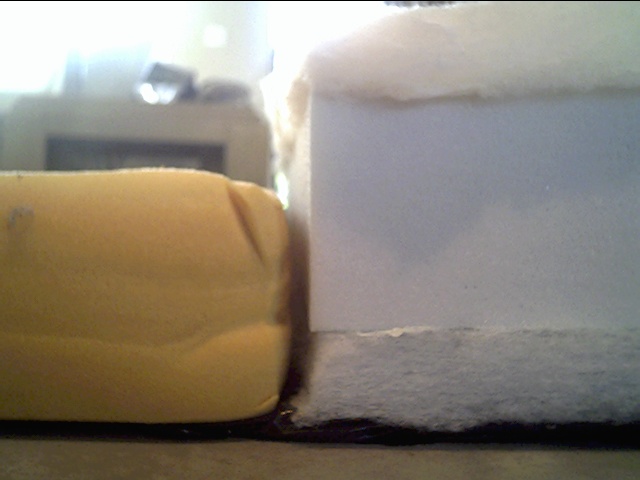
We wrapped the new quality high density foam in batting.
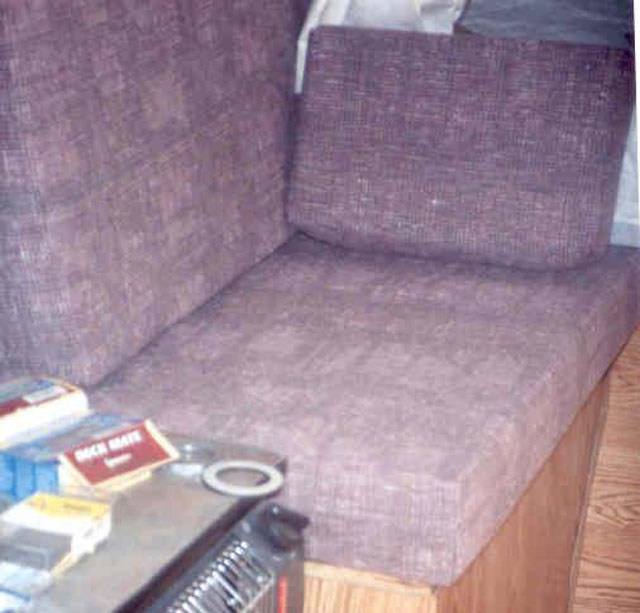
Cushions completed.
Cushions completed.

3-BURNER STOVE

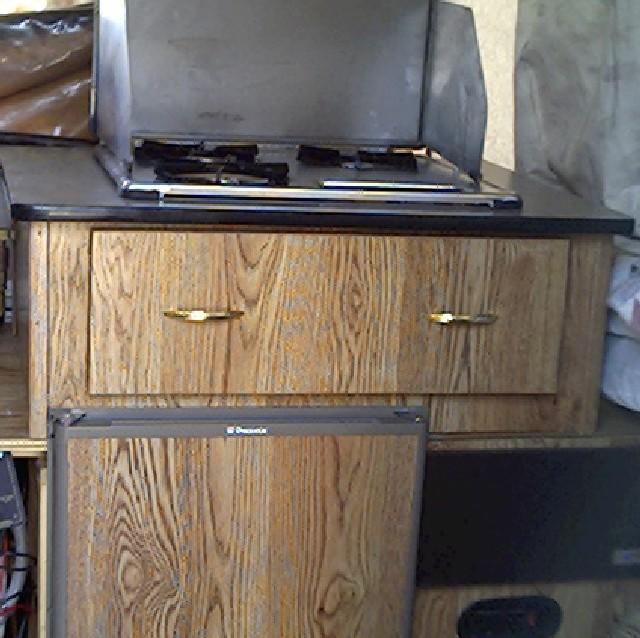
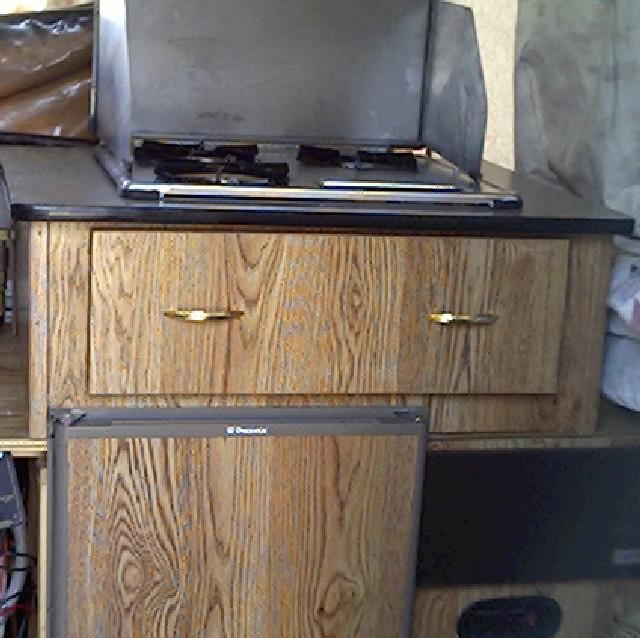
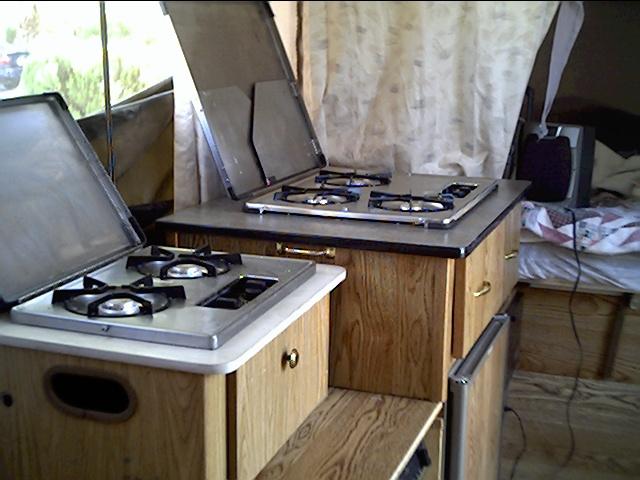
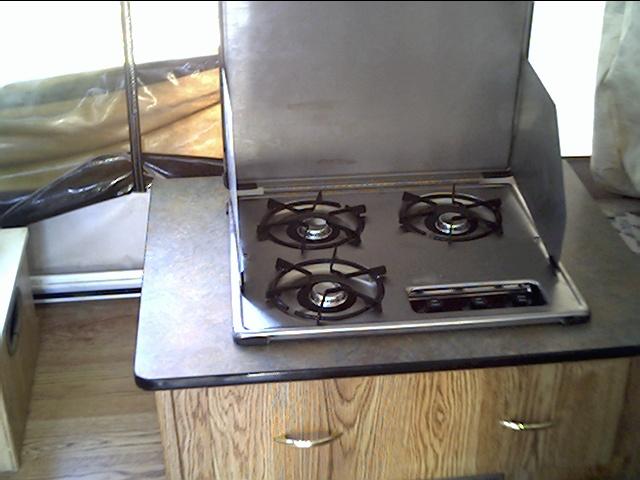
The original stove was a 2-burner inside/outside stove. We purchased a Suburban 3-burner stove to replace it.
1098267487049309119
Old stove (left) versus the new one (right).
Close up of stove.
Close up of stove.


1098267519049309119
During transport, the stove cabinet is removed and stored on the floor. All bottom edges of the stove are weather sealed to keep the refrigerator fumes from entering the interior when camped. We traveled with the refrigerator in 12 volt mode.
1098267535049309119
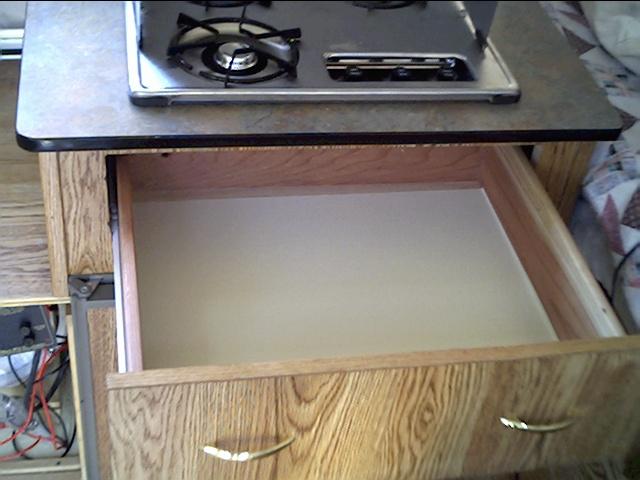
The drawer under the stove is a great place to store cooking utensils.

DOUBLE SINK

Most small campers have a single sink. We opted for a full size RV double sink and even installed a residential dish-washing sprayer.
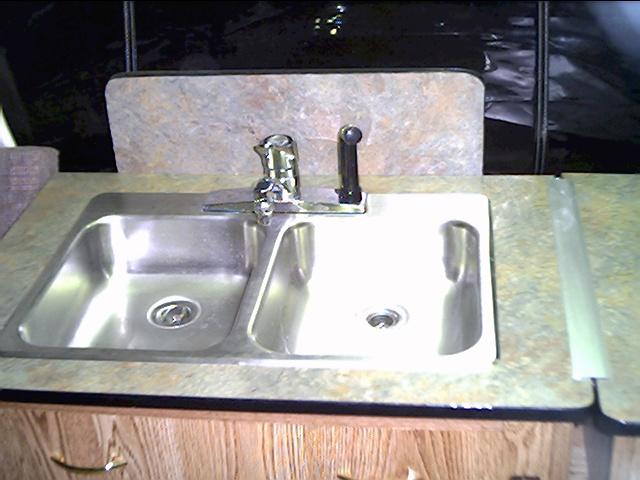
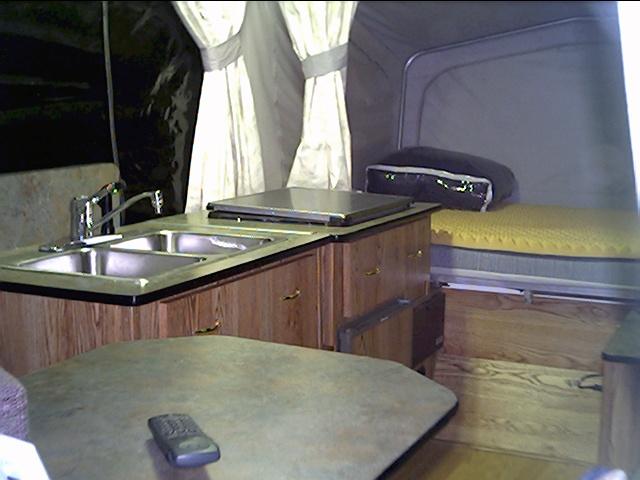
During transport the sink folds over the the back splash sits of the floor to keep the unit level.
1098271127049309119
Note the counter tops and dinette table (front) all have matching Formica and T-molding.
1098267405049309119
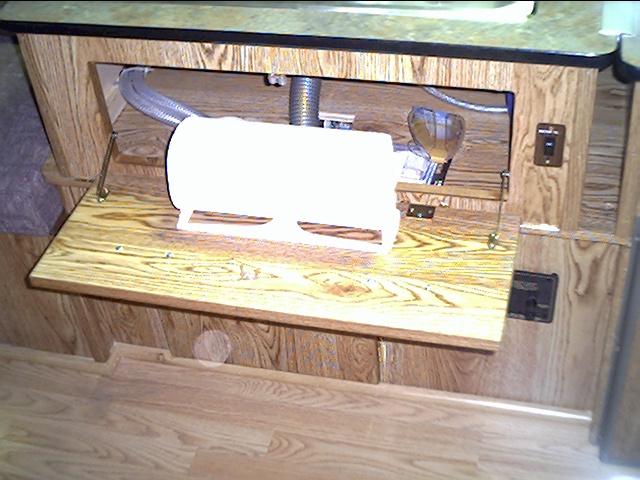
The front of the sink cabinet has a fold-down door for paper towel storage. Also there is additional storage behind it.

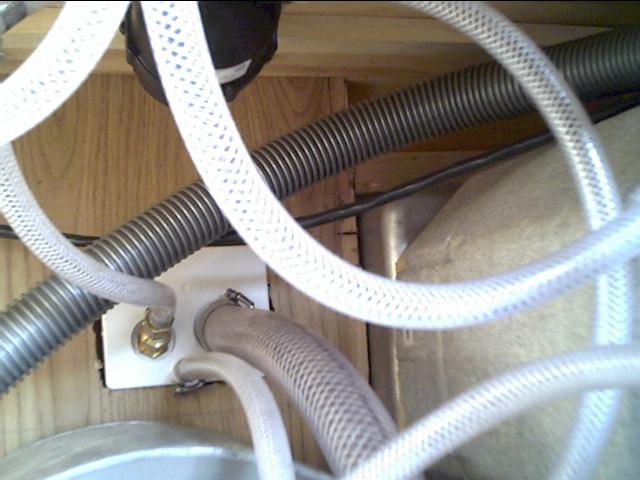
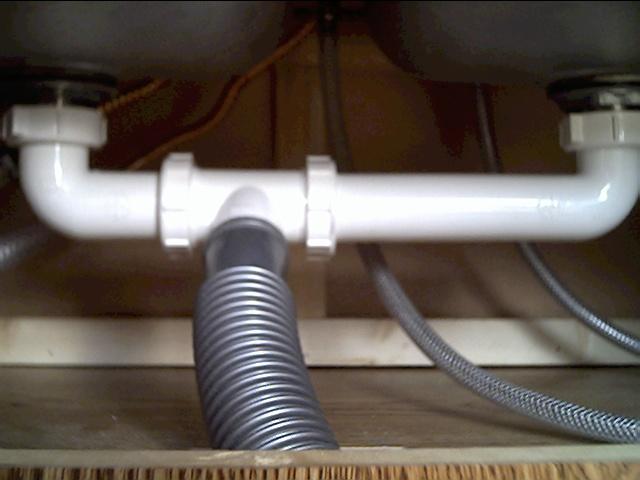
Below the sink plumbing, waste drain, and water supple hoses are extra long to allow the sink to easily fold over when packing the camper.
1098267460049309119
Plumbing under the fold-over sink.

LOWER SINK CABINET

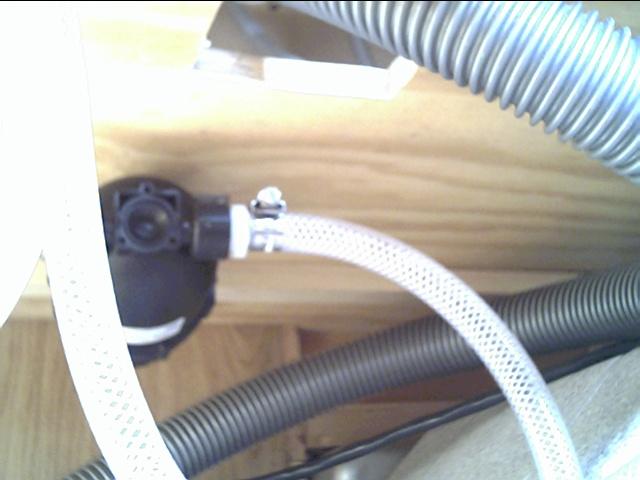
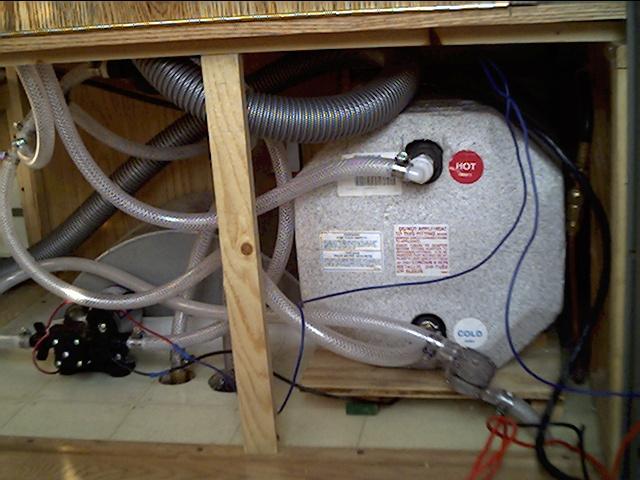
The lower sink cabinet is permanently fixed and houses the water pump, accumulator, water heater, and associated plumbing and electrical.

1098267448049309119 1098267431049309119 1098267418049309119

REFRIGERATOR

1098267339049309119 1098267519049309119

EXTERIOR VIEW OF WATER HEATER AND REFRIGERATOR
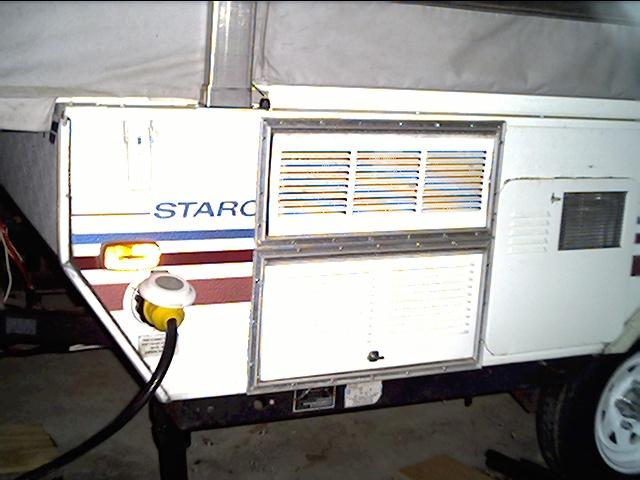
Refrigerator vents on left, water heater door at right.
1098267382049309119
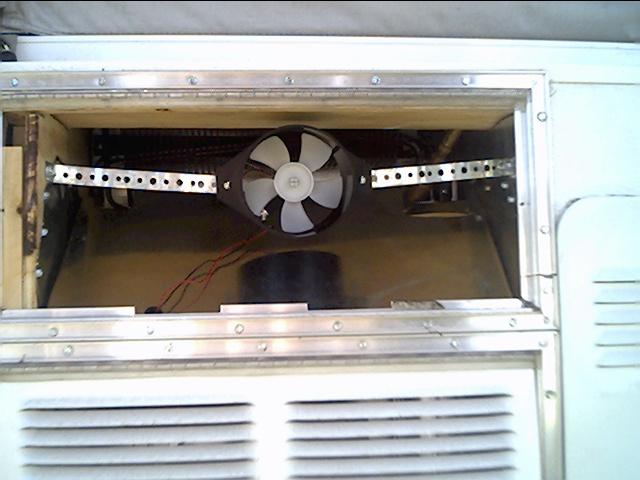
Outside access panel to the refrigerator. The switch at the lower right is to turn on the electric fan in hot weather to help the refrigerator efficiency.
1098267306049309119
Exterior refrigerator fan is a computer cooling fan I bought at Radio Shack.

PICTURES OF COMPLETED INTERIOR
1098271160049309119 1098271151049309119 1098271139049309119 1098271133049309119


Visited 132 times, 1 visit(s) today