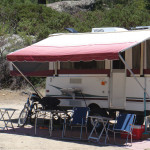
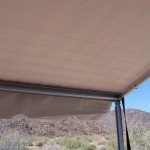
Our Niagara came with the cheap standard awning. After our first camping trip Joyce told me to get a real awning, no matter what the cost. A Fiamma like we had on our Starcraft was too heavy for the long Niagara roof. We bought a Shademaker and were very happy with it for the 7+ years we owned it. You can seen more information on this awning by visiting the Camper Page on this website.
CLICK A THUMBNAIL TO VIEW THE FULL SIZE PICTURE. YOU CAN SCROLL THROUGH THE FULL SIZED PICTURES BY MOVING YOUR CURSOR TO THE LEFT OR RIGHT EDGE NEAR THE CENTER AND PRESSING THE ARROW, OR TAPPING THE EDGE (MOBILE DEVICES).
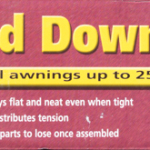
Shademaker awning
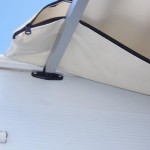
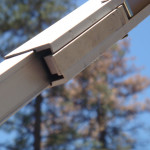
Rafter snaps into plastic holders that need to be installed. The bag that holds the awning can be seen above the rafter.
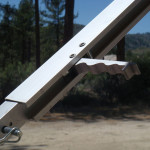
Push button provides tension on the rafter to hold it securely. Final adjustment will be shown later.
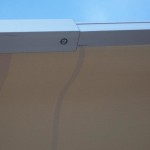
Velcro secures edge of the awning material to the rafter.
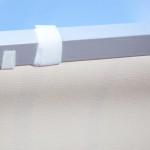
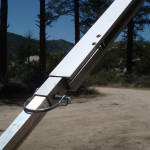
This clamping mechanism provides the final taunt adjustment.
Adjustment clamp closed.
The rafter and pole are connected to the header and swing into the grove shown in the header.
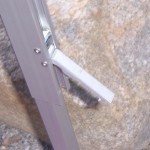
he pole or leg is moved up or down to adjust the height of the awning with this clamping mechanism.
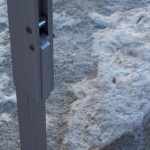
Pole is locked.
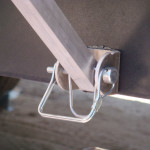
Pole staked to the ground.
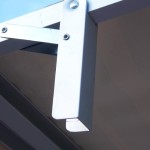
Bracket mounted to the trailer frame. This way the awning poles (legs) do not have to be set up like a carport, but can be attached to the camper.
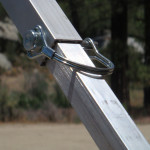
Clamp that adjusts the pole.
Adjustment clamp opened for adjusting.
Adjustment clamp closed.
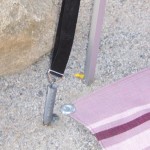
I added a section of tubing to increase the adjustment length.
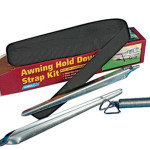
We use this kit for high winds on all our campers.