In my recent post about our new truck cap, I mentioned that a camper shell was important because I wanted to sleep in the bed at times, and in the past, I had often slept in the back of our SUVs when arriving or leaving a trailhead at night for backpacking trips. I also, sometimes sleep in the back on long roads trips at rest stops when traveling alone, and even when doing solo car camping trips.
Sleeping in the back of a large SUV is easy, because the rear is carpeted, only requiring an inflatable backpacking air mat and a sleeping bag or quilt. But a pickup truck offers a new challenge because the rails that are built into the truck bed do not offer a flat surface. A solution for this was needed.
Bed Liner Options
There is a huge market for bed liner products, most of which, are just solutions to protect the paint and minimize dings and dents. These do not solve my problem of needing a flat surface.
Drop In Bed Liners
These are probably the most popular, a shell made from plastic or other composite materials that is just dropped into the bed. These retain those pesky rails and would not solve my sleeping platform solution.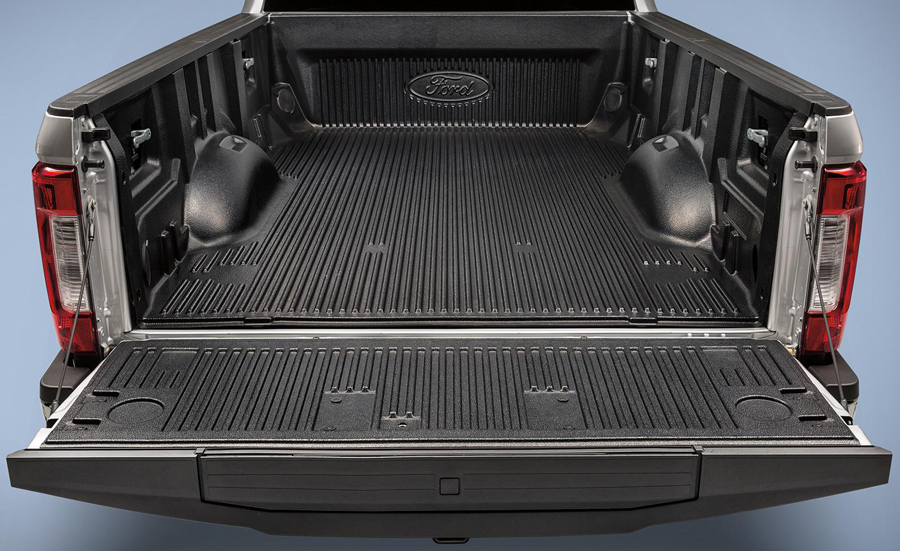
Spray In Bed Liner
Another common product is to spray a heavy coating on the bed, with a rough surface to help reduce items from sliding around.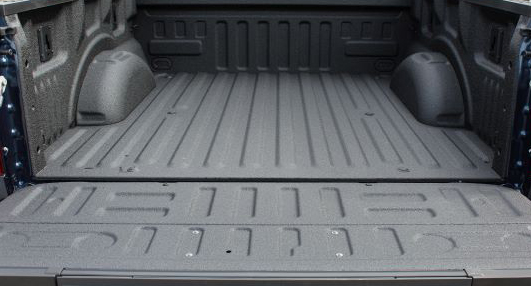
Again, not a solution for me, because it does not create a flat surface.
Plywood Sheet
At first, I was just going to buy a 3/4″ sheet of plywood. It would fit into our 8 foot bed between the wheel wells, and the truck bed is long enough so no cutting or trimming would be required. There would have been a gap on each side in front and behind the wheel wells. Those gaps could be left as is, or additional pieces of plywood could be cut and fitted to fill those spaces.
Because the truck bed is protected from the weather with our camper shell, I wouldn’t need to worry about damage from rain or snow. This was the cheapest option, and I could save even more money, by using OSB board instead.
This was the option I was planning to use.
Bed Mat or Bed Rug
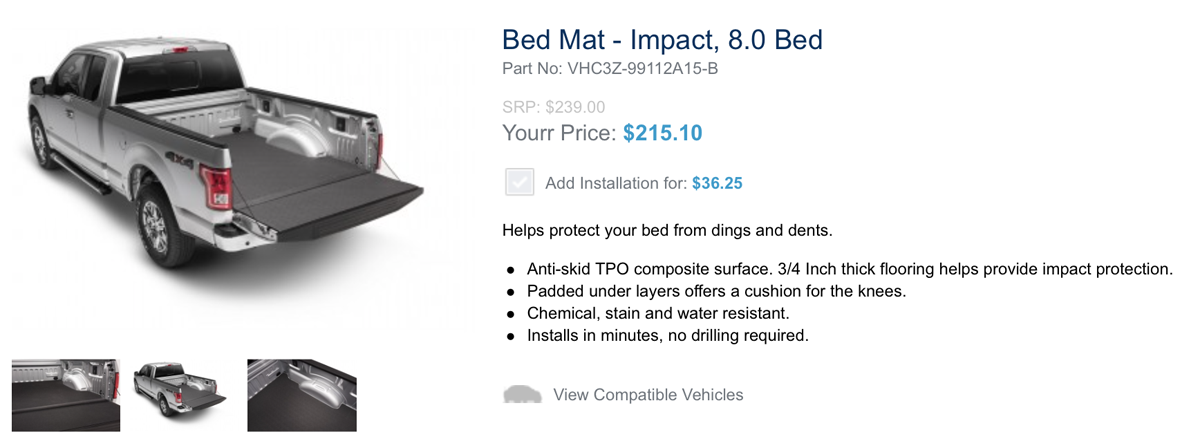
Then I found one of these bed mats made from closed cell foam, much like the old fashioned blue backpacking foam pads.
Similar to these, I found bed rugs with a comparable attached underlayment padding that would create a flat surface.
I decided to go with the bed mat instead of the rug, because it would provide more friction to help keep cargo from sliding around when traveling, and would be easier to clean. I ordered it online from Ford, and in a few days it was delivered to my local Ford dealer for pickup. There was no extra charge for shipping,
Installation
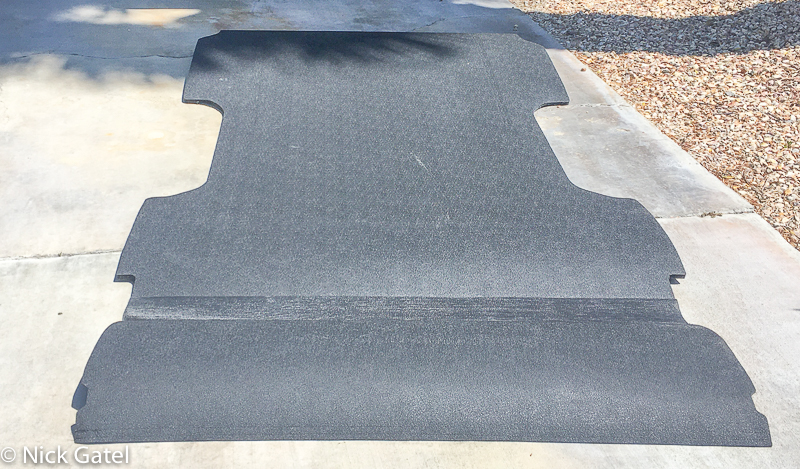
The mat has Velcro strips sewn into the mat. Two long strips on the main body, and two long strips sewn into the rear section that attaches to the tailgate, so the mat covers the truck bed and the inside of the tailgate.
There is a heavy duty fabric between the main pad and the tail gate section, so the mat folds easily when the tail gate is opened and closed.
Instructions and Parts
The kit comes with mating Velcro strips with 3M adhesive tape to secure the mat to the bed and the tailgate, allowing the mat to be removed for periods of time, then put back in place.
The kit also comes with 3M adhesive promoter for installation over a spray in liner. For beds with just the original paint in place, the areas where the Velcro will be installed directly on the metal need to be cleaned with soap and water, dried with a clean cloth, then a final cleaning with alcohol. Alcohol pads or packets are not included.
Read Ford Bed Mat Instructions.
Prep
The mat came rolled up in a big box. I unrolled the mat and then let it sit in the sun to flatten out, while I cleaned the areas in the bed for the Velcro, the put the Velcro strips in place.
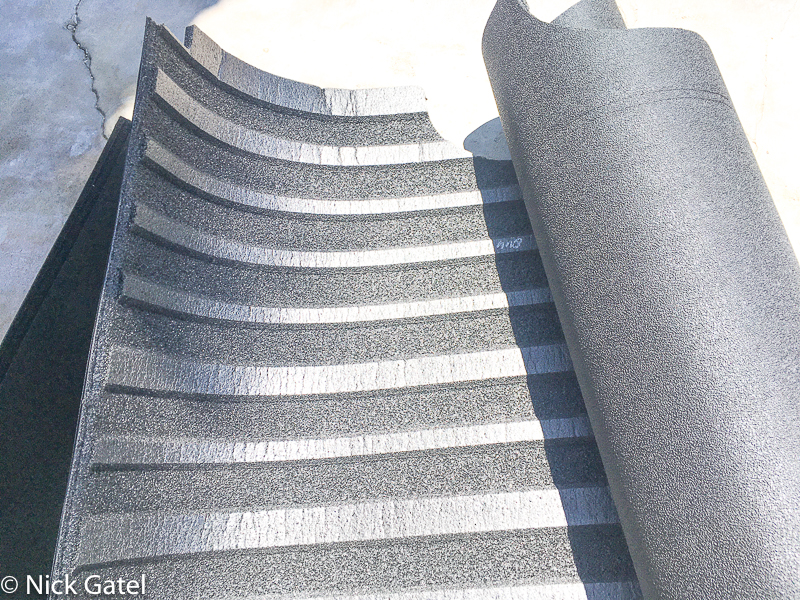
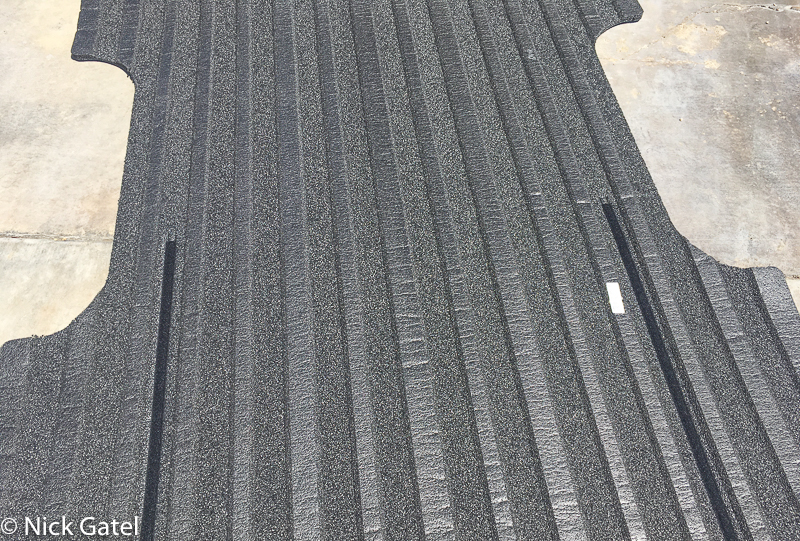
After I unrolled the mat and inspected it, I turned it over so its own weight would help flatten it.
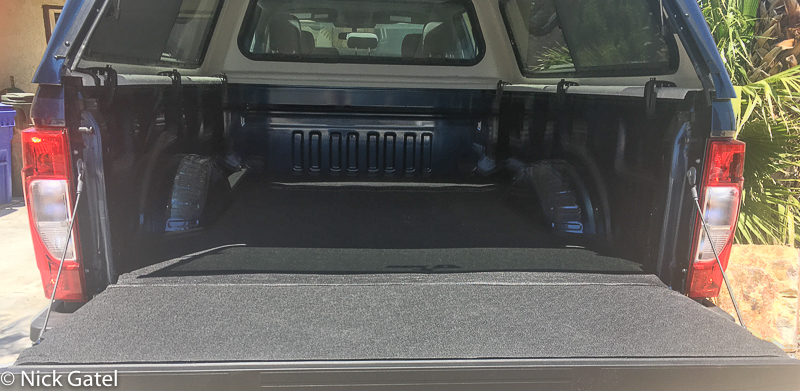
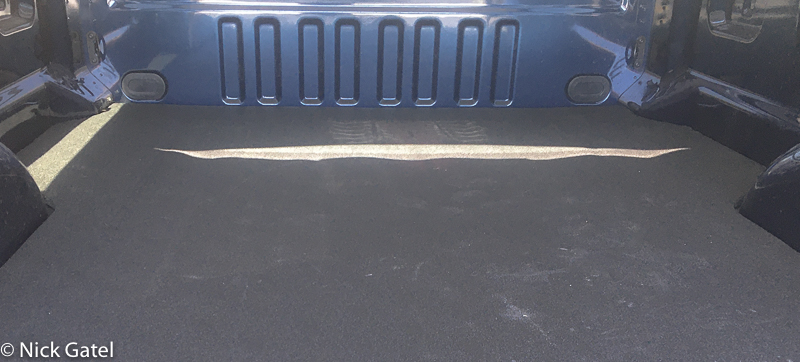
Finished Job
It took about 15 or 20 minutes of actual working time to install the mat. But I let the mat sit in the sun for about an hour to flatten out after I cleaned in bed and applied the Velcro.

