
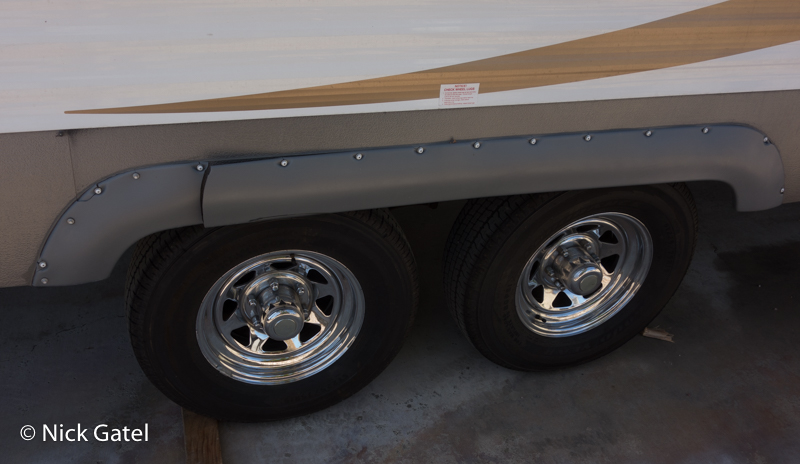
Today most travel trailers and 5th wheel trailers come with plastic fender skirts. Over time, they break, as the picture above shows. Often, you can’t order new skirts from the manufacturer or their dealer network. This was the case for our 2014 Milan 26RLS.
In September of 2020 I sent an email to the parts department of our trailer’s manufacturer. This was via a link on their website that proclaimed, “Contact us.”
Hi —
I know you don’t sell directly to the public, but I need help sourcing the part number or compatible fender skirts for my 2014 Eclipse Milan 26RLS Aluminum travel trailer. Mine are cracked and broken.
Any assistance will be greatly appreciated.
Took a couple weeks to get a reply, which I deleted. It was short and curt. Something like,
“We don’t sell to the public. Contact one of our dealers.”
Why Trailer Manufacturers Use Fender Skirts
Plain and simple — it is inexpensive. Fender skirts hide sloppy workmanship.
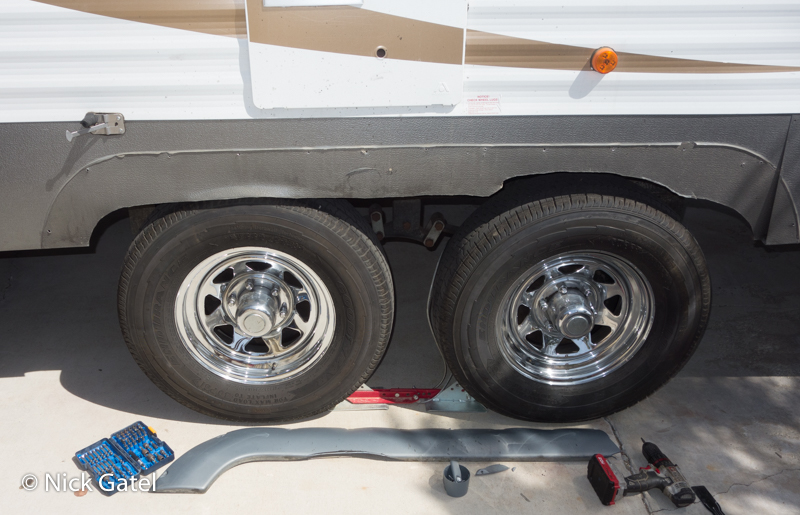
When I removed the curbside skirt I wasn’t surprised. Apparently the sheet metal had a stamped cut-out for the wheels. You can see the sheet metal above the rear tire (left) had been pulled out/bent to clear the tire. The front tire (right) clearance was a rough last minute trim-job. Oh well, fender skirts hide this type of poor workmanship.
The Search for New Fender Skirts
There aren’t many options for replacement skirts. The largest and apparently most popular (not to mention most expensive) company is IconDirect.com.
IconDirect stocks the most popular sizes, sometimes in several colors.
If they do not have your skirt in stock, you can ship your old skirt to them and they will match it. IconDirect has a couple easy to use application tools.
IconDirect Lookup Tool
You enter your trailer information and skirt measurements. This tool will allow you to view similar sized skirts that are in stock. Although you may not find the exact match, there may be something that is close enough in shape and dimensions that will fit.
IconDirect Skirt Creator
This tool is used to generate an estimate for exactly duplicating your existing skirts. Once the information is entered, the tool will determine the cost and shipping. For our trailer, the skirts would have been $265 each, plus $100 for shipping from Canada. Plus, I would need to package up an existing skirt and pay to ship it to Canada.
The website states it will take about 8 weeks to get the replacement skirts. The website also has installation videos.
Here’s the link to IconDirect.
What I Did
Using the Lookup Tool, I found an IconDirect FS780 skirt would probably fit our trailer. The cost from IconDirect would be $363.42 including shipping. Since it was coming from Canada, I have no idea if there would be a customs charge, and to be honest, I don’t know how Customs works.
The other concern for me was if the new skirt wouldn’t work, returning them might be difficult and/or expensive. IconDirect does have a 30-day return policy. Shipping is the responsibility of the buyer.
So . . . off to Amazon.
The FS780 skirt comes in White or Champagne (whatever the hell champagne is). I ordered a pair of white skirts for $462.54 total price. I pushed the “confirm purchase button” on March 3rd and they were delivered to my front door on March 5th. Since this was a 3rd party seller on Amazon, I would be responsible for the shipping cost if a return was needed. I figured it would be a lot cheaper to return it to a US seller versus shipping it to Canada. The shipping boxes (2 of them) where quite large. Approximately 6 feet long, two feet wide, and six inches tall.
The extra convenience and fast shipping cost me $100. It was worth it.
Installation Preparation: Materials Needed
First, I wanted to match the color of the old skirts. This required some spray paint (primer and final coats). I also decided to paint the screws to match, as I never liked the white screws against the gray skirts.
Secondly, some of the original sheet metal screws would loosen over time. Most of the screws attach the skirts to a wooden backing. Other screws are attached directly to the sheet metal panels. One option was to use machine screws, lock washers and nuts for the screws that attached directly to the sheet metal. Instead, I used sheet metal screws and flat “speed nuts” for extra holding power.
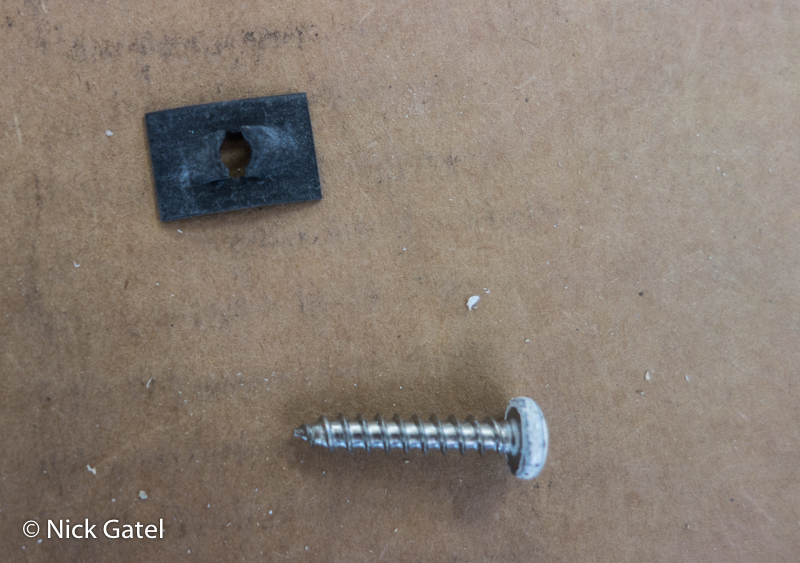
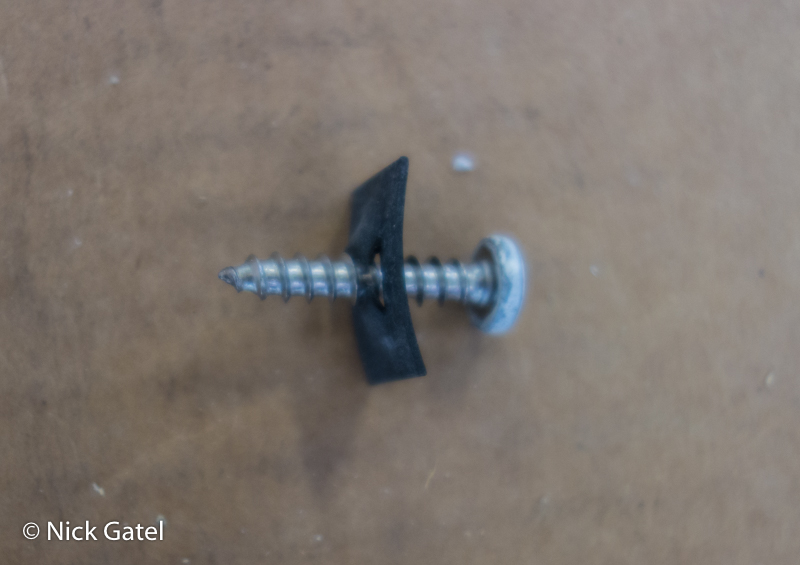
The original screws require a square bit driver. I wanted Phillip Head screws for convenience. I ordered a box of #10 X 1” 18-8 stainless steel screws.
Installation Preparation: Drilling and Painting
The are dimples for drilling holes in the new skirts. Each skirt came with a IconDirect decal, which came off easily with a finger nail. I removed them because they would probably fall off on their own, and I would have a white rectangle in the middle of my gray fender skirt. Then I cleaned the area with rubbing alcohol after the decals were removed.
![]()
![]()
Before painting, and after I confirmed the skirts would fit, I drilled 3/16” holes in all the dimples.
![]()
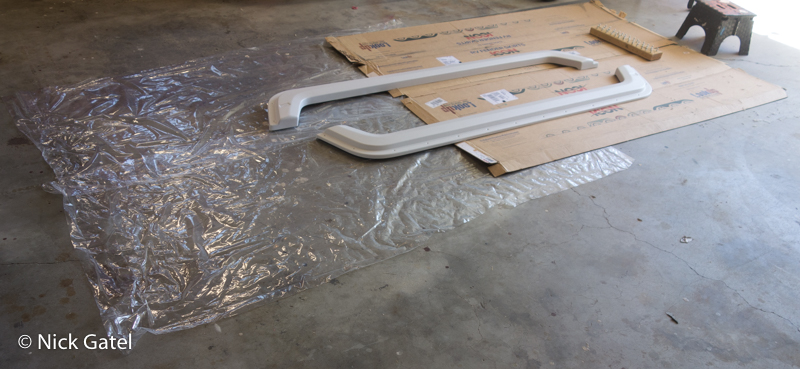
Each skirt was shipped inside a plastic bag. I cut the bags open, and used them along with the shipping boxes to keep most of the spray paint from covering our garage floor.
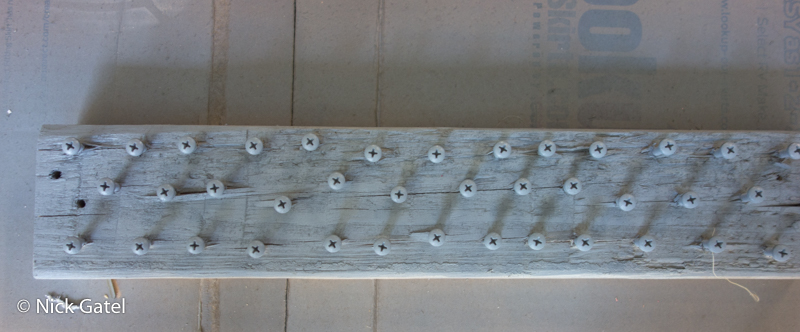
I also slightly attached a bunch of new screws into a piece of 2X4 wood for easy spray painting.

Now it was time to prepare the sides of the trailer for installation.
Installation Preparation: Trailer Siding
The overall length of the new skirts was about 1/2 in shorter than the originals. The overall height was about the same. However, the height of the main body, which is above the wheels was about 1” shorter. This was a blessing of sorts, because the original curbside skirt was too close to the tires.
I trimmed the excess sheet metal with a pair of tin snips, which took a couple minutes. You can see in the image below how the siding is too close to the rear tire.

Part of the reason the siding was too close to the tire was because the support brackets connecting the siding were too short, pulling this section of the siding too close to the tire and trailer frame. I adjusted the brackets, which solved the problem.
Also note the bead of silicone caulk on the siding. A plastic scraper and a liberal amount of rubbing alcohol made it a quick job to remove.
Installation
With Joyce helping me to hold each skirt in position, I drilled 9/64” pilot holes. One hole in the center hole of the skirt and a screw installed, but not too tight. Then moving from the center out on each side of the first screw, I drilled a pilot hole and inserted a screw, making sure the new skirt was flush against the side as I worked out from the center. Where the screws only attached to sheet metal, I secured the final installation with a speed nut.
Took about 10 minutes to install the skirts and perform a final tightening of each screw.

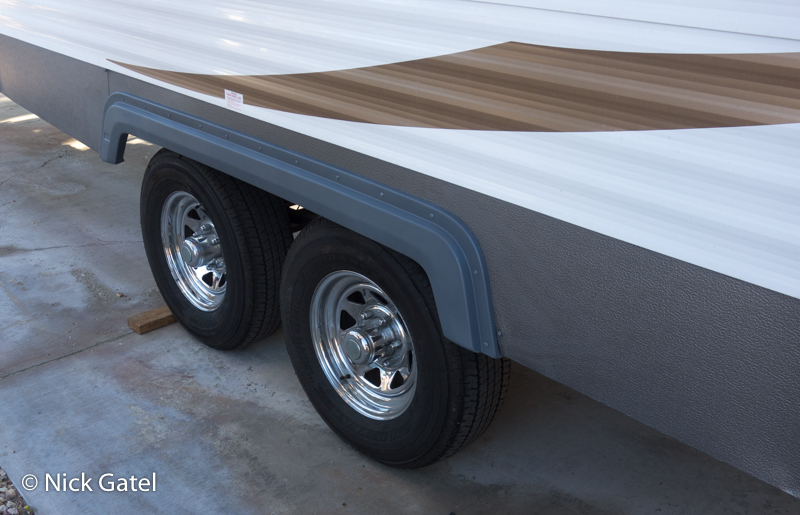
The new skirts appear to be thicker and stronger than the original. Time will tell. I’ll do a 10 year review of the skirts if I am still alive. If they fail before then, I’ll let you know.
This website may be compensated for linking to other sites for sales of products. As an Amazon Associate I earn a small fee from qualifying purchases at no additional cost to the purchaser.


