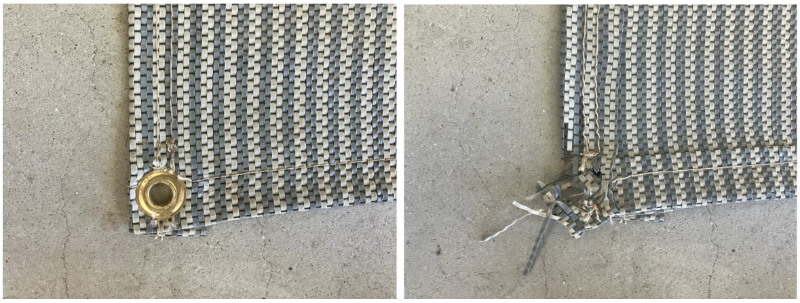
After our last camping trip, where we had wind gusts in excess of 50 mph, one of the grommets in our patio mat ripped out.
When we returned home it was time for a repair and a grommet upgrade to the patio mat.
Outdoor Rug Nail Stakes
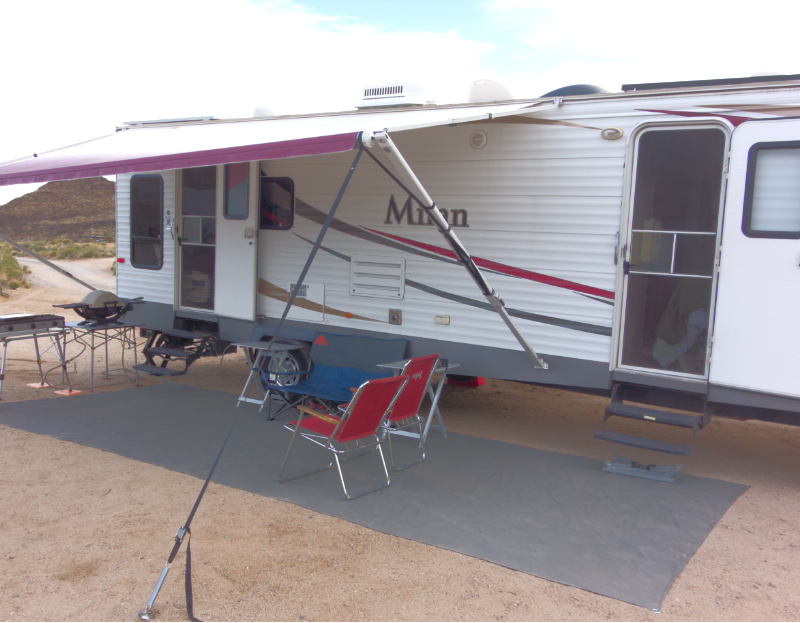
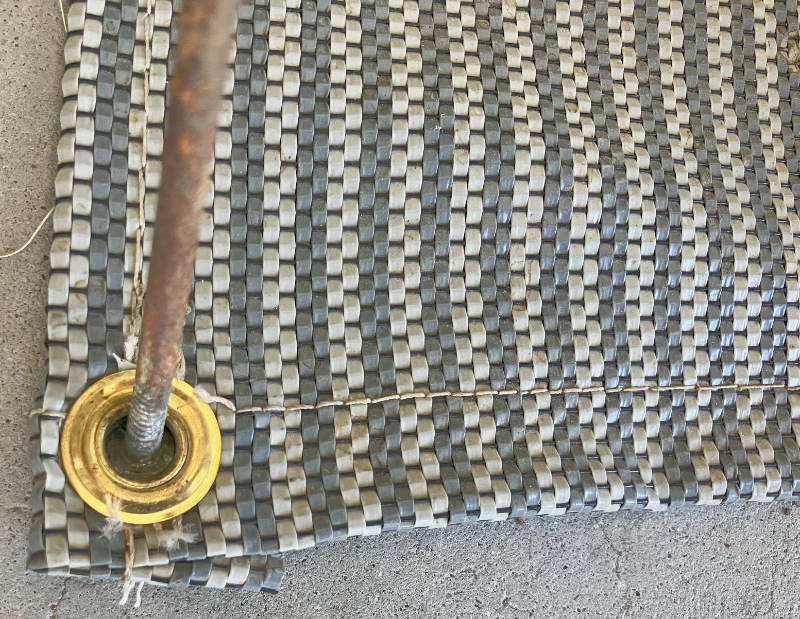
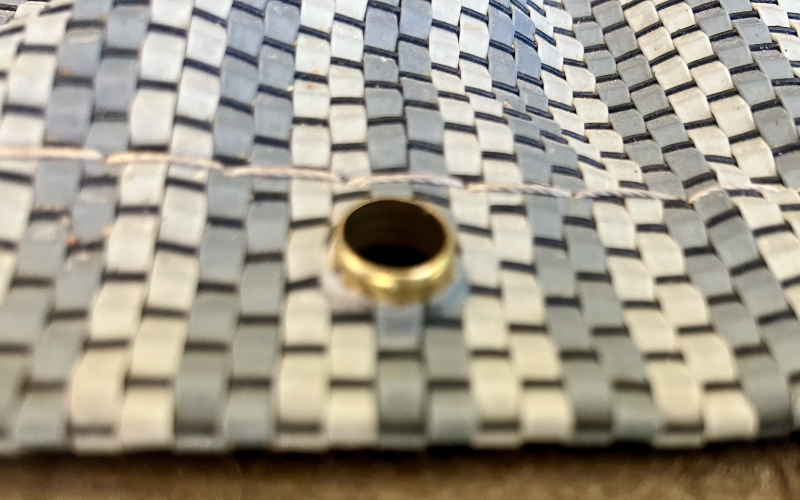
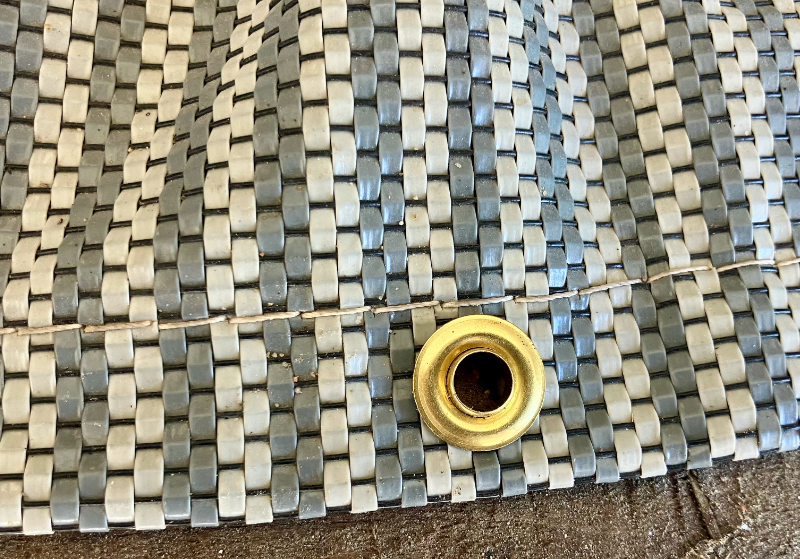
The dimensions of our current mat is 20 feet long by 8 feet wide. The mat came with a grommet in each corner. Each corner is held down with a nail stake, which in high wind is a lot to ask for, but the nail stakes did not pull out during the windstorm. However, the wind did manage to rip out one of the grommets (see before and after below).
I’ve been using outdoor rug nail stakes to hold down patio mats for over 20 years without an issue. Below is a nail stake holding down a corner of our patio mat back in 2015.

Grommet Failure Postmortem
To try and avoid future failures I needed to evaluate the patio mat grommets and the stakes. First of all, for such a large mat just 4 stakes wasn’t ideal. More staking points would help prevent another failure.
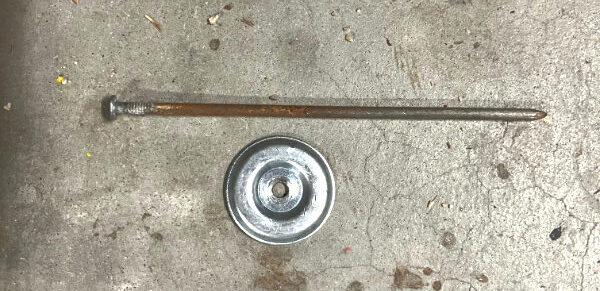
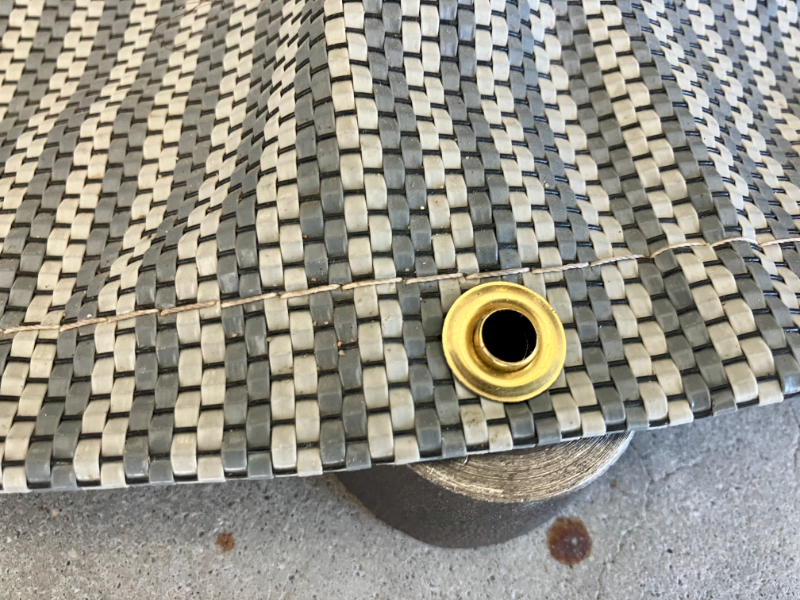
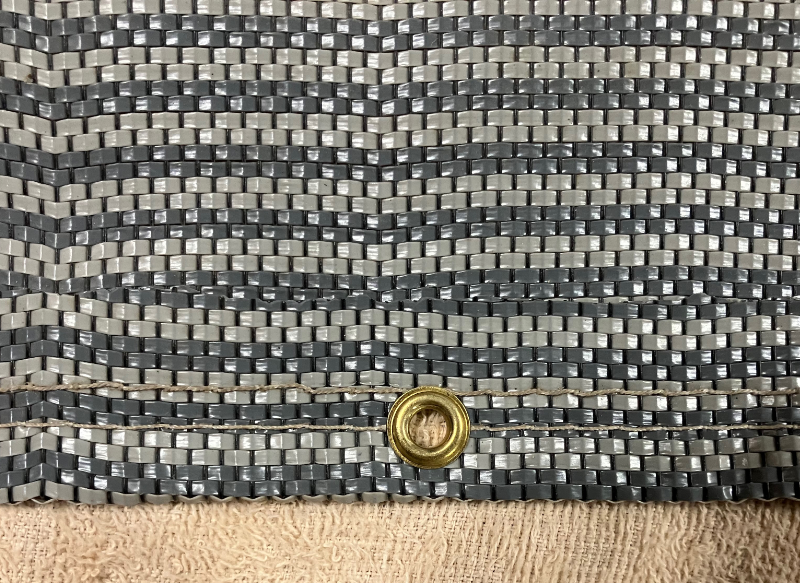
The other consideration is the size of the original grommets, which have an inner diameter of 1/2 inch. The nail stakes have a diameter of just 3/16 of an inch. This difference allowed the corners of the mat to move too much, which eventually led to the grommet failure. Below is an image of the nail stake in the grommet.
The solution was two-fold: add more grommets and to use smaller grommets.
At each of the smaller ends of the mat I added one grommet to middle, which reduced the grommet spacing from 8 feet to 4 feet. Along the length of each side of the mat I added three grommets, which reduced the spacing from 20 feet to 6.67 feet between each grommet. I left the three remaining 1/2″ corner grommets in place.
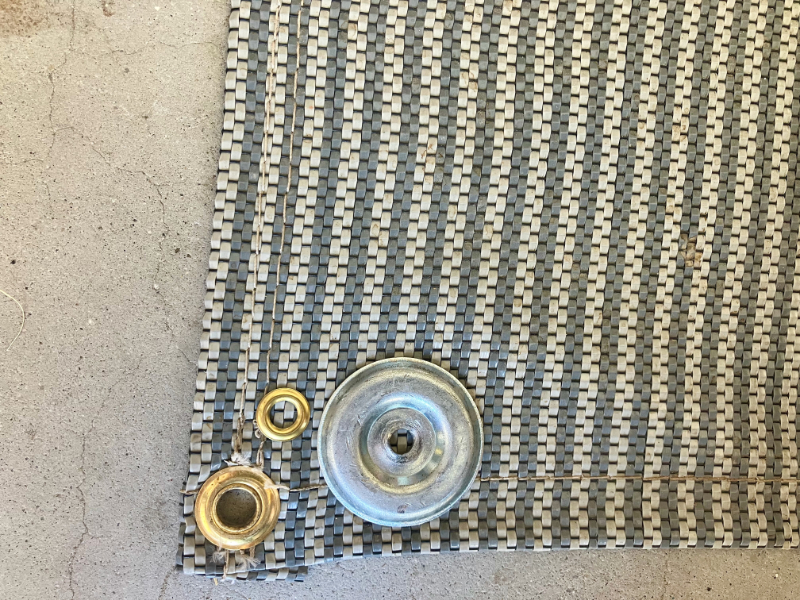
The new grommets are Size 0 (1/4″ inner diameter). Below you can see the inner diameters of the original grommet (1/2″), the new grommet and the nail stake washer.
How to Install Grommets
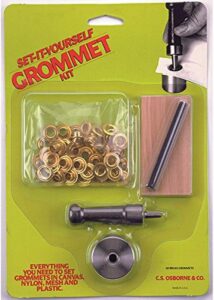
C.S. Osborne & Co Grommet Setting Kit
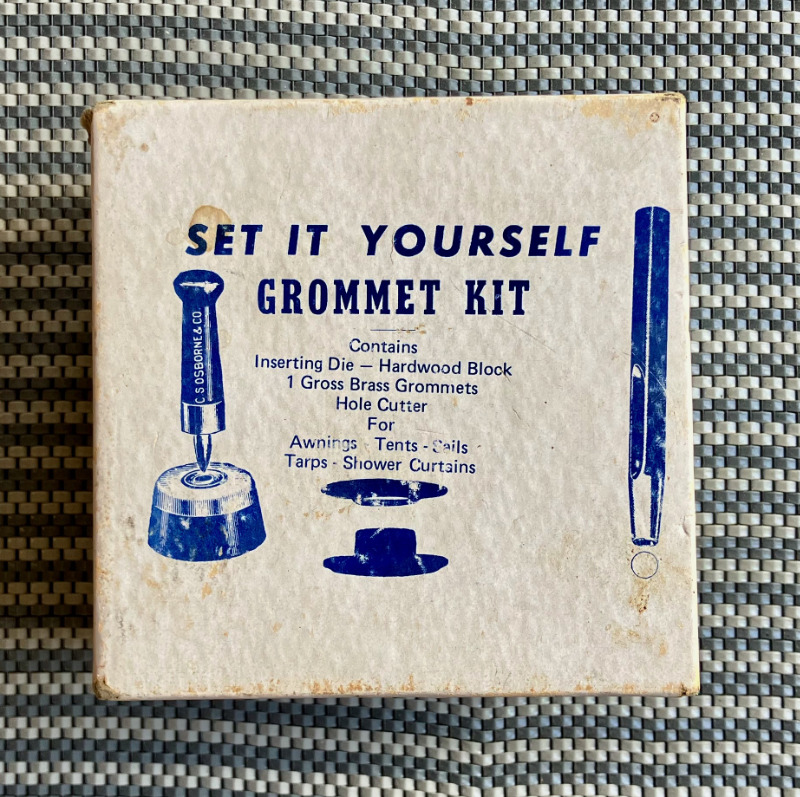
I bought this Size 0 grommet kit over 4 decades ago. I have used it on hats, tarps, boots, leather goods, and other miscellaneous projects. It comes with a hole cutting tool, setting die, and a bunch of brass grommets.
A grommet setting tool is specific to the size grommet to be installed. I also have a Size 4 (1/2 inch) setting tool.
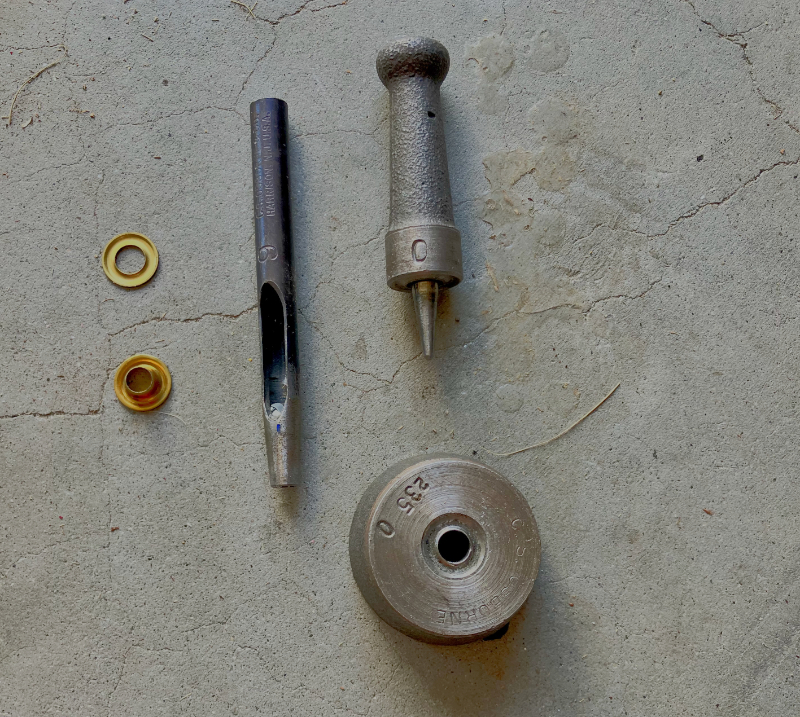
Above (left to right): grommet washer and grommet cone, hole cutter, grommet setting tool (base and inserting die).
Grommet Installation Steps
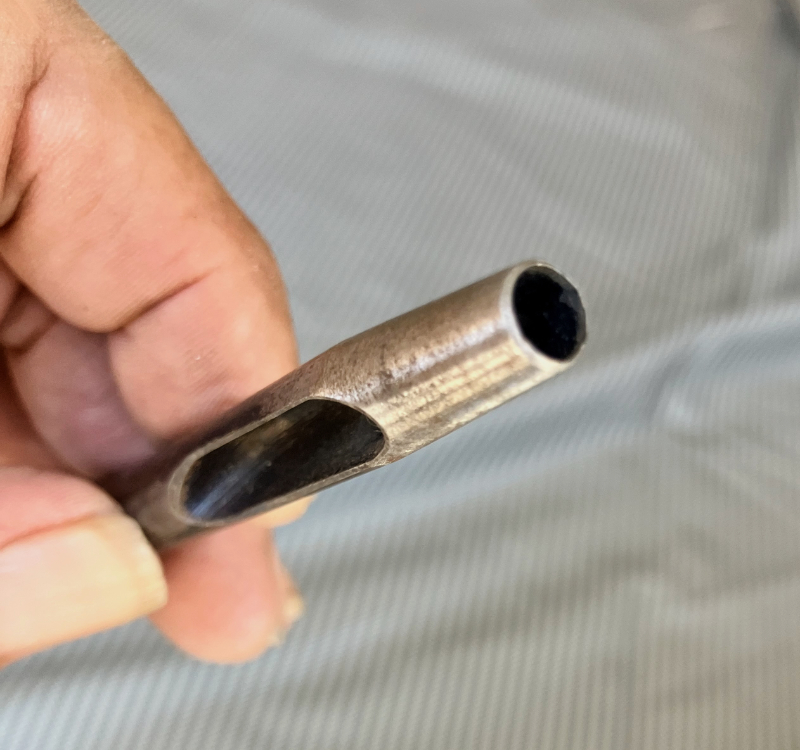
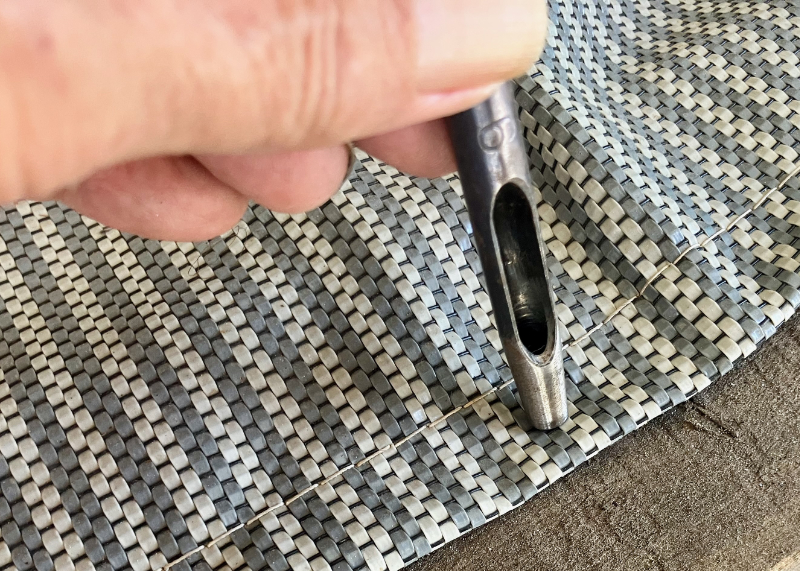
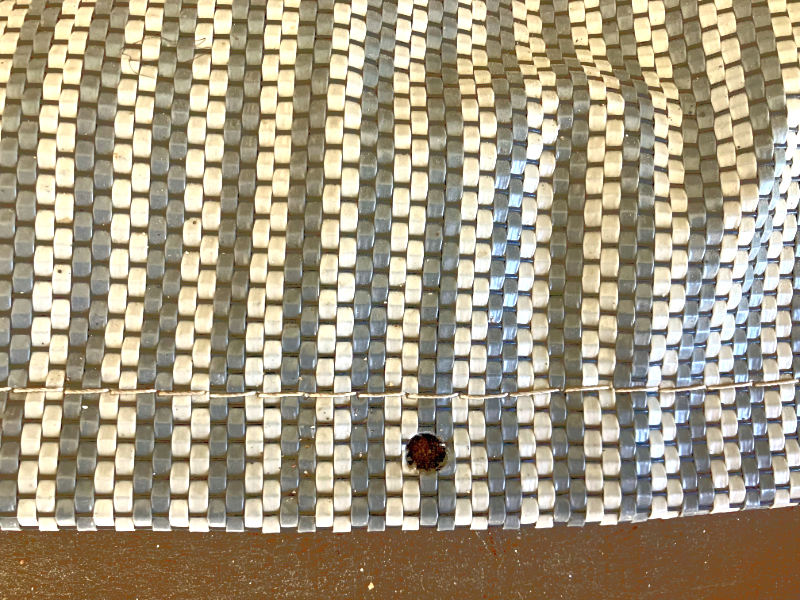
Cut the Hole
Cut a hole in the material with the cutter. For material such as tarps and mats it is best to fold the material over where the grommet will be installed. In my case, the edges of the patio mat were already folded over and sewn.
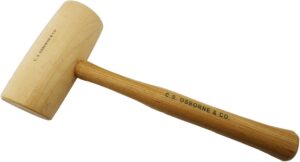
For cutting holes and setting the grommets it is recommended to use a mallet. Mallets are heavier than hammers, so it is easier to judge how much force is needed to cut the hole and set the grommet. You do not want to use excess force is setting the grommet as it could damage or distort the grommet.
A wood block must be placed under the material so the cutting tool is not damaged or dulled.
Position the Grommet
Grommets come in two pieces: the cone and the washer. Push the cone through the bottom of the material and place it on base so that hole in grommet cone lines up with hole in the base. Put washer over the grommet rounded with the rounded side of the washer facing up.
See the pictures below:

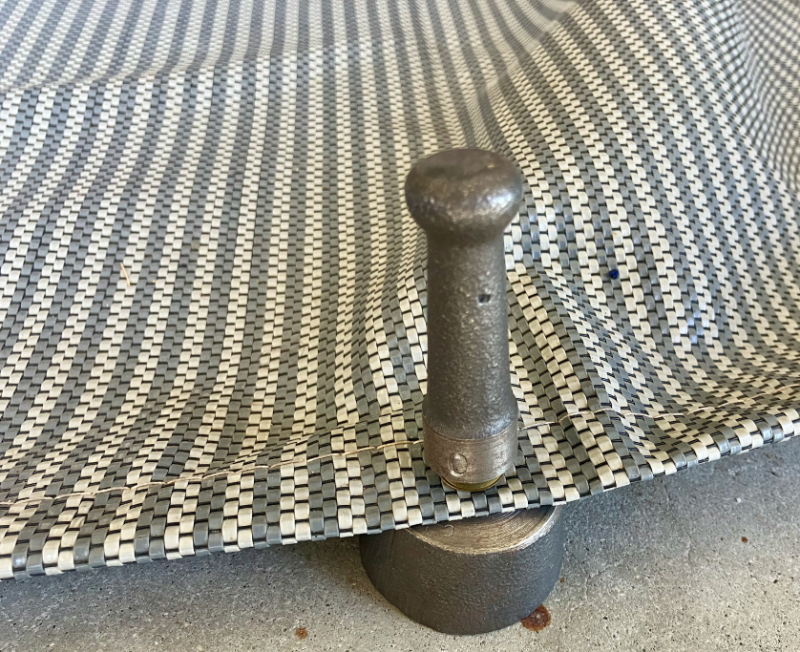
Setting the Grommet
Insert the die top into hole. Tap the die with the mallet lightly at first, then increase strength until the grommet is set. (see pictures below).
I highly recommend placing the base on a solid surface, such as cement. As you tap the setting die, you will be able to feel when the grommet is properly set. The final tap will be very solid.
Remember to use a mallet, not a hammer!

This website may be compensated for linking to other sites for sales of products. As an Amazon Associate I earn a small fee from qualifying purchases at no additional cost to the purchaser.