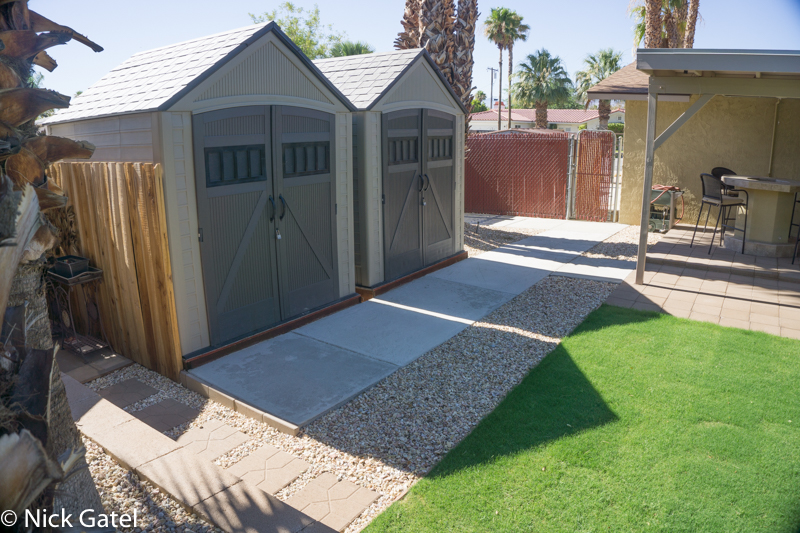
As promised in this post, I’m sharing more information on our outdoor living spaces.
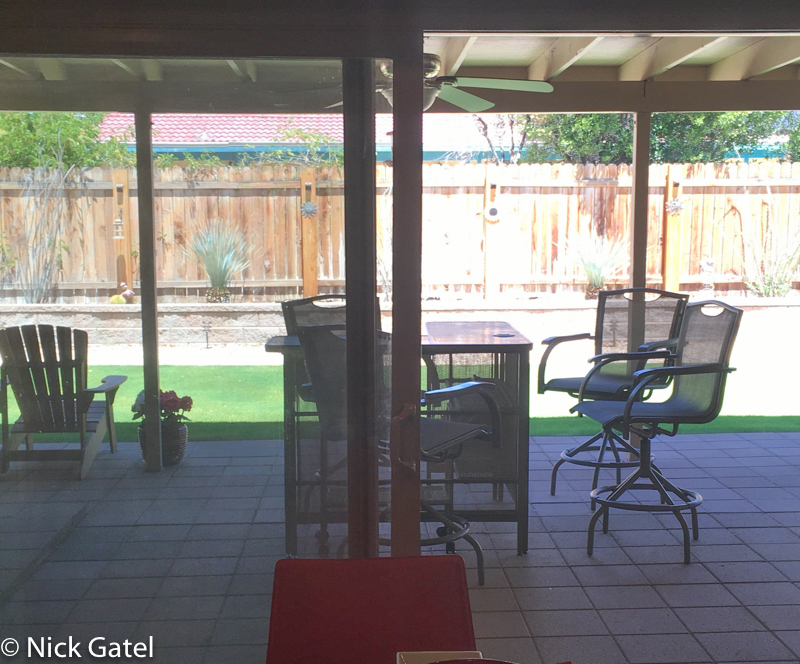
In a sense, backyard or patio is really an extension of our house – additional living spaces. With our year round nice weather we spend more time outdoors than indoors. Just as we spend more time outdoors than inside our camper when we go camping, we are outdoors people.
When we designed the outside, we create seven unique living spaces.
SPACE 1: West side of house
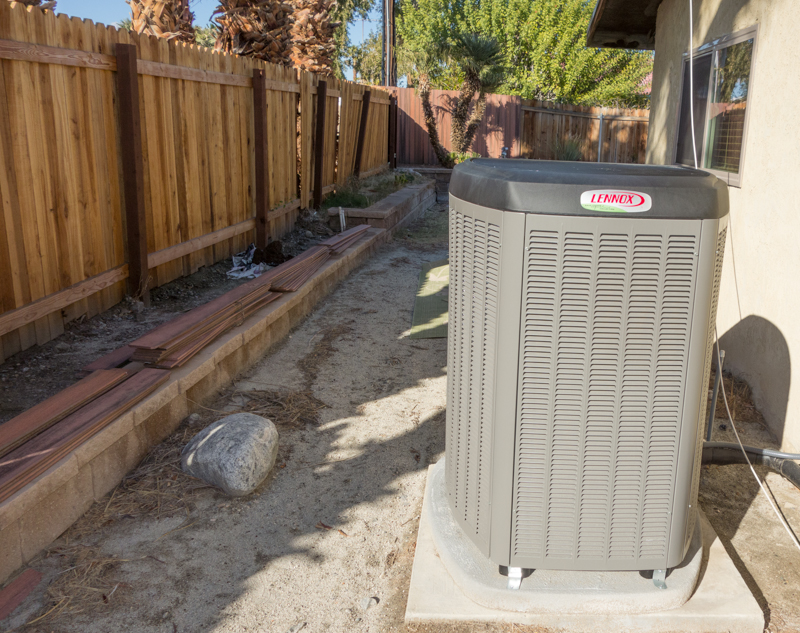
Lots of afternoon sun, and the condensing unit for the air conditioner, this was useless area. In 2015, we installed a new central air & heating system and found the new outdoor condensing unit was almost silent.
It was time to reevaluate this side of the house.
Given the west and southern exposure, the afternoon sun just beat down. Plus the A/C unit was dead center in the area. However, when it is windy the fence was an effective wind break. What to do? First we would need shade, and shade would allow us to use the area in the afternoon, but being somewhat narrow area and walled in on two sides, we decided a patio covering with shade cloth would work better. Also the shade cloth would allow us to use tropical plants that cannot handle the full summer sun, plants that would set of this area from the rest of the desert landscaping.
We wanted a sidewalk that would give us access to the gate to the front yard, and the A/C unit would be a good point to create two separate sitting areas.
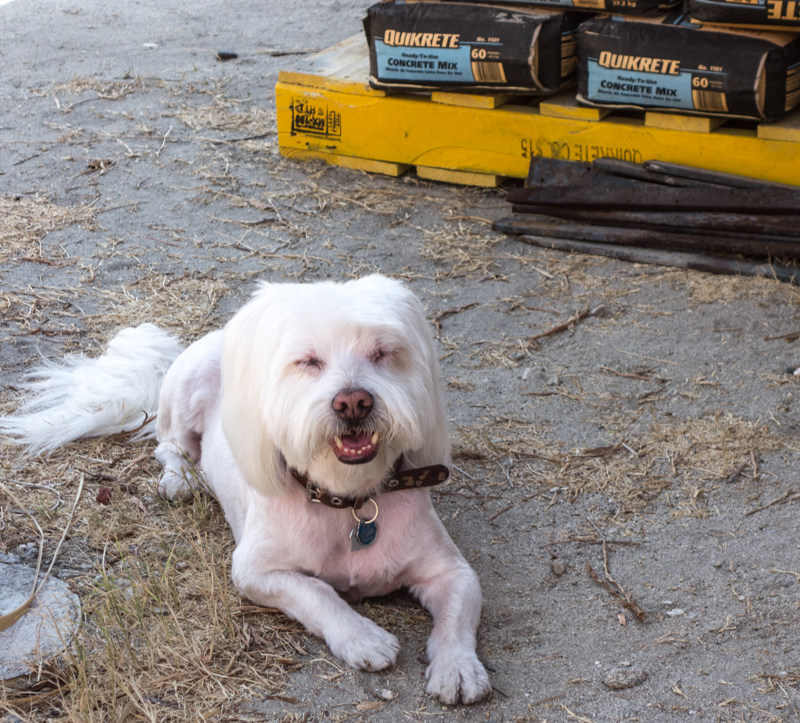
Since Joyce was at work during the day leaving me without adult supervision, she appointed Corky to be the Job Superintendent.
The area had to be graded, a sidewalk laid, and then the patio built, which is 30’ long by 12’ wide.
Considering the side of the house gets drenched in afternoon sun, we figured the patio cover will help keep the house cooler, shades the outside A/C condenser (which might reduce A/C costs by a few percentage points), plus it will provide an area where we can plant some tropical plants that cannot survive in the hot direct sunlight of summer.
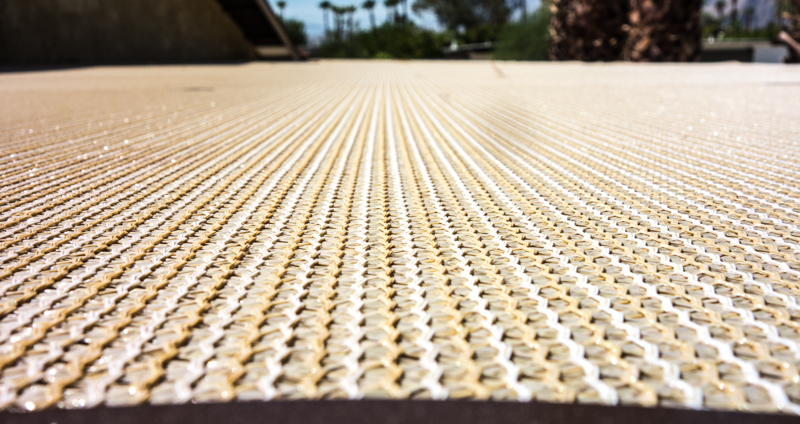
The shade cloth is manufactured by Coolaroo (got a good deal on Amazon) and blocks 95% of UV radiation, so it should last several years, and we have to option to install a solid roof without changing the supporting structure.
The shade cloth allows enough light in to avoid a dark and dank look.
Next I laid pavers for the sitting areas.
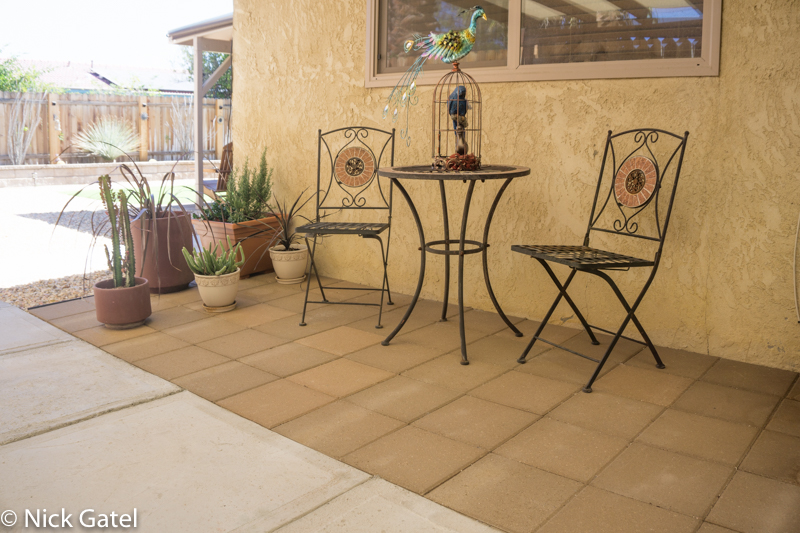

Add some plants
And a bit of solar for night lighting
The sidewalk on the side of the house made it easy for the hot tub delivery & set-up crew to access the back of the house through the front gate.

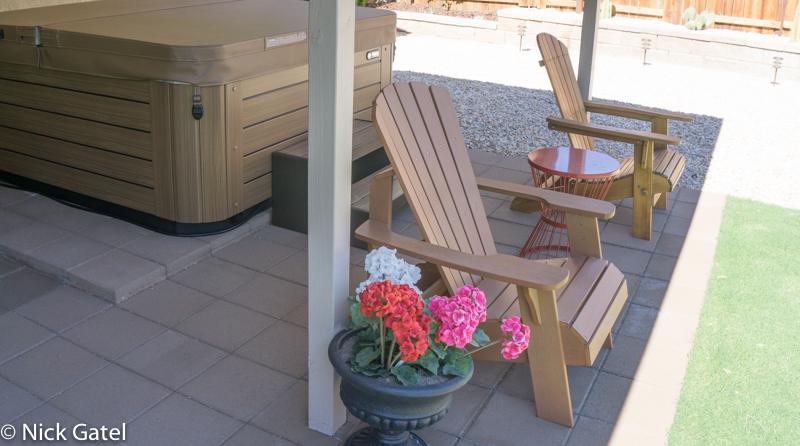
SPACE 2: Adirondack chairs and hot tub
At first I wasn’t thrilled about the idea of a hot tub. Another maintenance item, plus money spent on electricity. So far the maintenance has been simple and electric usage minimal, about as much as a refrigerator.
I’ll admit it – I enjoy the tub.
The chairs are a nice place to sit after getting out of the tub and enjoy an adult beverage or drink a cup of coffee in the morning.

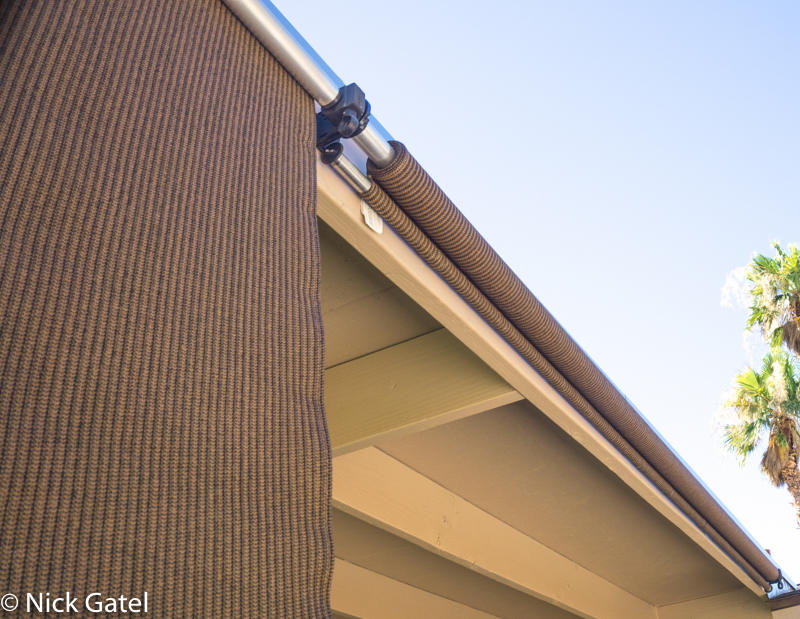
We had already installed a solution for the late afternoon summer sun on this side of the patio – an 8’ X 6’ and a 6’ X 6’ sun shade by Coolaroo that we bought at Lowe’s, the same ones we installed on the windows in the front of the house.

The shades are easy to roll up when not needed, and each shade comes with a hand crank.
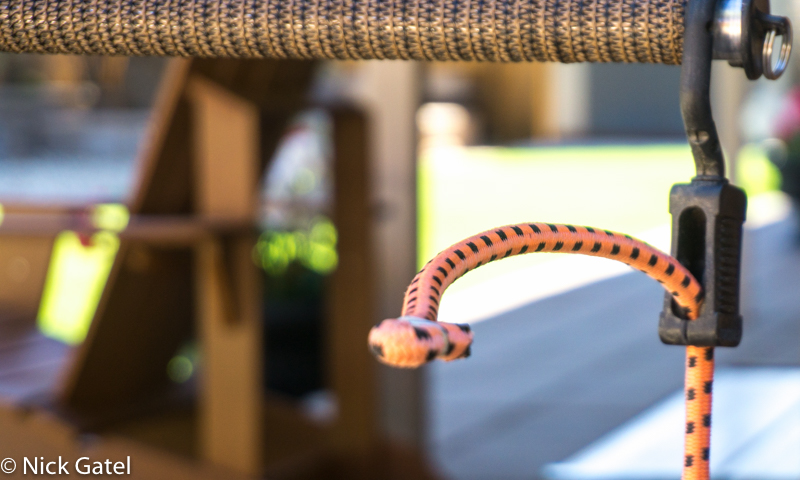
To secure the shades against wind I installed 15” anchor pegs and used heavy duty bungee cords to attach to the peg anchors. The bungee cords allow the shades to move with the wind without damage.
I found the bungee cords on Amazon, and the tension is easily adjusted; just pull up on the end and slide into a locking piece of heavy duty plastic.
Here’s a picture of one of the shades in the front of the house. We leave them down for about 6 months, and roll them up the rest of the year. After a year, all of them look practically new.


SPACE 3: Casual bar
We spend a lot of time sitting here. It is in front of our 8 foot wide sliding glass door (most homes have a 6 foot wide door). The sliding door is double-paned that Joyce and I installed ourselves.
It’s a good place to set up my laptop and I’m writing this post sitting at the bar.
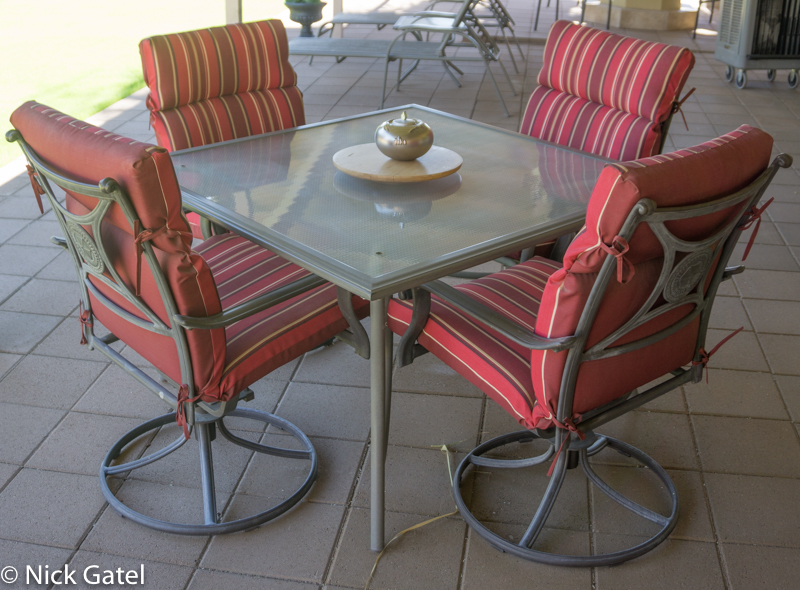
SPACE 4: Outdoor dining table and chairs
What else can be said? It’s where we eat outside and relax when we want a nice cushioned chair.
SPACE 5: Reclining lounge chairs
Take a nap. Read a book. Enjoy a Margarita. This is the place.
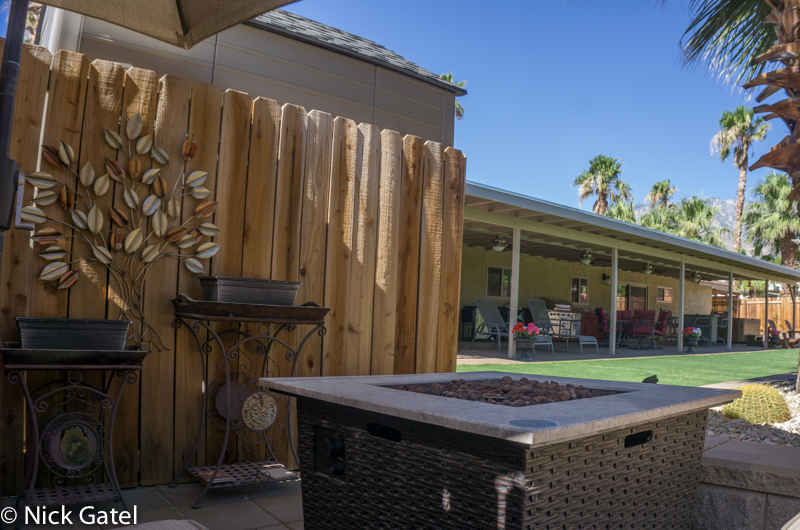
SPACE 6: Fire pit bar and bar stools
Joyce bought this for $100. The original owners never used it and it is fueled by natural gas (think cheap!). We had to run a gas line before we poured the cement slab and installed the pavers. In the colder months it is the perfect place to visit with friends.
SPACE 7: Our favorite evening and nighttime sitting area
Tucked away in the far north east corner of the property is this seating unit. We often layback and watch the stars start to appear when it just gets dark, and then enjoy late night celestial shows, since Palm Springs doesn’t have as much light pollution like most cities.
If it gets chilly at night, we turn on the fireplace that runs off a 5 gallon propane tank that is stored inside the unit.
Other Stuff
If you truly want to extend your living spaces into the outdoors, you need some appliances and other modern conveniences.
BBQ gas grill
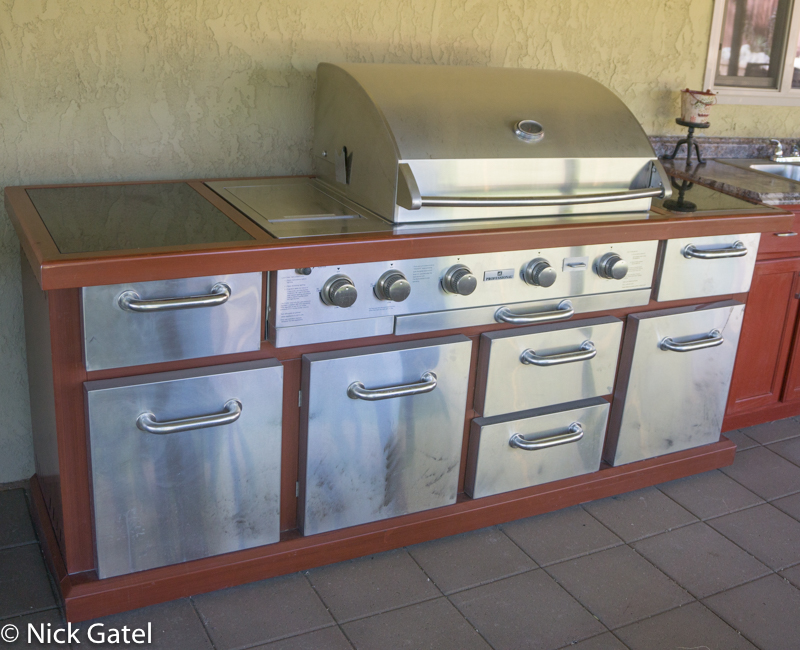 Another practically new item that Joyce picked up for $100 and these things retail for over $1,000 new. Don’t you wish you had a wife who could find these kind of deals?! The only drawback is has huge burners for the grill (3 of them), a stove type burner for cookware, and even an infrared cooking element. Also has an electric rotisserie. The huge burners really use up the propane and the unit cannot be converted to natural gas per the instruction manual.
These kinds of grills normally come with stainless steel grates, which I don’t like. I was able to find thicker enameled cover grates on Amazon to replace the original grates, and was surprised they were available as this is a discontinued model private labeled by Sam’s Club.
The unit is so large; we only use it when we need a large grill for company. For just the two of us, we looked to our camper…
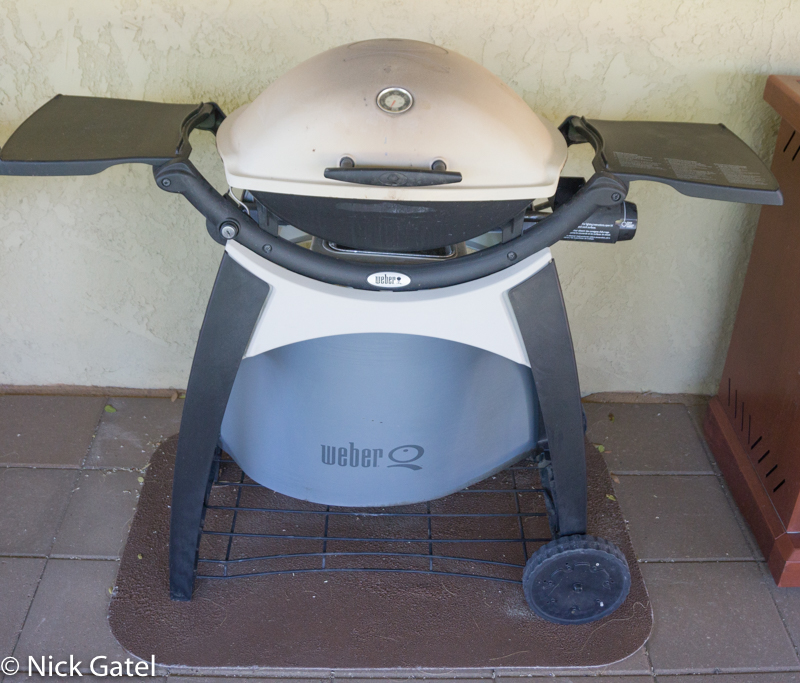
Weber Q200 series grill
Yep, just like our camper, we use this grill almost every night.
For more info on the Q, here are some links to our Baby Q.
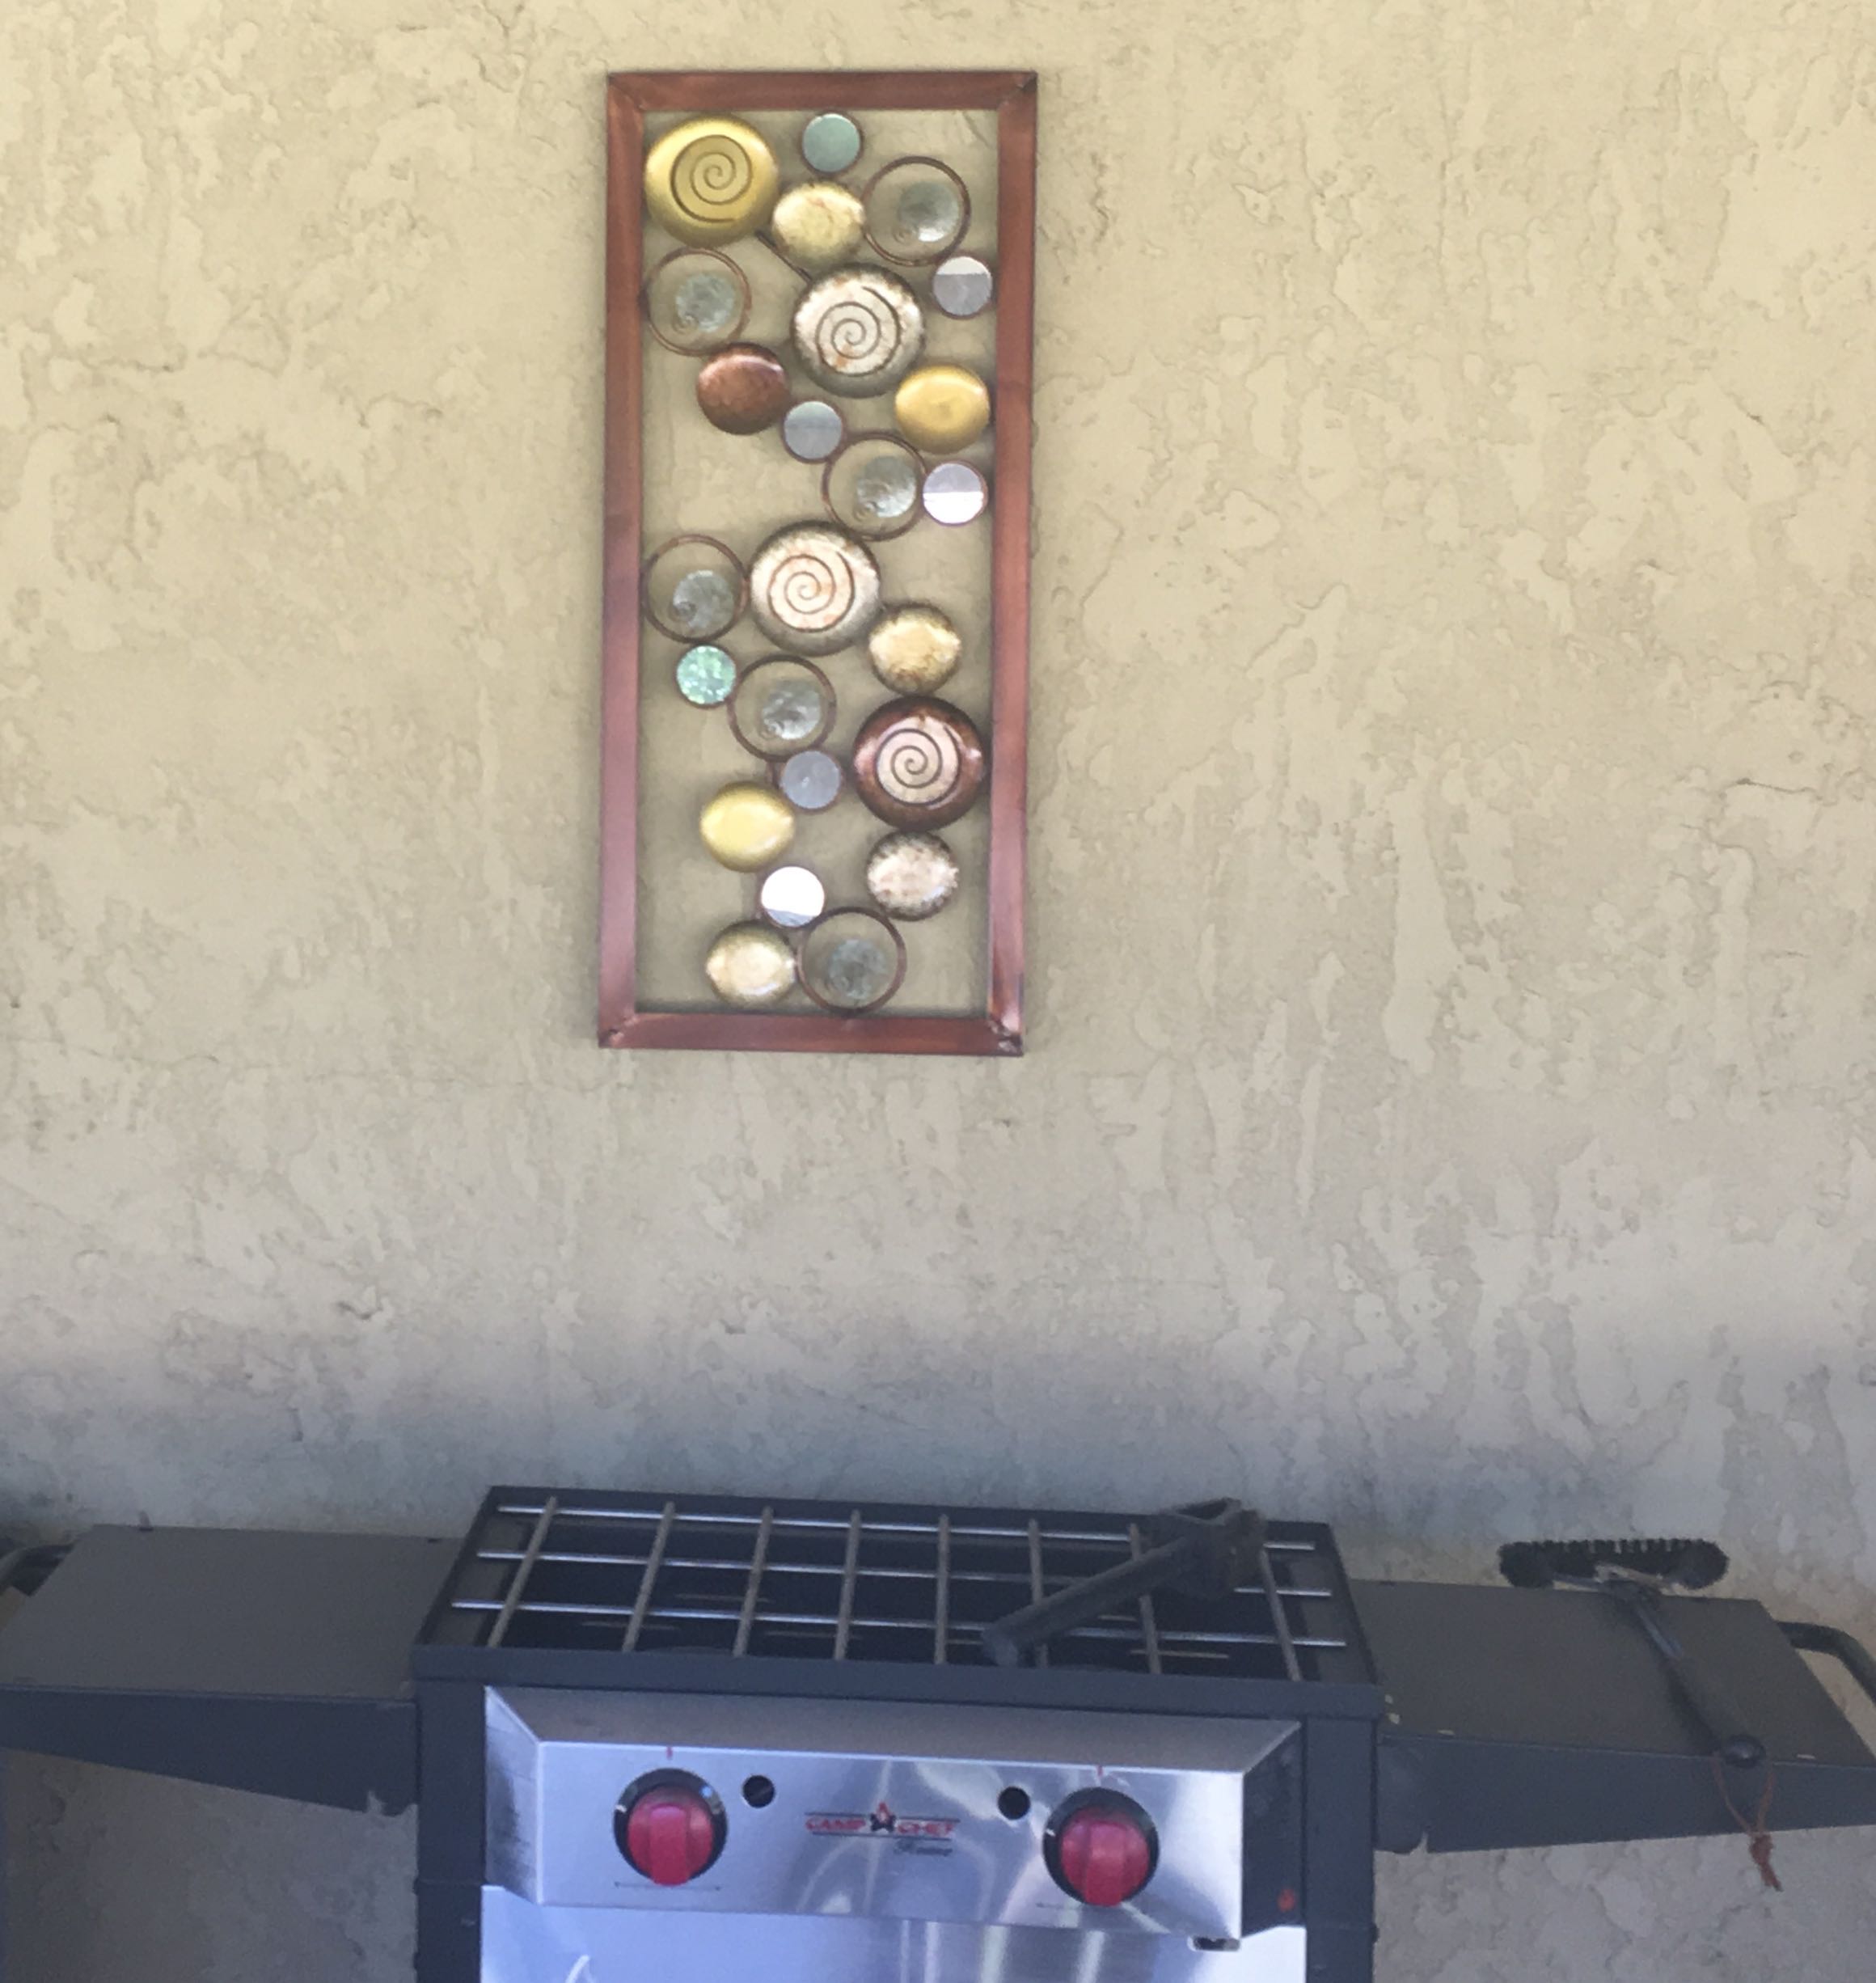
Camp Chef Somerset II Outdoor Stove
This is very similar to our Camp Chef Pro 60 camping stove, but can’t be folded up and stored, which is a good thing, because the design is less susceptible to wind affecting the burners like the one we use camping, as I wrote about the modification we did to our camping stove.
Everything including the Kitchen Sink
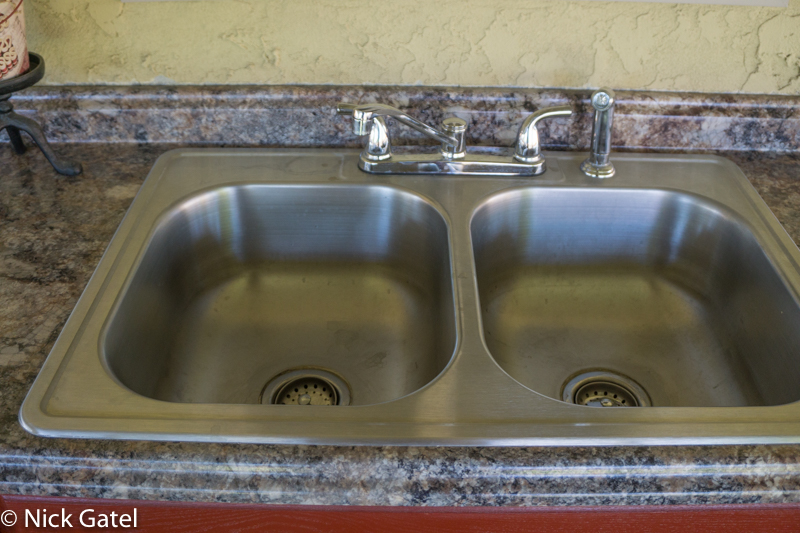
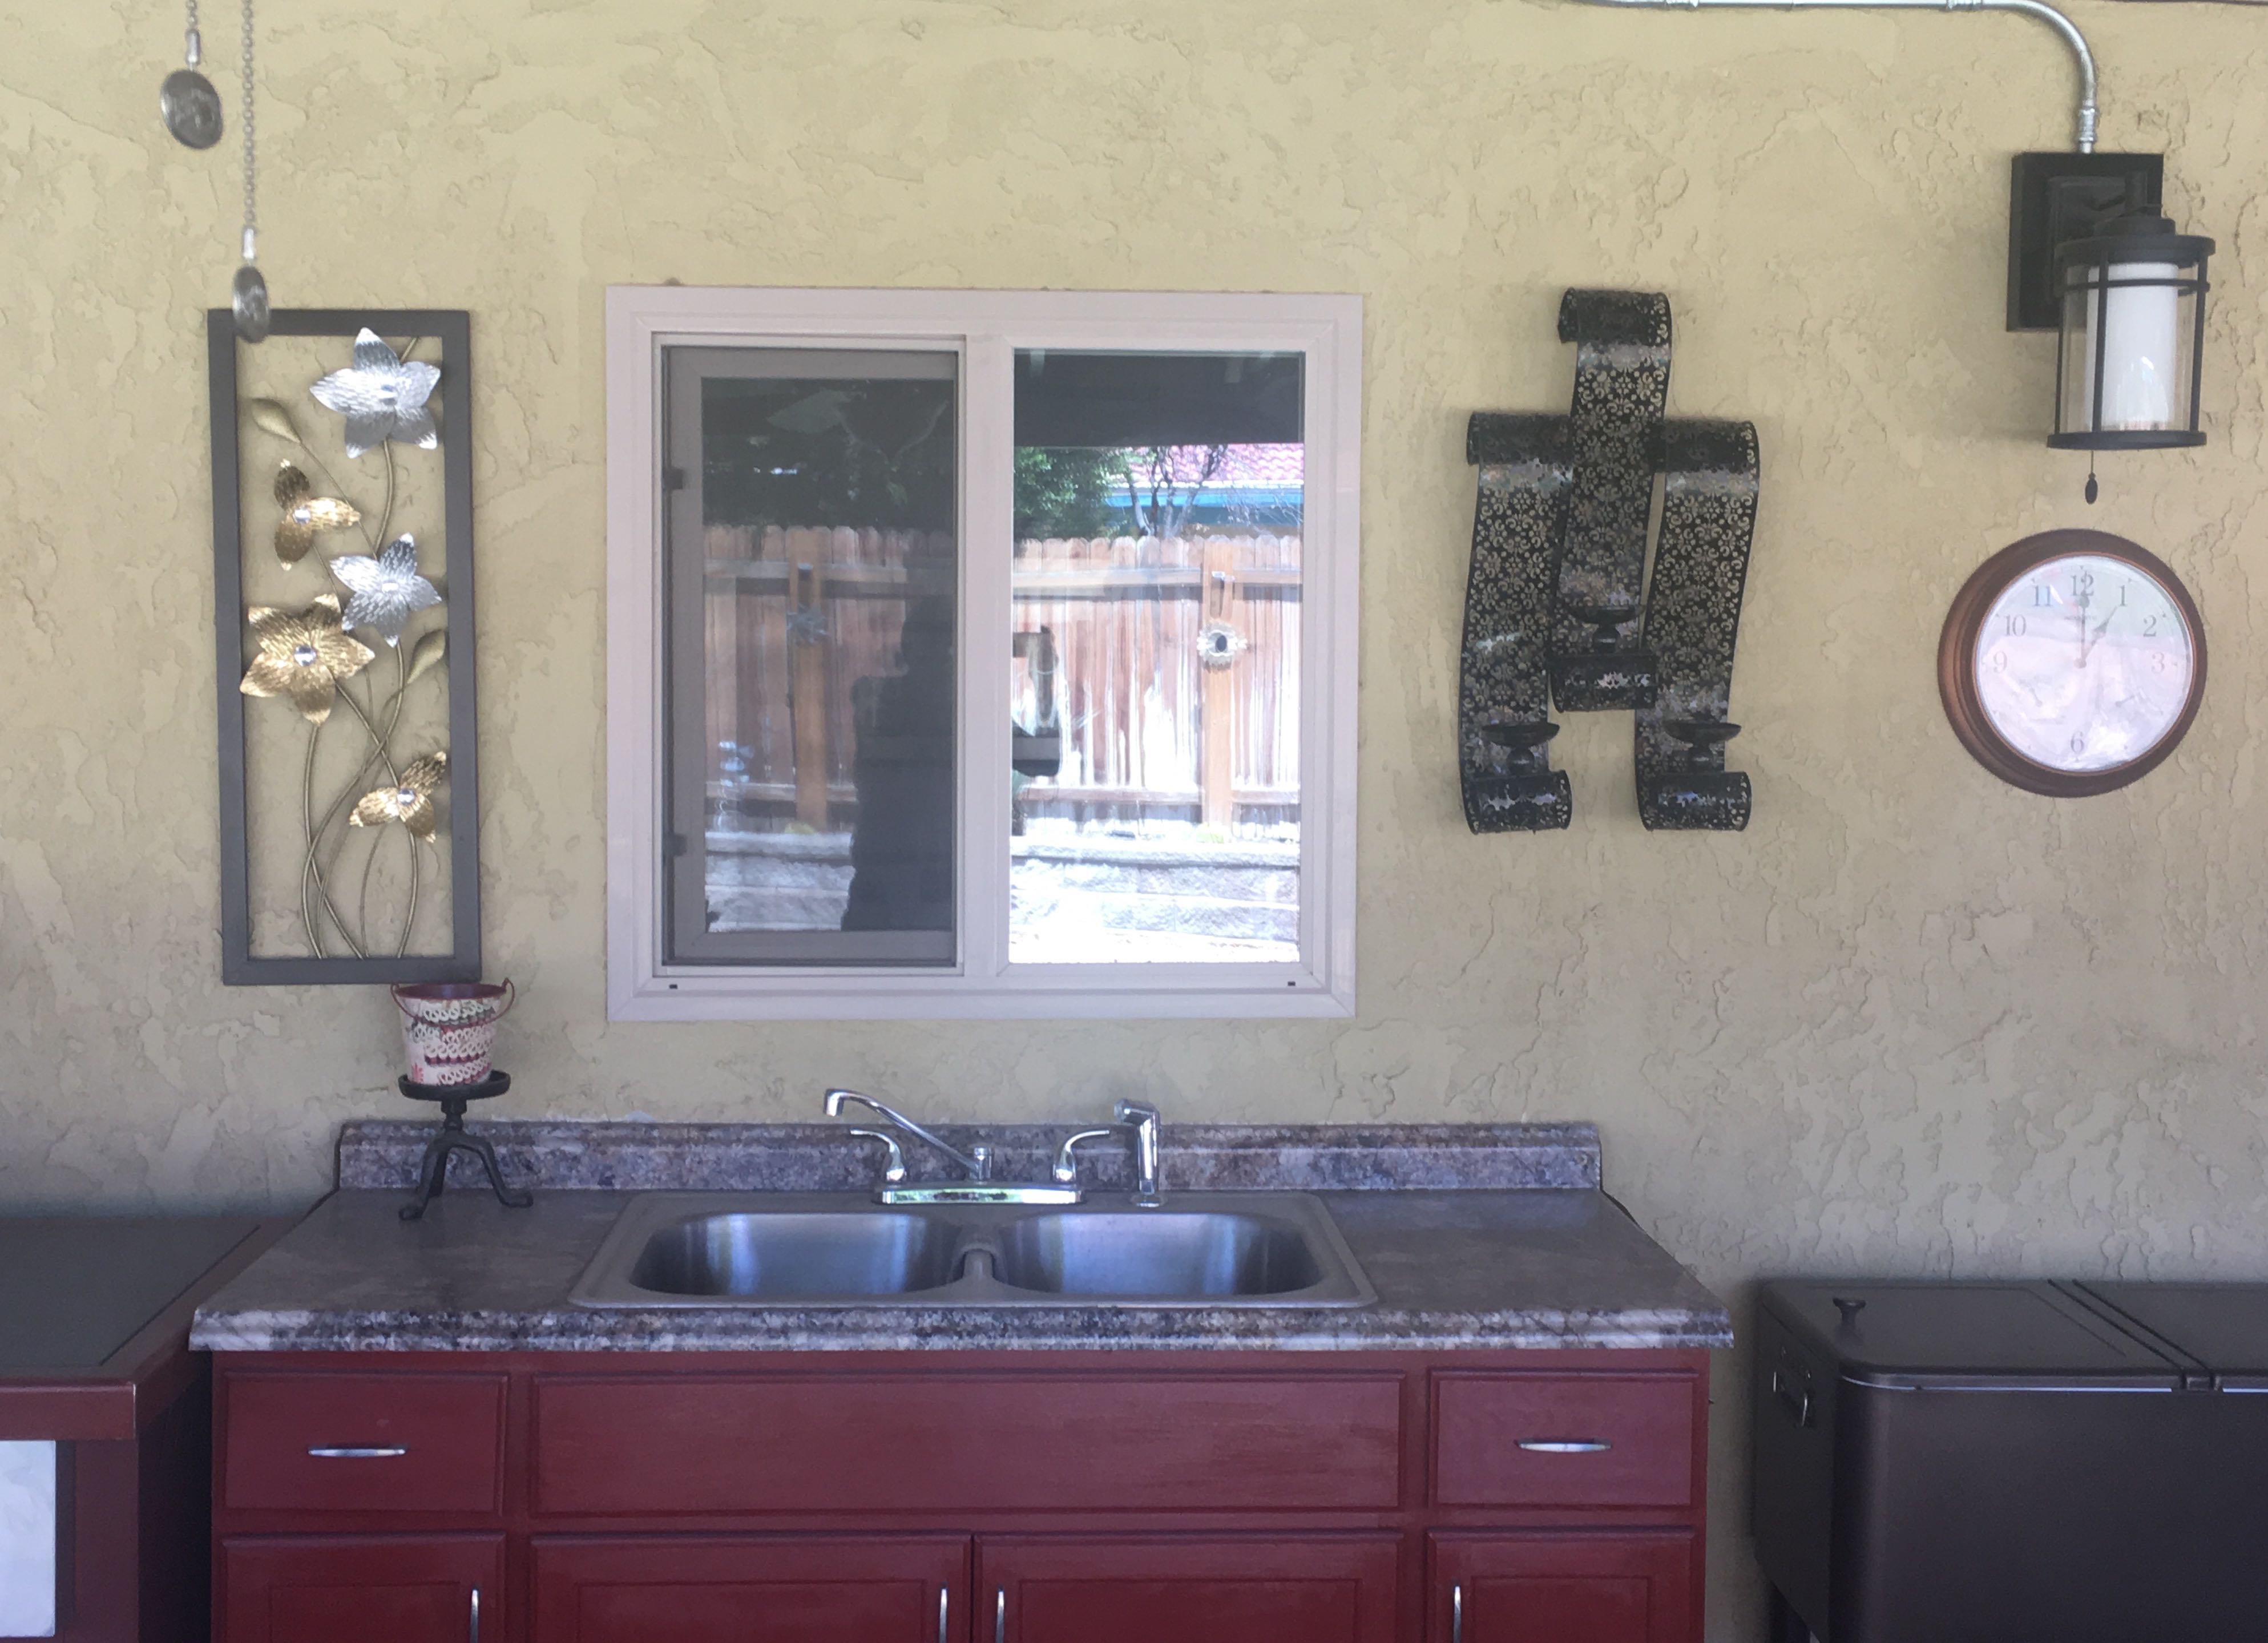
We bought a cheap sink cabinet and painted it, added a Formica counter top, stainless steel sink and faucet. We placed it under the kitchen window that is above the inside kitchen sink, so it was easy to hook up cold and hot water lines, and the sewer connection.
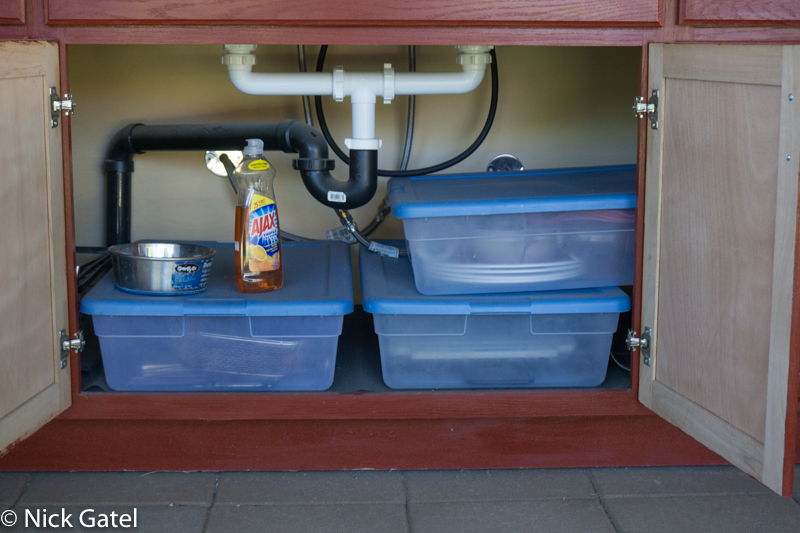
I even added a GFI protected electrical outlet on the right side of the cabinet, which mostly sees use to power the blender to make Margaritas. Also note the retro bottle top open at top of the side of the cabinet.
What women want
Remember the movie where Mel Gibson could read women’s minds? After 15 years of marriage, I can often know what Joyce is thinking. One day we were walking through Home Depot and this cooler was on sale. I knew she was going to buy it before she did.
A refrigerator isn’t needed in our outdoor living space, but a cooler is nice to have when we have company, plus I knew she would think it matched our outdoor décor.
Grass and gravel
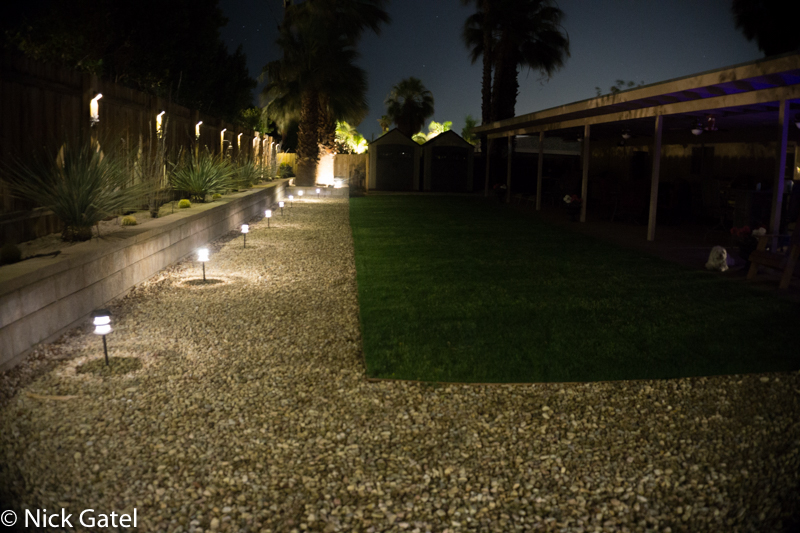
At one time the entire backyard was covered in lush grass. Living in a desert and considering the ongoing drought in California, large lawns don’t make sense. We had already removed the grass lawns in the front yard, replacing them with desert landscaping that is mostly 3/4” colored gravel. We used the same gravel in the backyard, but still wanted a little greenery in our little desert oasis. So we put in a small lawn that also serves as another outdoor living area.
Environment
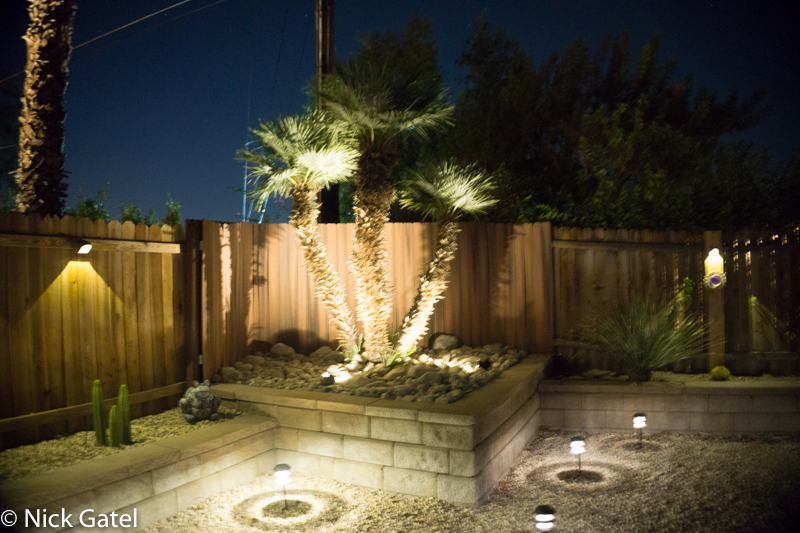
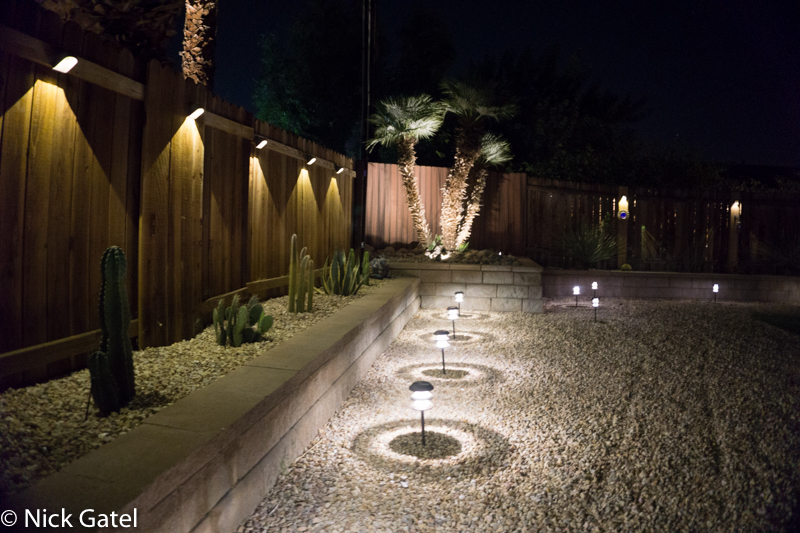
We have about 30 solar lights to include pathway lights, fence lights, and spot lights.
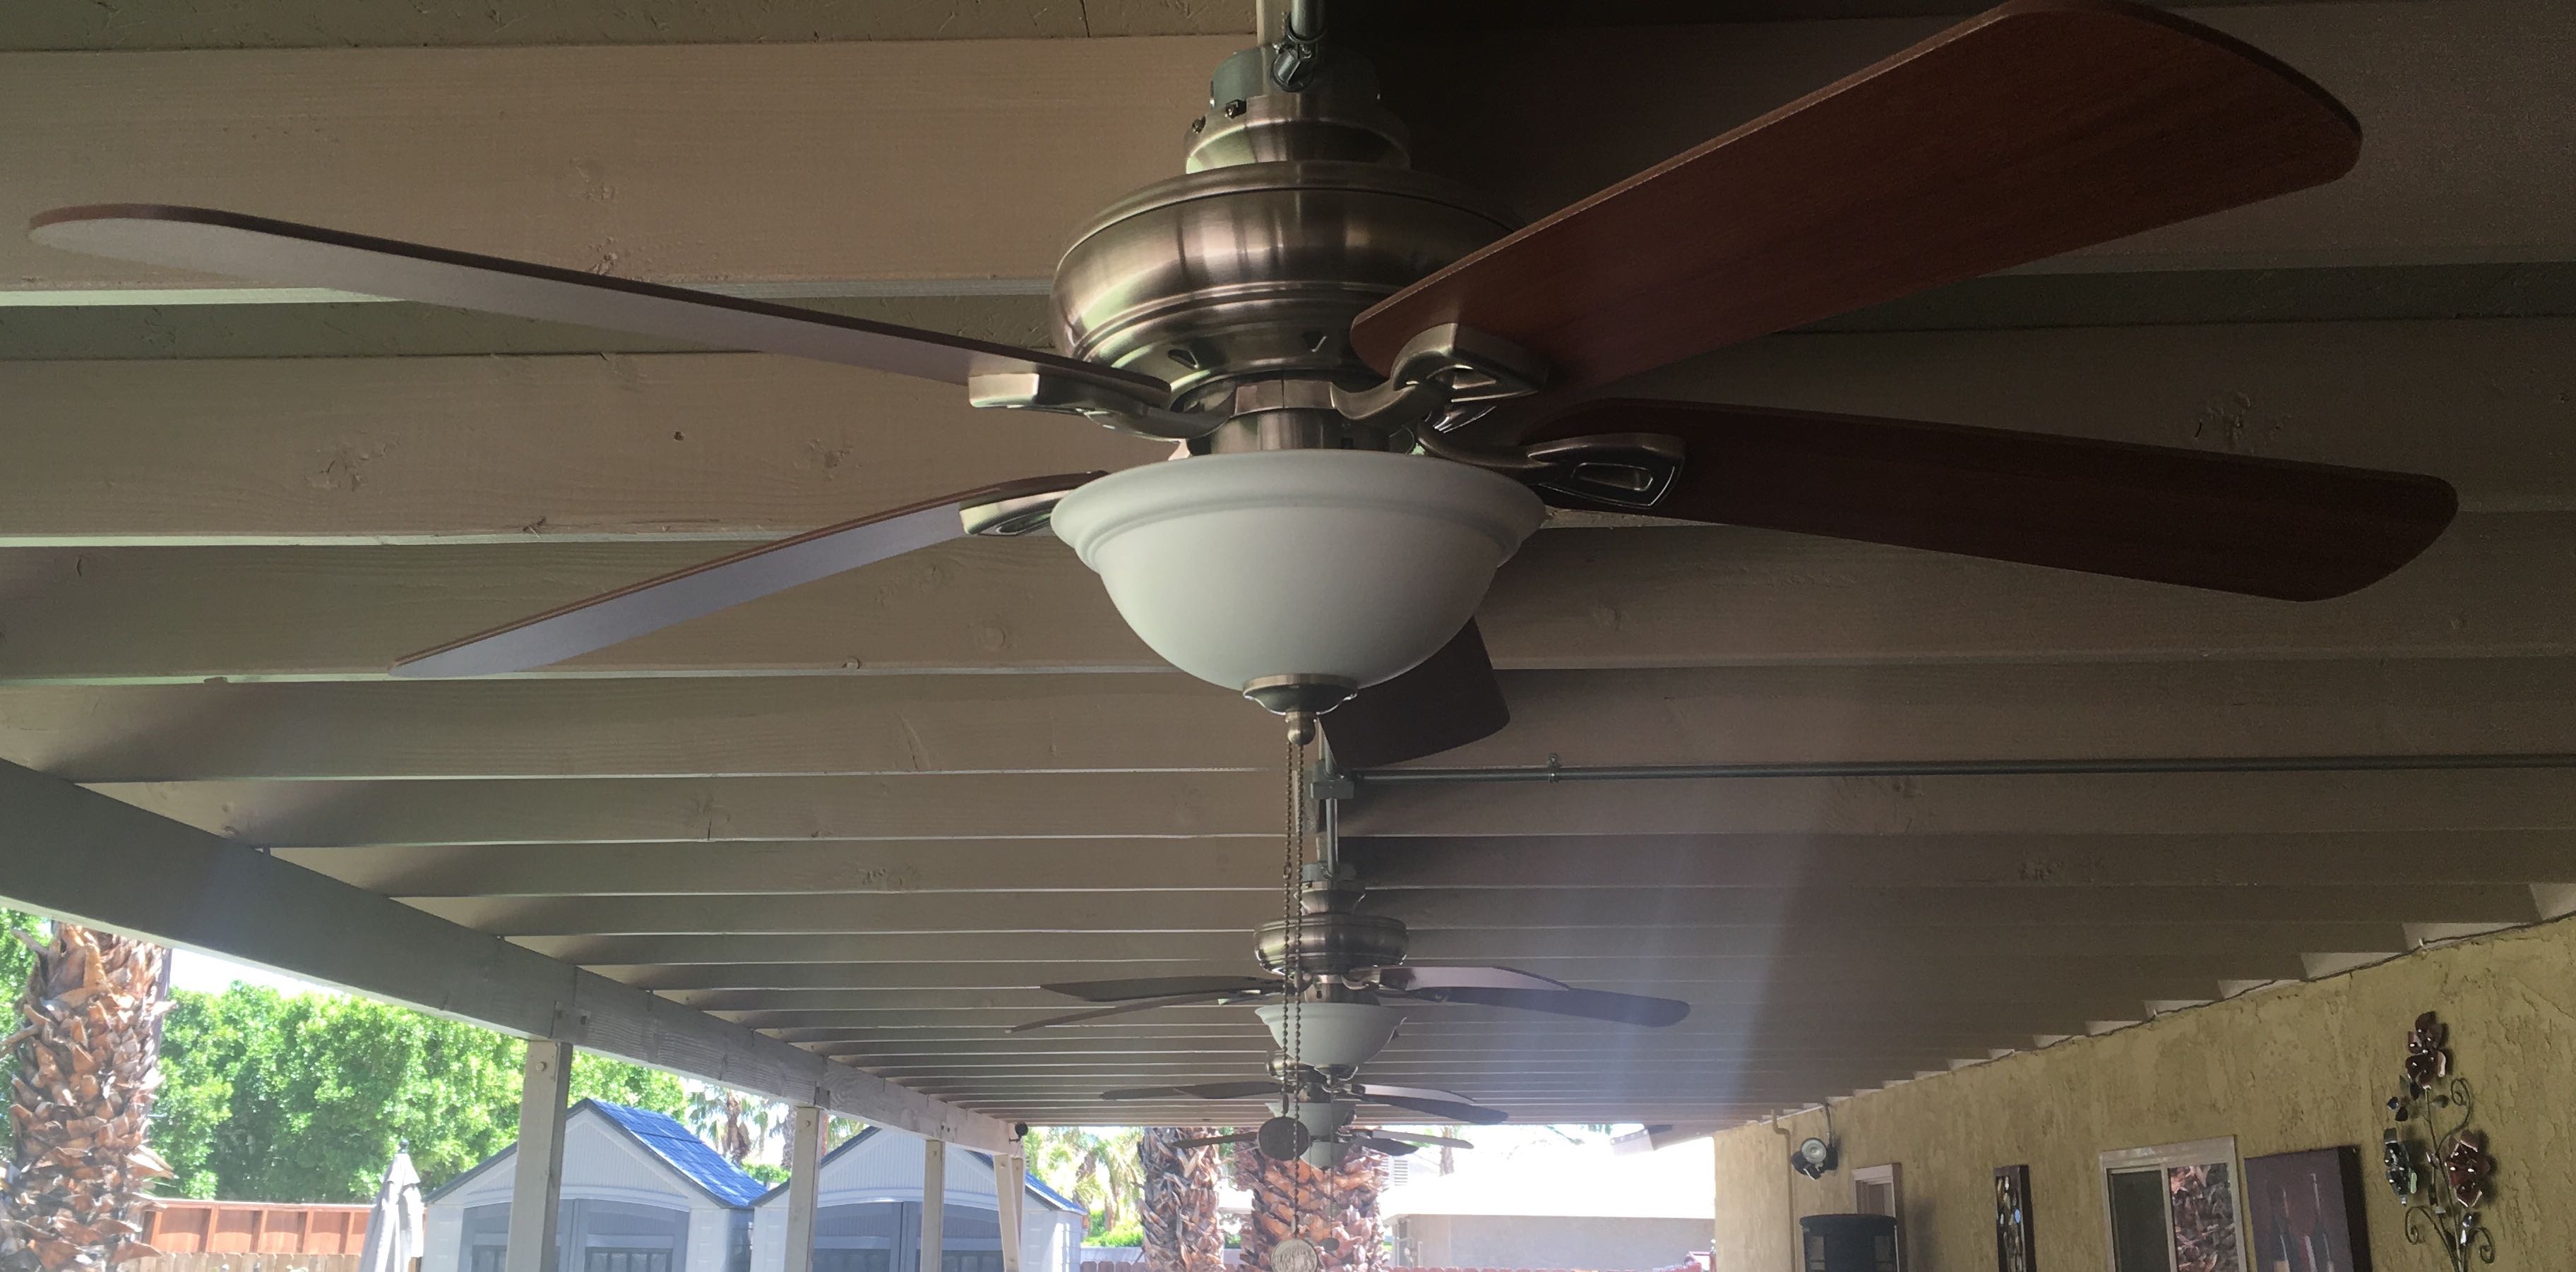
For “real” lighting under the main patio cover, I ran metal conduit and installed four ceiling fans with LED lights, and two plain LED light fixtures at each end of the patio. All of them are controlled by a single wall switch inside, and can individually be turned on or off. When all the ceiling lights are on the patio is exceptionally well lit, much like walking into a department store at night.
The ceiling fans really are more decorative than functional, although visitors who aren’t used to our desert climate feel more comfortable sitting under a fan in warmer weather. Joyce and I rarely use them.
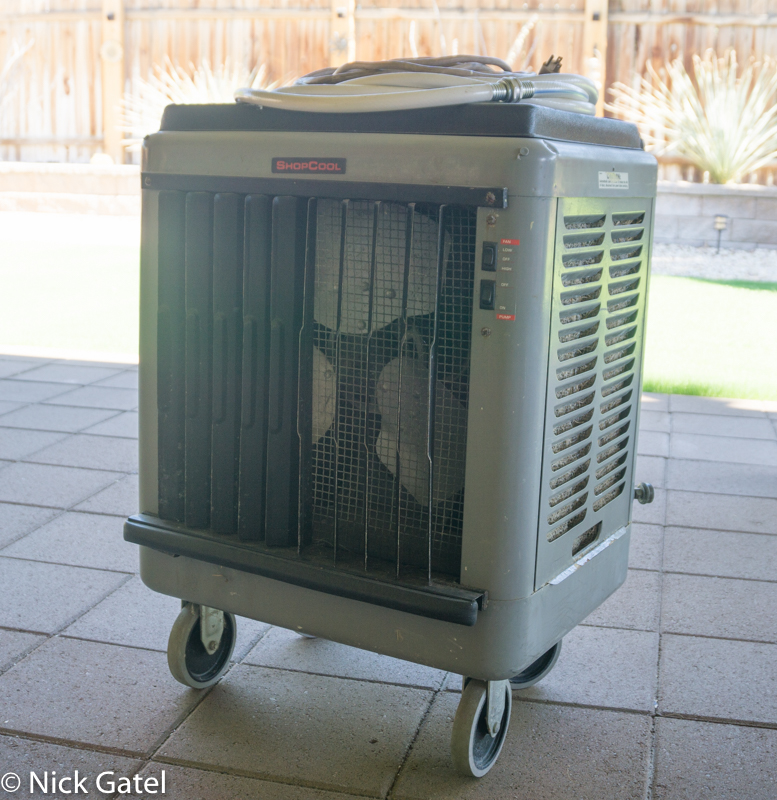
When it is really hot, which for us is 115F and higher, we use this little portable evaporative cooler and move it to whatever seating area we are using.
For more information on how an evaporative cooler works, here’s what we use in our camper – same principle.
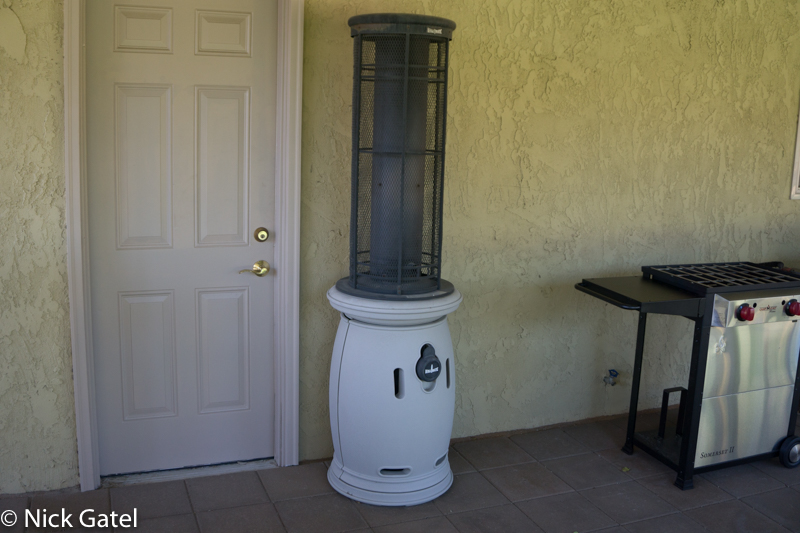
For those cool winter nights when we aren’t sitting at one of our fire pits, we use this outdoor propane heater.
Security
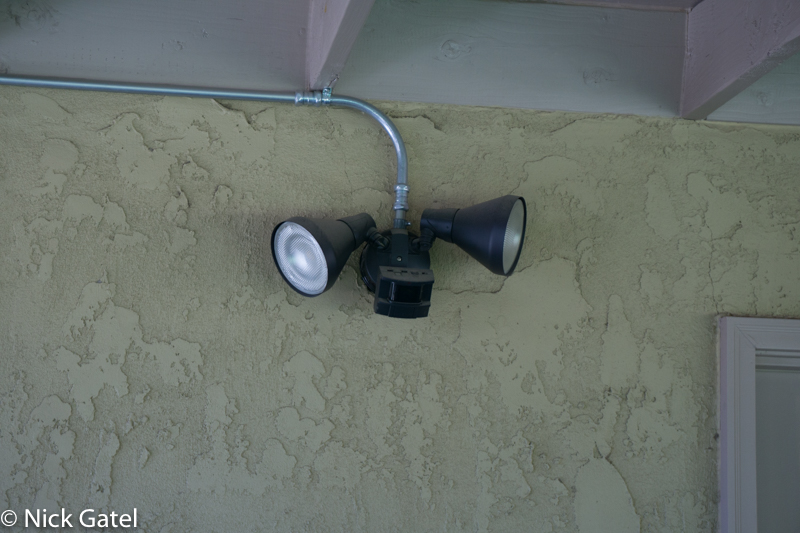
Unfortunately in our society we have thieves. I installed a couple large LED floodlights in a motion detection fixture.
We also have an outdoor security camera that records and sends notifications whenever we are gone and motion is detected. We also have cameras inside the house and in the front yard. Don’t we all wish we didn’t have to do these kinds of things?
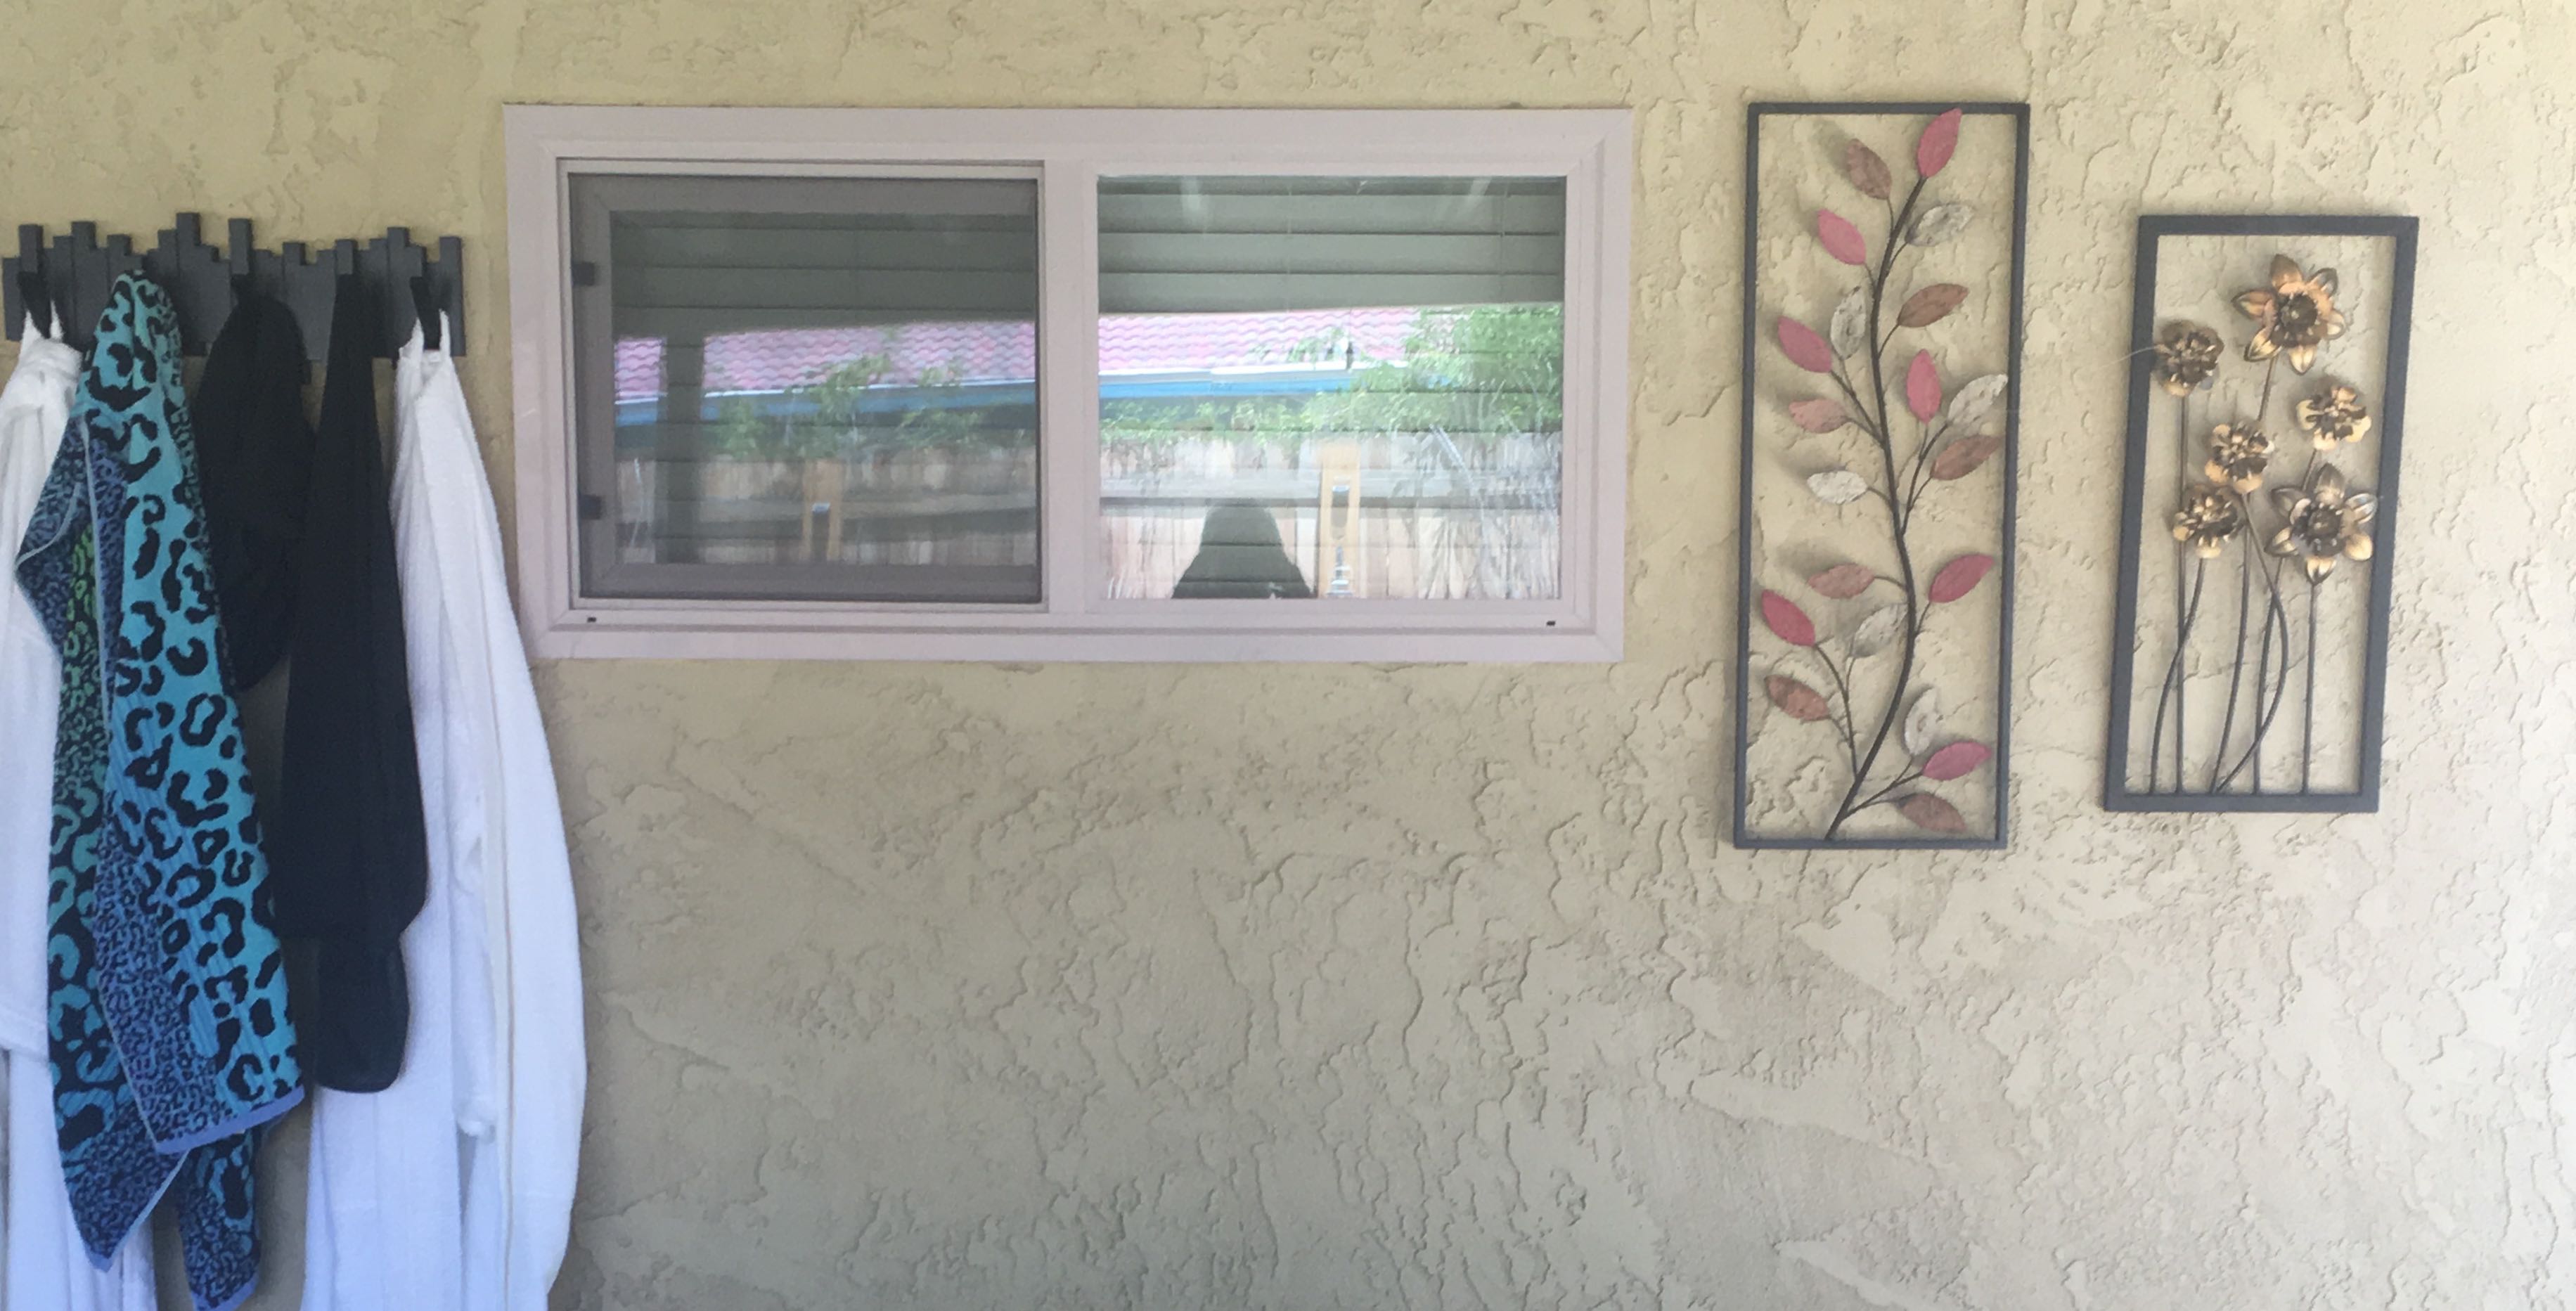
Wall Art
Why not? I had a $25 credit at Burlington Coat Factory for some sort of class action suit, so I bought a couple pieces there. The rest I got at Ross.
Sidewalks
All our living spaces are connected by sidewalks, so we don’t need to wear shoes or flip-flops and we don’t need to walk on gravel. I poured about 60 feet of sidewalks, which required planning for water drainage. Also, the right way to pour cement is to lay a bed of gravel first.
My cement mixer isn’t tall enough to off-load the cement into a wheelbarrow. Placing it on a couple of cement pallets fixed that deficiency.
Outdoor storage
These sheds keep tools and other things organized. We live in an area that can get windy, and the properly way to install a shed is place it on a solid foundation, and anchor it to the ground. I built sled foundations our of 2” X 8” pressure treated lumber, with 4’ X 8’ X ¾” OSB panels. The foundation is anchored to the ground using two steel cables for each shed foundation that are connected to two 15” auger pegs on each side of the shed; the same pegs we use to secure our Coolaroo shades. The shed floors are screwed to the wood sled foundation.

