Why would one want to polish a backpacking spoon?
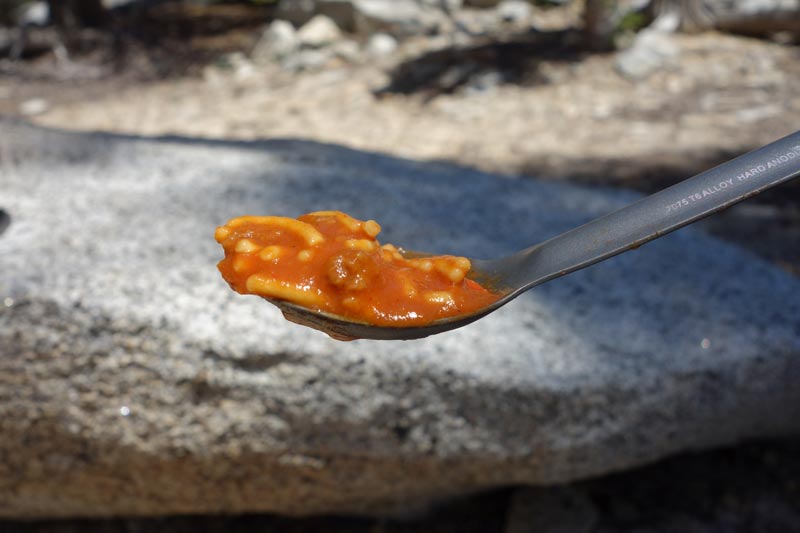
For many years my favorite spoon was a Sea to Summit Alpha Long Handled Spoon. Made from anodized aluminum, it was perfect for eating meals from a freezer bag. Most of the time I “cook” my meals in a freezer bag (see Freezer Bag Cooking). Back in February I lost my spoon on the last day of a backpacking trip (the last meal of the day).
My friend, Doug, gave me a titanium long handle spoon, which was identical in size and shape as the one I lost. Both the anodized aluminum and the titanium spoon had one quality that about drove me nuts.
These spoons have an extremely rough surface. Many people, me included, complain that the texture of the spoon is like dragging your finger nails across a blackboard, whether the spoon makes contact with your teeth, tongue, or lips. Food, especially anything with cheese, sticks to the spoon. You can’t even lick the residue from the bowl of the spoon. Tiny food particles are difficult to remove, even when washing the spoon after a meal.
For years I had been putting off the easy solution to the Alpha spoon – polishing it. Had I polished it, it would have been shinny and perhaps I might not have lost it. Not about to procrastinate again, I polished the titanium spoon Doug gave me. So, I thought folks might be interested in the procedure.


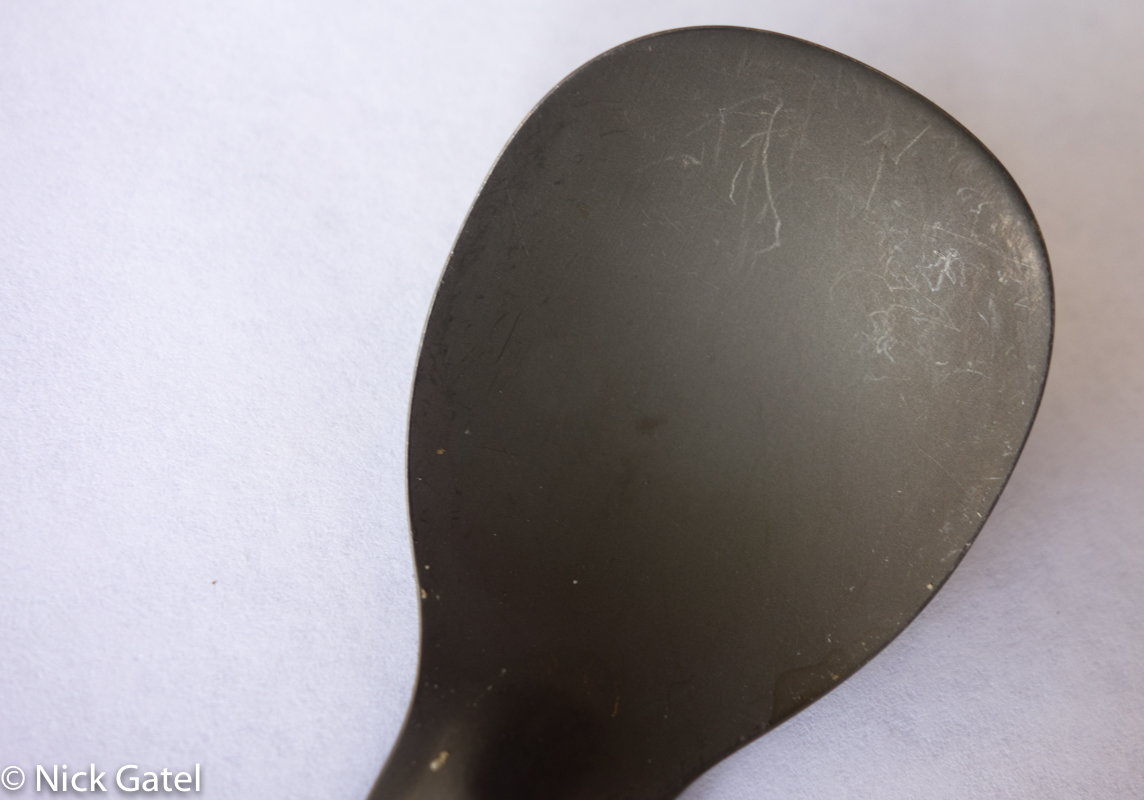
“Polishing”
When most people think of polishing, they probably think of polishing their car after it is washed. Normally “polishing” a car is applying a coat or two of wax. The wax fills the microscopic pores of the paint and leaves a layer of wax on the entire surface.
Polishing metal, like I polished my titanium spoon, is actually removing the uneven material – knocking down the microscopic bumps in the material. I have polished a lot of aluminum motorcycle parts over the years; the process leaves a mirror like finish much like chrome. Normally I use a pedestal grinder, and replace the grinding wheels with cloth buffing wheels.

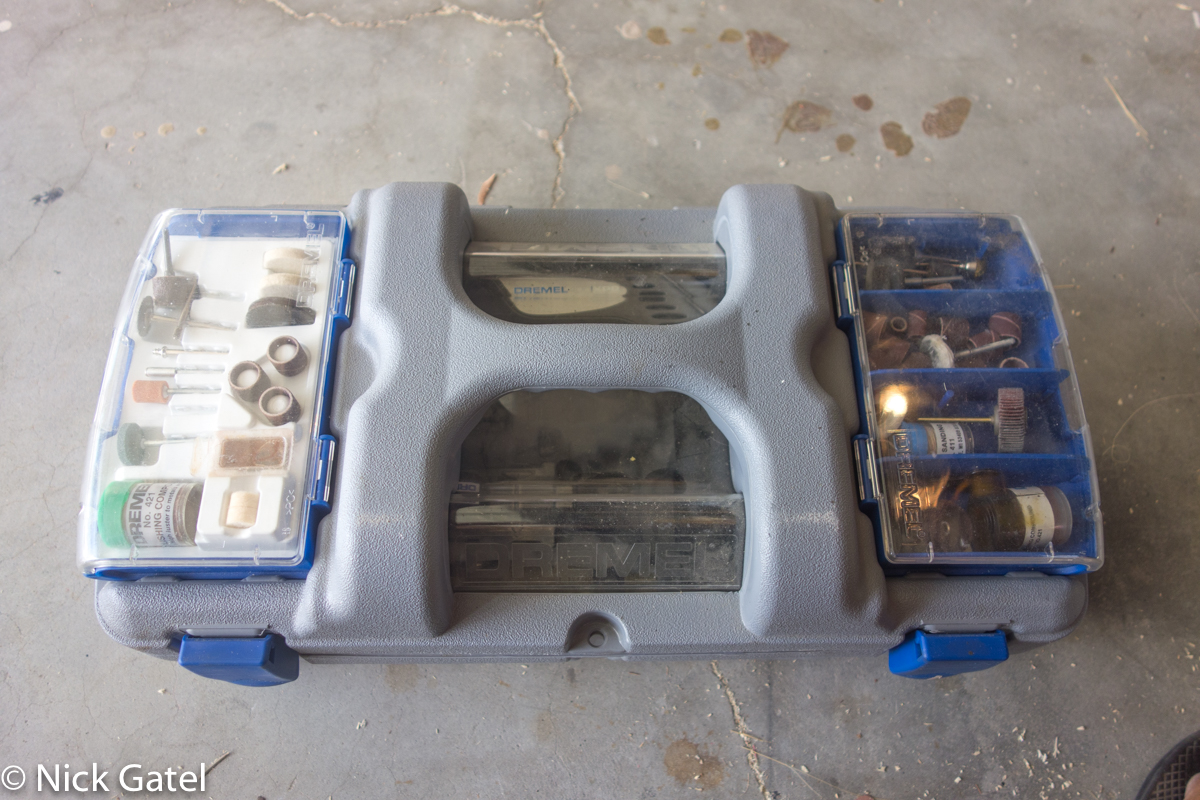
In the picture above, the containers on the bottom are polishing rouge. Rouge is a very fine abrasive, much finer than the finest sandpaper. Buffing wheels and rouge are the secret for attaining chrome-like finishes on many metals.

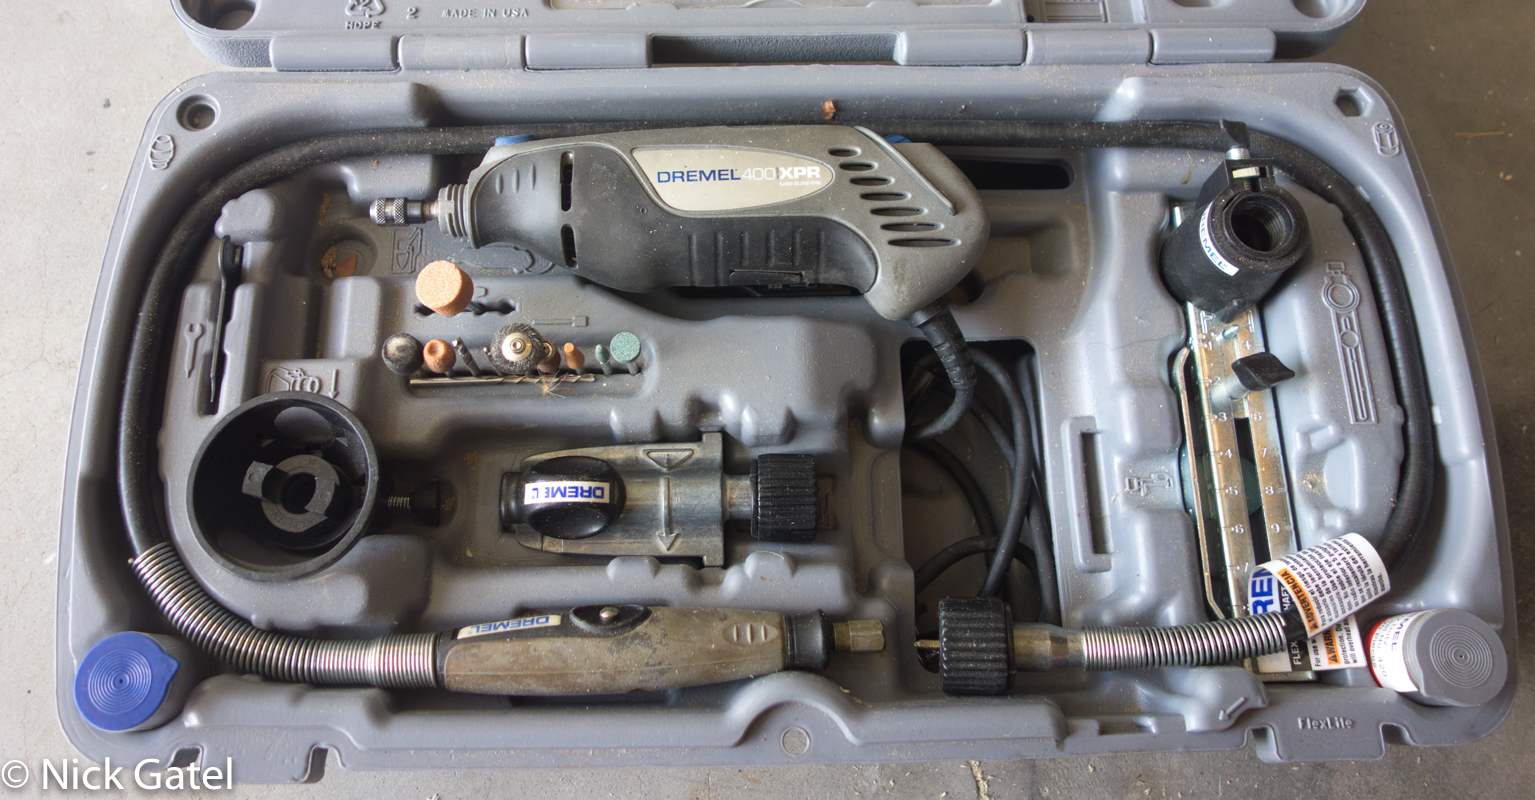
A grinding wheel is too large to polish a spoon, especially with the small curvatures in the metal. But a Dremel tool is perfect. Every handyman or handywoman should have a Dremel tool at home. The things it can do are only limited to one’s imagination. Of course, you wouldn’t want to go out and buy a Dremel tool to only polish a couple of spoons.

Preparing to Polish the Titanium Spoon
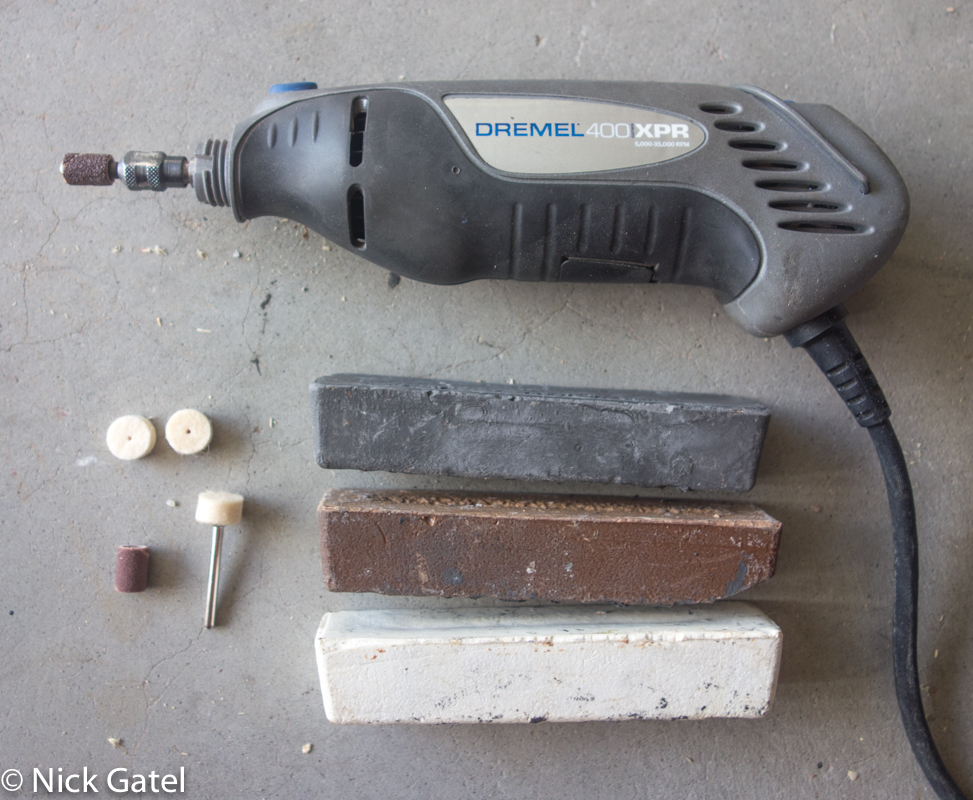
There is a 60 grit sanding drum inserted in the collet of the Dremel tool above. At the lower left is a 120 grit sanding drum. Also at the lower left are three miniature buffing wheels. The colored bars are rouge. Brown is used first, then gray, and finally white for our spoon project. These are the common “grits” of rouge, although there are even finer rouge materials for polishing metals in fine jewelry. The reason there are three buffing wheels is because we do not want to progress to each level of rouge (each is finer) with left over grit and debris. A new buffing wheel will be used with each color of rouge.
Here are the steps (the entire process took about 30 minutes):
-
- I started by sanding the entire spoon with the 60 grit drum.
- Cleaned the spoon with a tack cloth.
- Sanded it with the 120 grit drum.
- Cleaned the spoon with a tack cloth.
- Not shown is a piece of 220 grit fine sand paper, that I manually did the final sanding.
- Cleaned the spoon with a tack cloth.
- Polished with brown rouge.
- Cleaned the spoon with a quality cotton rag.
- Polished with gray rouge.
- Cleaned the spoon with a quality cotton rag.
- Polished with white rouge.
- Cleaned the spoon with a quality cotton rag.
I was not concerned with a visually perfect finish. Had that been the goal, I would have started with 120 grit and sanded a couple of times, then a couple of times with the 220 grit.
It is important that very little pressure is applied. Just let the tool and sandpaper lightly sand the material. Too much pressure will cause deep scratches.
Tack Cloth
Tach cloth is finishing cloth with a sticky adhesive on it. The adhesive picks up any loose debris, dirt, etc. We do not want to leave debris behind and then sand in the next step because the debris will scratch the material. When an extremely fine finish is desired when painting or applying a clear coat like lacquer or polyurethane, the material should be sanded and cleaned with a tack cloth between coats. Tack cloth is inexpensive.
Steps
The lighting wasn’t great in the garage and I was too lazy to set up lights and backgrounds – heck I rarely to this too take pictures anyway.


Final product after white rouge polishing.


Now my spoon is pleasant to eat with and it cleans easily!!
Unless you already have all the tools and materials it really is way cheaper to just buy a spoon with a polished bowl or if this just sounds like too much work, you can buy a long-handled titanium spoon with a polished bowl. Not as good as having the entire spoon nice and smooth, but better than the standard titanium spoon.
Disclosure: PopupBackpacker.com pays the bills through marketing links, receiving small commissions from vendors, at no additional cost to the reader. This post contains said links.


