Caldera Cone Stove System Review – Highly Recommended
The Caldera Cone Stove System by Trail Designs (http://www.traildesigns.com) is probably the most used system by backpackers looking for the lightest, most efficient cooking kit. Trail Designs offers many systems for various pots and fuels.
I bought my first Caldera Cone in 2008. Since then I have used a Caldera Cone on almost every backpacking trip over the past 4 plus years.
Why is the Caldera Cone so Popular?
- Ultralight.
- The cone completely surrounds the cooking pot and stove, which makes cooking extremely efficient,
- Excellent performance in windy conditions.
- Can use denatured alcohol or solid fuel tablets like Esbit brand fuel.
- Some models also burn wood.
I will review two different Caldera Cones I have used:
- The Original Caldera Cone
- The Caldera Cone GVP (named after Glen Van Peski founder of Gossamer Gear)
Limitations
The cone system is really designed to boil water. Many backpackers prepare instant meals that just require adding water to their food (instant, dehydrated, or freeze dried). Some folks have actually cooked in their cone systems, but I have never tried to do this. What I do is place my meal in a freezer bag or microwave bag and then add the boiling water to the bag. The meal is usually cooked and ready in 10 minutes. Doesn’t get any simpler than this.
Common Fuels I Use
- Esbit
- Denatured Alcohol
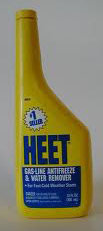
- HEET
Esbit is light wight (one cube weighs about 14 grams or .49 ounces) and can easily boil 16 ounces of water. You can’t spill it. It does leave a sticky residue on the pot and smells like fish. However it is my favorite fuel for most trips. It can be difficult to find in small towns.
Denatured Alcohol is readily available in hardware stores and other outlets. 1 fluid ounce easily boils 16 ounces of water. However the flame is difficult to see in daylight and if the stove is tipped over it can cause a fire. Make sure you purchase denatured, not rubbing alcohol!
HEET brand gasoline anti-freeze (in the yellow bottle, not orange) can be found in most automotive supply stores. Most backpackers report that its performance is about the same as denatured alcohol. My use of both verifies this.
Stoves
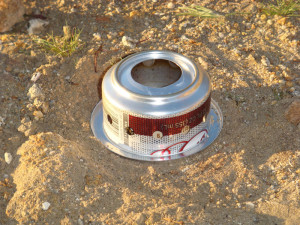
Trail Designs includes two stoves with each cone. One is an alcohol stove recycled from 12 ounce soft drink cans. These stoves are designed especially to match and work best with their Caldera Cone. You can’t just use any alcohol stove with their cones.
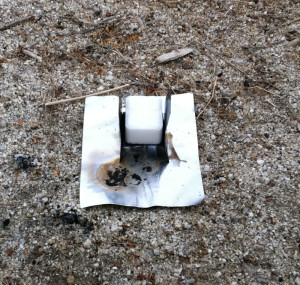
The second stove is called a Graham Cracker and is designed to be used with Esbit tabs or other similar solid fuel.
Above: Soda Can Stove (left); Esbit Graham Cracker (right)
The Cone
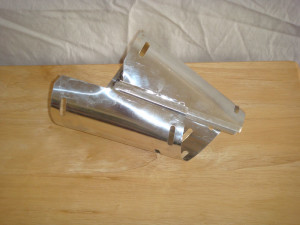
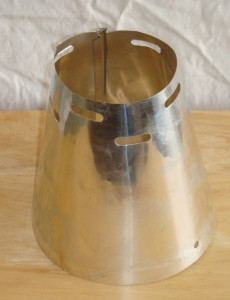
The cone is used as a combination pot support and windscreen.
Above: (left) the cone is rolled for storage. Each edge has a dovetail joint that allows the quick connection to create the cone shape (left).
Cook Pot
You can purchase a cone with a matching pot, or Trail Designs sells a cone kit without a pot to match many popular pots available today. But the cone must be ordered to match your specific pot; every cone is different. Cones are available for popular pots in the .5 to 1.3 liter capacity. Normally you will get the best performance from a short wide pot. Trail Designs also sells cone systems with Heineken or Foster beer cans that are used as a pot.
Standard Cone System
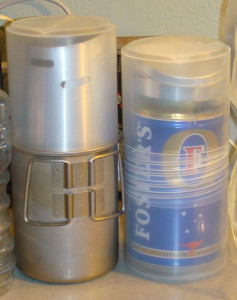
My first two Caldera Cones were the basic model. One was sized to match my Snow Peak Mini-solo cook set, and the second was a complete system with a Fosters beer can that is used as a pot. Both systems work fantastic, but the cone was taller than both pots, so it could not be fitted completely inside the pot, which could cause damage to the cone when carried in my pack. It is crucial that the dovetail joint that is used to set-up the cone does not get bent or damaged. To solve this problem, Trail Designs includes a food grade plastic caddy to protect the cone and can be used as a cup or bowl. Unfortunately the caddy weighs more than the cook-set.
Above: (left) Snow Peak Mini-solo. I only used the top part of the caddy to save weight. (right) Complete caddy with a Fosters Cone kit. Note that the rolled up cone is taller than the Fosters can.
Snow Peak Mini-Solo and Caldera Cone System in Use

Above: The complete package. Note that the bottom is the plastic caddy.
Above: Everything is stored in the cone.
Above: Cook-set components. Instead of using the Snow Peak’s pot lid, I use a piece of aluminum foil to save weight.
Above: Soda can alcohol stove.
Above: Light the stove, place the cone (windscreen and pot support) over the stove, insert pot into the cone.
Above: Waiting for the water to boil. Took about 6 minutes or so.
Caldear Cone GVP
This is a great set-up. A Fosters can for a pot and the cone fits completely inside the pot. It comes with a caddy, but I never used it. Everything fits neatly into a super light cuben fiber stuff sack. I have cooked hundreds of meals in this system, always using the Esbit option. Total weight is only 3.08 ounces! Below is the kit.
Above: Caldera Cone GVP next to a 12 ounce Pepsi can. This has the Esbit Graham Cracker set-up with a total weight of 3.08 ounces for stove, ground sheet, cone, lid, and cuben stuff sack.
Step 1 Above: Place the base on the ground (to protect the ground)
Step 2 Above: Place the Graham Cracker on the base.
Step 3 Above: Place Esbit on Graham Cracker and light it.
Step 4 Above: Place the Cone over the stove.
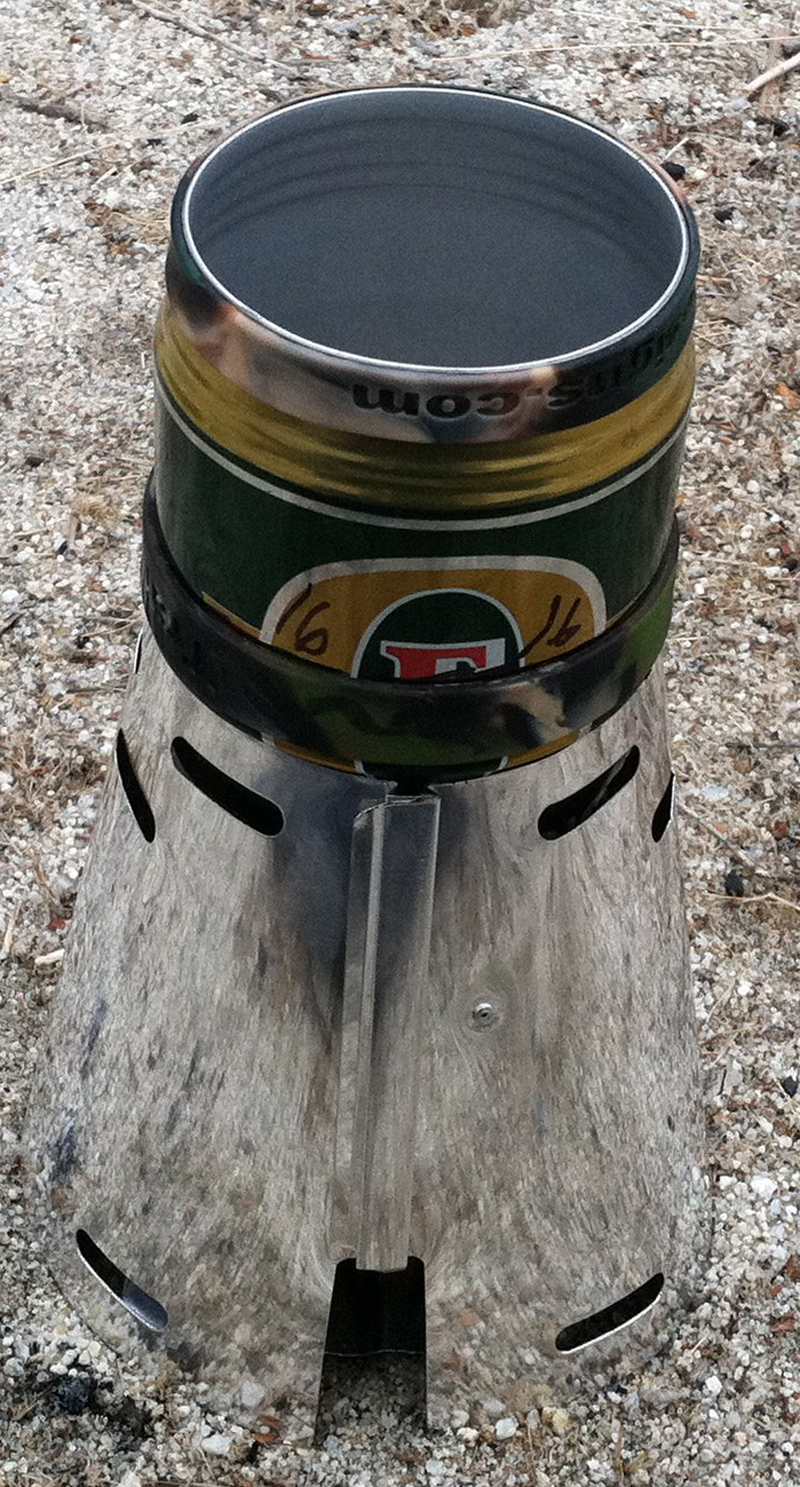
Step 5 Above: Insert the Fosters can into the cone. Wait about 6 minutes to boil 16 ounces of water.
Step 6 Above: Add instant coffee or hot chocolate for a tasting drink. Drink right out of the pot. No extra drinking cup or mug needs to be carried. Notice the bottom of the pot is discolored from hundreds of boils.


