Click Here to view new gallery pictures of 2006 Niagara and Backpacking Gear.
Click on an album to see the Gallery of Pictures. Once the album is opened you can view large pictures by clicking the Thumbnails.
Click on a picture to see the Gallery of Pictures. Once the album is opened you can view large pictures by clicking the Thumbnails.
Just uploaded the main page for my 1992 Starcraft Meteorite. Click Here.
When we first purchased our Niagara, we just transferred the battery and solar system from our old Starcraft. [see link]
Above: Interstate batteries and “toolbox” battery compartment.
Given that we were beginning to camp at times for up to 3 weeks in winter, with the chance of cloudy skies and little or no sun, it became necessary to upgrade our battery bank. The Interstate battery bank had a “useful” capacity of 75 amp hours (50% of total) and a pair of Trojan T-125 batteries would increase our useful capacity to 120 amp hour, which is a 60% increase in capacity.
The Trojan batteries are much larger than what we had and would require a larger battery box. I found this one (above) that is designed specifically for the T-125s.
I added the locks and clasps to keep the honest people honest.
We purchased this camper in 1992. We never added a battery or used the electrical system. In 2003 I decided to upgrade the camper (e.g., remodel it from scratch). So one of the first order of business was to remove the marginal converter and install an converter with a 3-stage battery charger. Also I would add a solar system that would include two group 27 batteries. This would be a quick jump from zero to state of the art in one fell swoop.
The original converter. I never used it, it had such a bad reputation.
Normally completing all these modifications would have been difficult and time consuming. But since we gutted the trailer, it was easy to do, other than all the time it took to plan the layout.
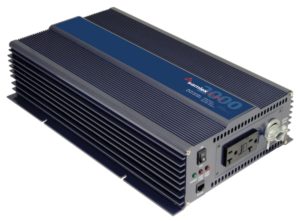
Above: wiring 110 volt circuits and installing the converter, inverter, and Charge Wizard.
Testing the components with a digital storage oscilloscope.
The inverted was advertised as a modified sine wave unit. Testing confirms this.
AC and DC distribution box. Lots of available circuits versus the original converter system.
Close up of the electrical outlet for the inverter (top) and the LPG detector (bottom)
Panel with distribution box, inverter outlets, and LPG detector.
Notice the old oddball 8 pin connector on the left bottom of picture. With the new Bargman set-up I was able to simply plug the trailer into the stock receptacle on our tow vehicle and charge the camper’s battery when driving, power the refrigerator on 12 volt and have back-up lights. When we bought a new SUV the trailer was “plug and go.”
Installation of the batteries was problematic at first, until I found this toolbox at Lowes which fit the batteries perfectly and even had a lock clasp.