I have been an advocate of solar power for almost 20 years, ever since we installed our first solar system on our camper in 2003 and then on our next two campers. Solar isn’t for everyone and it isn’t applicable for every situation.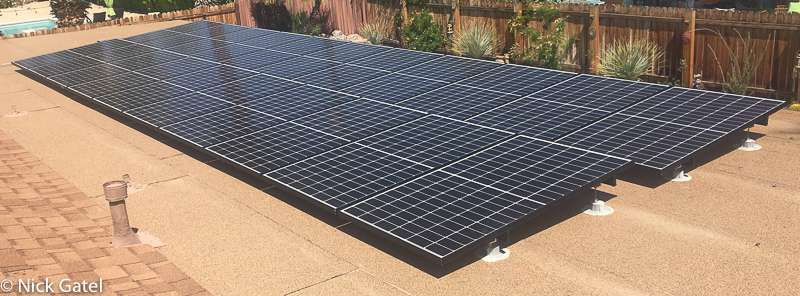
Back at the end 2016, after we completed extensive energy efficiency upgrades to our house, I asked posed the question is a post here (click for link), “Is home solar lipstick on a pig?” What this means, is solar just a Band-Aid for an energy inefficient home. I was advocating that homeowners should address the inefficiencies in their house before installing a solar system. I also mentioned that after a full year of data, after our energy upgrades, I would re-evaluate solar for us.
Given the accelerating costs of electricity rates, we decided to install a solar system. Continue reading House Solar Install →