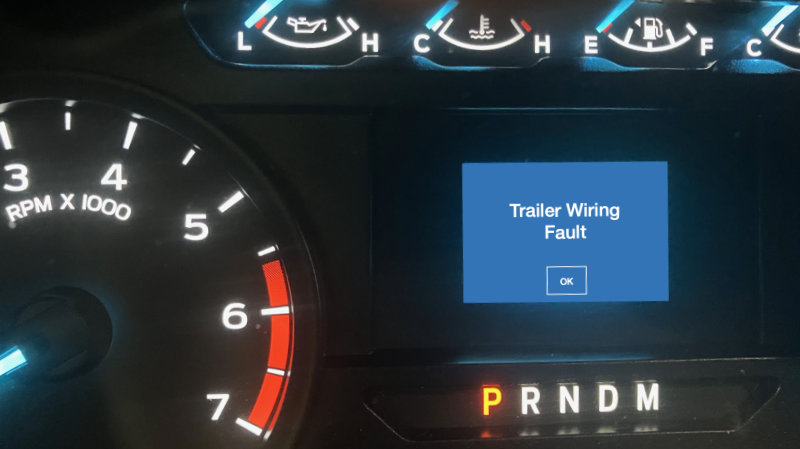
So here I was, driving down a two-lane highway fifty miles from the nearest town, no cell phone coverage, and temperatures in triple digits. An ominous message appears on the dash of our 2020 Ford F-250 Super Duty:
WARNING: TRAILER WIRING FAULT
I pull off the roadway onto the shoulder that is a mix of sand and gravel. Turn off the ignition key. Walking to the back of the truck, I see the trailer wiring connector to the truck is in place. I disconnect it and then plug it back in, making sure it is completed seated and secure. Back in the truck I start the engine and watch the dash as the truck comes to life again:
WARNING: TRAILER WIRING FAULT
These are the steps I took to diagnose the problem, do a quick temporary fix, and then a permanent repair once we got back home.
This website may be compensated for linking to other sites for sales of products. As an Amazon Associate I earn a small fee from qualifying purchases at no additional cost to the purchaser.
The Owner’s Manual
After pulling off the road, I retrieve the Owner’s Manual from the glove box.
Funny thing, or perhaps a sad thing, about modern vehicle Owner’s Manuals: they are huge compared to the manuals of the first vehicles I owned over 50 years ago. The manual for our F-250 contains 670 pages of information. Much of the information is not of much use.
In those golden years of small Owner Manuals, the manual contained detailed instructions with pictures on how to perform such operations as adjusting the engine valves, or replacing the ignition points and condenser, or adjusting the ignition timing.
The Owner Manuals of today are like trying to work your way through an 800 number phone-menu hell; press 1 for this, then 4 for that. Only there are more hellish steps in today’s manuals. Our truck manual has a Table of Contents that is 6 pages long. The Index is 16 pages. Go here, then go there, and finally the answer; not the answer you seek, but a dreaded “Take vehicle to your Dealer.”
A Hellish Experience
Searching the Table of Contents I didn’t find anything of help. On page number 621 the Index directs me to page 136 for “Information Messages — Trailer.” That sounded promising
Page 136 tells me “There are certain faults in your vehicle wiring and trailer wiring/brake system. See Towing a Trailer (page 272).” Page 272 doesn’t sound promising and it isn’t.
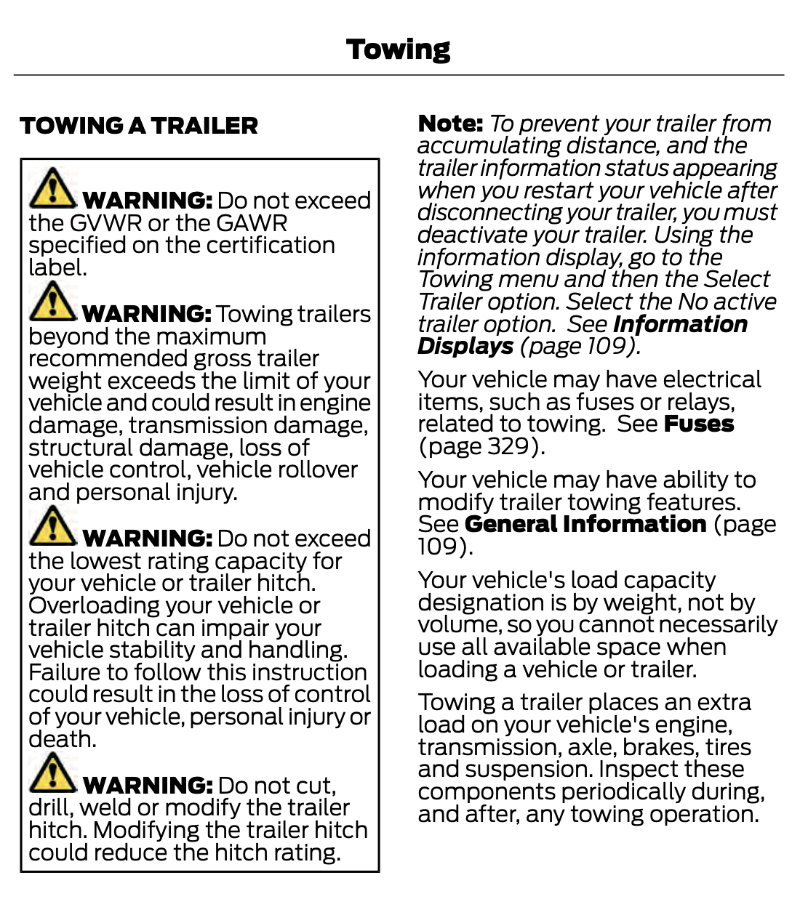
Actually Page 272 is pretty useless.
Good Ol’ Fashioned “Common Sense”
Figuring out what was wrong could have gotten complicated. Modern vehicles have several onboard computers, all kinds of electronic modules and relays, not to mention expansive fuse panels with an assortment of fuses and circuit breakers. I do have a DVOM (digital volt-ohm meter) in the trailer, should I need one to diagnose the problem. Hopefully the problem would be with the trailer itself, not our truck.
But first things first — a visual inspection.
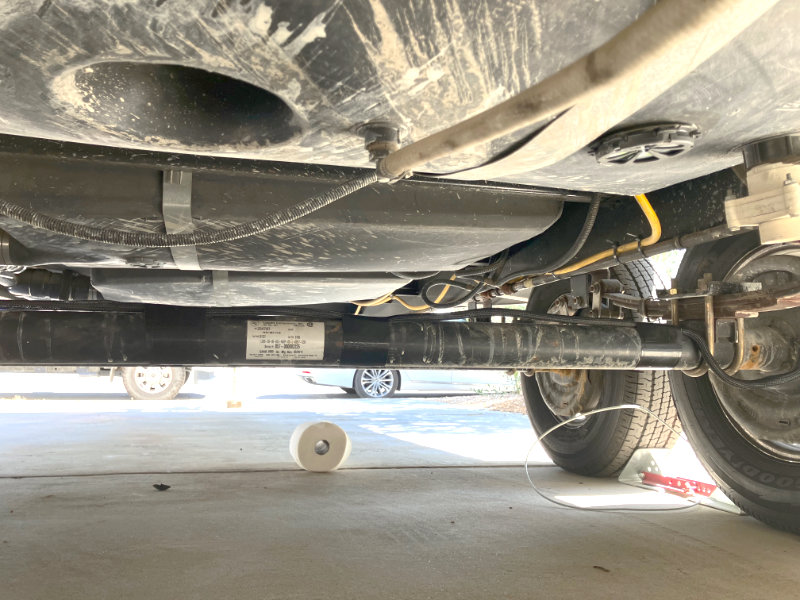
I crawl under the trailer to do a visual inspection of the wiring, most of which runs along the trailer frame.
Visual Inspection — What Am I Looking For?
I’m looking for anything that is out of place or not normal. Has the wiring snagged on something and been pulled from its original location? Are there any loose or disconnected wires? Have any wires been rubbing on something to cause damage to the insulation. Are ground wires securely connected to the frame and free of corrosion?
Does anything else look out of place?
In a few minutes I find a potential problem.
The Problem Identified
Our travel trailer has two axles. Each axle has an electric brake assembly behind the tire. Each brake is controlled by a pair of wires.
To sum it up, the trailer has two axles, 4 tires and 4 electric brake assemblies. The axle itself is just a hollow tube with a wheel at each end.
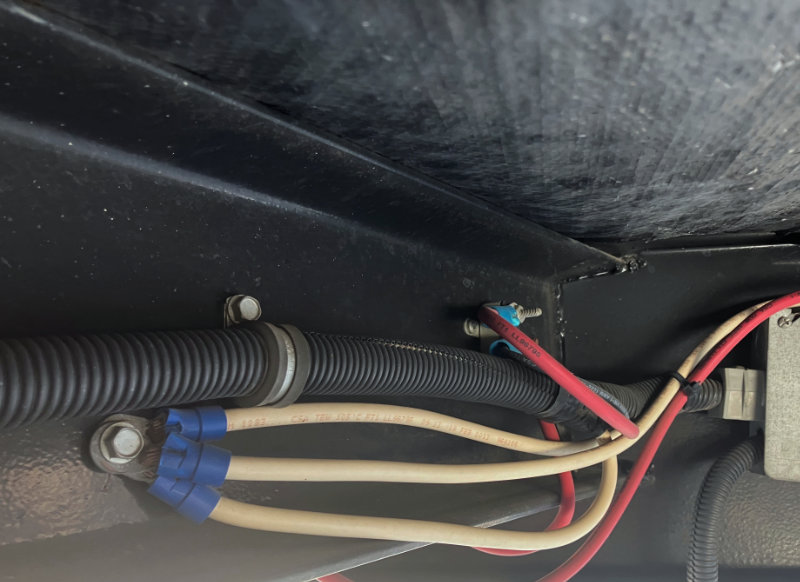
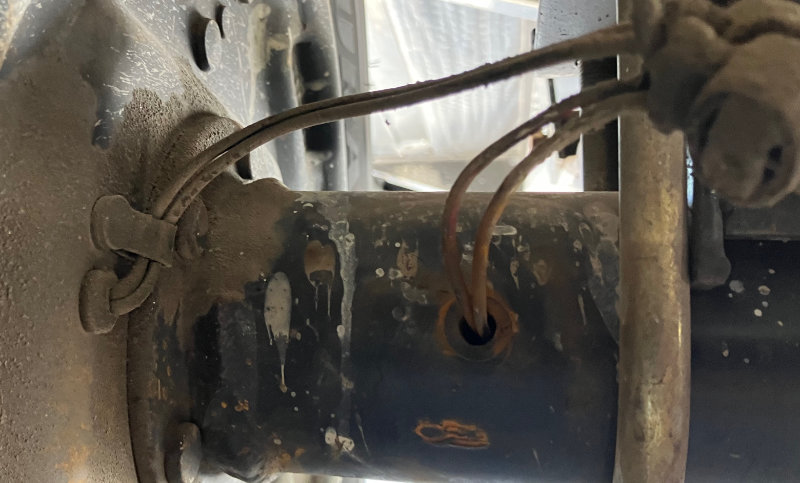
The wires for all the brakes branch off of the main wire loom that runs along the length of the trailer frame, two sets of wires are routed to the trailer brakes. One pair of wires goes to each axle. Closest to the main loom, these wires are routed to each wheel on the left (street) side of the trailer and then they go into the axle and travel to the right (curb) side wheels. To protect the wires from rubbing or chaffing a rubber grommet is used to prevent the wires from contacting the metal axle housing (see below).
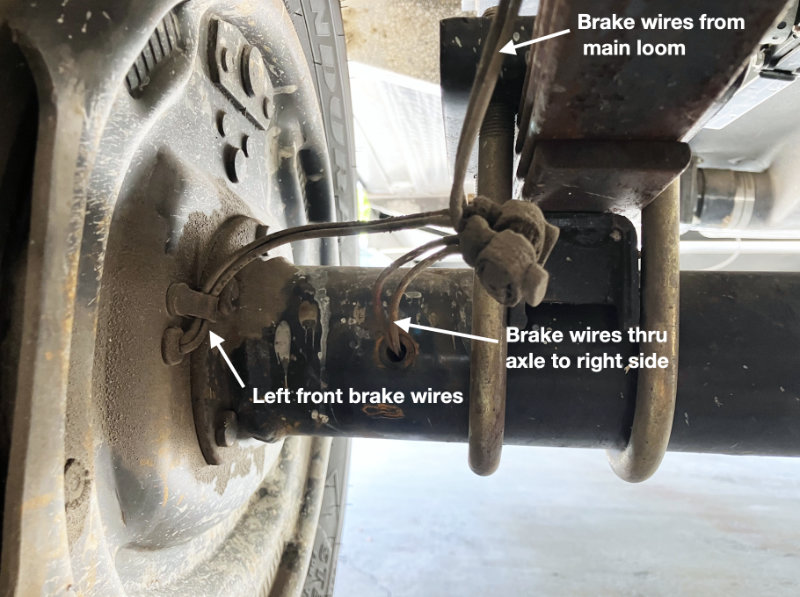
On the left side of the picture above the wires go into the wheel to control the brakes. In the center of the picture you can see where the wires go inside the axle tube, protected by a rubber grommet. Everything looked good at this wheel.
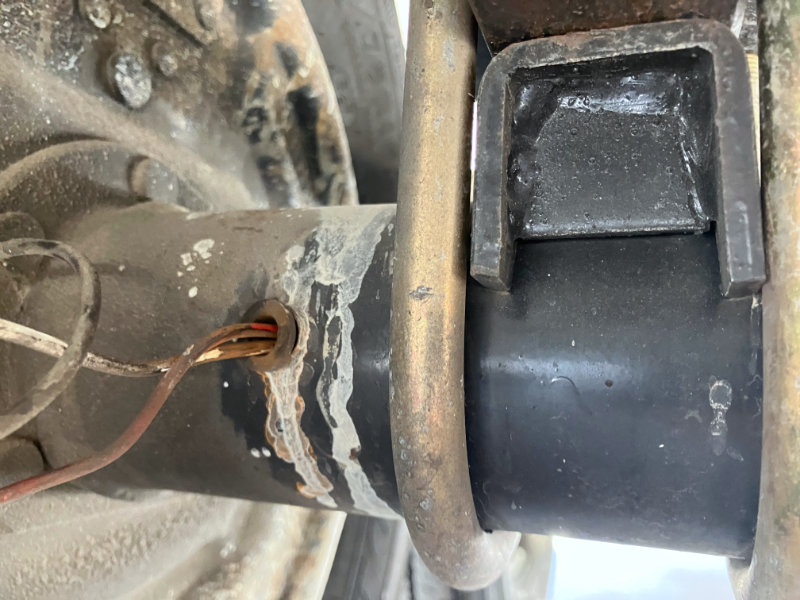
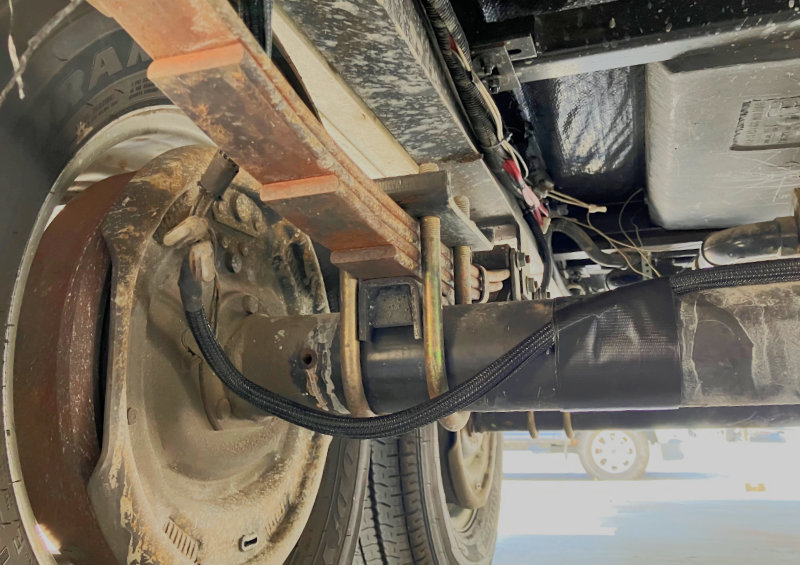
The right side brake wiring — not good . . .
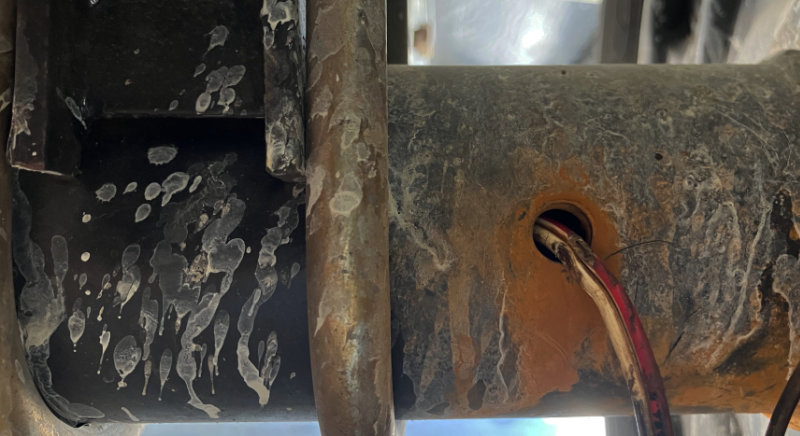
What I found was on the other side of the axle where the wires come back out of the axle, the grommet was missing. The right side grommets on both axles were missing. They had probably disintegrated over time especially given our harsh desert environment.
AND . . . the insulation on both had worn through exposing the wires to the metal of the axle housings (see image below).
As a temporary fix and for testing, I simply wrapped some electrical tape around the wires to prevent further contact with the metal axle.
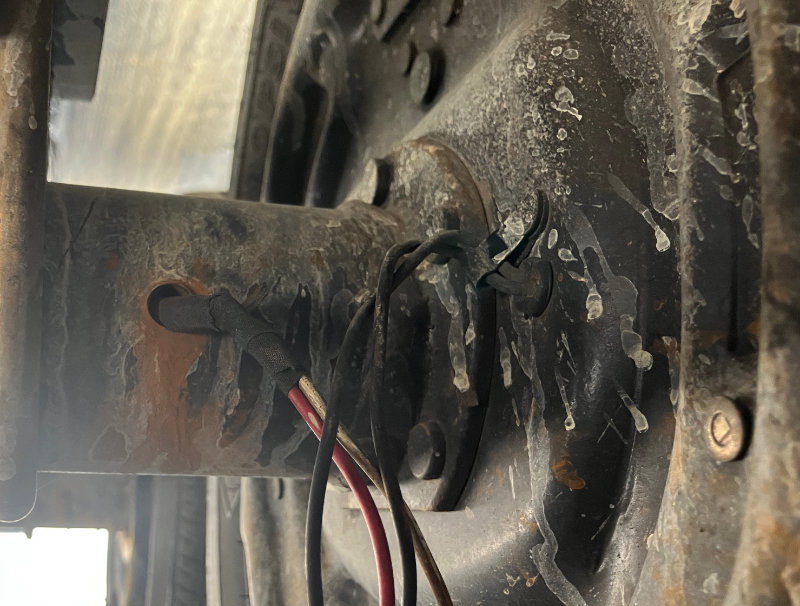
After covering the damaged areas with tape, I started the engine. No warning messages. Next all the trailer lights were checked: running lights, turn signals, brake lights, and emergency lights. All worked.
And everything worked without any problems for the rest of our trip (700 miles). I would deal with a more permanent repair when we returned home.
The Fix
I suppose I could have bought some grommets, removed the wires, installed new grommets, and then run the wires back through the axles. And probably eventually have the same problem sometime in the future.
Materials & Tools
I decided to run the wires outside and along the top of each axle. I gathered all the materials and tools I would need. Fortunately I had everything in the garage already.
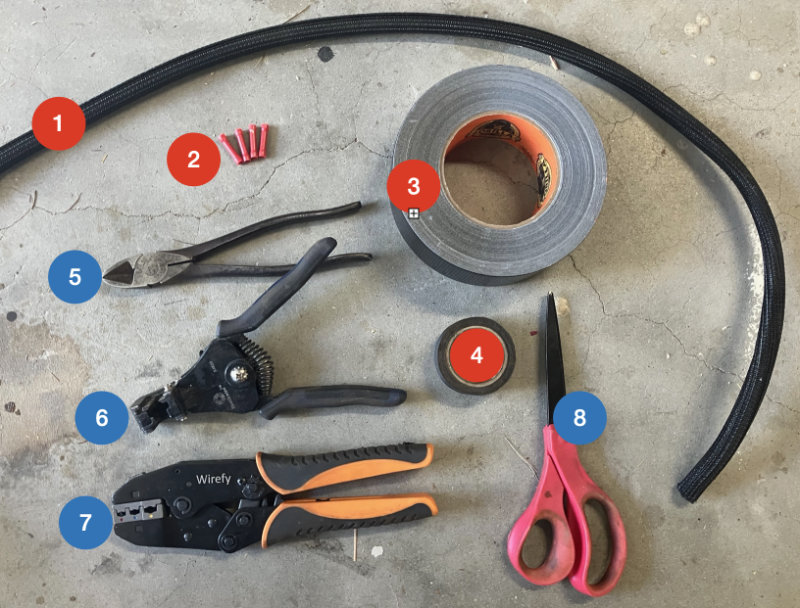
Materials
- wire wrap/loom to protect the wires from rubbing on the axle housings
- electrical connectors
- Gorilla Tape to secure the wire looms to each axle
- high heat harness cloth tape
Some things I need to point out.
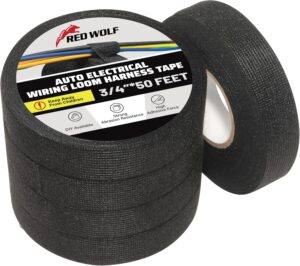
(4) High Heat Harness Tape
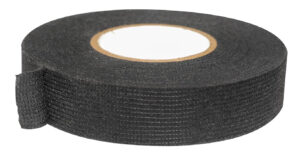
For tape in engine compartments and other outdoor high heat areas I do not use common vinyl electrical tape, such as 3M Scotch tape, which is pretty good stuff. Instead I use high heat cloth harness tape that is designed for these kind of applications.
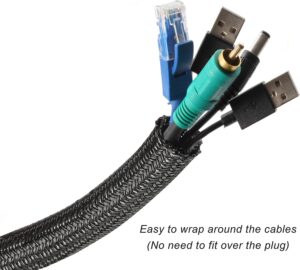
(1) Wire Wrap/Loom Sleeves
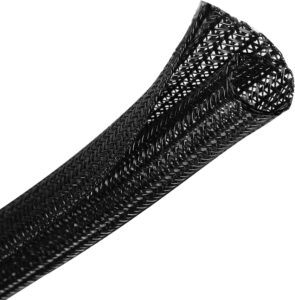
I used to use the plastic split looms. I have found a better solution, which is a woven braided self wrapping wire loom.
(3) “Duct” Tape
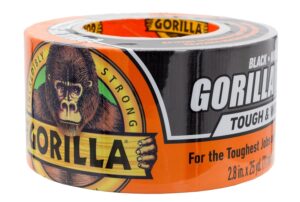
Duct tape is a common tape for all kinds of jobs. I have found Gorilla Tough & Wide Black Tape to be far superior and much longer lasting. I used this tape to secure the wire loom to the top of the axle housings.
Tools
- Wire cutters
- Wire strippers
- Wire crimping tool
- Titanium non-stick scissors
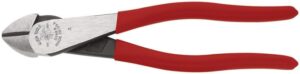
(5) Wire/Side Cutters

A good quality side cutter belongs in everyone’s toolbox. A versatile tool for electrical wire, zip ties, small nails, and screws (depending on hardness), removing cotter pins, etc.
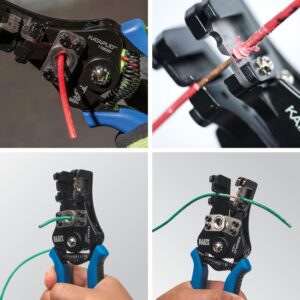
(6) Wire Stripper Tool
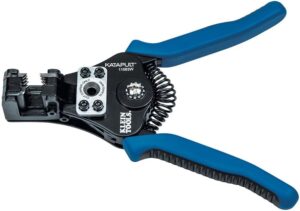
I’ve been using an automatic wire stripping tool for decades, which is much superior than those inexpensive wire stripping pliers.
Wire Crimping Tool

For this job I need to cut the original wire where is was damaged and pull the wires out of the axle housing. The simplest method to reconnect the wiring was to use butt connectors. Butt connectors aren’t the best method (soldering and heat shrink is better), but using a quality wire crimper with butt connectors is effective and quick.
Non-stick Titanium Scissors
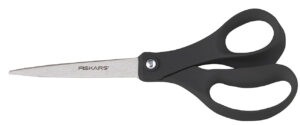
One of the best tool investments I have ever made. When cutting materials with adhesives, such as electrical tape or duct tape, these scissors cut through the tape like a sharp knife through butter. It is easy to make nice smooth, exact and even cuts.
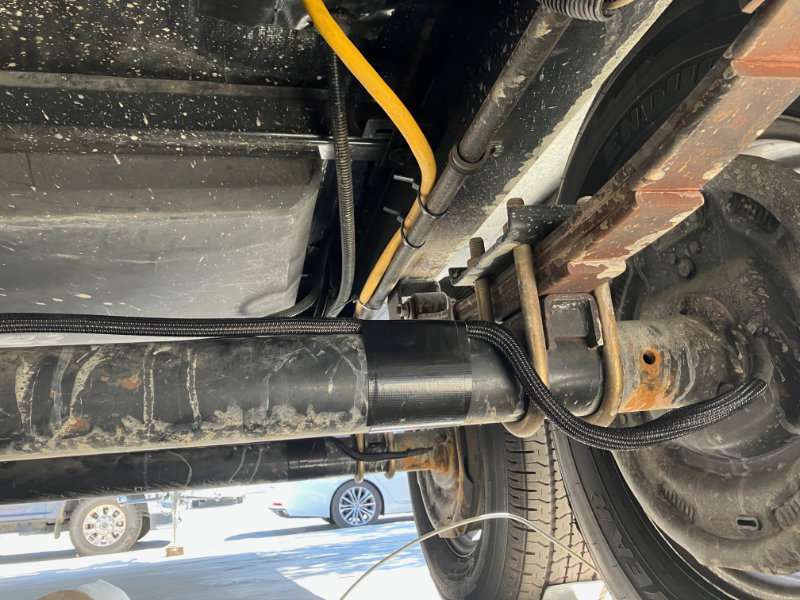
Repair and Wire Relocation
The work didn’t take long. Here are the steps:
- Cut the wires at the area of damage
- Pull the wires out of the axle housing
- Using butt connectors, splice the wires back together where they were cut
- Wrap the spices with high heat harness tape
- Insert the wire into the wire wrap/loom material
- Secure the wire loom to the top of the axle with Gorilla Tape (clean the area of the axle before applying the tape) using at least two or three wraps around the axle.