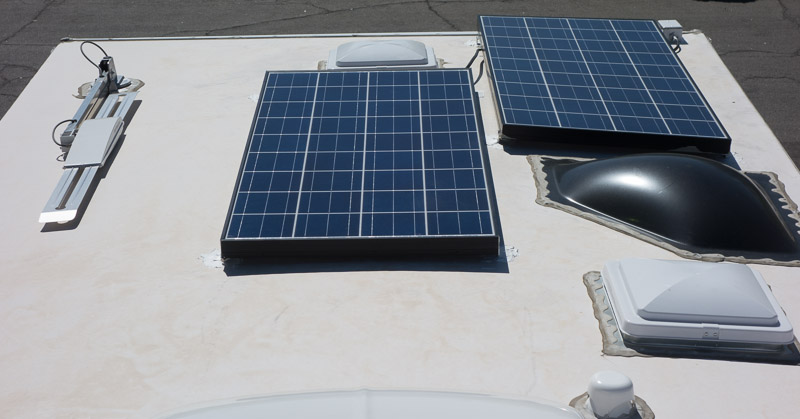
Last week was time to wash and condition our membrane roof and to clean the solar panels. While I was on the roof getting ready and inspecting everything, I noticed a small hole in the corner of one of the plastic roof vents. The lid was falling apart due to UV exposure. Checking the other two vent lids, they were also getting brittle and needed to be replaced. So I ordered three lids and postponed the roof and solar panel cleaning.
Roof vent lids are easy to replace.
In this post I’ll go through the step-by-step instructions.
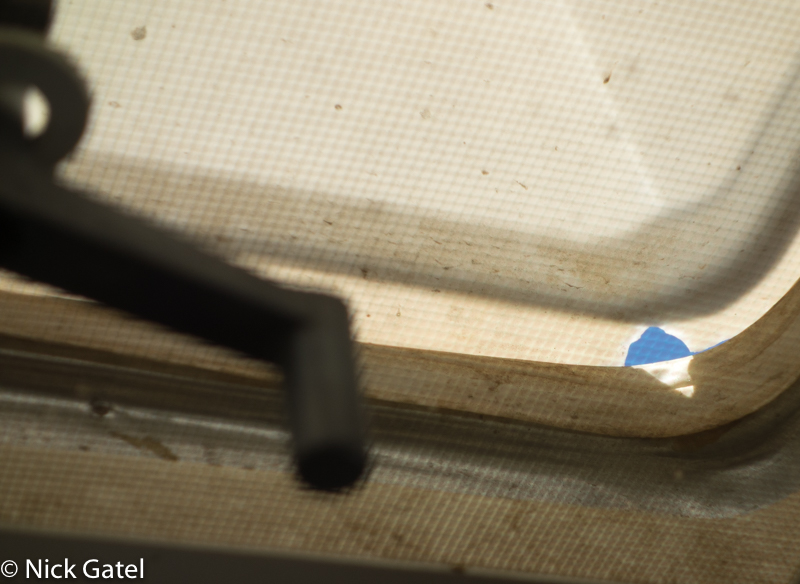
One good thing about RV’s is most manufacturers buy their components from the same outside vendors. Typically there are just a couple of different vents used today and most are approximately 14” X 14” square. So the first step is to determine what you have on your roof and buy them ahead of time. You will need to inspect the hinge on your vent lid; this is what differentiates what lid you need.
This is what ours looks like:

I was now ready to search Amazon.
Ordering the Vent Lids
Amazon had a lot of choices, so I needed to look a little closer at my options.
I found that many of the vent lids had the “lift frame” just molded into the plastic (as show on the right vent in the picture below). A few had a lift frame that went end to end and was riveted to the lid (the vent lid on the left of the picture below), this is much sturdier and was what was installed originally on our trailer.
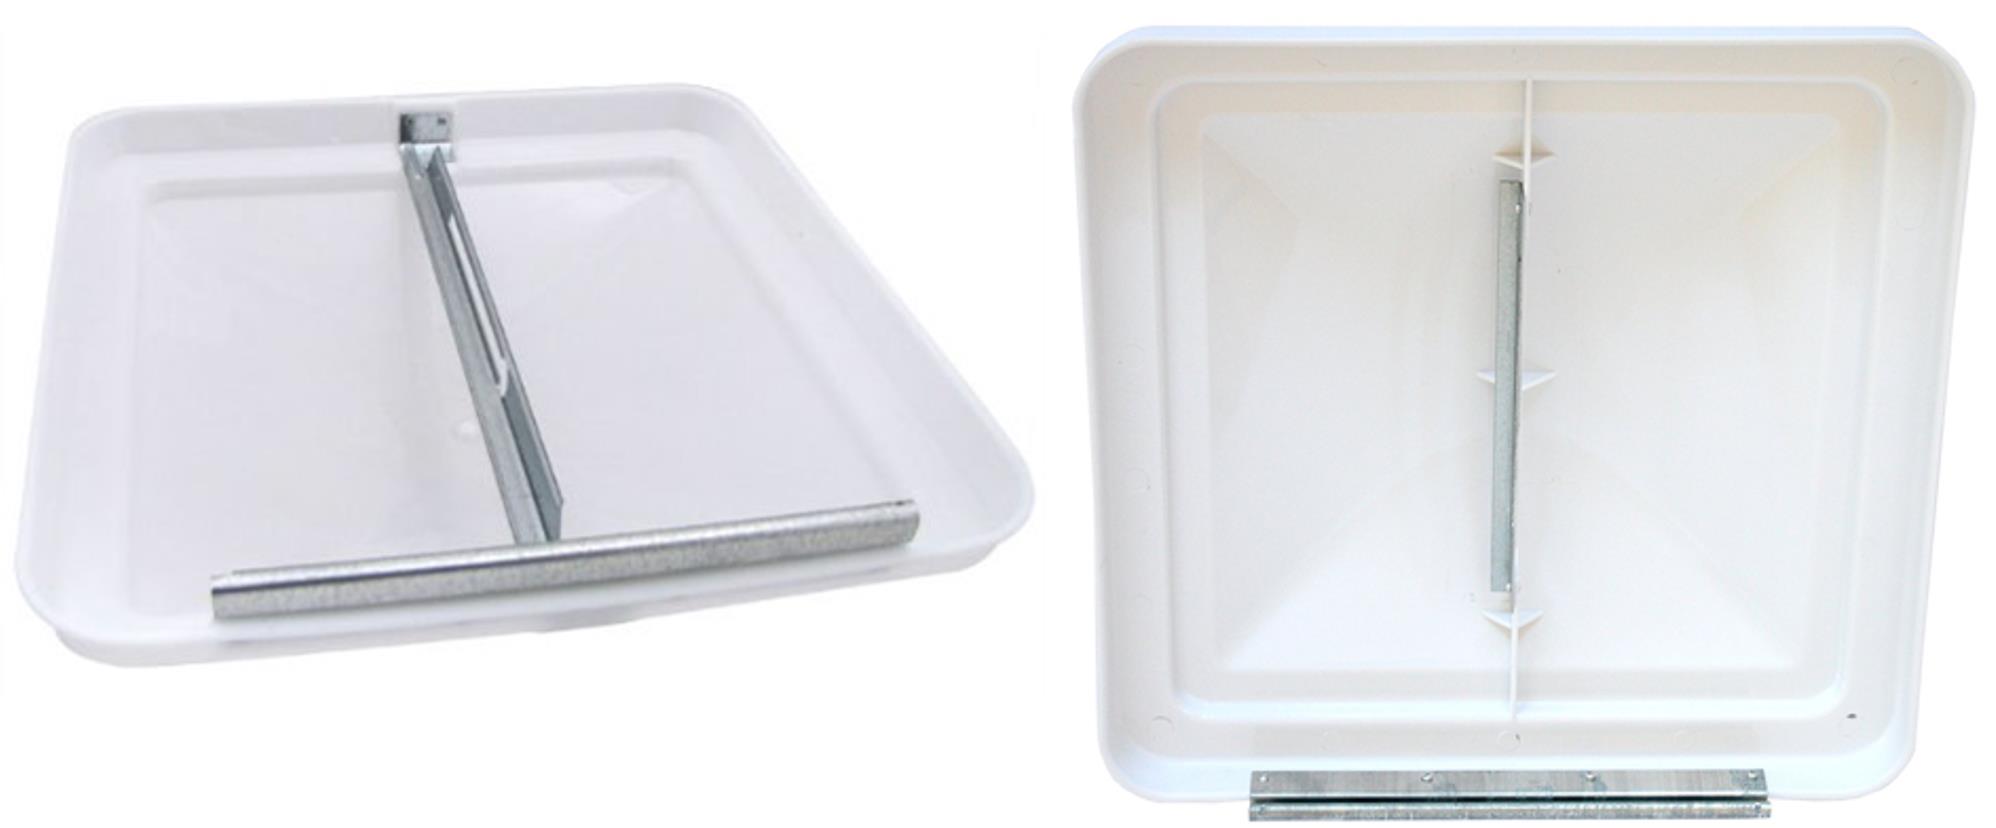
So I ordered the one on the left above. Two days later the Post Office dropped it off at our house.
This website may be compensated for linking to other sites for sales of products. As an Amazon Associate I earn a small fee from qualifying purchases at no additional cost to the purchaser.

Ventline BV055401 14″ White Vent Lid, 14×14
$27.99 (as of February 7, 2025 06:21 GMT -08:00 – More infoProduct prices and availability are accurate as of the date/time indicated and are subject to change. Any price and availability information displayed on [relevant Amazon Site(s), as applicable] at the time of purchase will apply to the purchase of this product.)
Tools You’ll Need
- #2 square head screwdriver or a #2 square head driver for a portable drill.
- #2 Phillips head screw driver.
- Needle-nose pliers.
Installation
Step 1: Remove the ceiling trim
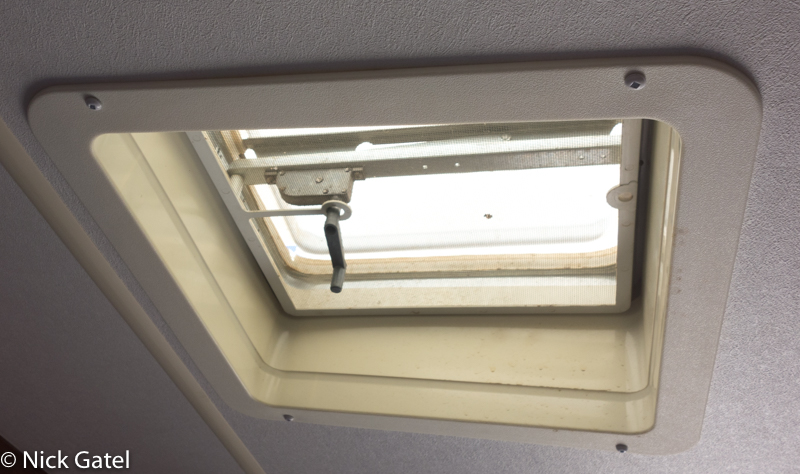
Note that the lower trim looks “crooked” in the picture above. That’s because the trim was cut at an angle when the entire vent assembly was installed to accommodate the slope of the roof. So you’ll need to note the orientation before removal to ensure you reinstall it correctly. Also, if you are replacing more than one vent lid, keep track of where each trim piece goes, it is likely that the heights will vary – again because of the slope of the roof.
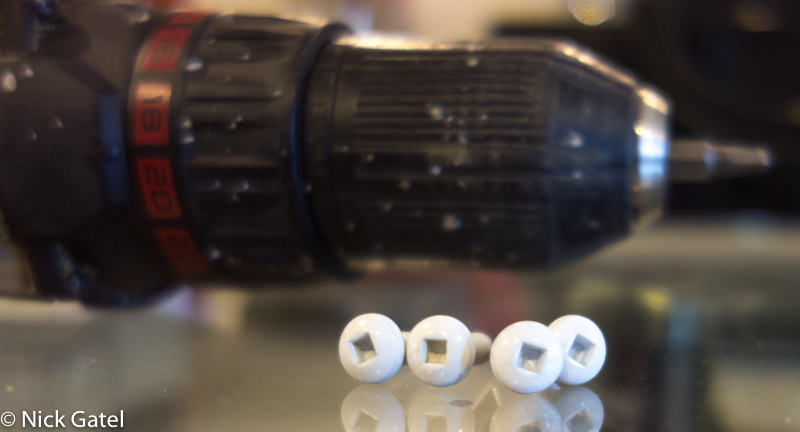
Four #2 square head screws hold the trim to the ceiling. I don’t know if #2 square head screws are standard fare in RVs, but all three of our campers have used them. By the way, you can buy these screws at big box hardware stores like Home Depot and Lowes.
If you don’t have a square head driver or screwdriver, you’ll need to get one. I have several in my home workshop toolbox and keep a couple in the camper. I removed and reinstalled these four square head screws with a portable drill and a square head driver. For all the other screws I used a #2 Phillips screw driver.

IVY Classic 44140 2-Inch #2 Square Power Bit, Impact Plus, 1/Box
$6.89 $5.63 (as of February 7, 2025 06:55 GMT -08:00 – More infoProduct prices and availability are accurate as of the date/time indicated and are subject to change. Any price and availability information displayed on [relevant Amazon Site(s), as applicable] at the time of purchase will apply to the purchase of this product.)

Klein Tools 6846INS Insulated Screwdriver, 1000V #2 Square Tip Screwdriver with 6-Inch Shank, Tip-Ident, Cushion-Grip Handle
$17.99 $11.45 (as of February 7, 2025 06:55 GMT -08:00 – More infoProduct prices and availability are accurate as of the date/time indicated and are subject to change. Any price and availability information displayed on [relevant Amazon Site(s), as applicable] at the time of purchase will apply to the purchase of this product.)

Klein Tools 603-4 Screwdriver, Made in USA, #2 Phillips Tip, Cushion Grip, Precision Machined Electrician Screwdriver, Home Improvement
11% Off $11.24 $8.83 (as of February 7, 2025 06:55 GMT -08:00 – More infoProduct prices and availability are accurate as of the date/time indicated and are subject to change. Any price and availability information displayed on [relevant Amazon Site(s), as applicable] at the time of purchase will apply to the purchase of this product.)
Step 2: Remove screw holding the vent crank handle
Partially open the vent lid (about ½ open). You’ll find that the removal of the crank gearbox (Step 4) will go much easier.
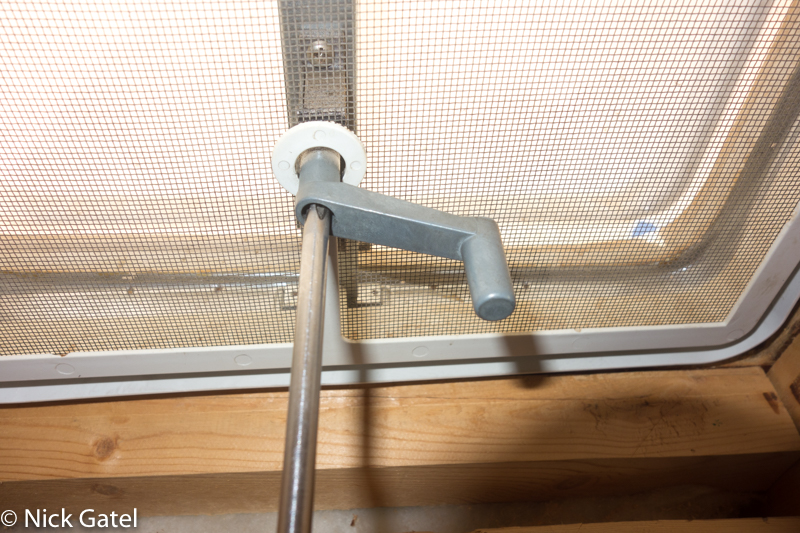
The handle is held in place by a #2 Phillips head machine screw.
Step 3: Remove the screen
The screen is held in place by two #2 Phillips head sheet metal screws. When the last screw is removed the screen will fall out unless you support it with a hand.
More than likely, you’ll find the trim and screen are dirty. Clean with warm water and air dry.
Step 4: Remove the crank gearbox
The gear box is held onto the cross support member with two #2 Phillips head sheet metal screws. Remove the screws.
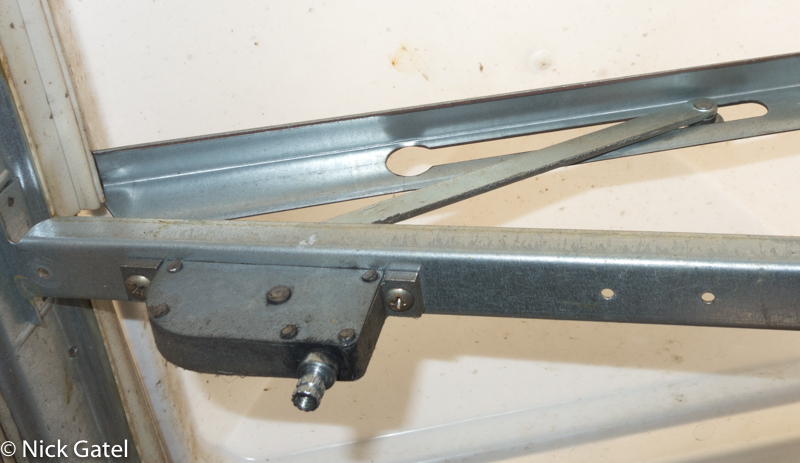
Now pull the gearbox gently down and allow the end of the gearbox arm to slide back to the large opening on the vent lid lift frame.
Pull the arm out of the lift frame, so the lid is free from the open/close mechanism.
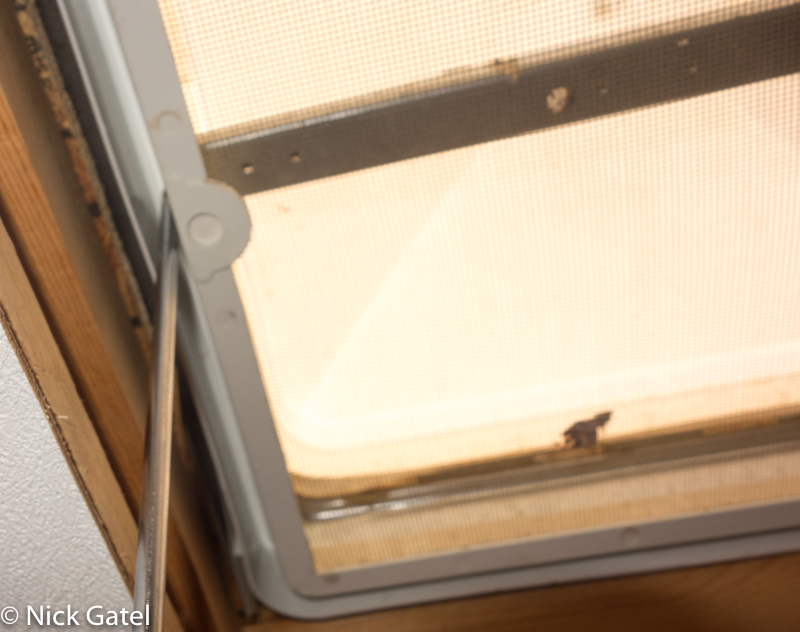
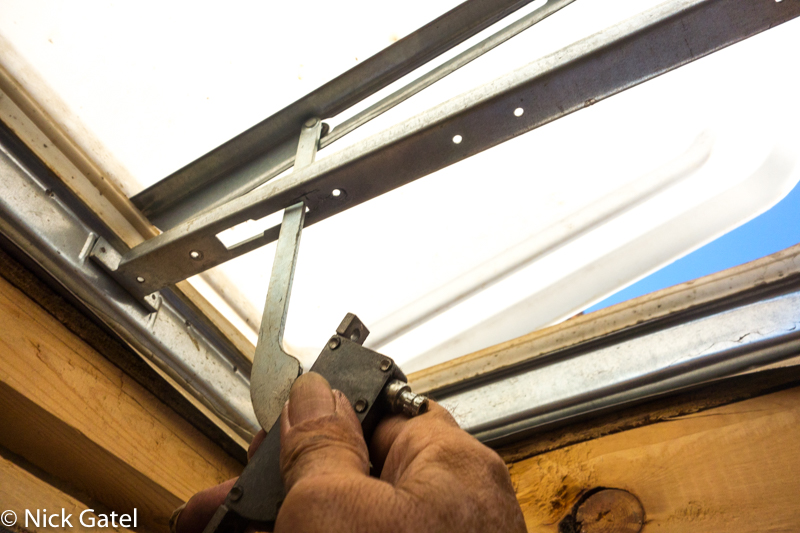
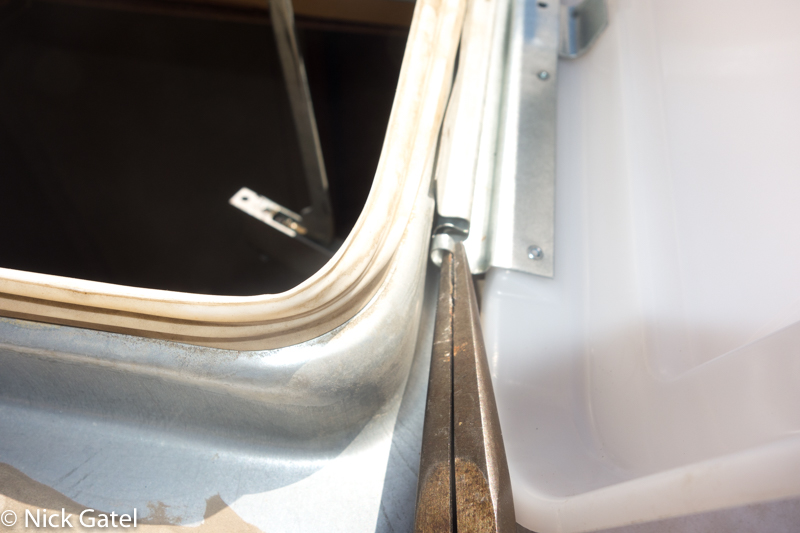
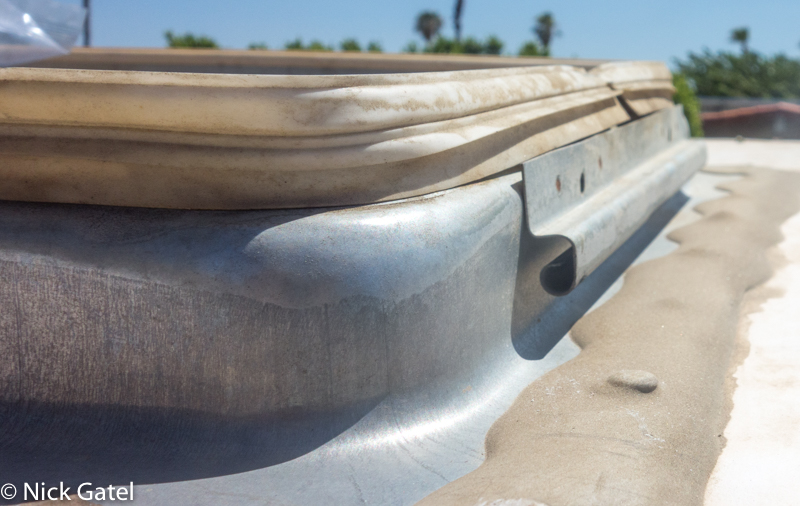
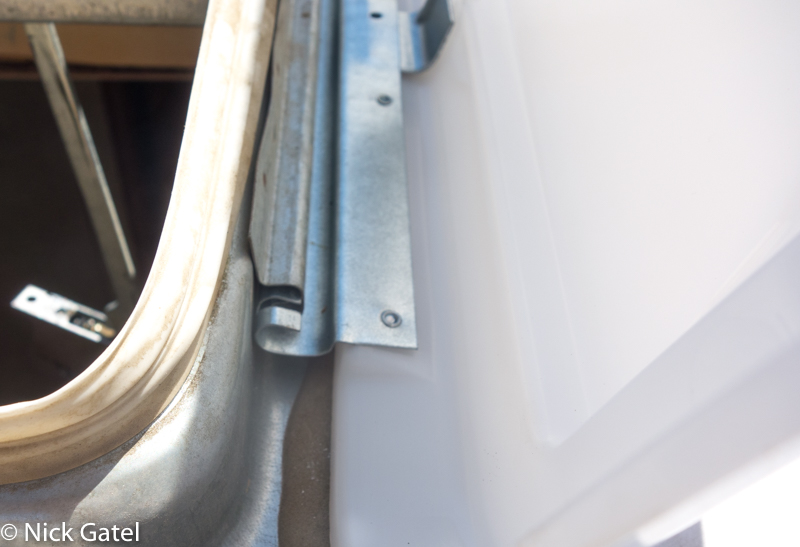
Step 5: Remove the vent lid from the rail on the vent housing
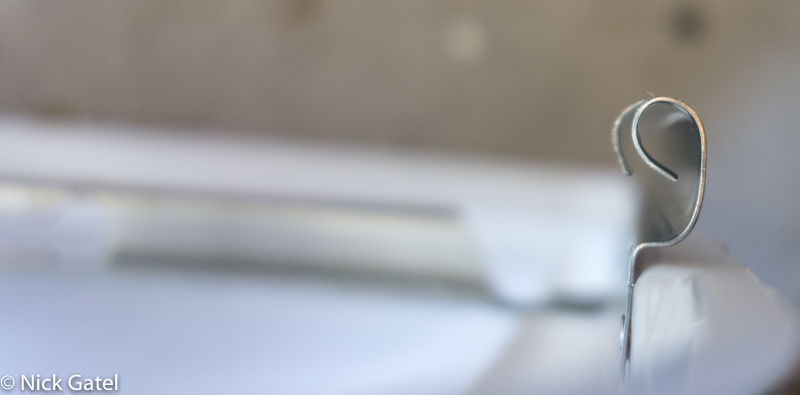
Now you’ll have to get up on the roof to remove the vent lid. The vent lid is secured to a rail on the vent housing with two tabs – one on each end. See pictures below:
To slide off the vent lid, you will have to open just one of vent tabs with a pair of needle-nose pliers. Open the lid all the way to the open position. Then twist the tab so it is a circular shape — you’ll be opening up the tab. Additional detailed pictures of these tabs are shown in Step 6. It won’t take much effort as the metal is easy to move with the pliers.
Now slide the vent off of the rail.
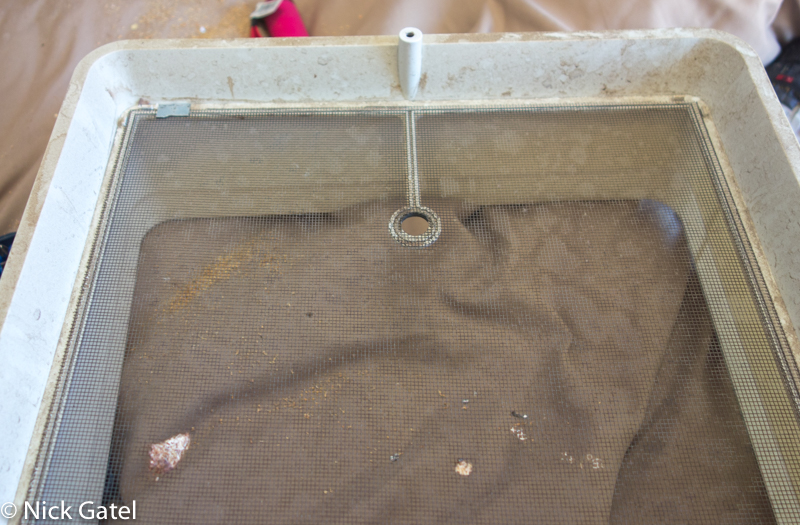
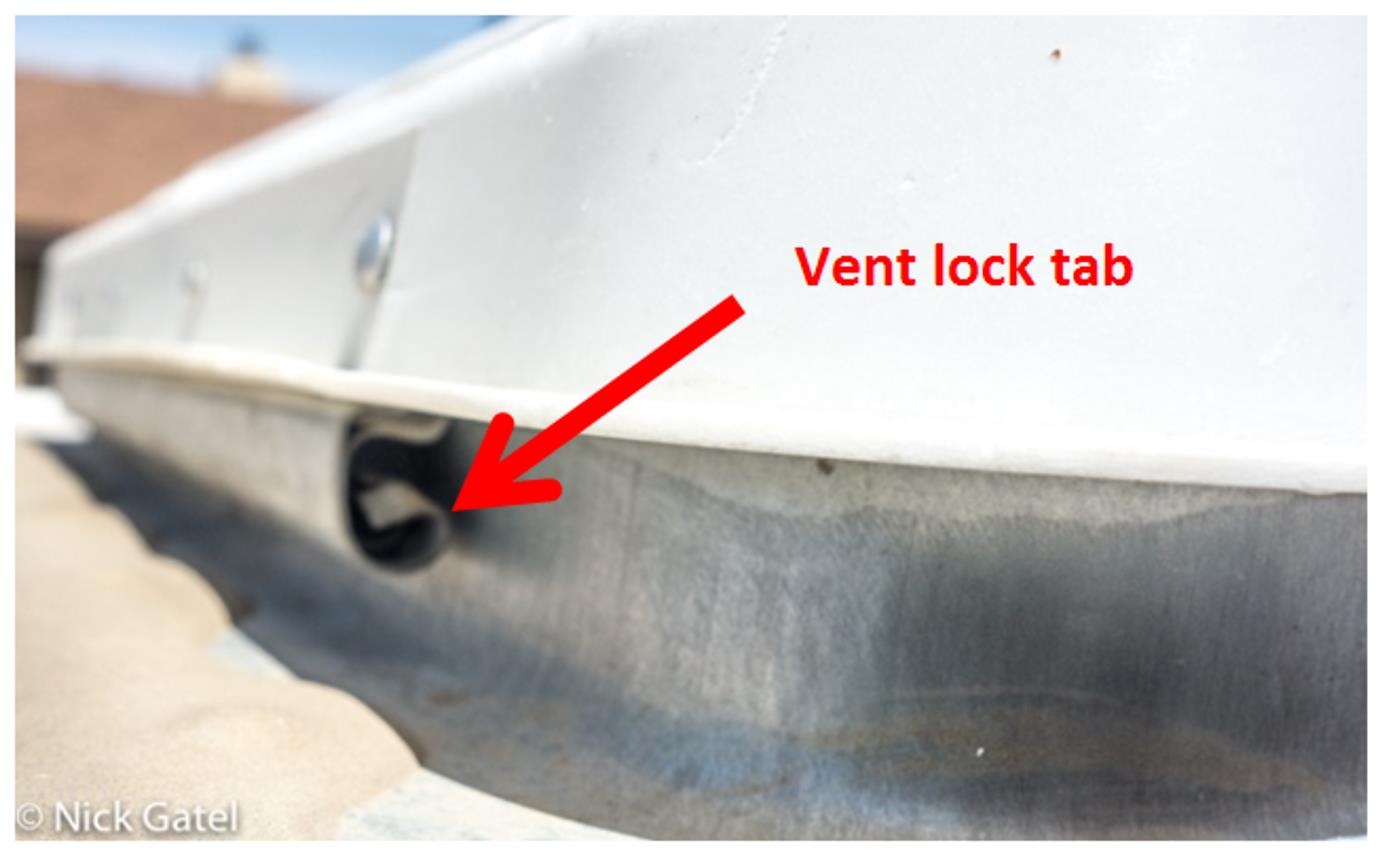
Step 6: Slide the new vent lid onto the rail
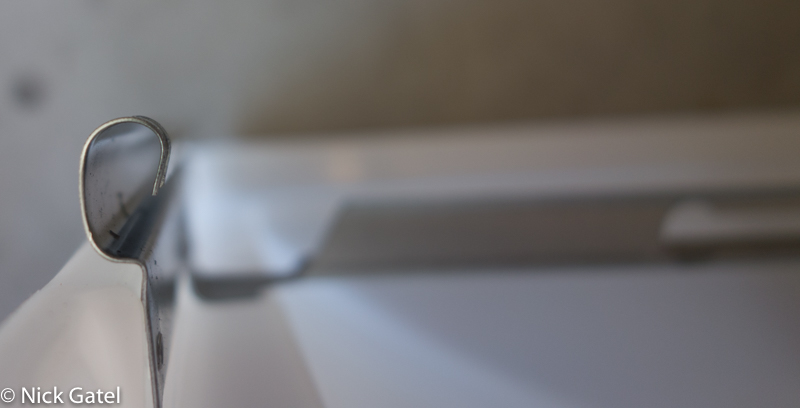
Pictures showing the vent lid hinge and locking tabs:
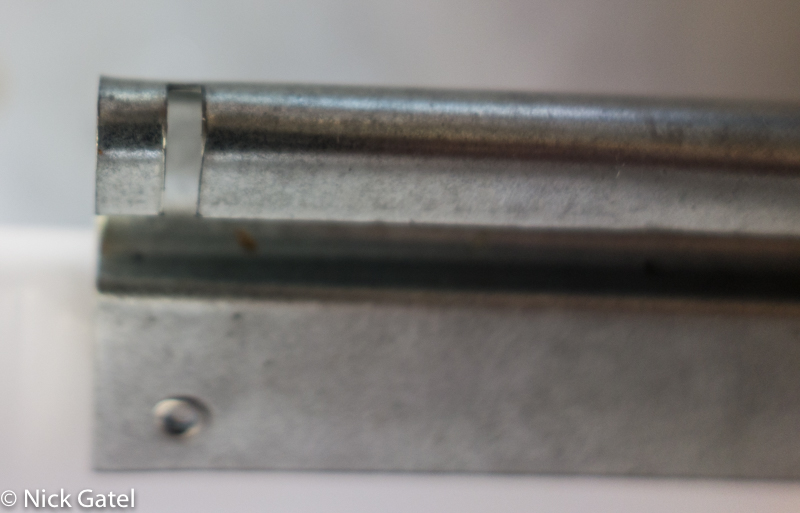
Slide the vent lid along the rail
Using the needle-nose pliers, twist the tab down so it cannot slide on the rail. Although the other tab is already pre-bent, check it to make sure the vent lid cannot slide on the rail. I had to do this to all three vent lids.
Now move the vent lid to the closed position.
Step 6: Reinstall all the parts that were removed in the opposite order
- Insert the crank gear box arm into the vent lid lift frame.
- Mount the gear box to the cross support member with the two Phillips sheet metal screws.
- Reinstall the screen with the two Phillips head sheet metal screws.
- Reinstall the crank handle with the Phillips head machine screw.
- Reinstall the trim with the four square head screws. Make sure the trim is oriented properly.
- Test for proper operation.
It took me under an hour to replace all three vent lids, even though the temperature was 107F.