As we near the end of October, many campers are “winterizing” their campers and putting them into storage. Given our location and easy access to year round camping we “winterize” differently.
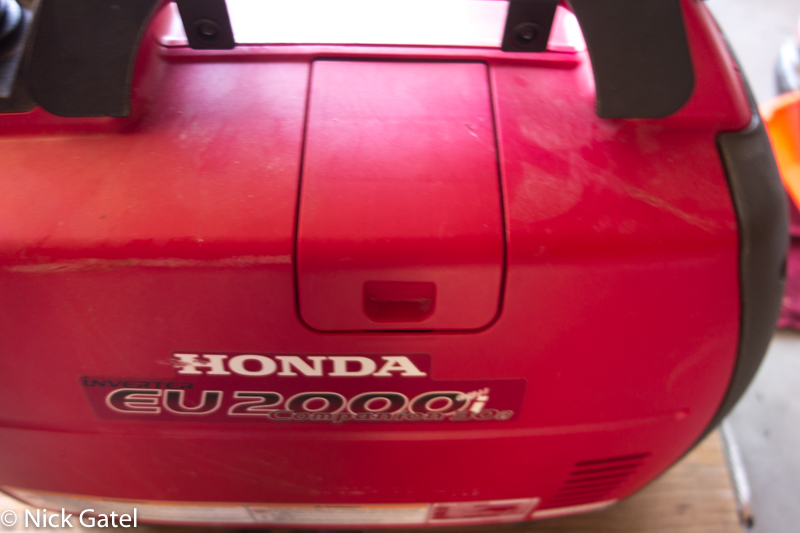
This summer we bought a pair of Honda generators as I shared a while back. These were purchased only for use in summer when temperatures are in triple digits (meaning we won’t have any camping neighbors). They also can be used for backup electricity in case of a power outage. We won’t need them for at least 6 months, so it was time to winterize them – meaning to do any required maintenance and prep them for storage. Just in case you have Honda EU 2000 series generators and haven’t read the manual, other than the Quick Reference Guide, here is the maintenance schedule.

How Many Hours?
As you may have (hopefully) noticed, instead of intervals based on mileage like a car or truck, hours are the key maintenance point for Honda generators. So how do you keep track of how many hours your generator has run? There isn’t any kind of hour odometer built into the generator.
The solution is simple and very inexpensive – buy an Hour Meter.
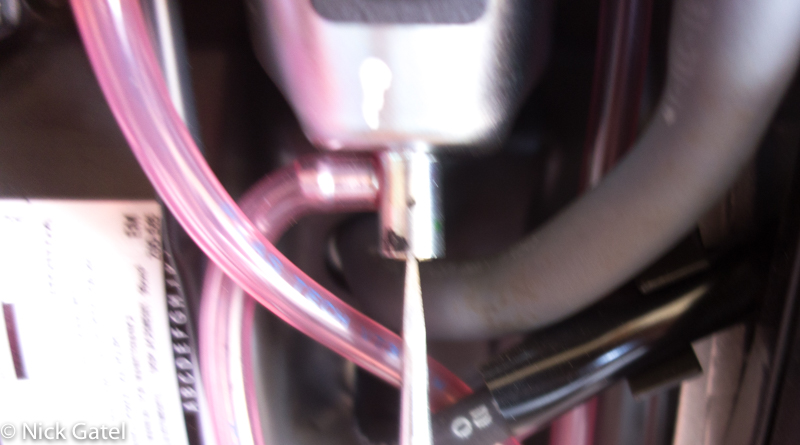
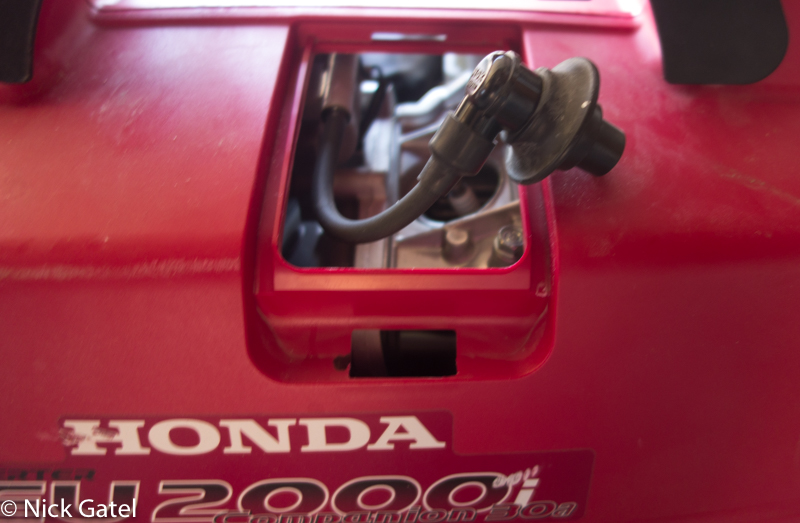
This meter can be attached to the fuel hoses with the included wire-ties (or you could permanently mount it).
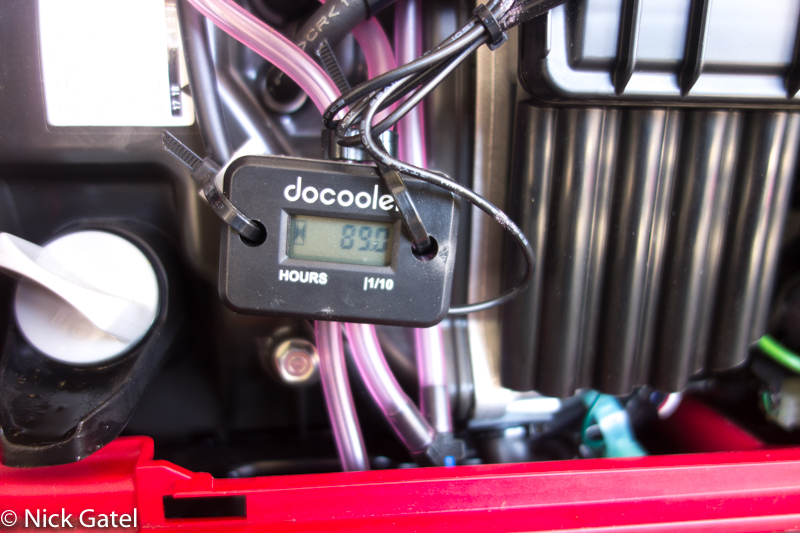
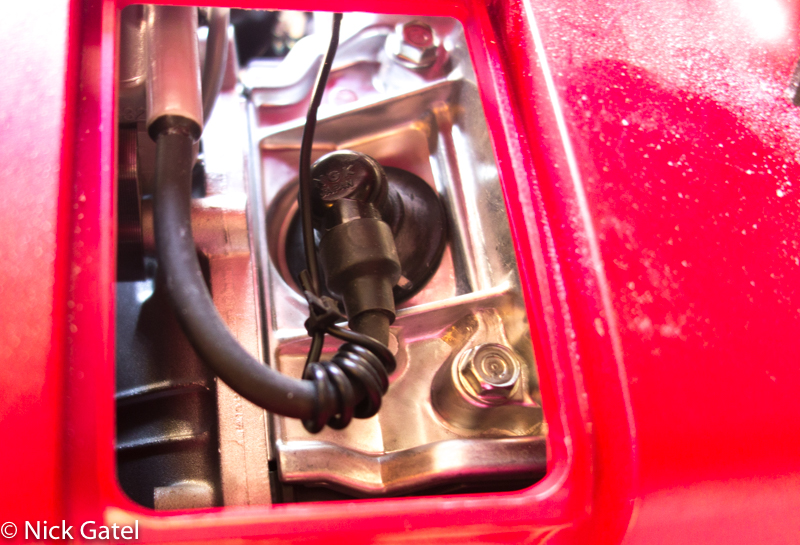
There is a single wire lead that wraps around the spark plug wire.
That’s it!
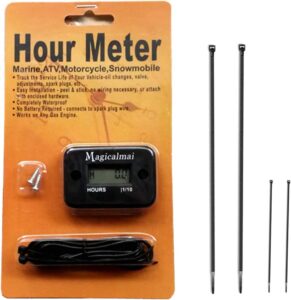
There are a couple draw backs: (1) the battery isn’t replaceable and (2) you can’t reset the meter back to zero. The manufacturer says the battery has an approximate life of 3 years. It cost me less than $13 on Amazon.
Update December 14, 2023: Nowadays some of these inexpensive meters come with replaceable batteries.
This website may be compensated for linking to other sites for sales of products. As an Amazon Associate I earn a small fee from qualifying purchases at no additional cost to the purchaser.
Inductive Hour Meter for Gas Engine Generator
![]()
Maintenance
The big item, other than inspecting a couple of things listed on the maintenance chart is to change the oil. The meter shows 89 hours, but since the generators will be sitting for 6 months or more, I went ahead and changed the oil.
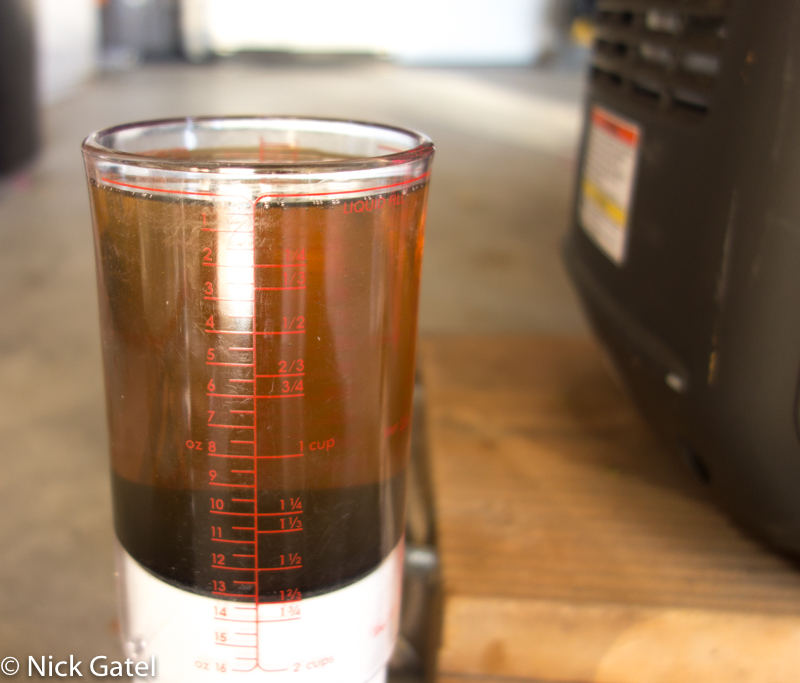
We have a EU2200i and a EU2000i Companion. They don’t have the same oil capacity. One is 13 ounces and the other is 14 ounces. So on the inside of each cover I wrote down the recommended oil viscosity and the capacity – this way I don’t have to get out the manual and check – and I’m certainly not going to remember.

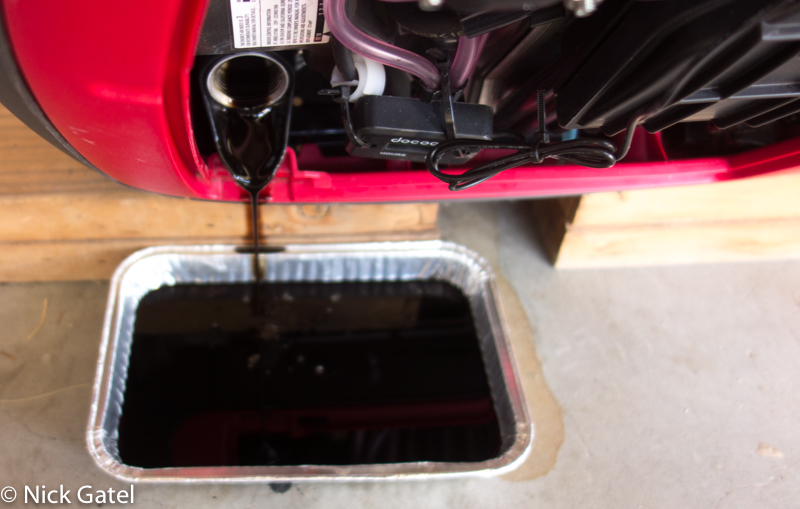
The generators don’t have a drain plug like a vehicle. Below the dip stick cap is a spout. You simply remove the dipstick and tilt the generator to drain the oil.

I placed the generator on some wood blocks and drained the oil into an aluminum pan. This took all of 30 seconds or so.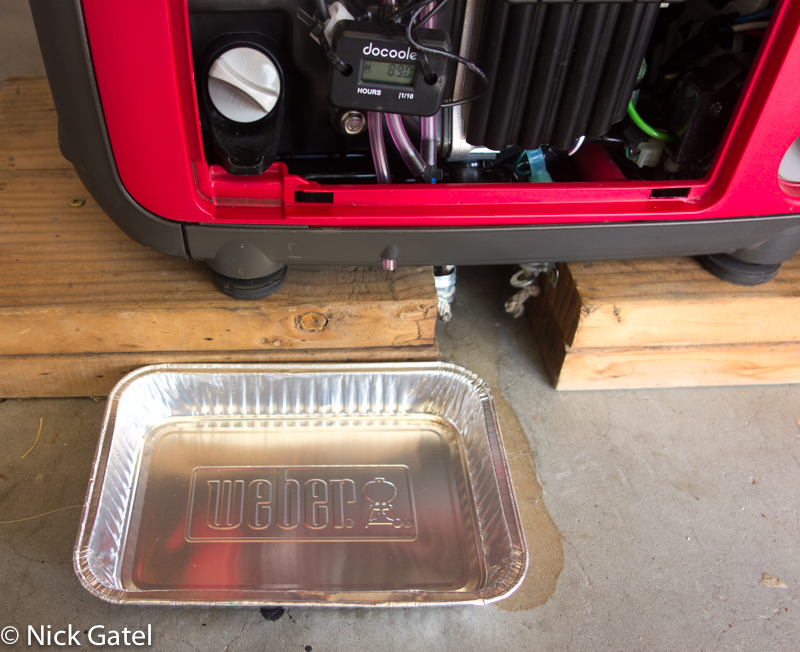
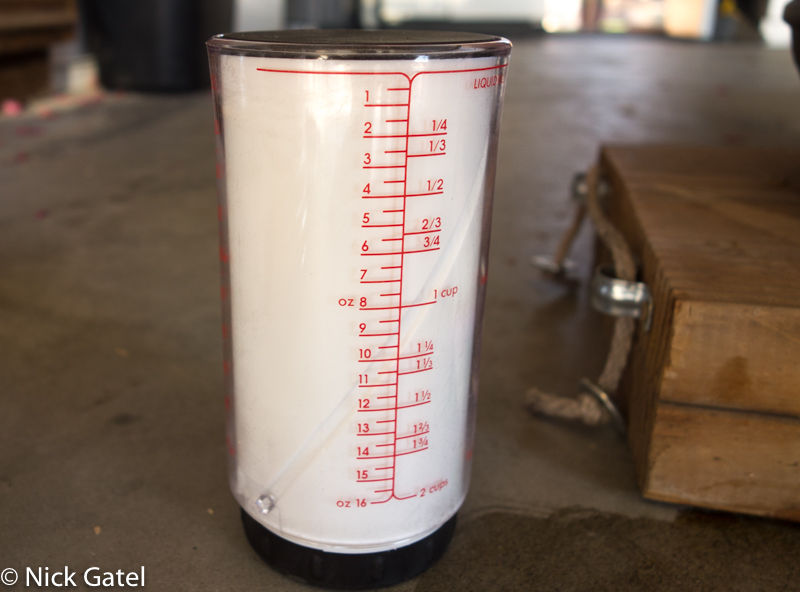
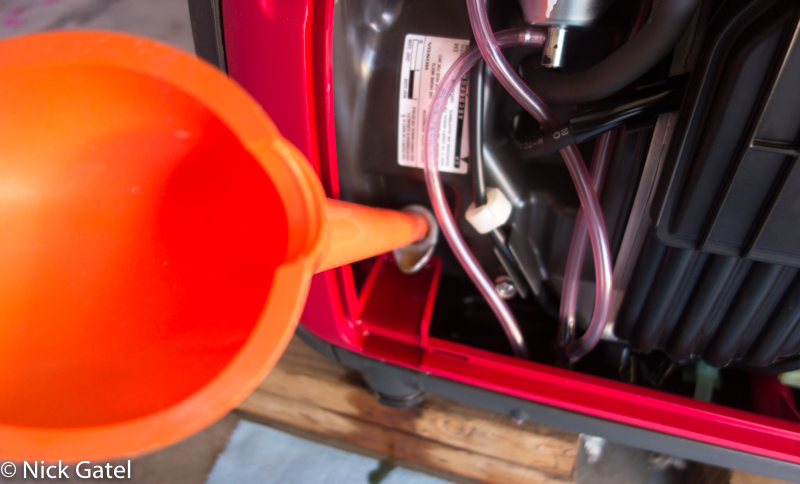
After the oil is drained, clean any residue on the spout and case with a rag. Used oil is a hazardous waste, so you want to transfer the oil from your drain pan into a sealed container and dispose of properly. Most auto parts stores such as Auto Zone or O’Reilly Auto Parts accept used oil. To efficiently complete the oil change you need to items – a measuring cup or similar so you can pour exactly the specified amount of oil into the engine and a funnel so you don’t spill any oil.
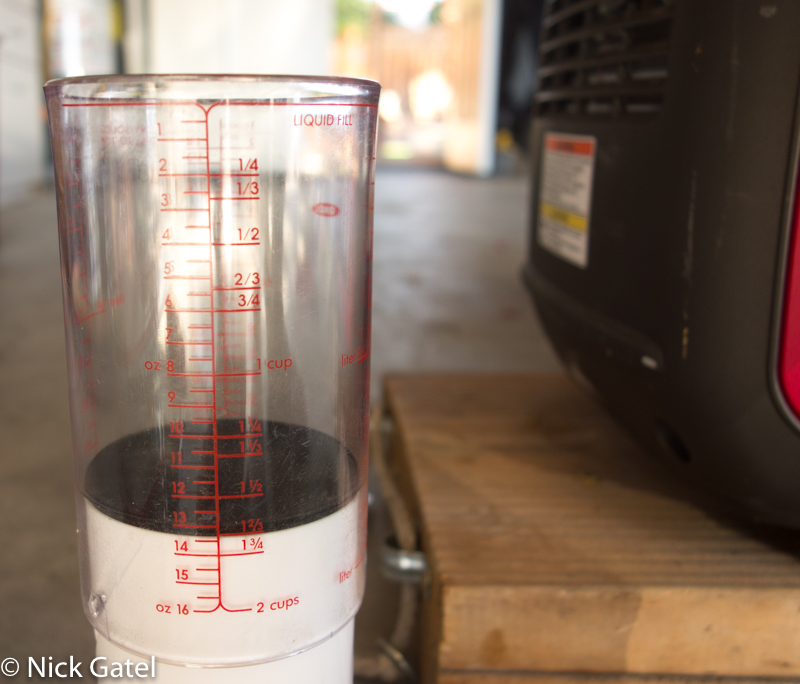
Adjustable Measuring Cup
KitchenArt 2 Cup Tri Adjust A-Cup, Easy Pour Measuring Cup

![]()
You just twist the bottom to adjust it to the correct fluid capacity. Plus it is really easy to clean!
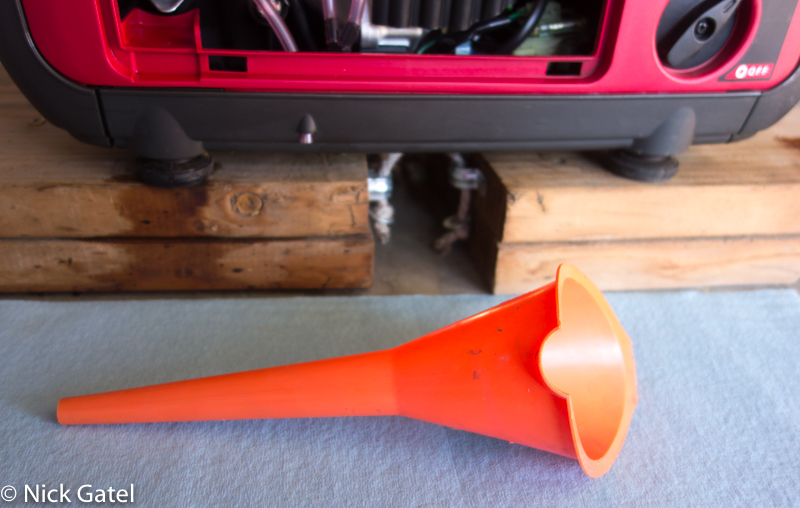
Oil Funnel
This one works perfect for the generators. It is long enough so the funnel can be held at the proper angle to fill the crankcase and short enough to hold it and pour in the oil.
FloTool Automotive Funnel

![]()
Storage Prep
Below is the storage recommendations from the Owner’s Manual.
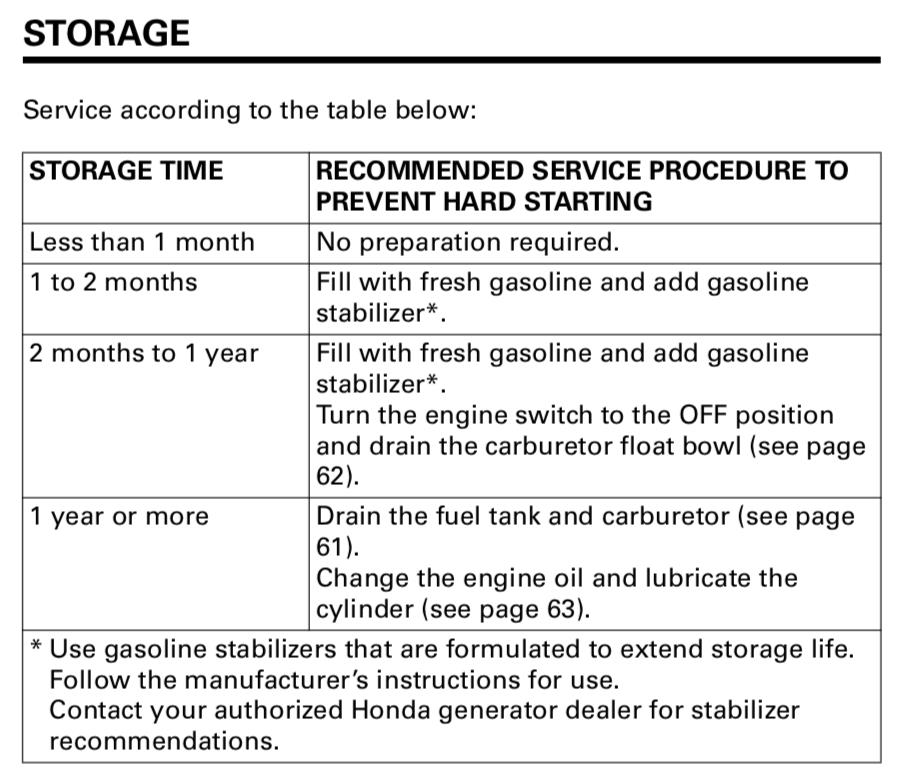
Since I am going to store the generators for at least 6 months, I did the “1 year or more” service recommendation. What follows are the steps with pictures.
Drain the Gas for Storage
Gasoline can oxidize and deteriorate over time and can damage/gum up the carburetor. You can purchase fuel stabilizer to add to the tank to help prevent this.
The best method is to drain the tank and carburetor if the generator will be stored for a length of time. The good news is it is easy to do!
Step 1
Remove the gas cap and fuel filter.

Drain the fuel tank. I just picked up the generator and tilted it and poured the gas into a gas can. This removed almost all the fuel from the tank.
You can also use a pump; just make sure it is a manual pump like this and not electric powered!!
HORUSDY Multi-Use Siphon Fuel Transfer Pump Kit
![]()
![]()
Step 2
Run the generator until it runs out of fuel. Turn the engine switch to the OFF position.
Step 3
Drain the carburetor. This is really easy.
There is a drain hose and a carburetor drain screw for draining the gas out of the carburetor.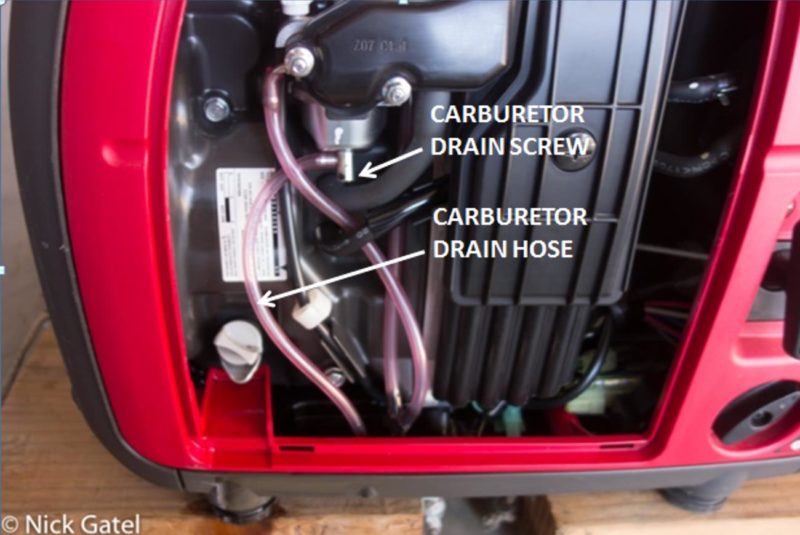
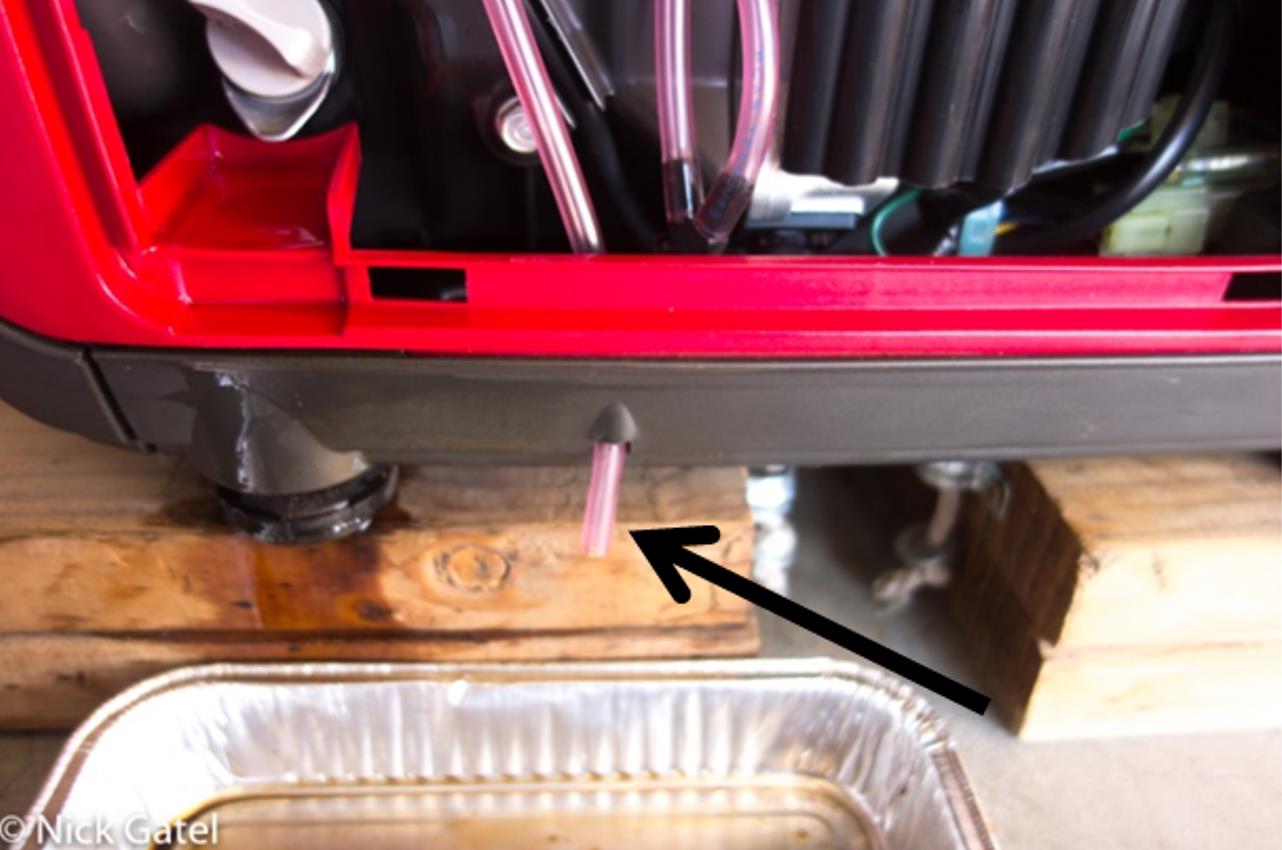
Open the carburetor drain screw and capture the fuel in a drain pan.
Do not tighten the carburetor drain screw yet.
Step 3
Drain the Fuel Pump
- Turn the engine switch to ON
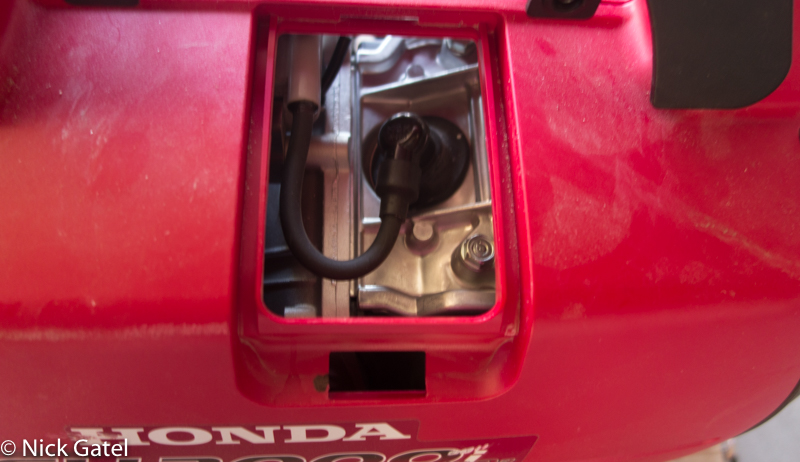
- Remove the spark plug cover
- Disconnect the spark plug wire
- Pull the start handle 3 or 4 times so any fuel remaining in the fuel pump will drain out of the fuel hose
- Turn the engine switch to OFF
- Tighten the carburetor drain screw
Change the Engine Oil (see instructions above)
If you just changed the oil just before draining the fuel skip this step.
Engine Cylinder Preparation
- Remove the spark plug and add one tablespoon of clean oil
- Pull the start handle several times to distribute the oil
- Reinstall the spark plug wire onto the spark plug
- Reinstall the spark plug cover
- Slowly pull the start handle until resistance is felt, now slowly return the starter grim (this will return the valves to the closed position to prevent moisture from getting into the cylinder).
Your generator is now read for storage.