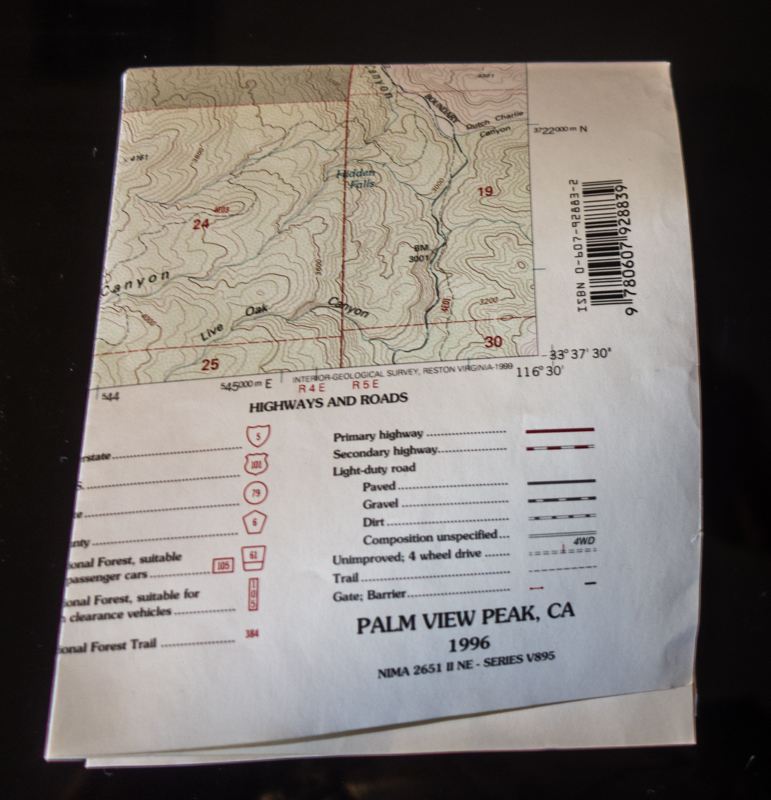
Not long ago I was hiking in a remote area. Remote meaning I didn’t expect to meet any people. There wasn’t a trail to follow, no signs, and I knocked down the accurate cairns while leaving the inaccurate ones standing. I was heading to a sensitive historical area to which some bonehead had posted detailed directions on the Internet, which usually means morons will start visiting and damaging the site.
While I didn’t expect to see anyone else hiking in the area, there is always the possibility someone else will be in the area, which isn’t necessarily a bad thing. I ran into a fellow who asked if I had a topographical (topo) map he could look at. Before continuing with the rest of the story, a brief discussion of topo is in order.
USGS TOPO MAPS
When hiking in this kind of terrain, I usually take topographical (topo) maps printed by the United States Geological Survey (USGS). The maps I use have a scale of 1:24,000 (7.5 minute map), or 1 inch is about 2,000 feet. These are the most accurate and detailed maps available to the hiker in the United States. But at $8 – $15 each, they can be expensive. Plus on even a weekend hike several 7.5 minute maps maybe required. Most of these maps are around 20” X 28” printed.
The good news is that most USGS Topo Maps can be downloaded for free at the online USGS Store as PDF files that can be taken to many stores, such as Staples, and printed for a lot less money.
Another option is to purchase map software or even go to online services that allow you to print maps. One of the best software solutions was “TOPO!” published by National Geographic.
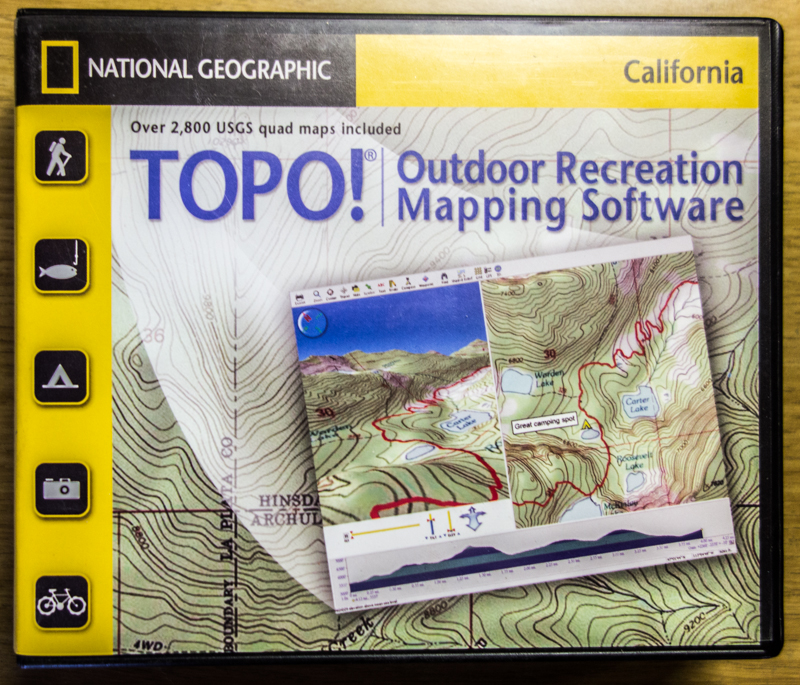 Unfortunately the software has been discontinued, so I keep my copy safe and sound. The good thing about TOPO! Is the user can customize the map, and print it on many sizes of paper. It is particularly handy if you purchase waterproof paper.
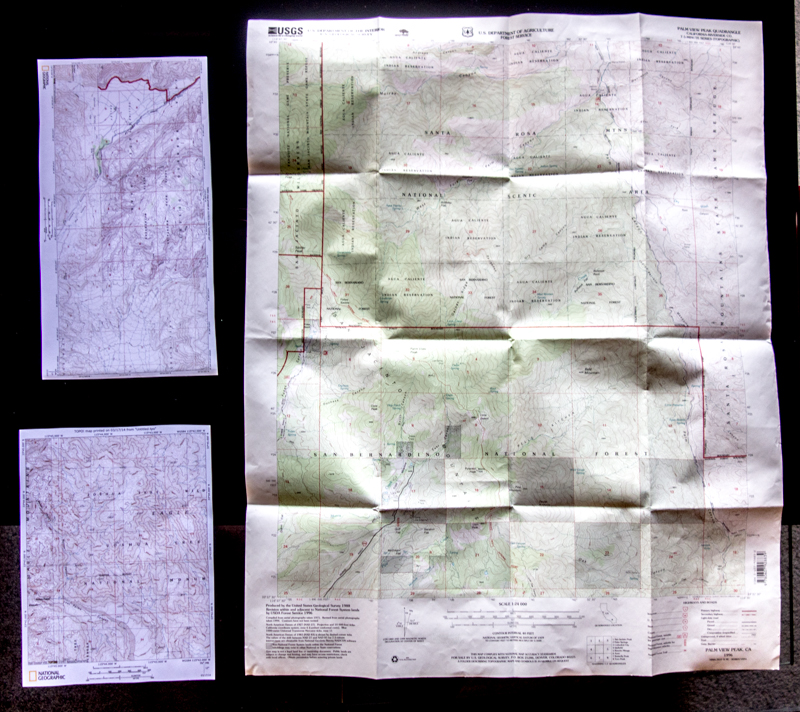
I normally print TOPO! Maps on 8.5” X 11” (letter size) or 8.5” X 14” (legal size) when I don’t need the detail of a full size USGS map.
THE REST OF THE STORY
So the gentlemen who asked to see my map was traveling with just a GPS unit, which had a small map on the screen. He seemed to be skilled with the GPS and in cross country travel. The request to see a map was to determine the difficulty of the terrain on the other side of a ridge that ran along a wash, a barrier that defined one side of the wash.
After checking the map, we had a brief but enjoyable conversation, and he was particularly interested in how I folded my topo maps. I have been folding them this way for a long time, and am not sure where or why I started folding them this way. Perhaps it was in the military, or perhaps I read it somewhere. I can’t remember.
HOW TO FOLD A TOPO MAP
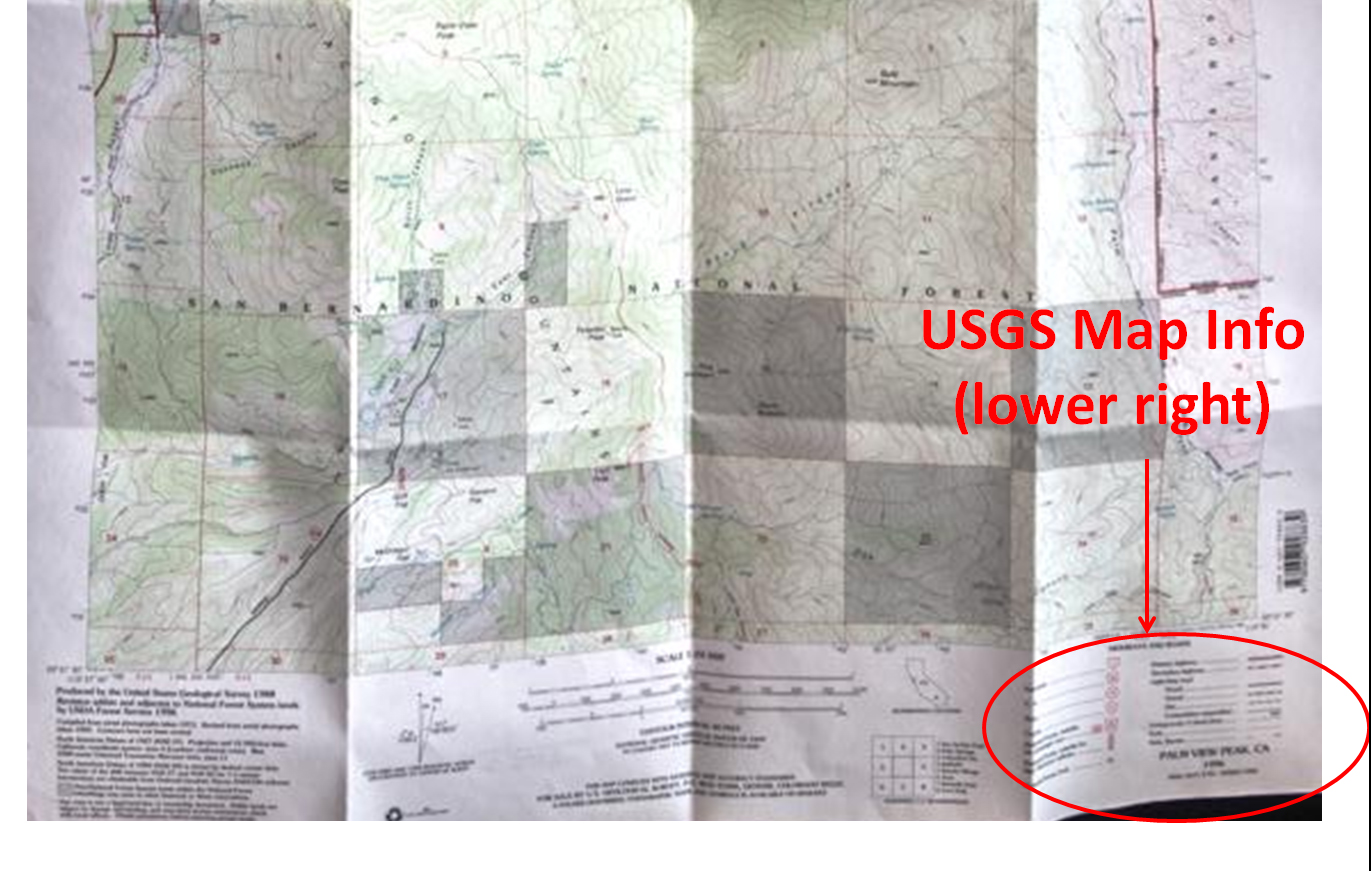
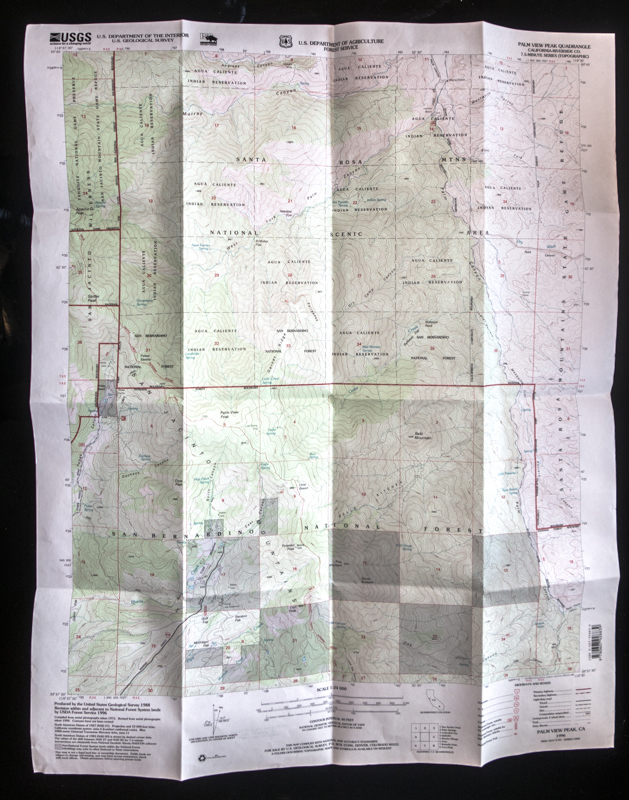
Before we start, it is best to identify 3 parts of the map; at the top of the map is the the USGS Heading (upper left) and the USGS Map Title (upper right).
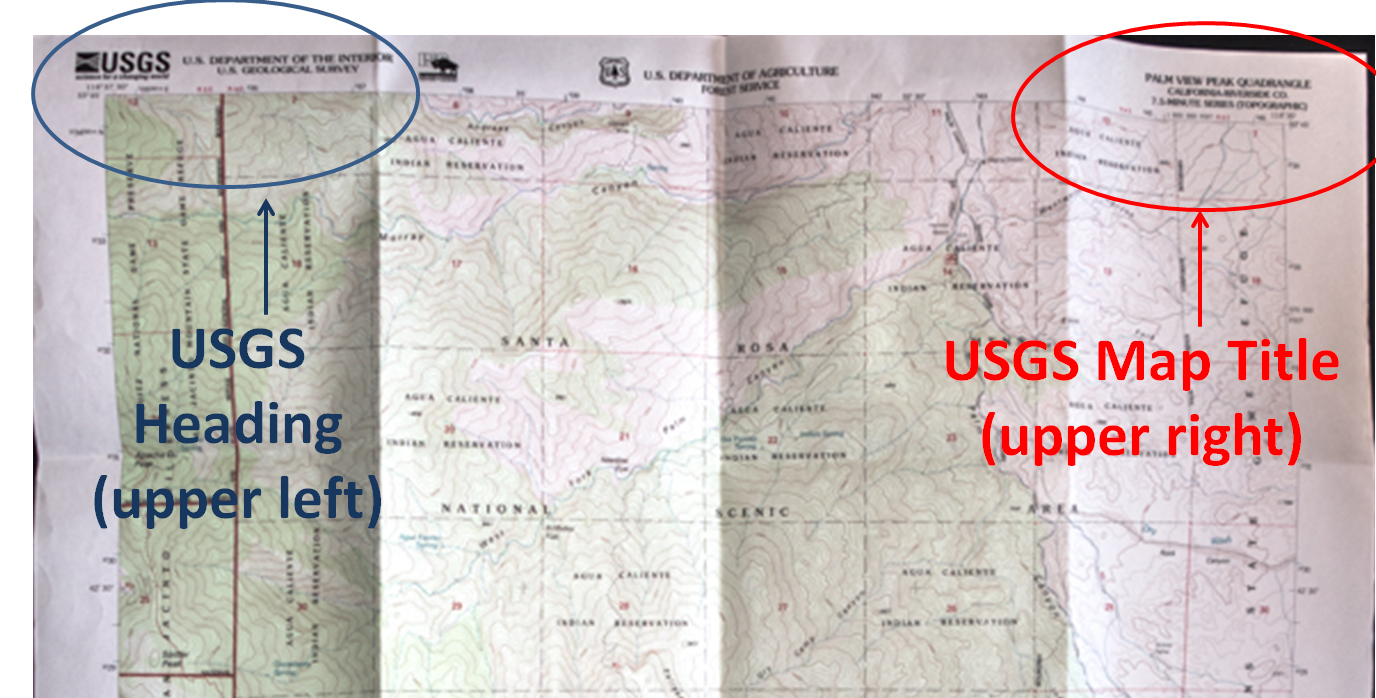
And the map information at the lower right.
Step 1
Lay out the map.
Step 2
Fold the map in half.
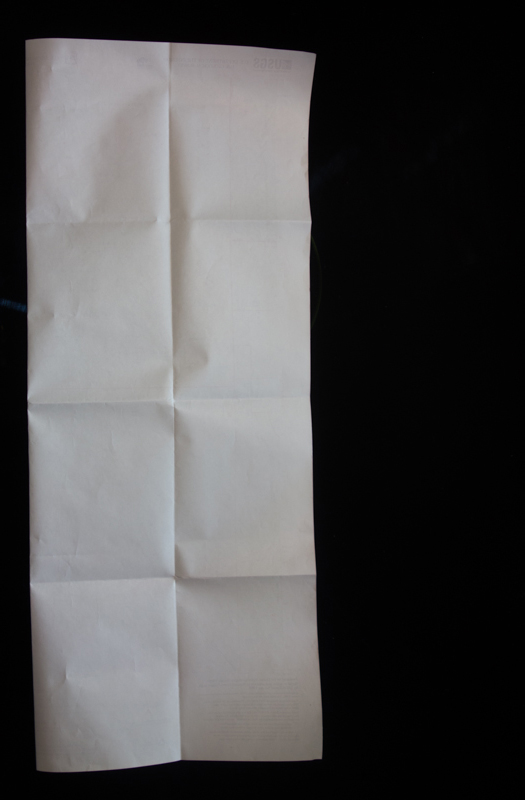 You will be folding the printed side in, so that you will only be able to see the blank side of the back of the map.
Step 3
Now fold each side of the map back ½ of the map fold from step 2.
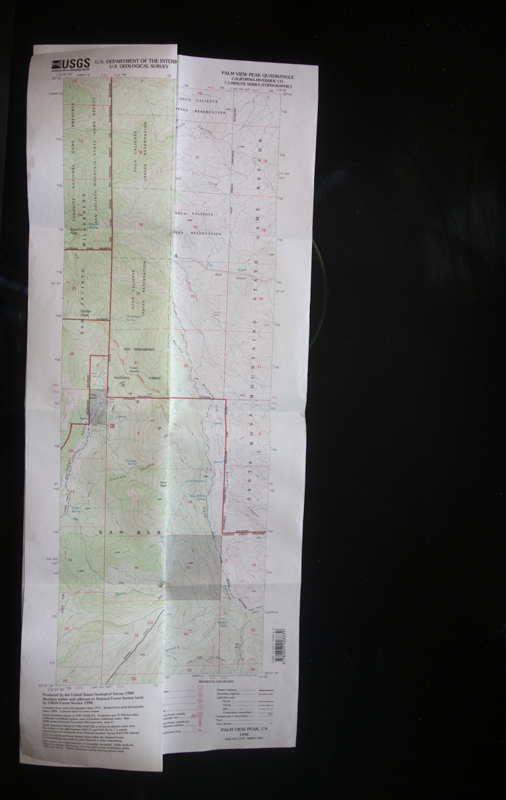 You will have folded the top part ¼ of the map width and will see ½ of the map underneath this fold.
Step 4
Now fold the other half of the map back. The map should be in a “W” shape, with all the printing showing.
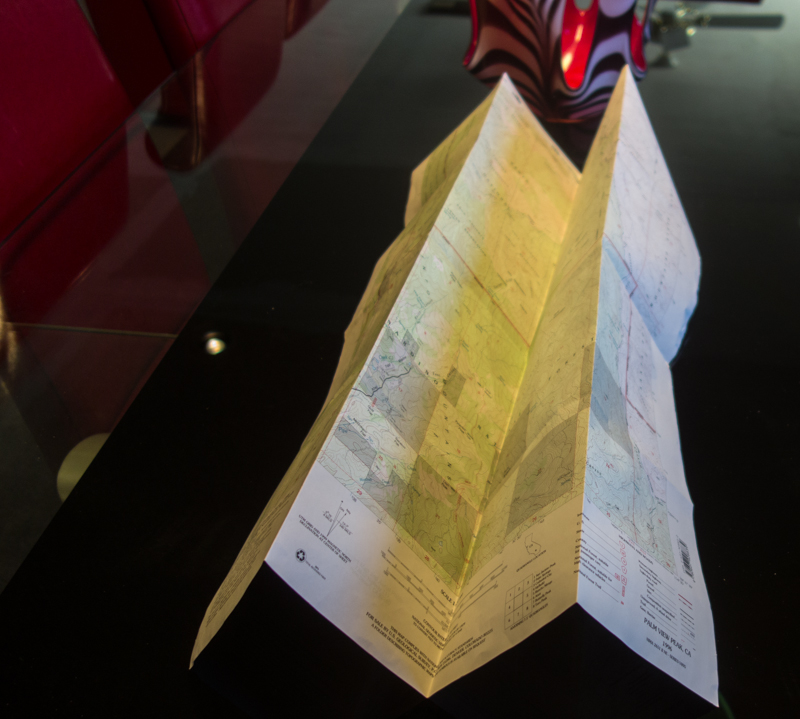
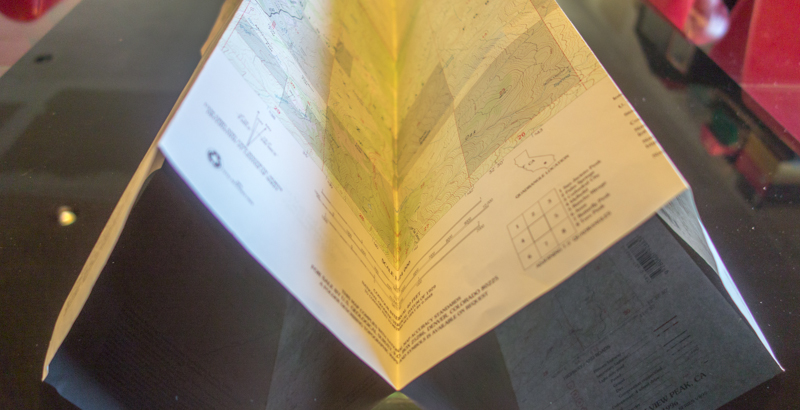
 Fold the map with the USGS Heading showing.
Step 5
Fold the map back under itself in half.
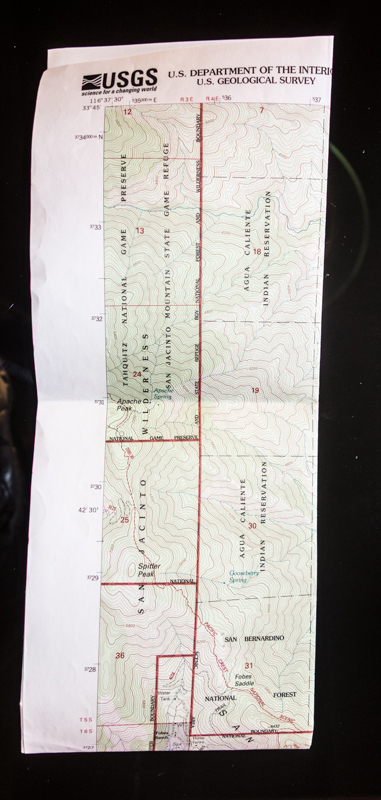
Step 6
Fold the top of the map back on itself. Both the front and the back. If you look at the picture in Step 5, you can see the direction of the fold.
Step 7
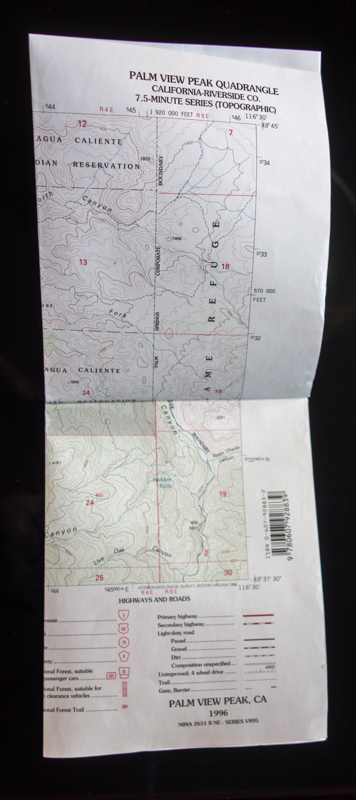
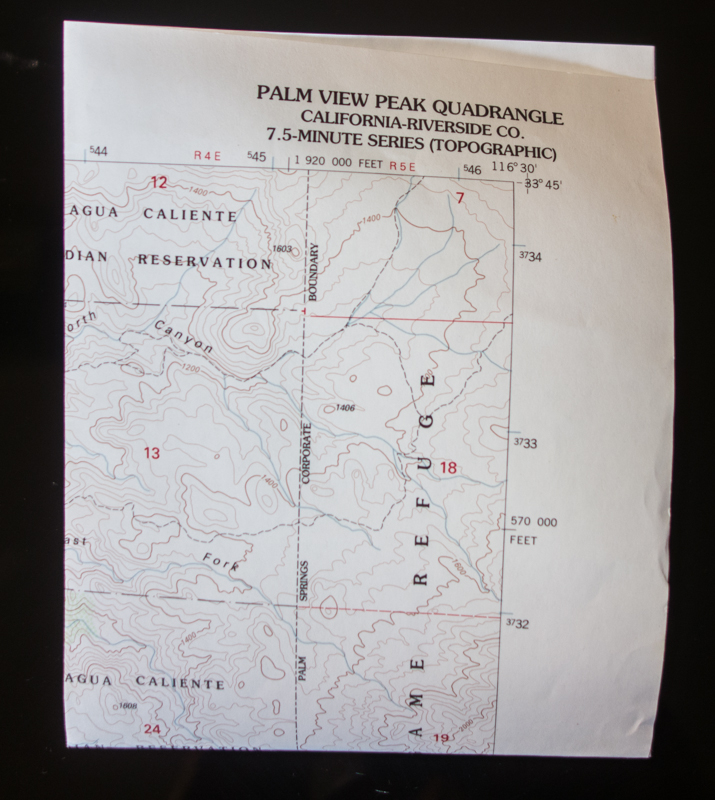
You are finished. Make sure that you can see the Map Title on one side, and the Map Information on the other side. The map has been folded to approximately 5.5” X 6.5”
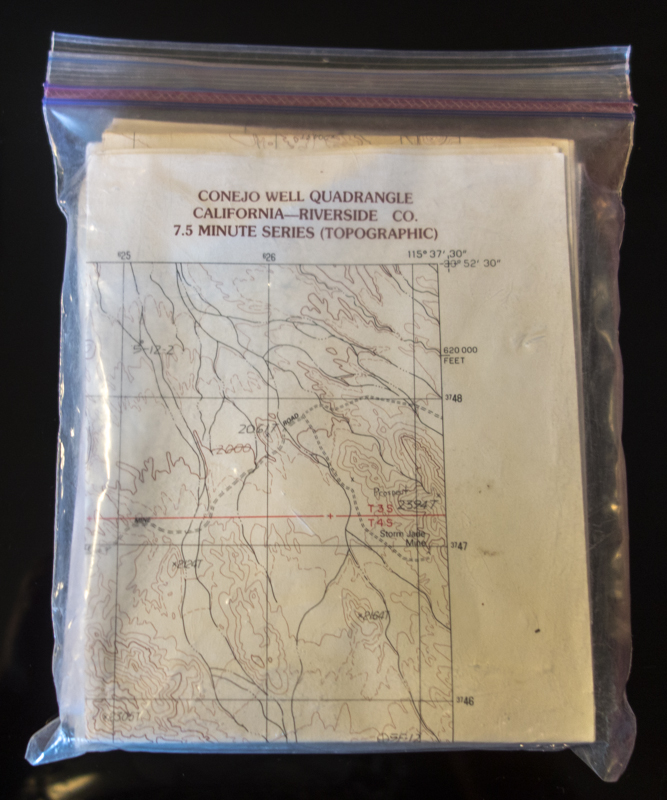
You can buy heavy duty ZipLoc bags measuring 7” X 8.75” that can hold 5 or 6 USGS topo maps.
