THERE IS A RIGHT WAY, AND A WRONG WAY

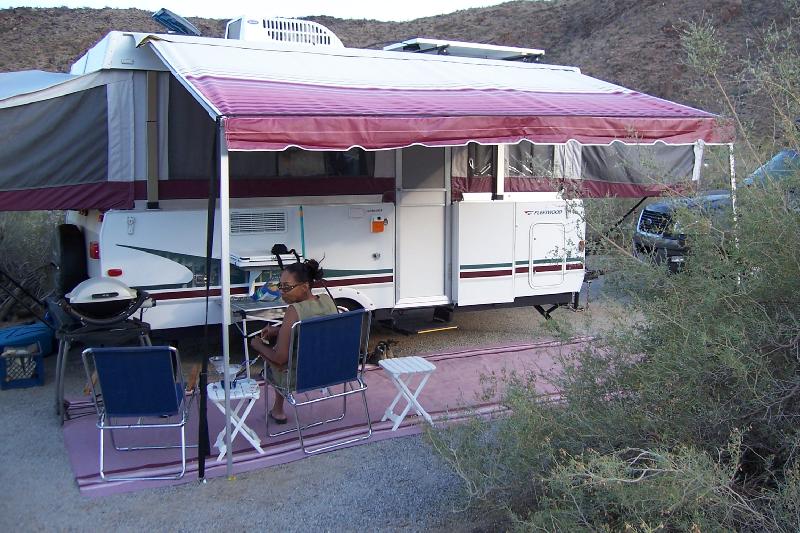
One thing I really enjoy about a tent trailer is the open feeling when all the curtains are pulled backed and the windows are opened. You have a 360 degree view, with netting to keep insects out. Even in hot weather, the shaded interior is much cooler than outside, there is plenty of ventilation.
Tent trailers are a little different to set up than a travel trailer, 5th wheel, or a motor home.
It is surprising how many people do not know how to properly set up their tent trailer, in spite of the fact the Owner’s Manual provides comprehensive instructions.
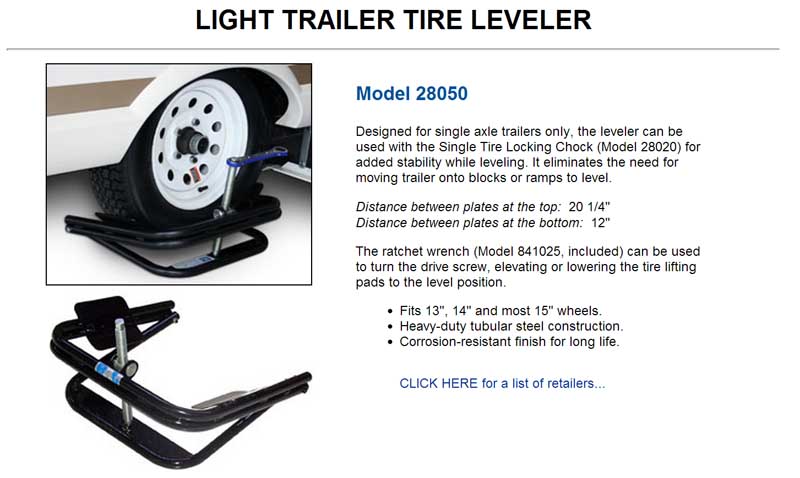
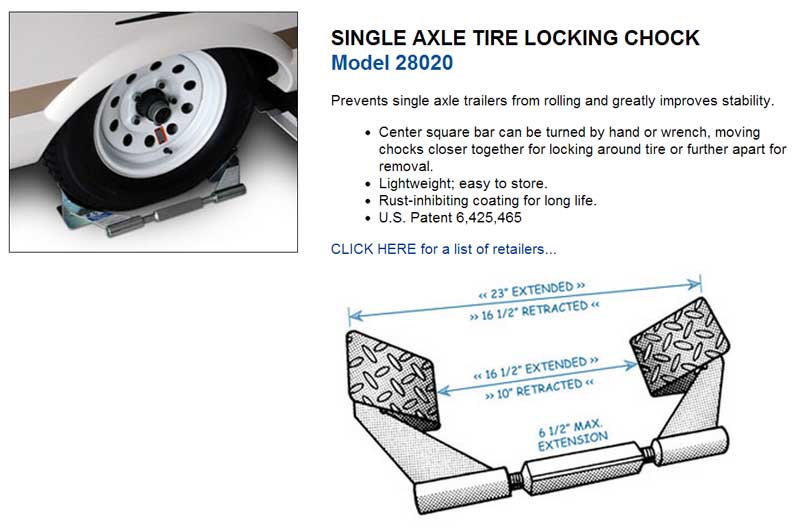
So this is how we do it. Two items I highly recommend for setting up a tent trailer are a BAL Light Trailer Leveler and a BAL Single Axle Tire Locking Chock.
We use both to assist in the set up sequence:
- Back into camping spot.
- Walk around the trailer and undo the roof latches.
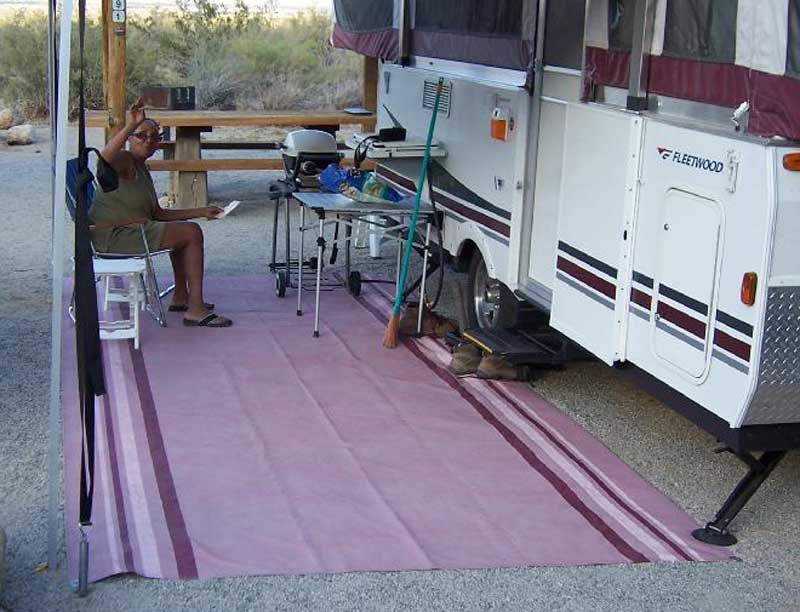
- Lay out the Patty O Mat.
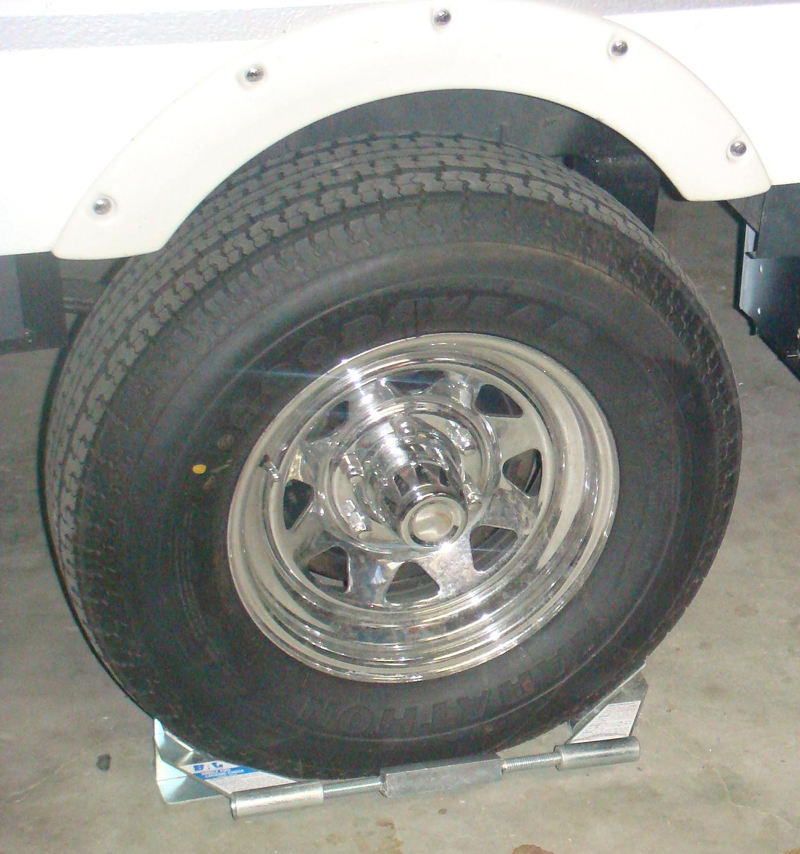
- Secure the high side wheel with the BAL Single Axle Tire Locking Chock.
- Place a 6” level on the rear bumper to ensure side-to-side level.
- Put the BAL Light Trailer Leveler under the low tire, and raise the leveler with an 18 volt portable electric drill until the camper is level from side to side.
- Raise the trailer tongue high enough to disconnect the tow vehicle.
- Pull the tow vehicle away from the camper.
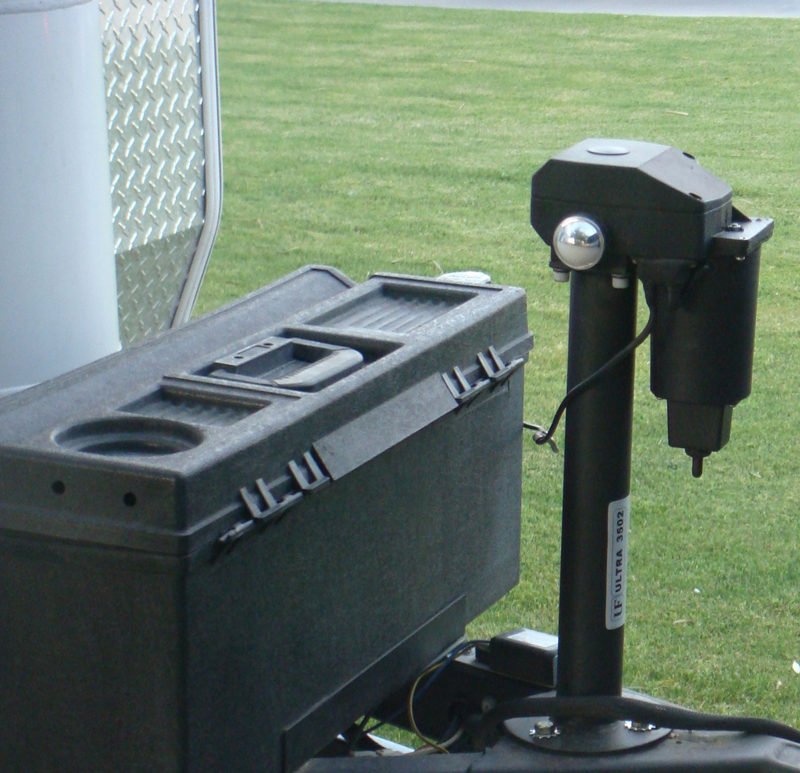
- Level the trailer front-to-back with the electric tongue jack. There is a permanent level on the tongue.
- If the awning will be deployed (this is used on almost every trip), extend the awning and secure the poles and rafters.
- Raise the roof with an 18 volt portable electric drill.
- Adjust awning.
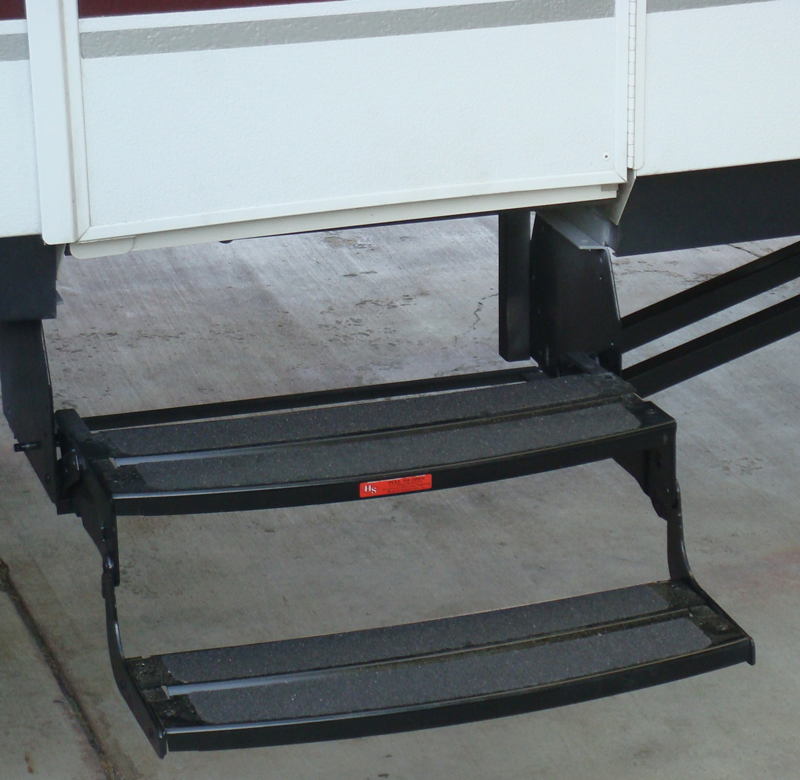
- Lower the entrance step.
- Pull out bunks and dinette slide out.
- Open travel door and secure the screen door into the frame.
- Remove the outdoor chairs, tables, stove, and Baby Q.
- Lower the stabilizers with an 18 volt portable electric drill. You just want to snug them down, not lift the frame.
If you do not do it in this sequence, you risk tweaking the camper frame.
Note for those not using a BAL Leveler: The first few stops of the sequence is a little different.
- Back into camping spot.
- Walk around the trailer and undo the roof latches.
- Place your leveling solution (wood blocks, Lynx Levelers, ramps, etc.) in front of the low tire.
- Pull the camper forward on the leveling solution. It is much easier to pull the trailer onto the leveling device, rather than pushing by going backwards. Also, you can see the tire and leveling solution in your rear view mirrors.
- Chock the high side wheel.
THE IMPORTANCE OF A LEVEL TENT TRAILER
Most tent trailers, if they have a refrigerator, use an absorption LPG unit. The trailer must be level or you risk damage to your fridge.
Other Set-up Tasks
While I am walking around the camper to lower the stabilizers I
- secure the PopUp Gizmos before Joyce inserts the Shepherd’s Poles
- light the water heater pilot
- turn on the water heater
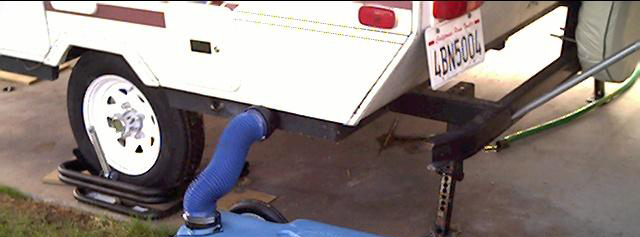
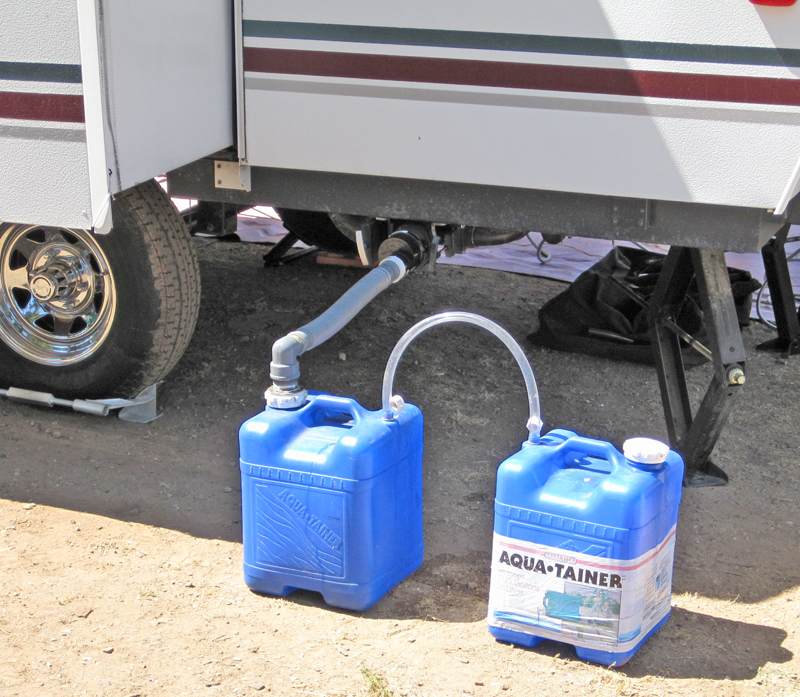
- attach the gray water Aqua-Tainers
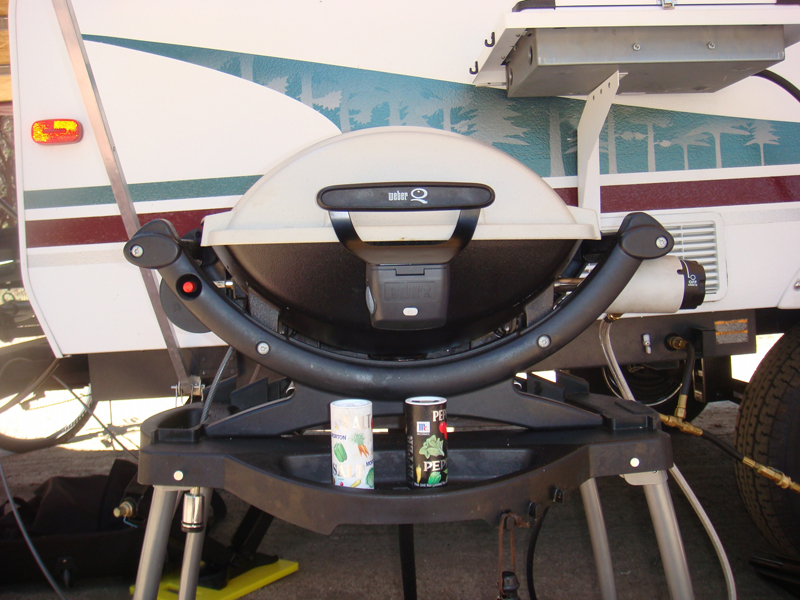
- hook-up the outdoor stove and Baby Q
- set up the outdoor chairs and tables
- Drink a beer
While I am outside doing these tasks, Joyce is in the camper and will
- Set-up the shower
- Open the dinette table
- Place the Sterlite drawer assembly on the counter
- Place the pillows on the bed
- Open the curtains and windows
- Let Corky (our dog) out of the SUV
Usually it takes less than 30 minutes to get it all done. I have done it in under 10 minutes without putting up the awning.
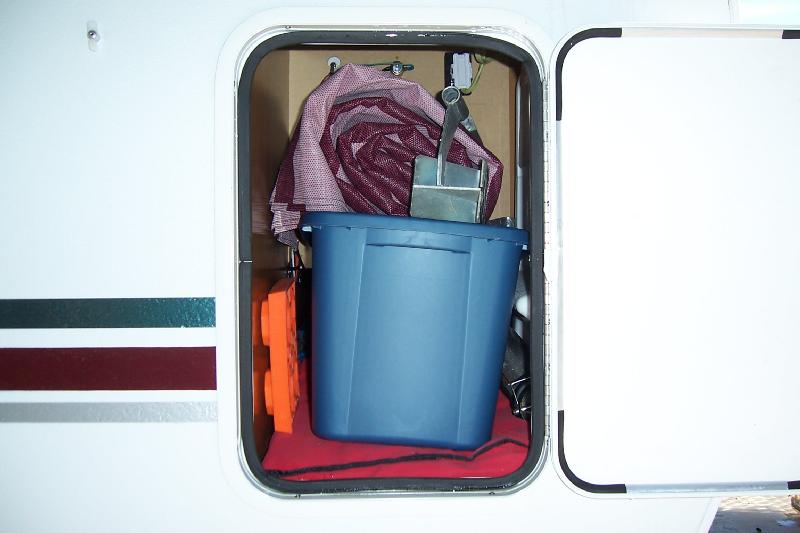

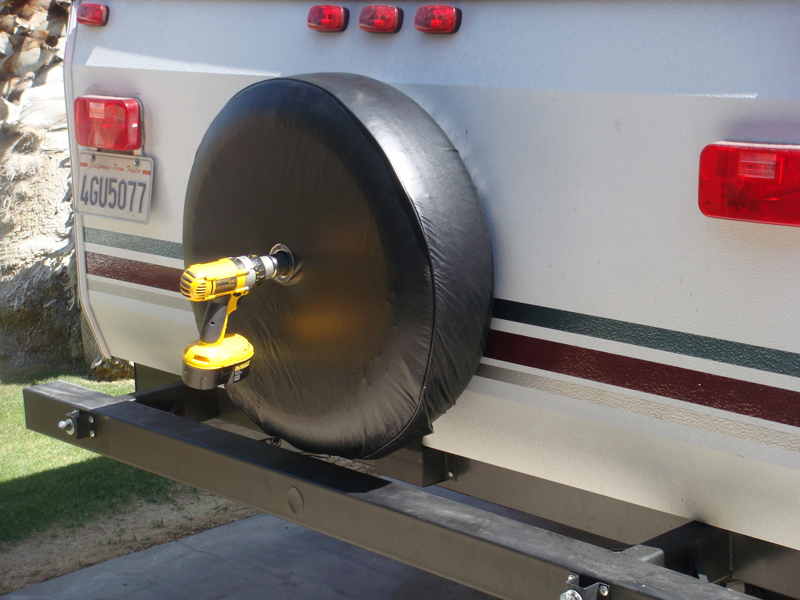
To use a drill, you can purchase a Socket Jenie for most tent trailers.
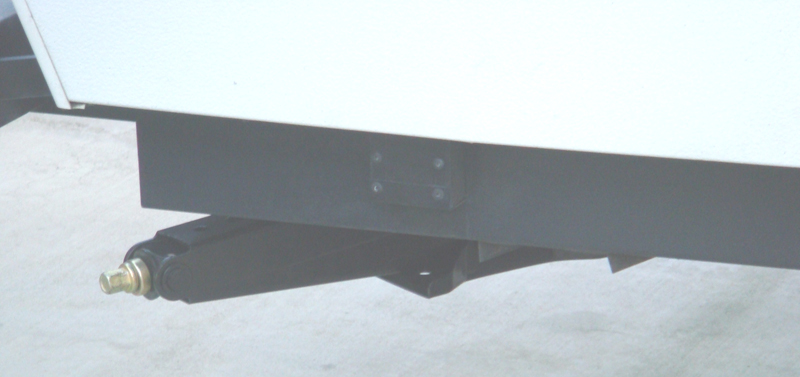
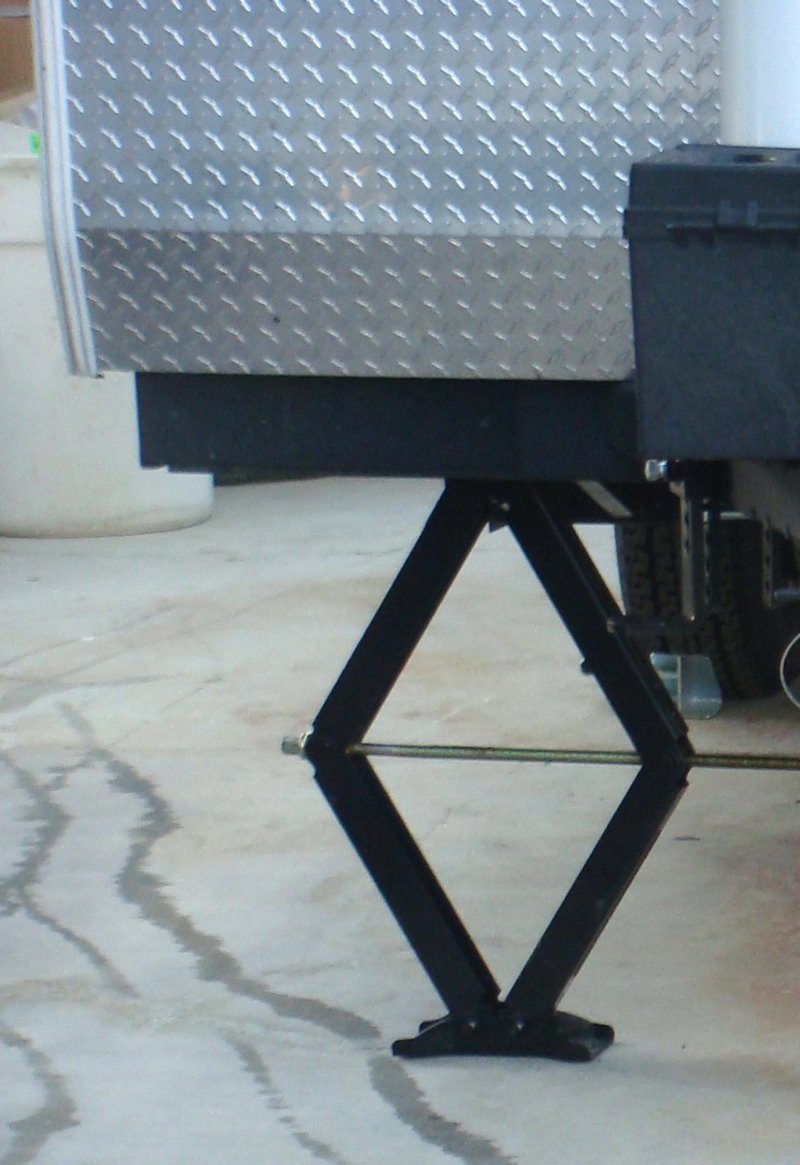

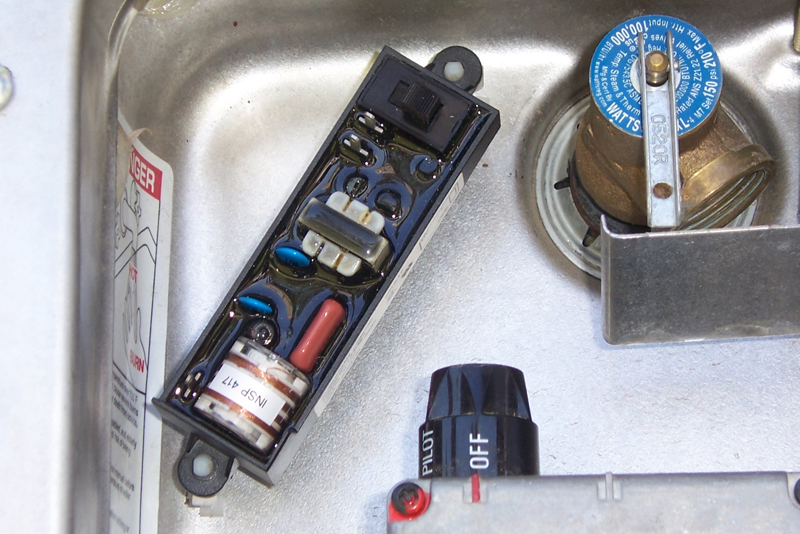
Recommended Products
.
