
My Therm-A-Rest NeoAir XLite developed a leak a while back on a backpacking trip. Finally got tired of having to blow it up a few times during the night.
This is the first time I have ever needed to repair an air mattress, other than the warranty repair Therm-A-Rest did for me three years ago. The repair was straightforward, but there are a few tips I would like to share.
Therm-A-Rest Repair Kits
The first thing to do is get a repair kit, or use the one that came with the mattress.
I had a couple of the Permanent Home Repair Kits in the garage. Therm-A-Rest states that this kit is the best option and lasts the longest.
The kit comes with two kinds of patches. Some round fabric patches and some “Tear Patches.”
Therm-A-Rest says the Tear Patches are for certain air mattresses:
All NeoAir® Fast & Light® mattresses made before 2015 and ALL Trail Scout mattresses have a film coating that can only be repaired with a Tear-Aid® Patch.
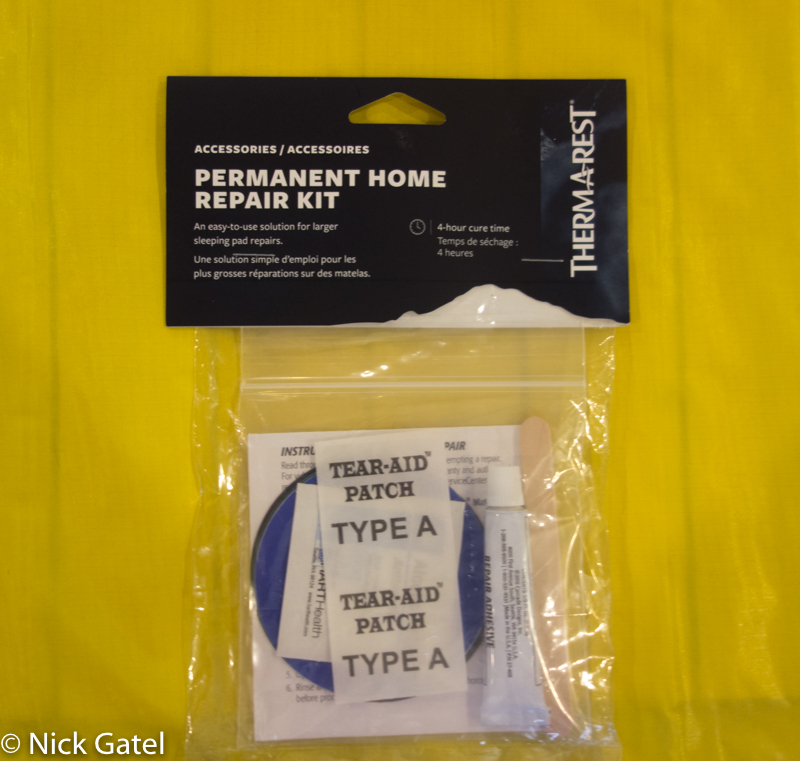
For the fabric patches, Therm-A-Rest states that a 4-hour cure time is required.
Repair Steps
Find the Leak!
I wrote about how to find a leak in this post a few years ago.
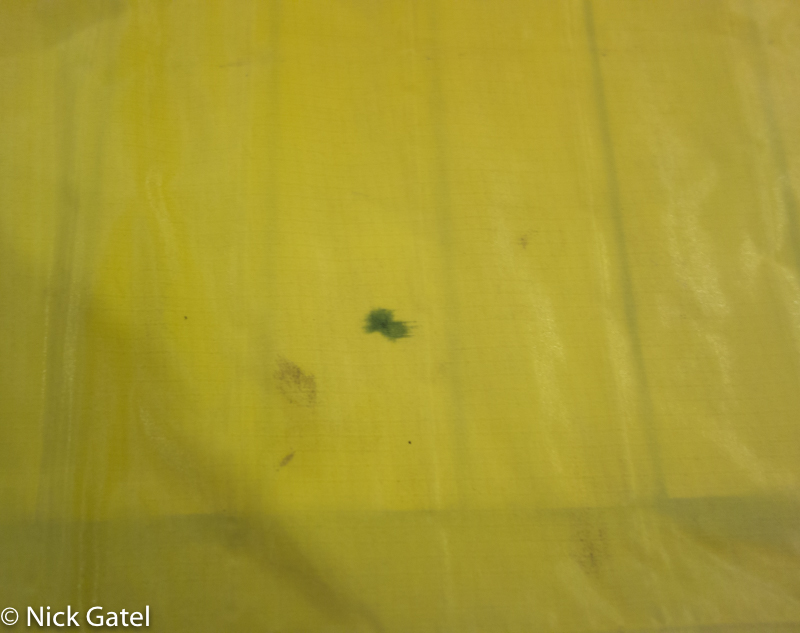
Once the leak is found, dry off the area of the leak and mark the spot so you can find it again. I used a small marking pen.
Prepare the Mattress Surface
Thoroughly clean the surface to remove dirt and/or any oils. This is a critical step to ensure the patch adheres to the mattress. The kit comes with single-use alcohol wipes. I used rubbing alcohol (we have several bottles post COVID pandemic) and a cotton ball.
Let the mattress dry after cleaning. It must be completely dry.
Repairing Small Punctures
Therm-A-Rest states that small punctures can be repaired using only the included adhesive. My puncture was small, but decided to do a proper repair with a patch.
Repairing Large Punctures or Tears
The patch needs to be at least one inch larger than a tear. For smaller leaks or tears the patch can be trimmed. The instructions say that when trimming a patch cut it in a circle.
I opted to use the entire patch. Just in case.
Center the Patch and Draw a Circle Around It
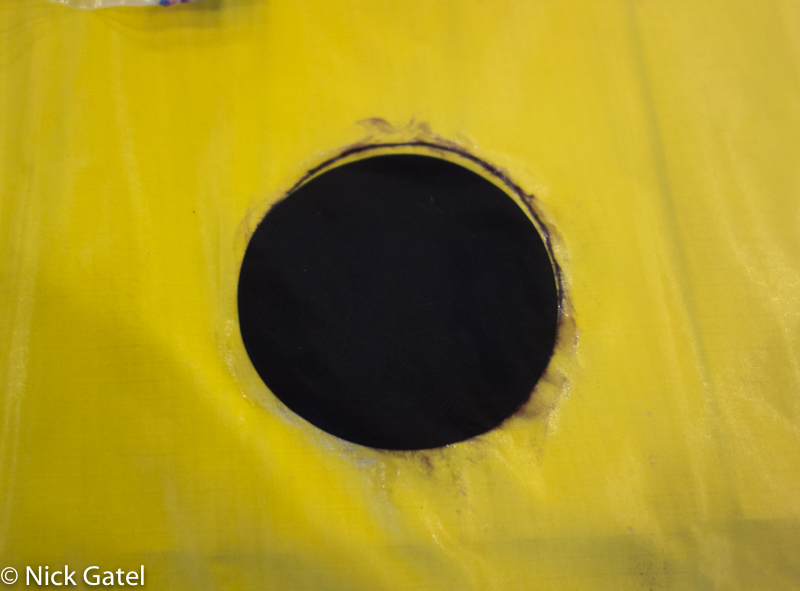
Now center the patch over the hole/tear and draw a circle with a pen.
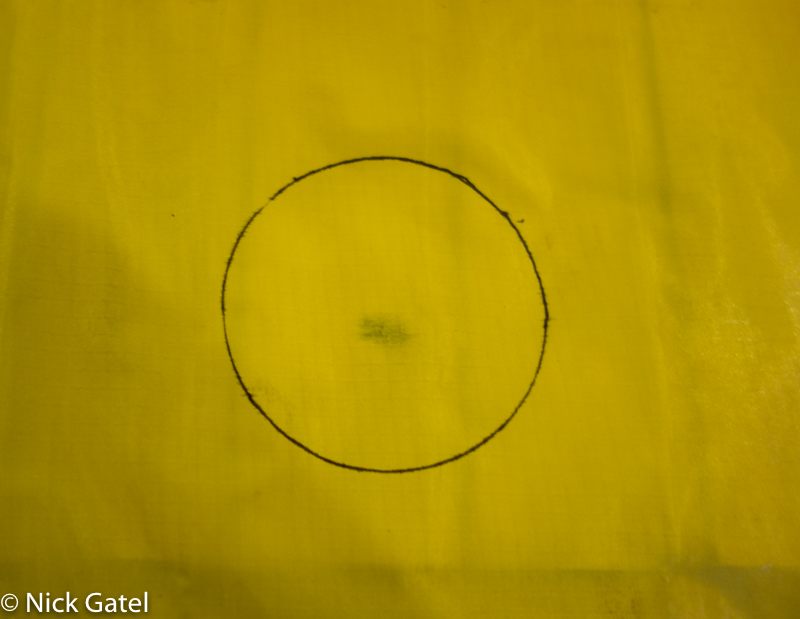
I didn’t do a great job drawing as the hole is a little off center of the circle. When I installed the patch, I placed it a little below the top of the circle.
Also note that the circle covers a seam. Not to worry, the patches are very thing.
Apply Adhesive
Use a generous amount of adhesive. The kit includes a wooden stick to help spread the adhesive. Let the adhesive set for 10-20 minutes.
The instructions state that the adhesive should be tacky. If not, then the adhesive may have been absorbed into the mattress material. This happened to me. Simply apply more adhesive and let is set until it becomes tacky.
Apply the Patch
Another note here. The patch is very thin. It appears to be much thicker because of the paper backing. Pay attention when removing the patch. If you are not careful, you may peel just part of the paper. This happened to me on the first patch and I could not remove the remaining paper from the patch. This may have been a unique problem to me, as the patch kit has been in my garage for a long time and we often get temperatures up around 120° F. In the future I will keep my patch kits in the house.
On the second patch I used the tip of a small knife (my Swiss Army Classic Knife) to separate the edge of the patch from the paper. Once the edge was lifted, it was easy to lift off with my fingers.
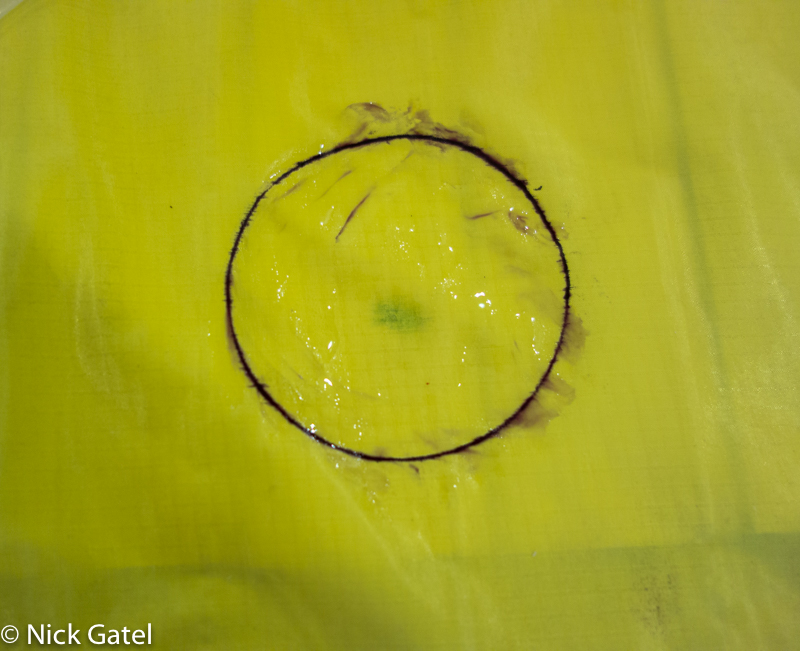
Now carefully apply the patch over the adhesive. The patch is very thin and care needs to be taken to apply it smoothly and flat without any ridges, valley or bubbles.
Curing the Patch
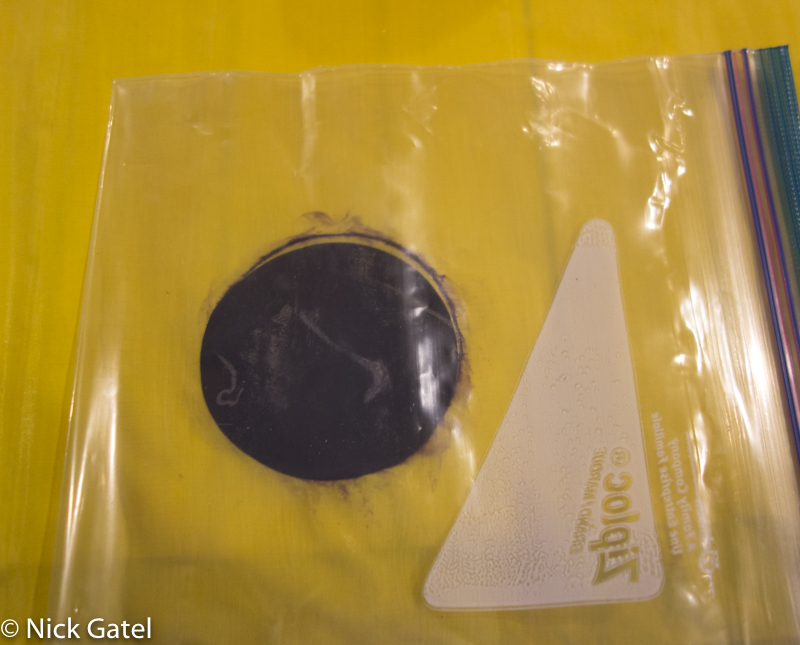
The repair needs to cure for at least 4 hours. The repair needs to be under pressure the entire time.
I placed a ZipLoc bag over the patch so any excessive adhesive would not stick to anything while applying pressure.
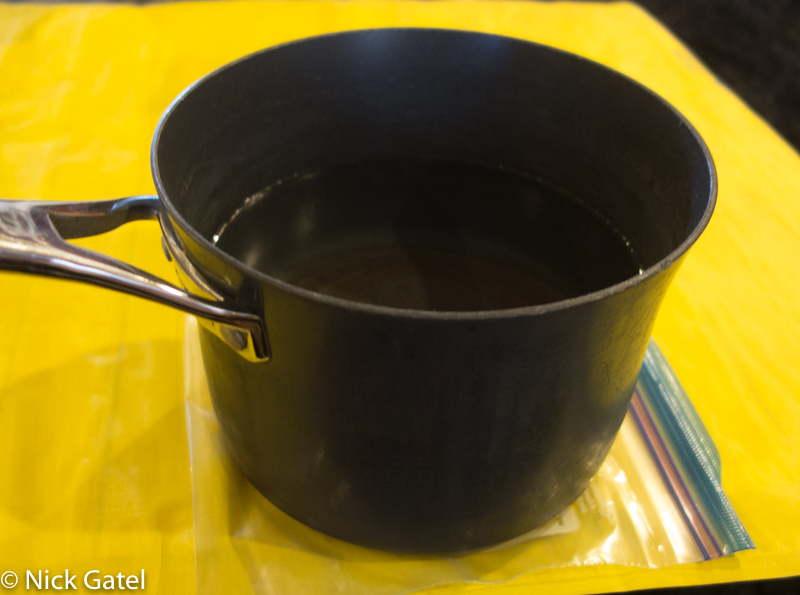
Next I place a pot full of water on the mattress to keep pressure on it. I left it on the mattress overnight, just to make sure it cured.
Test for Leaks
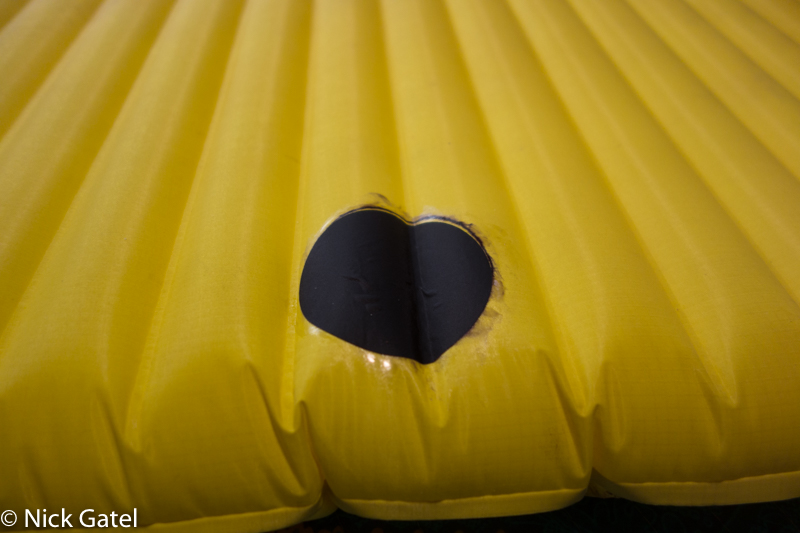
Notice that the patch conforms to the mattress across the seam. It is very secure. No leaks either!
This website may be compensated for linking to other sites for sales of products. As an Amazon Associate I earn a small fee from qualifying purchases at no additional cost to the purchaser.


