A simple and inexpensive modification. Well worth the little bit of time it took. In this post I’ll share the steps and another modification to both of my MSR Titan Kettles.
This website may be compensated for linking to other sites for sales of products. As an Amazon Associate I earn a small fee from qualifying purchases at no additional cost to the purchaser.
Desired Modifications
Nine years ago (oh my, how time flies as one gets older) I shared some thoughts on the Trail Designs Fissure Ti-Tri Stove System and other stove related ramblings.
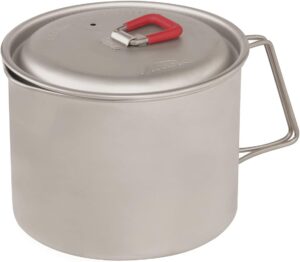
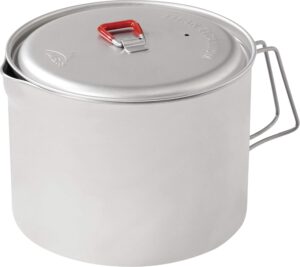
In that post I related how I add some heat shrink to a Snow Peak titanium pot using electrical heat shrink. That worked so well, I wanted to do something similar to my MSR Titan Kettles (0.85L and 2.0L). I wanted a little more robust insulation than heat shrink provides.
The second thing I wanted to do is reverse the orientation of the handles. I don’t like the narrowest part at the top of the pot.
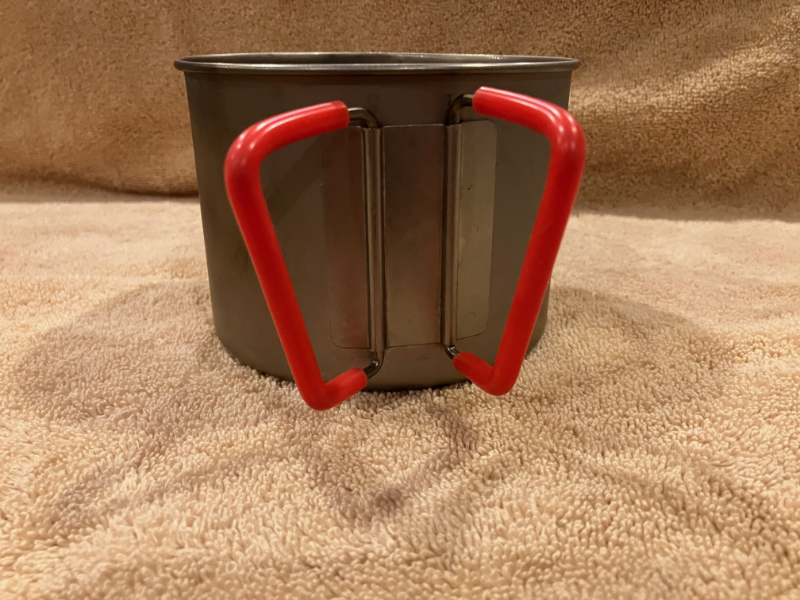
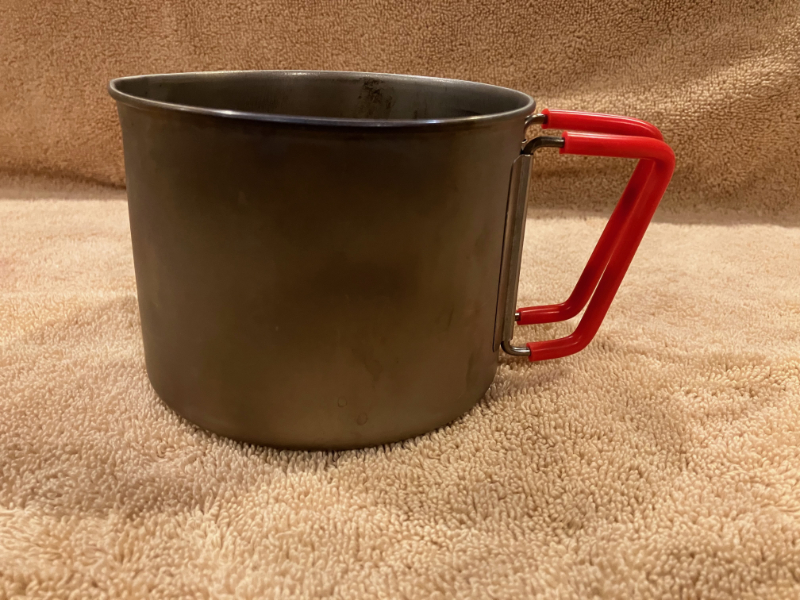
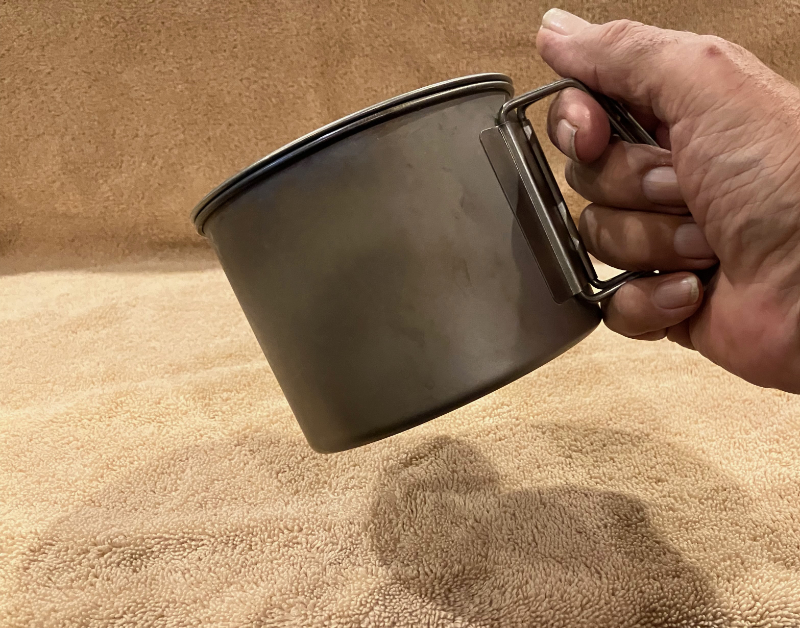
Above is my .85 Titan Kettle. Note the narrow part of the handle is at the top. When holding the pot, it tends to want to tip forward. Thank you gravity.
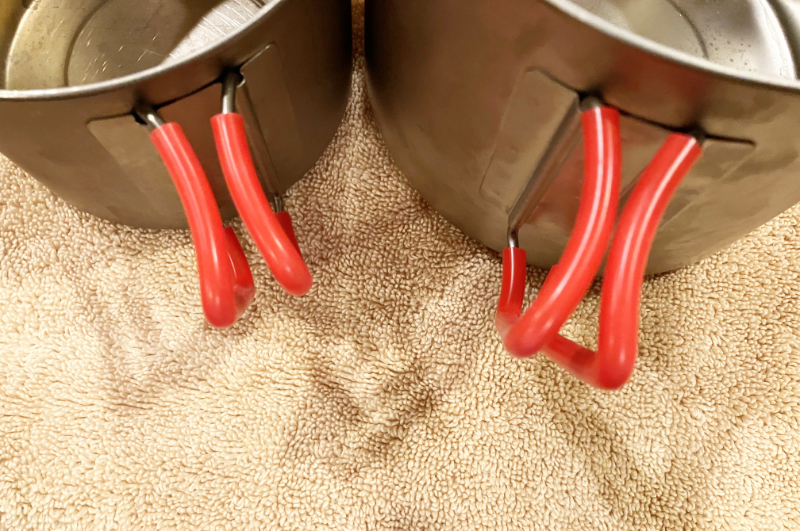
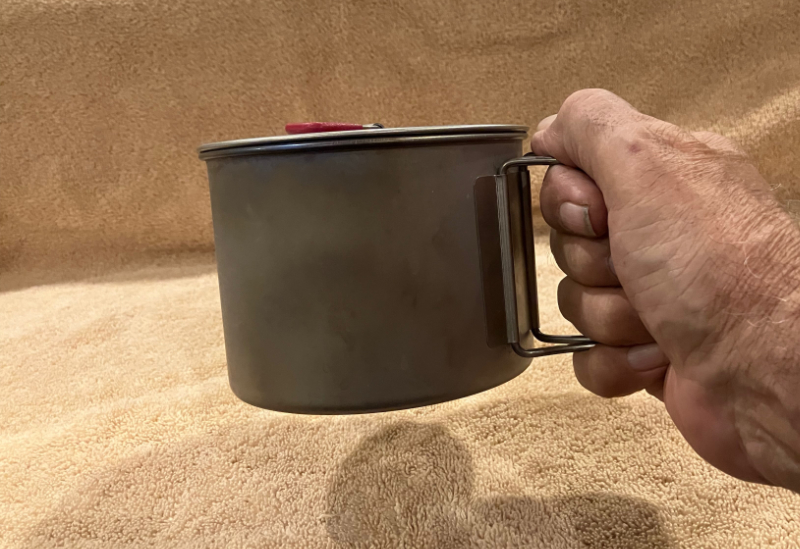
In the picture below you can see how the pot needs to be gripped tightly. If I slightly loosen my grip, the pot tips forward (see second picture below).
I had been wanting to do these modifications for several years, but never got around to it. I really don’t fuss with my gear much unless there is a real problem. After each backpacking trip I clean all my gear, repair or replace anything that is broken. The “nice to have” modifications to gear aren’t really a priority.
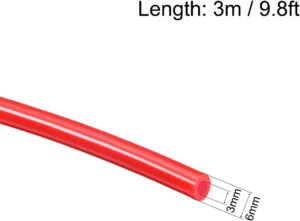
When I bought the Cross Bands for all my pots (see the recent Cross Band article I shared just yesterday) I decided to finally do the modifications to both of my MSR Titan Kettles. The handles on all my titanium pots are 3mm thick. I found some silicone tubing with an inner diameter of 3mm on Amazon. Silicone is pretty pliable, so I figured it wouldn’t take too much effort to slide it over the handles. Another plus is the silicone is heat resistant up to 428° F (220° C) so it will be fine when using the pot on a stove.

Installation
Handle Removal
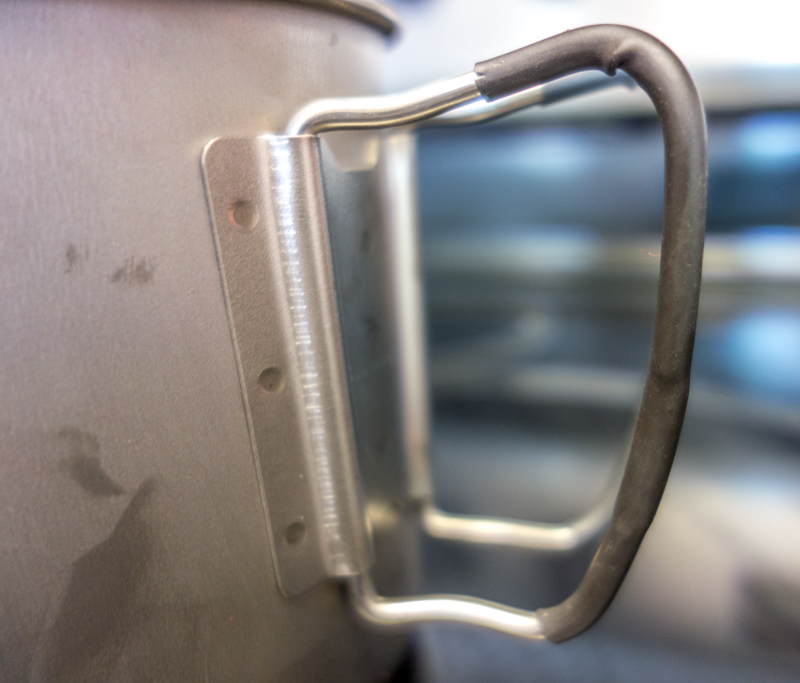
The handles are easy to remove. Just pull down on the bottom until the end of the handle comes out of the slot (see below).
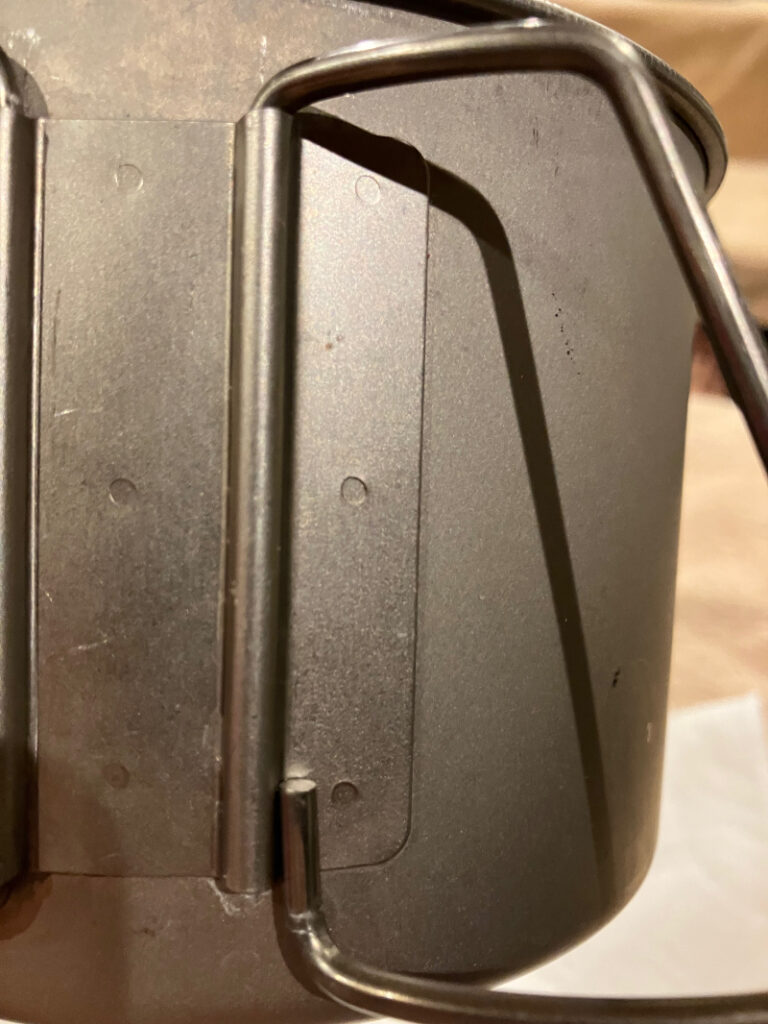
Now just push the handle up and the top comes out of the slot. There is a lip at the top edge of the pot but there is just enough room to remove the handle.
I need to mention that there is a left and a right side handle. The handle has a slight outward curve away from the center. Because I inverted the handles, I had to switch sides when reinstalling the handles after installing the silicone tubing.
Sliding the Silicone Tubing
The silicone tubing was difficult to push over the metal once I got about 30% of it over the handle. I thought I might have to abandon the project until I thought about this . . .
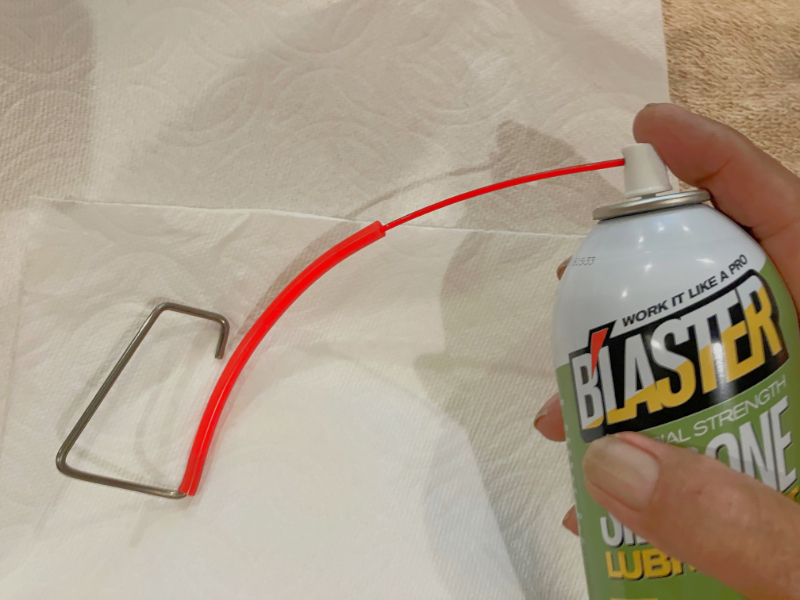
I pulled the tubing back to the first bend in the handle and then sprayed a little bit of silicone lubricant into the tubing. (BTW, I use silicone lubricants for all kinds of things around the house, on our camper and our vehicles — it’s great stuff.) Now the tubing went on super easy.

Reinstall the Handles
Slide the top of each handle in first, then pull down on the bottom of the handle and slide the end into the slot.