Our Meteorite came with a portable 5 gallon water tank, a single sink, and a hand pump. It was next to useless, so I removed everything to create more storage. For 10 years I did all the dishes and washing outside.
When Joyce and I started dating and camping, she found the camper to be a little primitive and asked if we could make some improvements, such as plumbing. The Meteorite is only 8 feet long, so adding a functional water system would take quite a bit of planning and some major remodeling work. But I was up to the task.
 Above: The original water tank which was stored under one of the dinette seats.
Planning
First task was to determine what components we would add, then figure out a way to install of it in such a small space. We wanted a fully functional system that would work for extended camping trips. We would install the following:
- 14 gallon under floor fresh water tank
- External connector for water, such as is found in full hook-up campgrounds (although we rarely camped in these places)
- A convenient water tank fill
- Hot water heater
- Double sink
- Electric water pump and accumulator
- Connecting hoses
- Drain for the sink, with a standard RV sewer outlet
 Above: Water tank arrives. I bought the tank and fitting from tankdepot.com
Before installing the water tank, I modified the suspension, which raised the camper above the axle. Click here to read about the suspension modification.
Installation
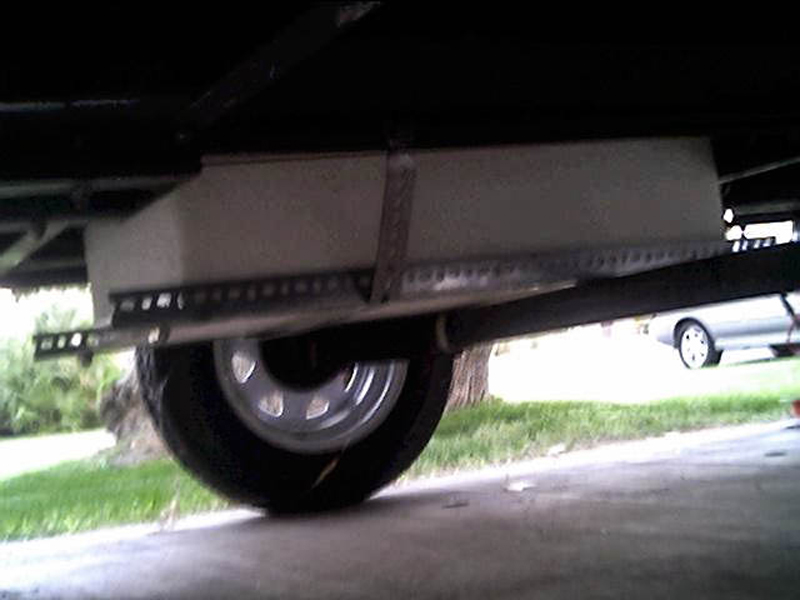 Above: Installing the tank under the floor and above the axle.
 Above: Plumbing included a drain for the system
 Above: Close up of drain.
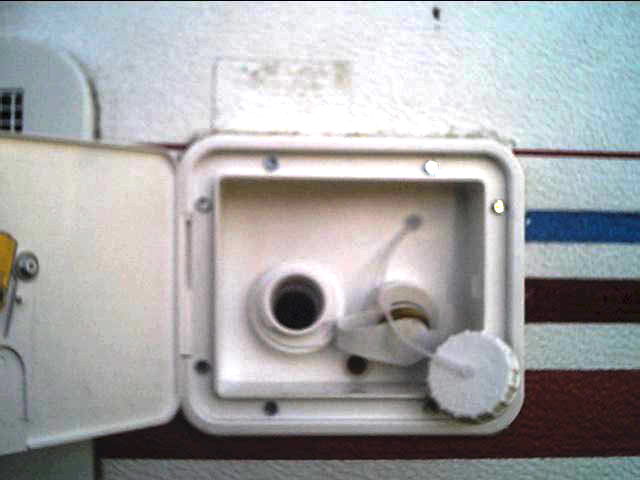 Above: Camper can be connected to an external water source, or the tank can be filled via the opening on the left.
 Above: The fitting on the right can be connected to an external water source. When connected, the pressure from the water source keeps the camper’s water system pressurized, and the electric water pump is not needed.
 Above: The locking door keeps everything secure when traveling.
 Above: Backside of the water fill door. The thick hose is the water tank fill and the small hose is the tank vent.
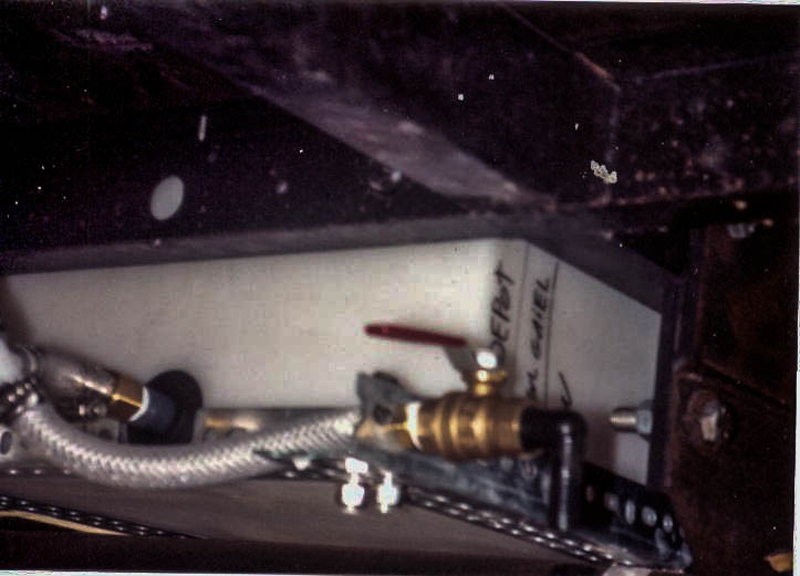
 Above: Suburban brand propane water heater on the right. The lower hose is the supply hose when connecting to an external water source.
 Above: All hoses are braided high pressure hoses. The dark gray hose is the drain hose for the sink.
 Above: Connecting hoses, wiring, water pump (lower left) and wiring. The water heater required running new cooper tubing for the propane system. All copper tubing is double-flared.
 Above: Installing the accumulator (upper right). Notice the length of the dark gray drain hose – it must be long enough to accommodate flipping the sink upside down for traveling.
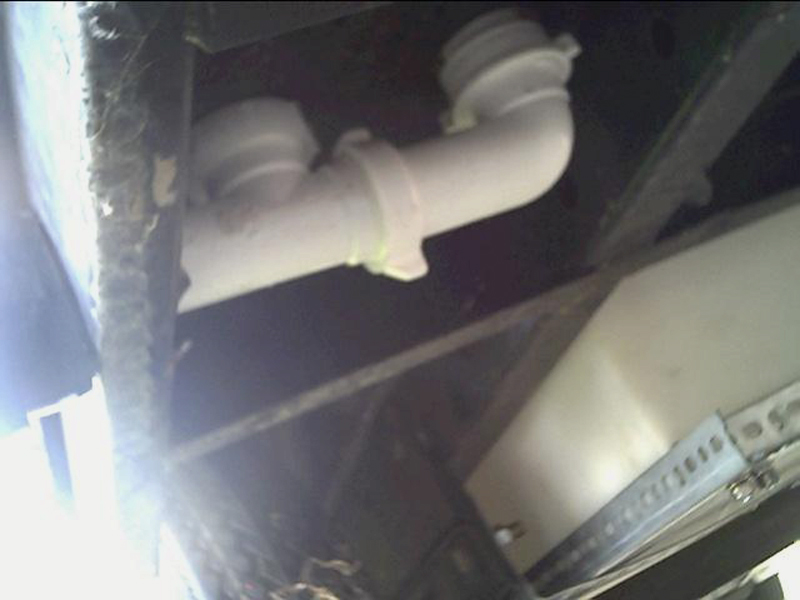
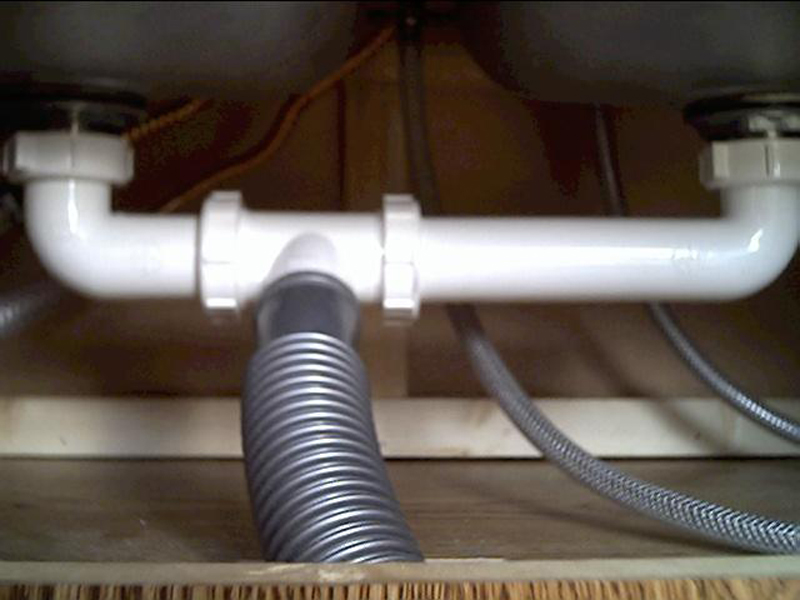 Above: Installing drain for the double sink.
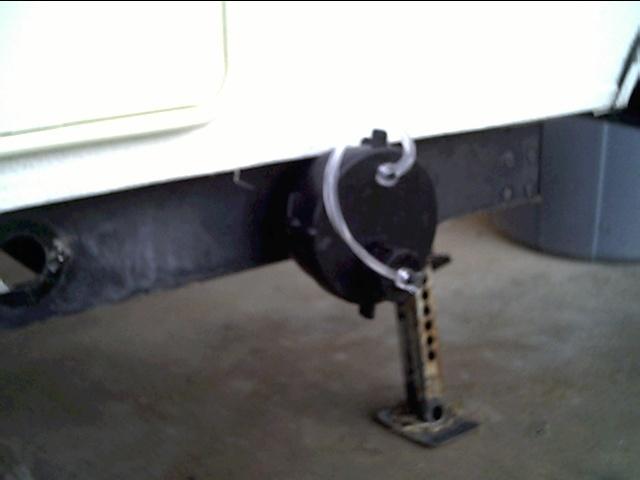
 Above: I installed this external door to provide access to the drain and to store the sewer hose.
 Above: Dark gray hose is the sink drain hose. Blue hose is for connecting to the camper’s sewer connection.
 Above: Drain exiting the interior of the camper through the floor. Notice there are two connections; one for the sink and one for the shower. Click here to see Shower Installation.
 Above: Standard RV sewer connection.
 Above: Capturing the gray water with a portable tote.
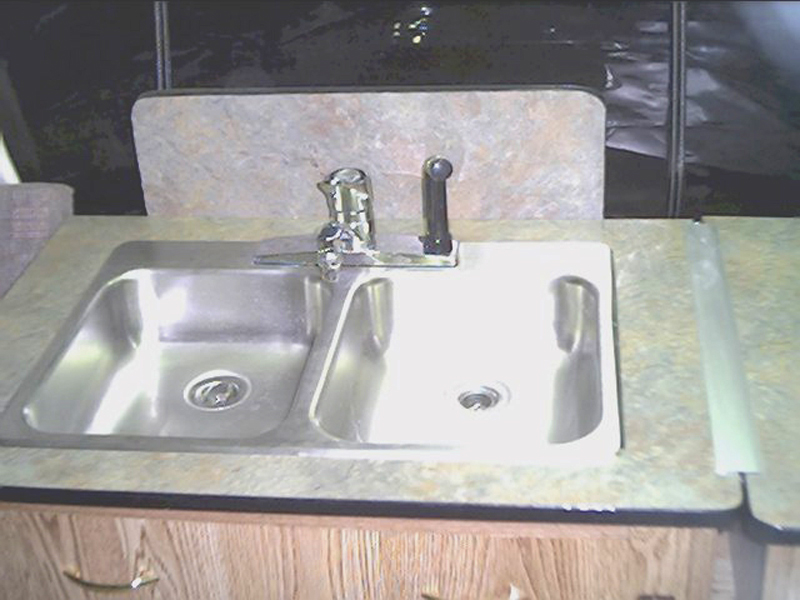 Above: Double sink, with dishwasher sprayer. The back behind the faucet is measured precisely so the sink can be folded over and rests on the floor for transport.
 Above: Double sink installed. The cabinets were built from scratch and matching Formica is used for the dinette table, the sink, and the stove (next to the sink).
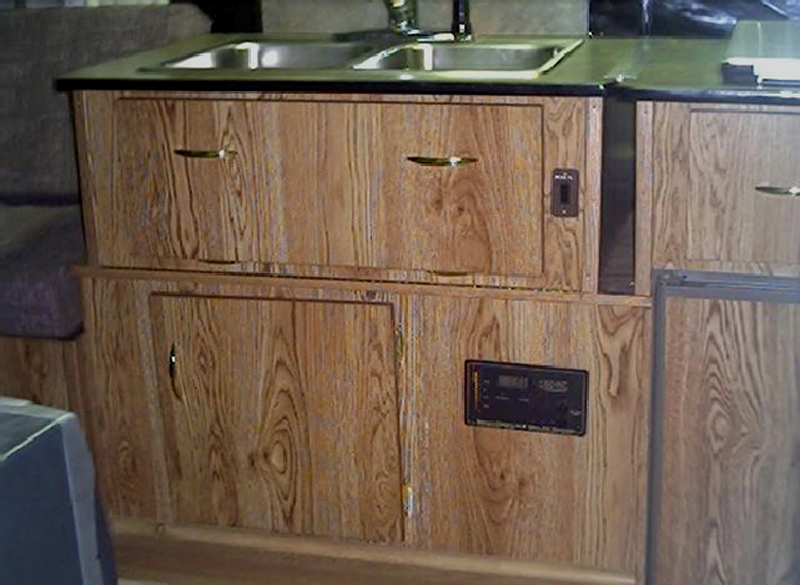 Above: Top of sink folds over for transport. Sink is residential height when set up. Lower door is for storage and access to water pump, water heater, and plumbing should maintenance be required. Upper door below sink also has storage and access to sink drain and water supply lines. Switch to the right of the upper door in the on/off switch for the water pump.
 Above: Storage under the sink.
 Above: Outside access door for water heater (right edge of picture).