

Above: Top is before the Upgrade. Bottom is after the Upgrade. In the bottom picture the trailer is not level. Further adjustments to the hitch leveled the trailer.
A Problem Looking For A Solution
During the first 2.5 years I owned my camper, I went through 2 sets of tires. They wore out on the insides, typical of a toe-out problem. I measured the toe and it was okay. I soon noticed that other Niagara owners were complaining about the same problem. I came to the conclusion that Fleetwood’s specs were wrong and the axle was too small, causing it to bow when the weight of the camper with gear approached the specified maximum load carry specification.
For those who know me, I am meticulous about my PU. I have several weigh tickets and never exceeded the Gross Axle Weight (GAW) specification of 3,500 lbs. And this is not subtracting the weight of the tires and rims, and the axle itself, which should not be included in the calculation.
Most Niagara owners don’t notice this, because they only use their camper a few times a year. If you tow your Niagara around max GAW (it is nearly impossible to get much below it unless you store zero gear in it), you will wear the tires on the inside. And more likely the street side will wear faster due to the weight of the slide out and all the stuff people store in it. The other thing we cannot measure is how much weight shifts to the axle from the tongue during travel, or is this not a factor?
Changing to radials did not fix my problem, which I expected. Inside tire wear is a mechanical problem, not a tire problem. I replaced the bias tires at 5,000 miles due to wear and the replacement radial tires had the same problem at 5,000 miles.
Most Fleetwood/Coleman dealers (like most other camper brands) are too incompetent to diagnose this kind of problem, even IF they had the equipment to do it. Going to the axle manufacture, Dexter, direct is iffy. The the dealers, manufacturers, and Dexter will turn you into a ping pong ball. I know, because I went through it. So did my friend, Geodude with his Starcraft travel trailer. So I just decided to pay for the correct fix myself and be done with it.
The Solution
My fix was to install a 5,200 lb axle. I was tired of counting ounces and transporting stuff in the tow vehicle. With the bigger axle I got the largest 15″ capacity tire available (this required an over-slung spring installation). Installing the springs on top of the axle would allow larger tires with greater load carrying capacity, eliminate the bottoming out on rough forest service roads, and raise the sewer drain so I could easily off-load grey water.
Since I had done a similar axle upgrade on my 1992 Starcraft, I was aware of all the other things that would have to be replaced or upgraded. So I went into this eyes-wide-opened.
Preparations

Above: Old Axle Serial Number
I started by getting the serial number of the original axles and driving 65 miles to the local Dexter Axle distributor. The quickly located the part numbers for a new 5,200 lb axle and new matching springs. Since I would be going from 14″ wheels to 15″ wheels, I order 3 new chrome wheels, chrome lug nuts, chrome caps, and 3 Goodyear Marathon radial tires (size ST225/75R15 Load Range D). Since this is quite a big job (from my previous experience) I decided to have the distributor do the job in case there were any complications.
I also knew I would need to change
- the stabilizer jacks
- the step
- possibly the roof top air conditioner (as the camper might be too high to get into the garage)
- rear bike rack (the roof would be too high to easily load our bikes)
- new tongue jack
- add an weight distributing hitch with sway control
When the parts came in the distributor called and scheduled an appointment. They estimated it would take a couple hours. Ended up taking 8 hours.
Axle Installation
Right off the bat we ran into a problem. The Dexter guys assumed Fleetwood had used the matching Dexter springs on the factory installation. Well that was a wrong assumption. Fleetwood used some off-brand set of springs and the spring hangers were smaller that those Dexter uses. Crap. The axle was out of the camper, the camper was on jack stands and new hangers would have to be ordered. The distributor called around and found two new hangers in Los Angeles. It took a couple hours for them to pick up the new hangers.
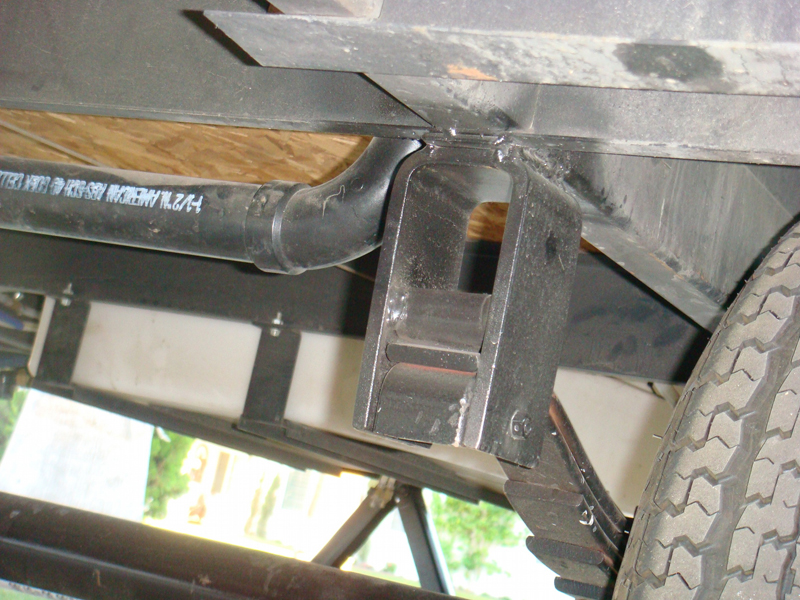
Above: New spring hangers were installed. It took the Technician about 60 minutes to measure and line up the 4 hangers before he welded them to the frame. It was gratifying to watch a craftsman working at this trade.
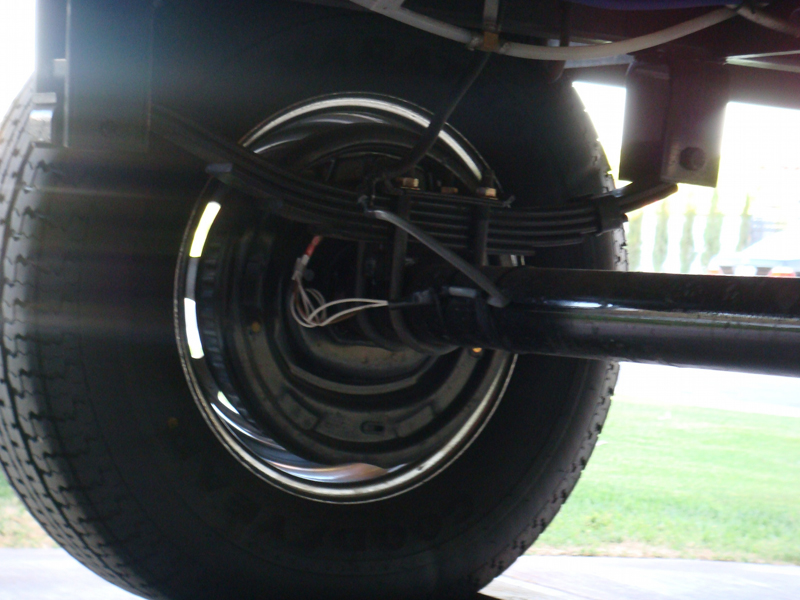
Above: New wheel, tire, spring, hangers, and axle.
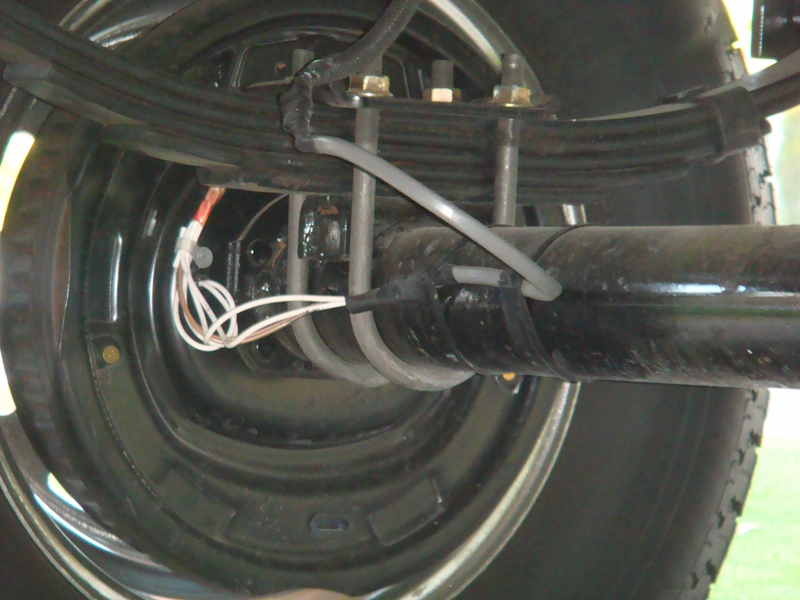
Above: Electric brake wires. The new axle came with brakes, hubs, bearings, and drums.
After spending an entire day at the shop the job was done. Good thing I had decided to have them do the job. The spring hanger problem would have been difficult to deal with at home. Once I got the camper home, I began on the other tasks at hand to complete The Upgrade.
New Stabilizers
I knew ahead of time that camper body would be at least 5 inches higher, meaning that my stabilizer jacks would be too short. I wanted scissor style stabilizers, but the longest I could find were 30″ and close to $100 each. I finally bought a set of four new heavy duty 36″ stabilizers on eBay for only $99; but shipping was $72. Still a bargain.
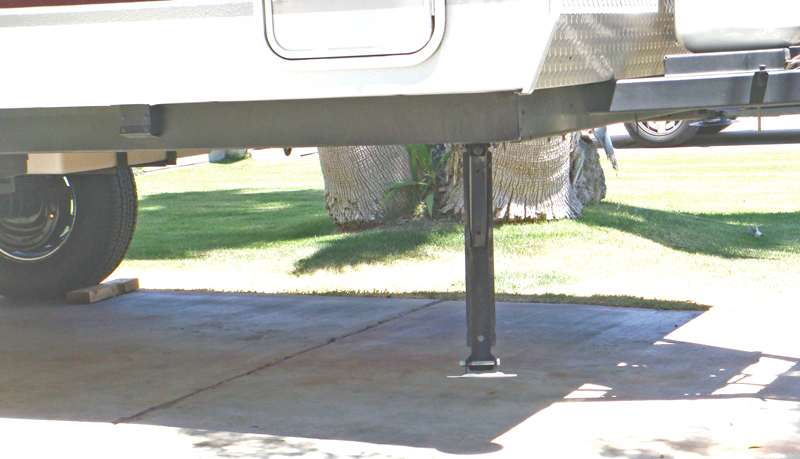
Above: Camper leveled on our driveway. Notice that the original factory stabilizer is completely extended and several inches off the ground.
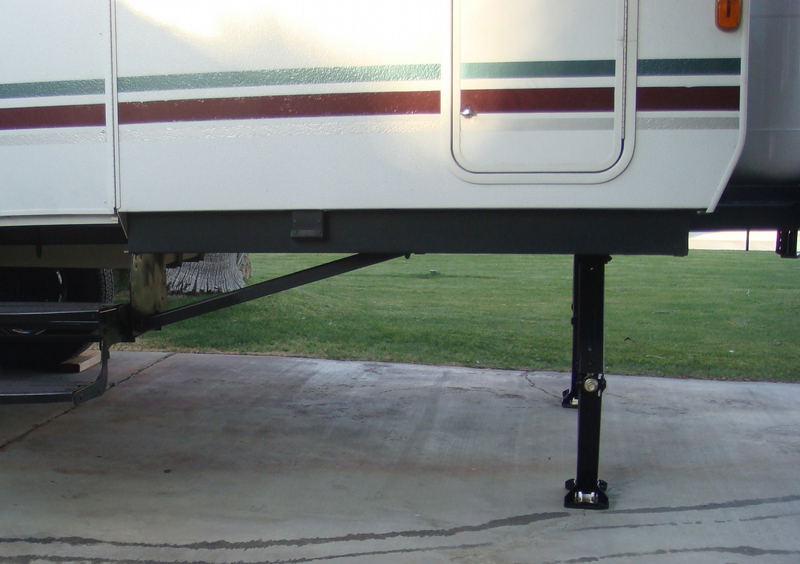
Above: New front stabilizers installed. The stabilizers had to be welded to the frame.
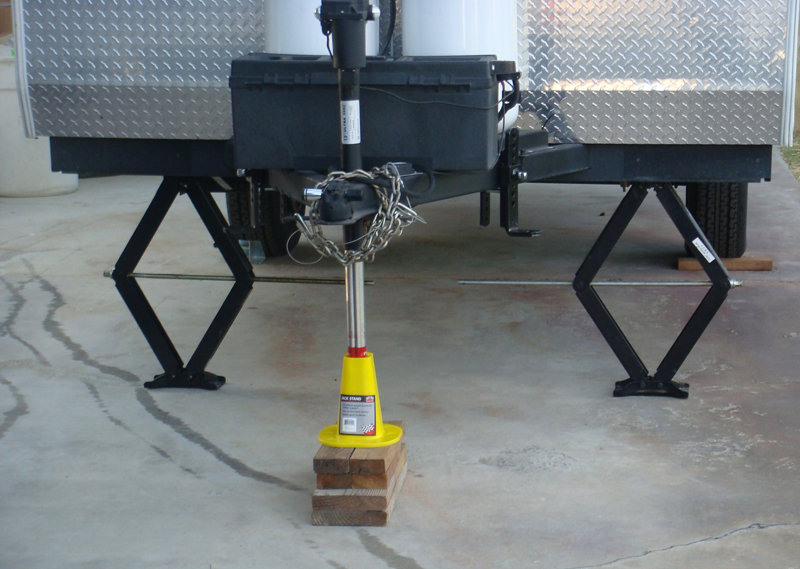
Above: Front view of stabilizers. The original ones were several inches off the ground, these still have additional adjustment. Plus I can lower and raise them with my cordless drill. Arh, Arh, Arh!
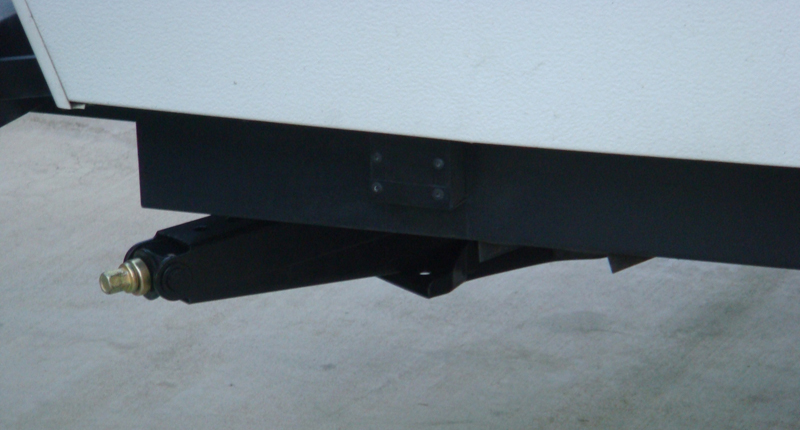
Above: Rear stabilizer in the retracted (travel) position.
Step
I knew the original step would have to go. I searched high and low for a step that could be directly bolted to the factory mounting points. That search was unfruitful. So we had to weld on a replacement unit. The new step would have to be a fold out unit, which could folded up for storage. Because the new step assembly was bigger than the original, I decided to add some side braces in case road debris was kicked up and hit it.

Above: Factory step after the axle replacement. Notice how far it is off the ground.
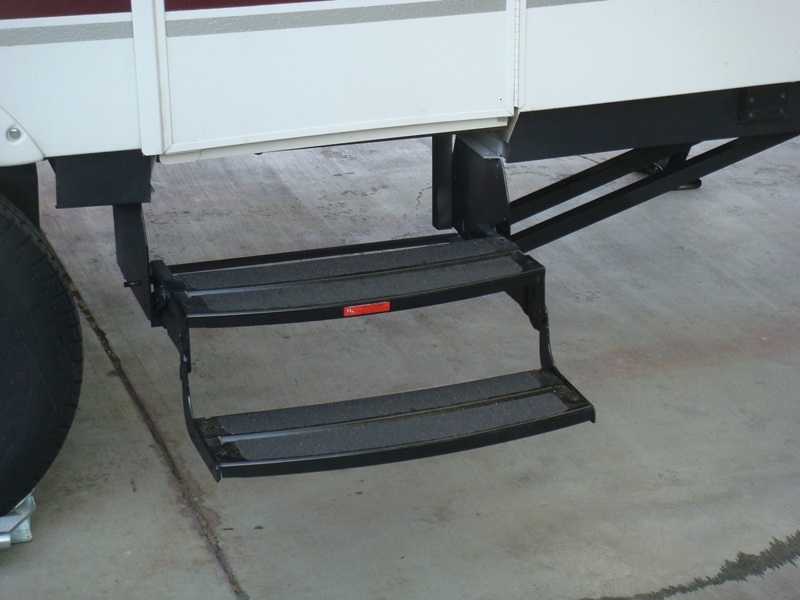
Above: New double step. Notice the stabilizer bars that are welded to the right side of the step assembly.
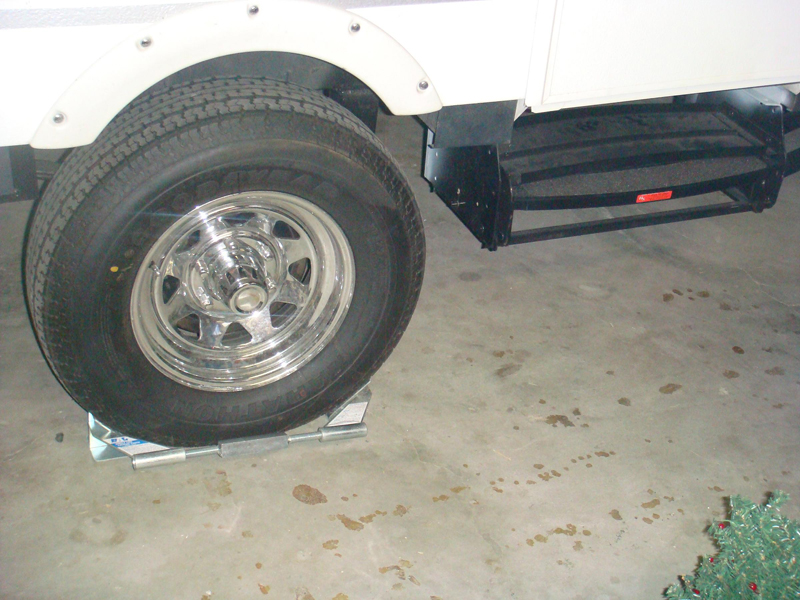
Above: Step folded in the travel position. Notice the tire is now below the wheel well. The original tire fit inside the wheel well.
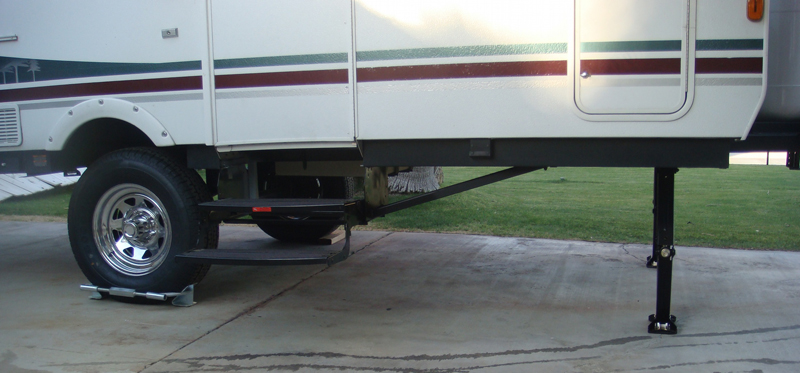
Above: View of new step, stabilizers, tire, and wheel.
Spare Tire
The new wheels have a 5-bolt pattern. The old wheels had a 4-bolt pattern. In addition to buying a new spare and wheel, the new spare would not mount on the spare hardware. I had to fabricate a new spare tire mount, which was not easy because it had to be centered around the roof lift mechanism and have access to lift fitting.
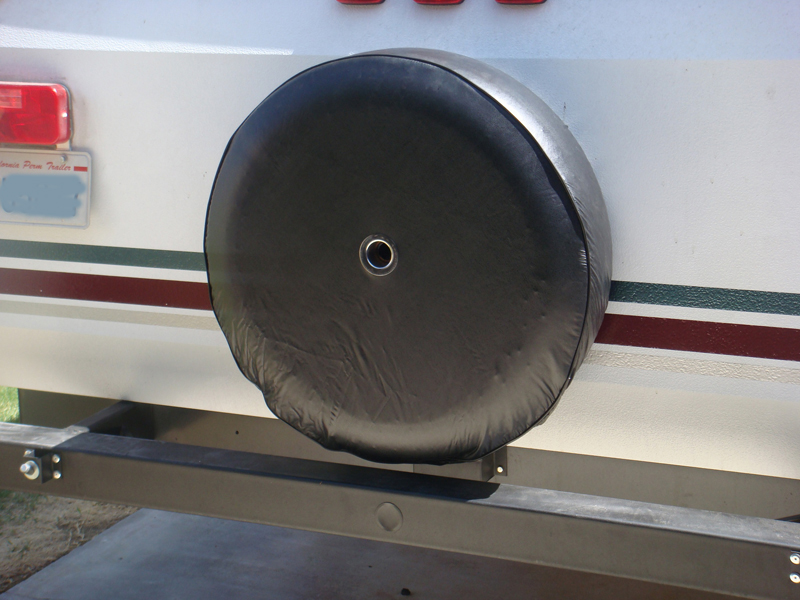
Above: New spare mounted. Waiting for the sun to warm up the vinyl cover so I can smooth it out. The center hole is for the roof lift access.
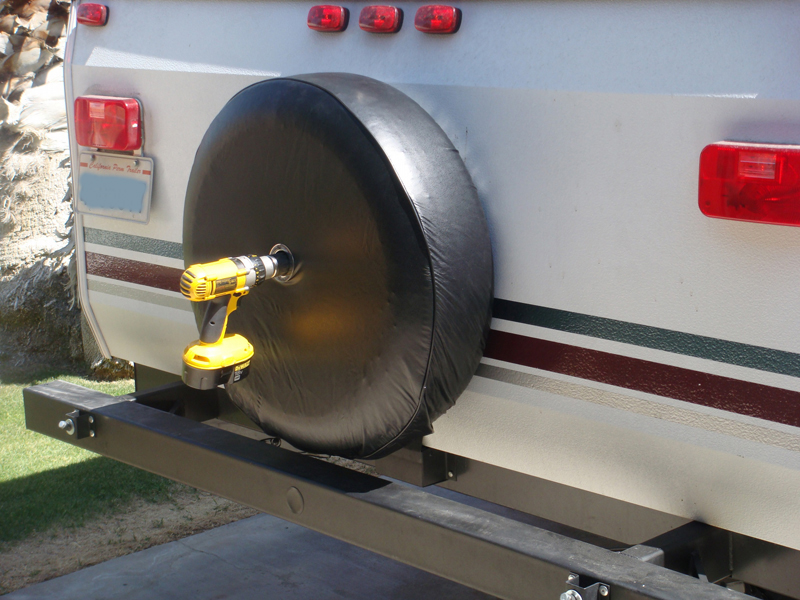
Above: A cordless drill is used to raise the roof. When my kids grew up and moved away, I replaced them as the manual roof lifters with a Dewalt drill 🙂
Bike Rack
Before the axle replacement, we transported our bikes on a roof-mounted Yakima rack. We also used the rack to carry our grey water tank. The roof was now too high to easily lift the bikes up on the roof rack. So I decided to install a rear bumper mounted bike rack. However, the rear bumper was not sturdy enough for this kind of use. The solution was to weld support struts to the bumper and securely weld the struts to the camper frame.
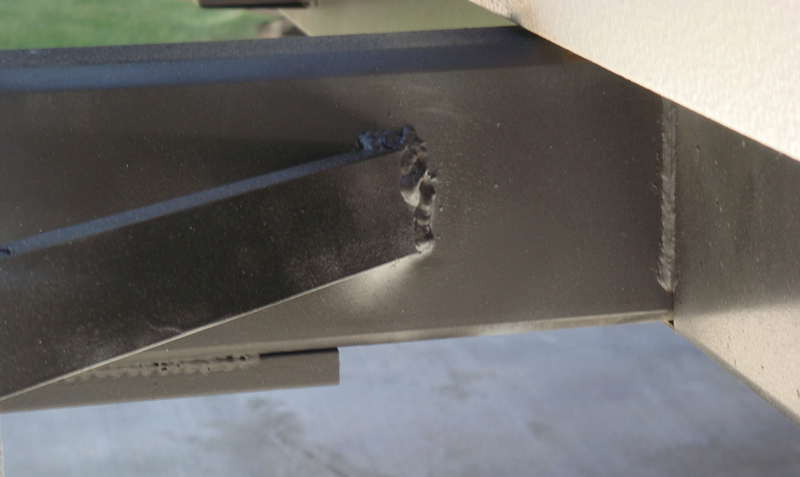
Above: Strut welded to rear frame beam.
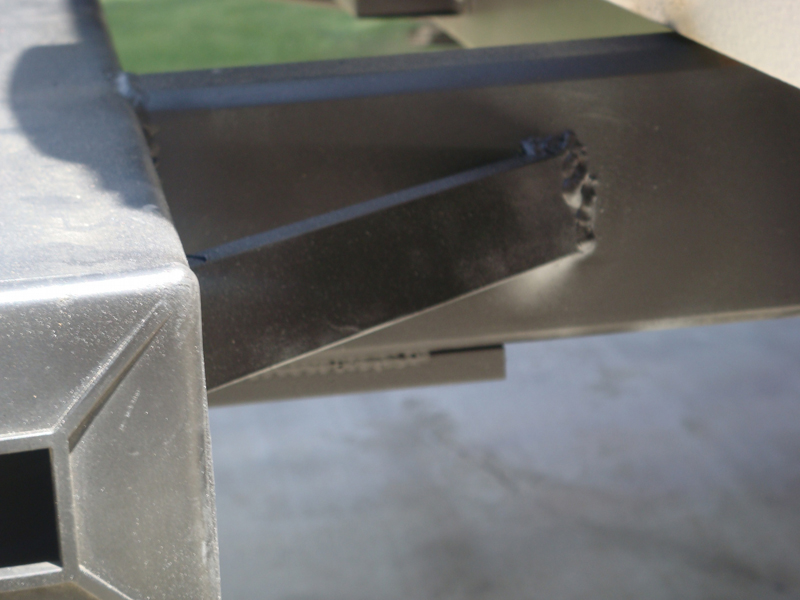
Above: View of strut welded to bumper and frame.
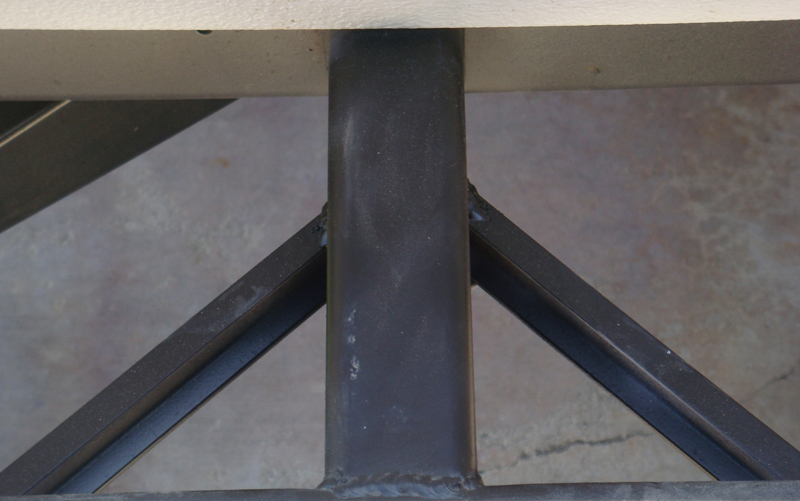
Above: Top view of both struts.
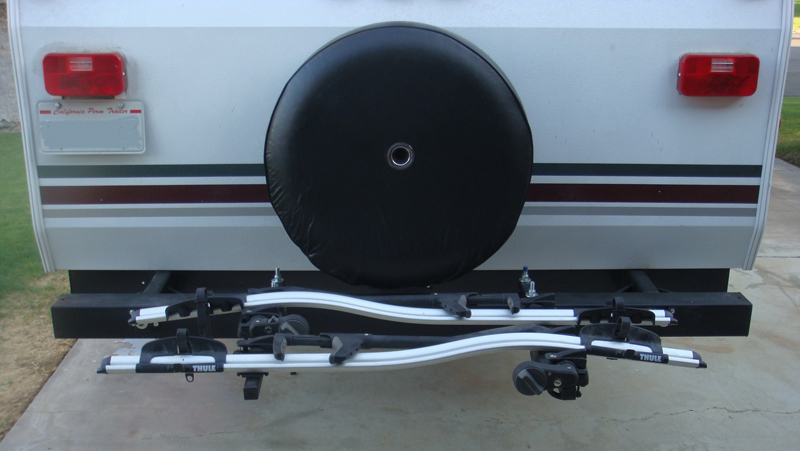
Above: Bike rack mounted to bumper.

Above: Bikes. The extra support on the bumper made the installation of the rack very secure and solid.
Air Conditioner
After careful measurement of the existing roof mounted air conditioning unit, it was about 1.5″ too high to fit through the garage door opening. Before order the new axle, I knew this would be a possibility and was prepared for the worse. At the time, I knew Carrier made a low profile air conditioner that would fit in case this happened. Good thing I did this upgrade in 2008. Due to Government Regulations, Carrier has discontinued the manufacture of RV air conditioners. Even though they had the reputation for building the best RV units and these units were in high demand, Carrier decided they now longer wanted to deal with government bureaucrats and stop building them. Too bad for those employees who lost their jobs due to the Government.

Above: The old air conditioner is too tall. Bummer!
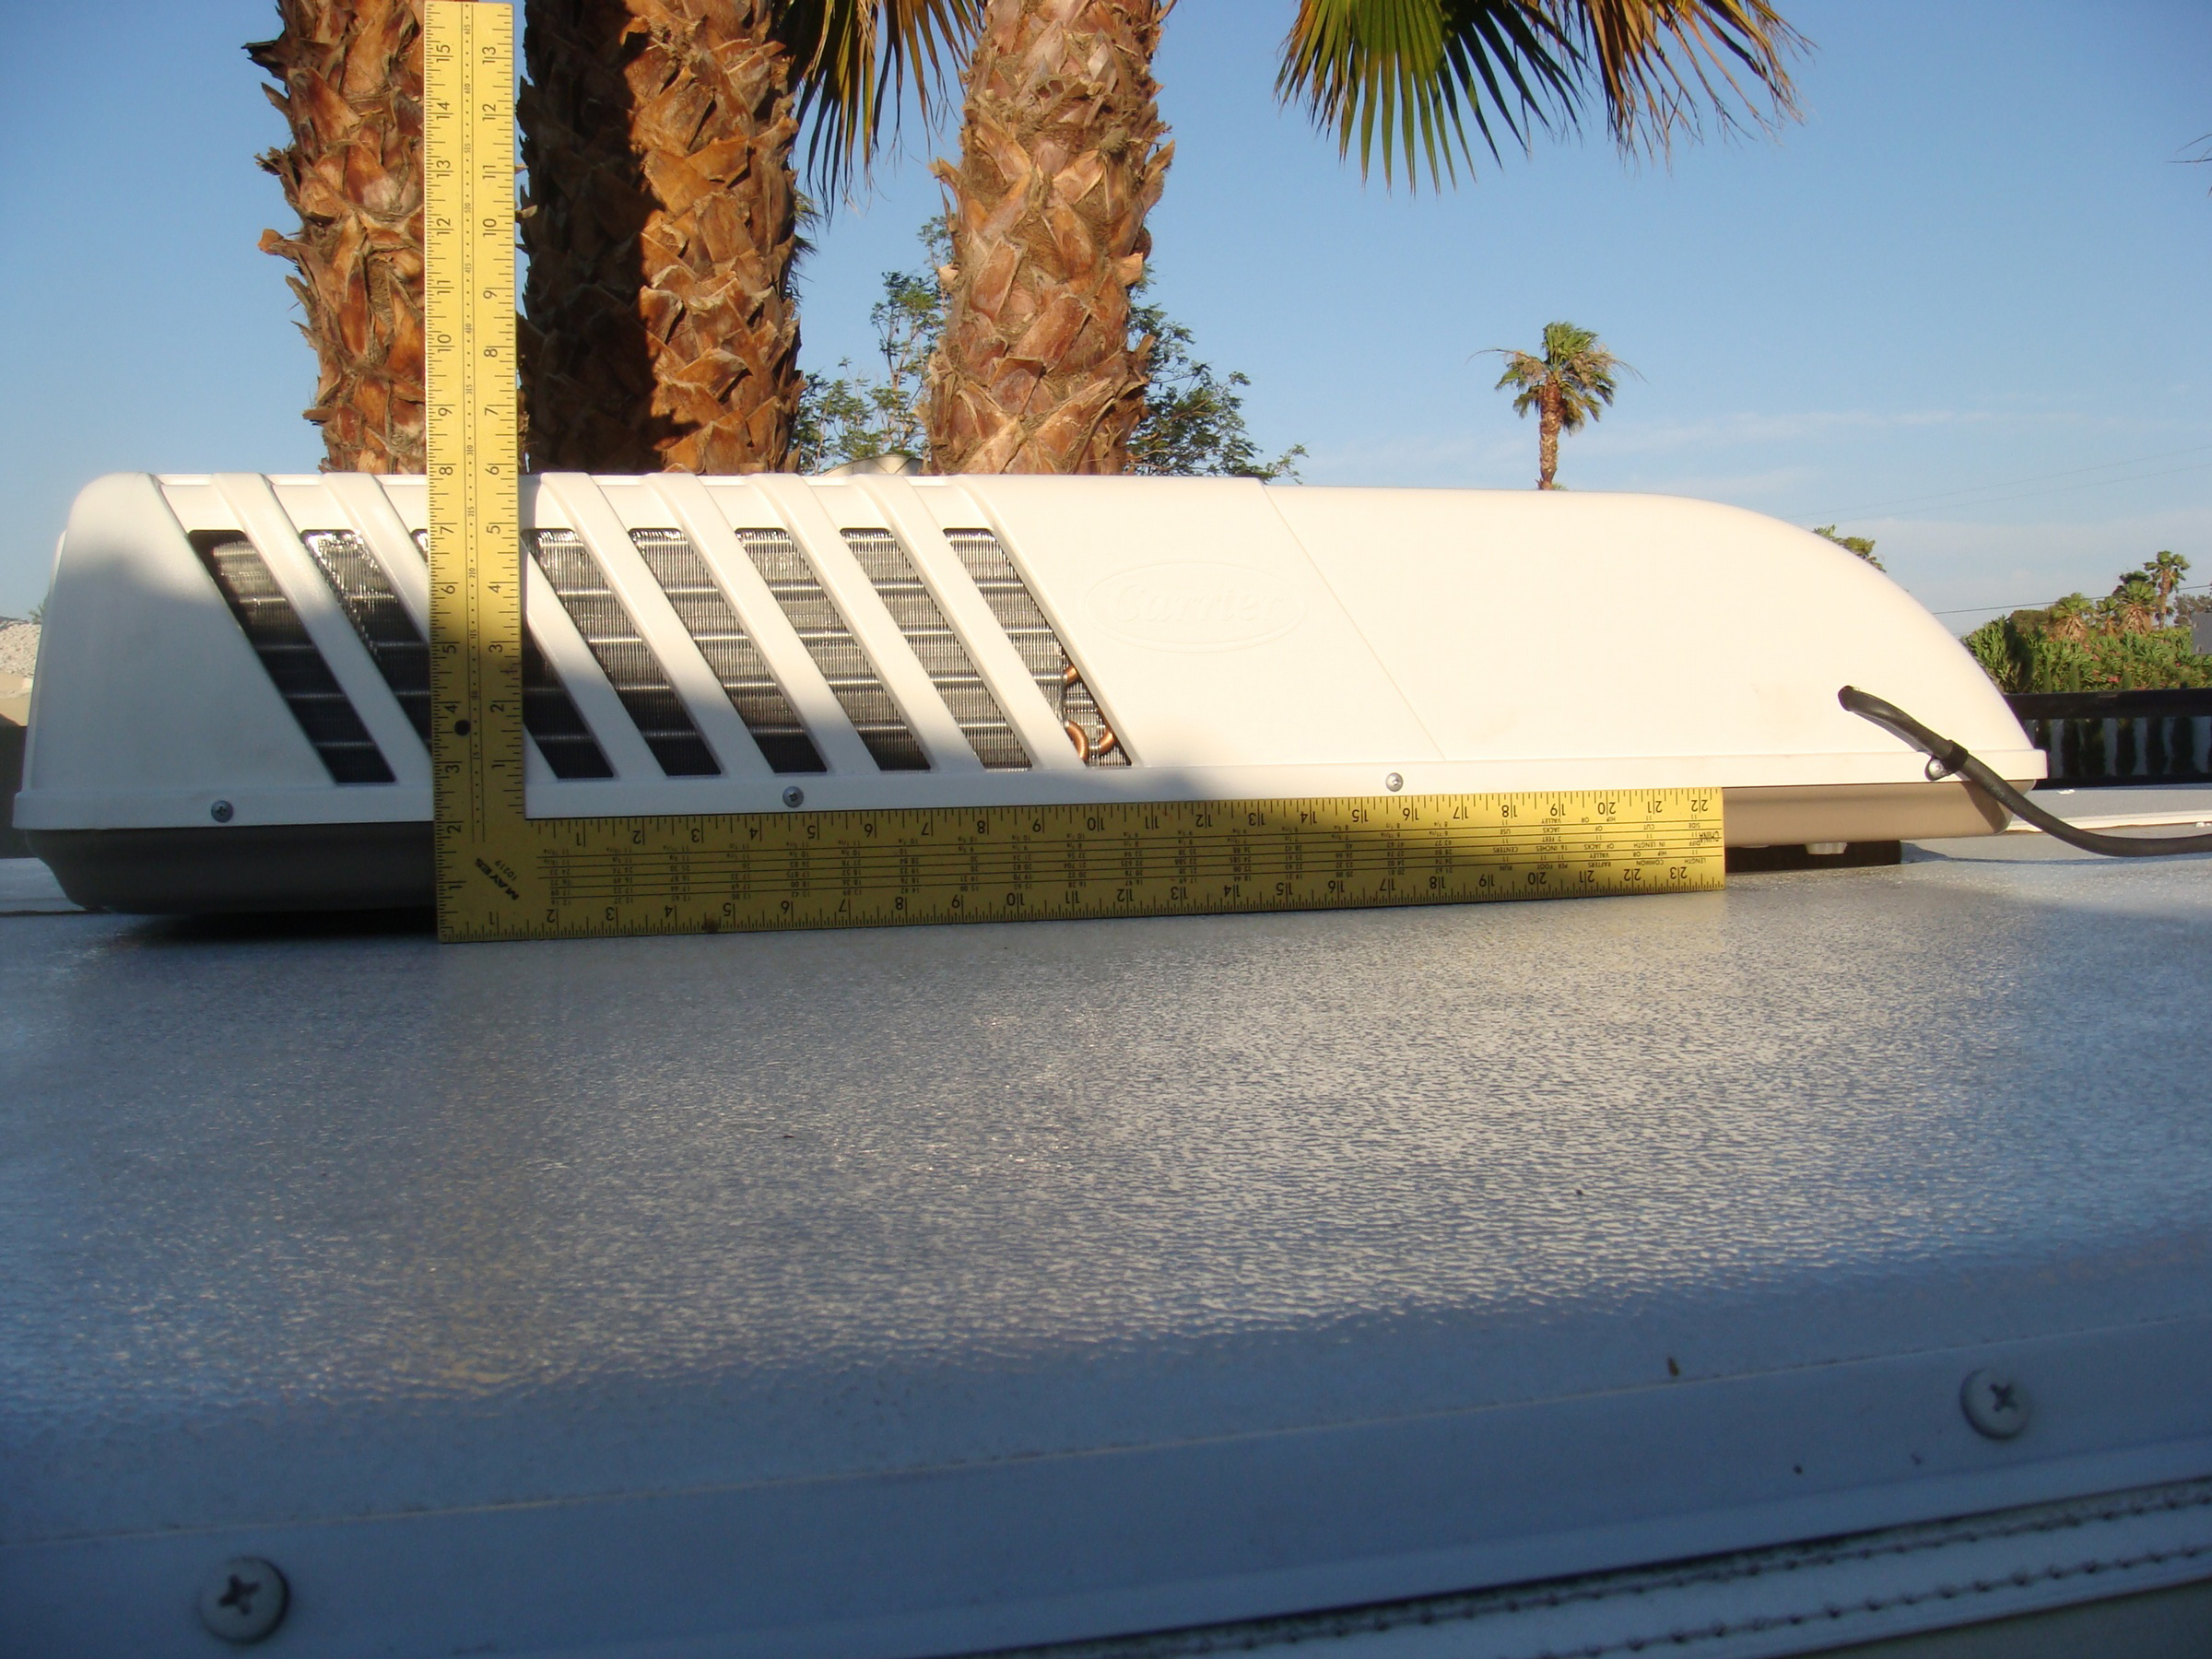
Above: New low profile air conditioner is 5″ lower than the old one.
Additional Benefits
If there was one thing I hated about the Fleetwood Niagara, it was how low it was to the ground and the hassle of off-loading grey water from the holding tank. The only feasible solution was to purchase a Thetford Wheeled Smart Tote. This was heavy and bulky. What I wanted to use was a couple of sequential AquaTainers. This method was developed by my friend Bill (know as Oz & Us). Easier to manage disposal, easier to transport, and takes up less room. Now that the camper was 5″ higher, I could now us Bill’s system.
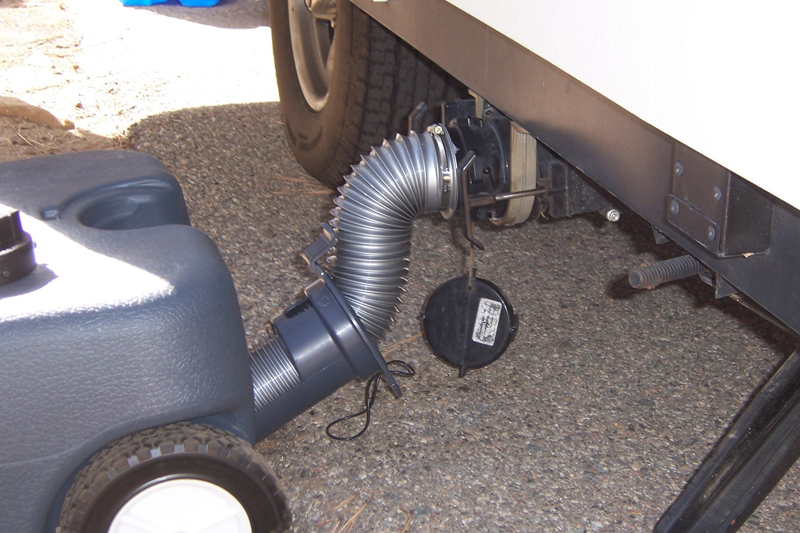
Above: Thetford Wheeled Smart Tote
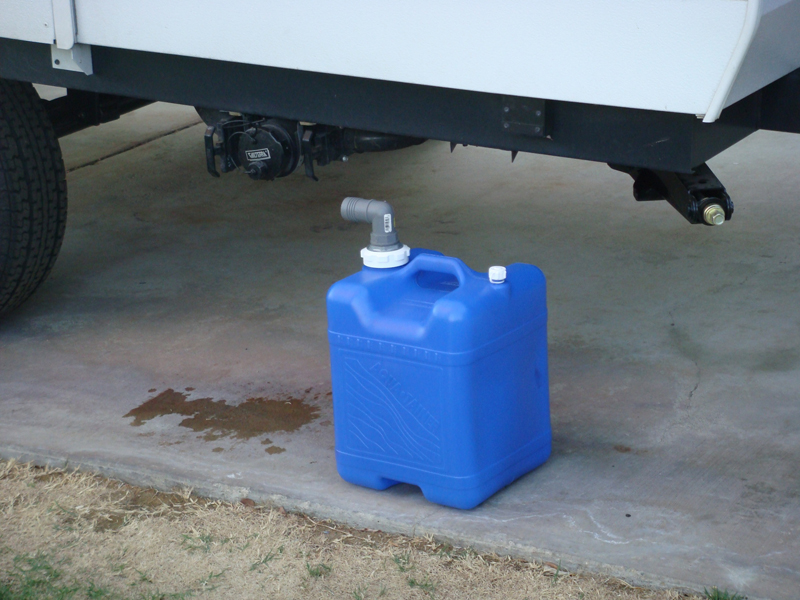
Above: From the beginning, I wanted to use AquaTainers to capture grey water.
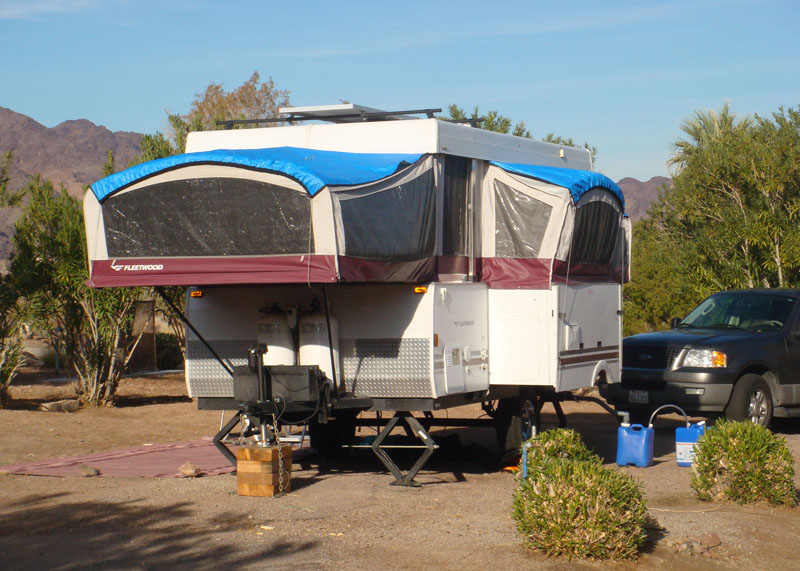
Above: Sequential AquaTainer Grey Water System in Action.
Other Upgrades
Before The Upgrade, the trailer tended to sway on downhills and above 60 mph when passing vehicles (I never drive more than 60 mph when towing the trailer — trailer tires are rated at 65 mph max). Also with the tongue being 5″ higher, I was concerned about the hitch height. To solve these concerns, I purchased an Equal-i-zer Brand weight distribution hitch. The WDH actually lifts the back of the tow vehicle and transfer part of the trailer’s weight to the front axle of the tow vehicle. To make it easier to connect the trailer to the hitch and hook-up the WDH, I purchased a powered tongue jack, as the old one had a hand crank.
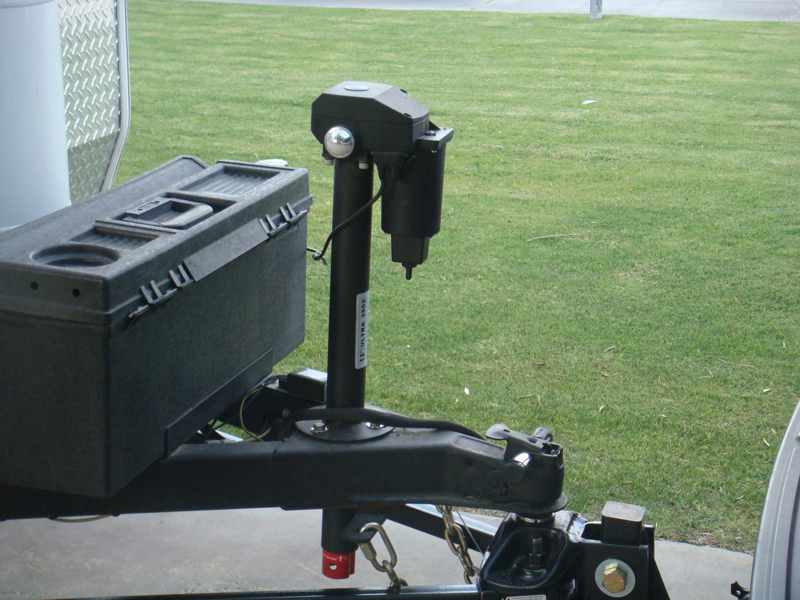
Above: Powered tongue jack.
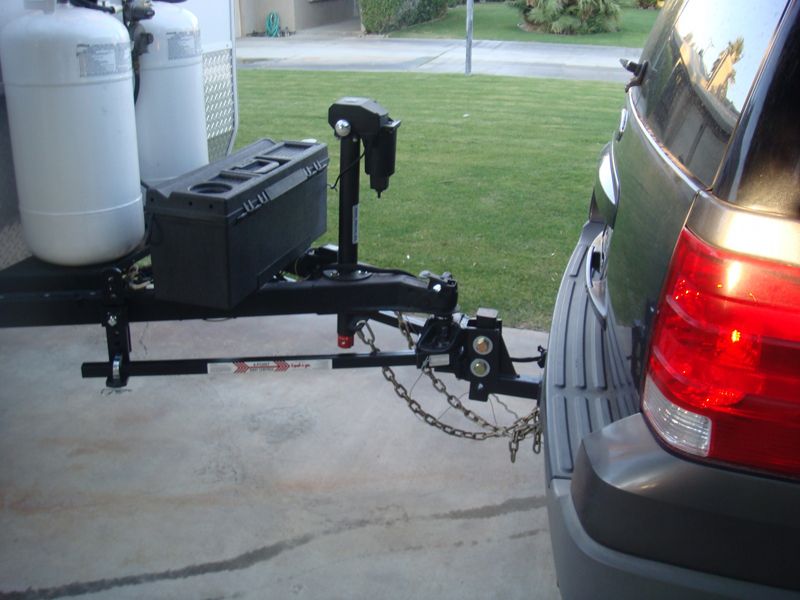
Equal-i-zer
The Garage
After all the measuring and all the work, it was time to see if it would actually fit in the garage. I was hoping it would fit without removing the bike rack each time, and hopefully the storage units attached to the rafters would not have to be removed. It all worked!

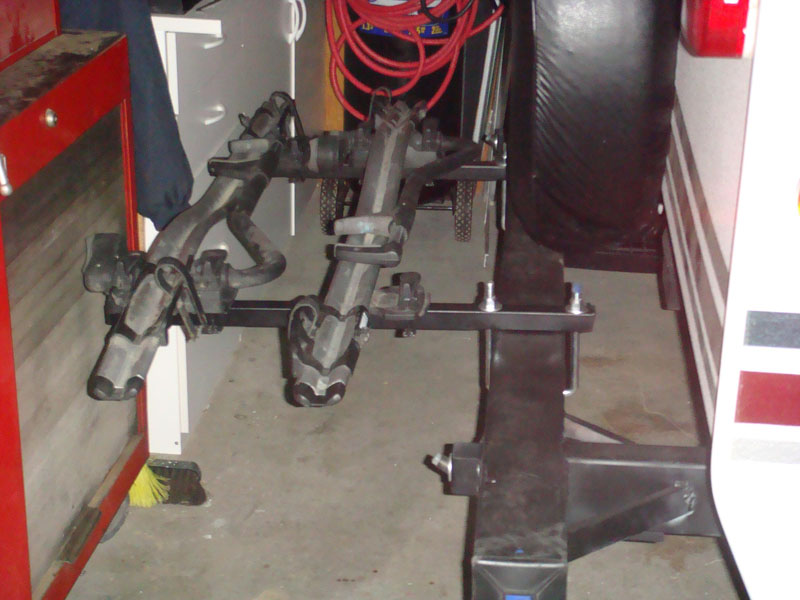
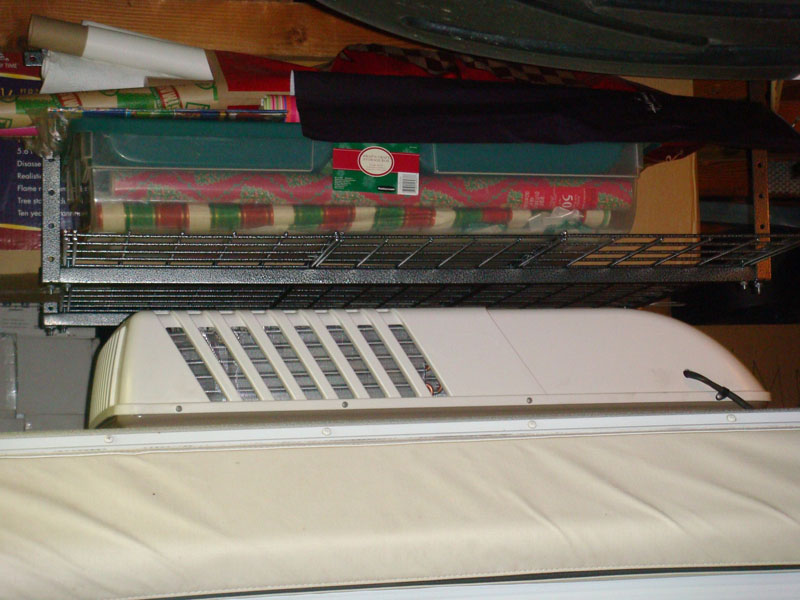
We now have over 15,000 miles on these tires and they still look brand great. Actually it is getting close to replacement time base on time service. There has been zero unusual wear..This is probably not the answer any Niagara owner is looking for, but it worked well for us.