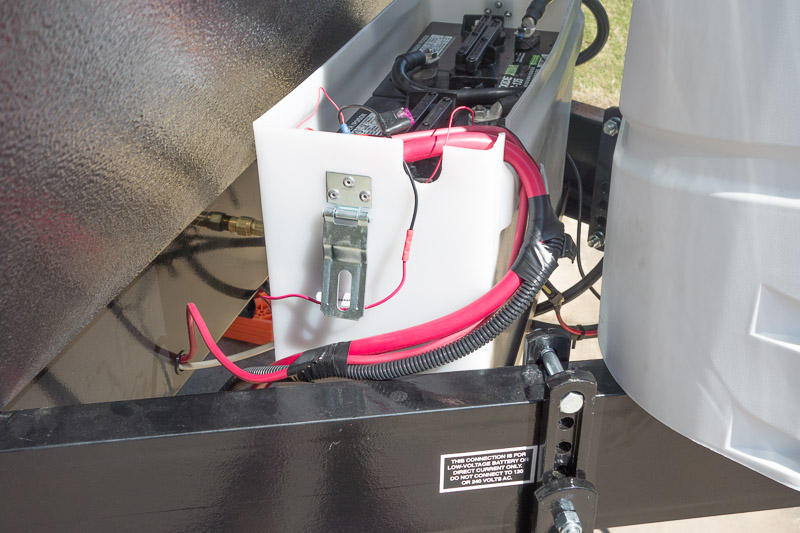
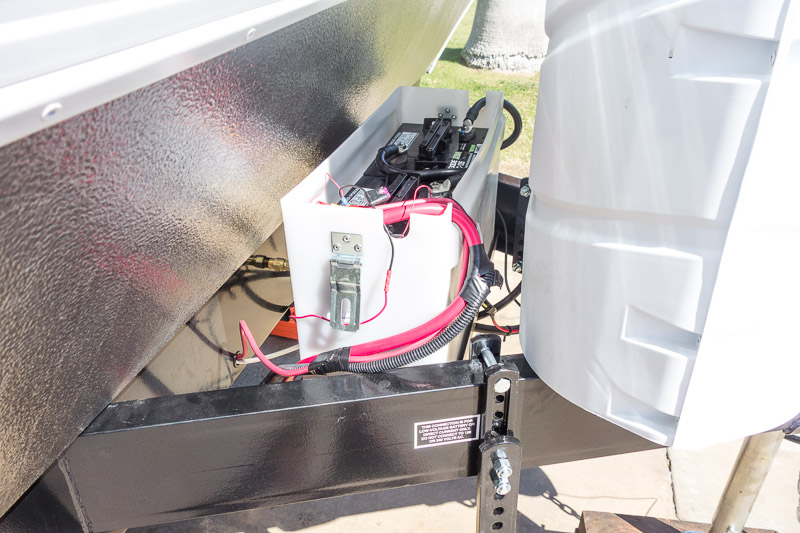
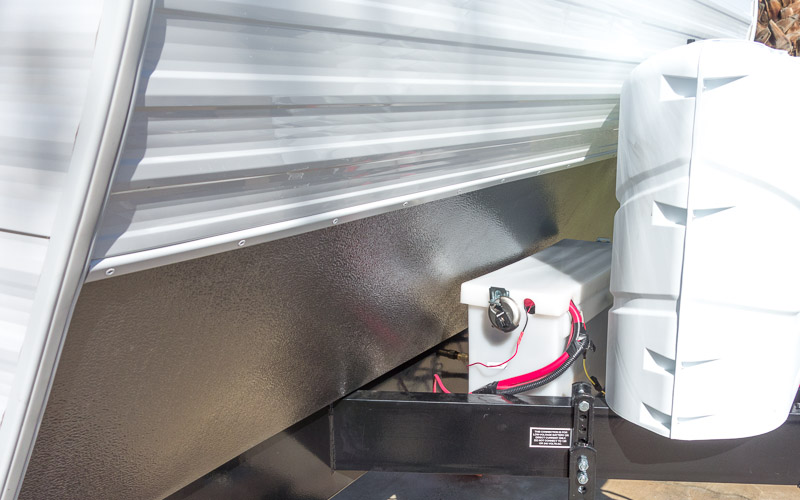
As with our last camper, the very first mod we did to our Milan was to install a solar system. You may also want to read about the solar systems on our 1992 Starcraft Meteorite and 2006 Fleetwood Niagara.
 This install was more involved and contained some extra items we did not use in our previous campers. I did not take a lot of pictures because my focus was on a quality installation, not documentation.
Below is a list of what we added to the camper.
- Exide CG-135 6-Volt Golf Cart Batteries (2 each) 226 AH
- RV Dual Golf Cart Battery Box
- Battery Box padlocks and hinges
- Kyocera 140 watt solar panel w/ junction box (2 each) 280 watts total
- Solar Panel Mounting Z-Brackets (8 total – 4 per panel)
- ¼” X 1” Well nuts to mount Z-Brackets to roof
- Dicor Lap Sealant to seal Z-Bracket Mounting
- Waterproof Electrical Box
- 10 gauge Sun Resistant covered wiring for panels
- Midnite Solar Array Box for Solar Panel Breakers
- Solar Array Breaker, 20 Amp
- Solar Array Breaker, 50 Amp
- Morningstar Tri-Star 45 Charge Controller, 12-48 Volts, 45 amps max
- Morningstar remote digital meter for TriStar controller
- Morningstar Remote Temperature Sensor for TriStar controller
- Tri Metric 2025RV battery system monitor
- 500 amp/50mv shunt for Tri-Metric battery monitor
- Samlex 2,000 watt pure sine wave inverter
- Remote on/off switch for Samlex inverter
- Inverter fuse & holder, 250 amp
- Inverter Battery Cables, Size 2/0, Black and Red, 5′ Pair, 3/8″ UL Listed lugs
- Battery Cable from Inverter to 250 amp fuse holder, size 2/0, red, 18 inches with 3/8″ UL listed lugs
- Battery Cable from 500 amp shunt to battery negative, size 2/0 UL listed cable, black, 12 inches with 3/8″ UL listed lugs
- Battery Cable to connect 6-Volt batteries in Series, size 2/0 UL listed cable, black, 12 inches with 3/8″ UL listed lugs
- Powermax 50 Amp Automatic Transfer Switch
PLANNING THE INSTALLATION
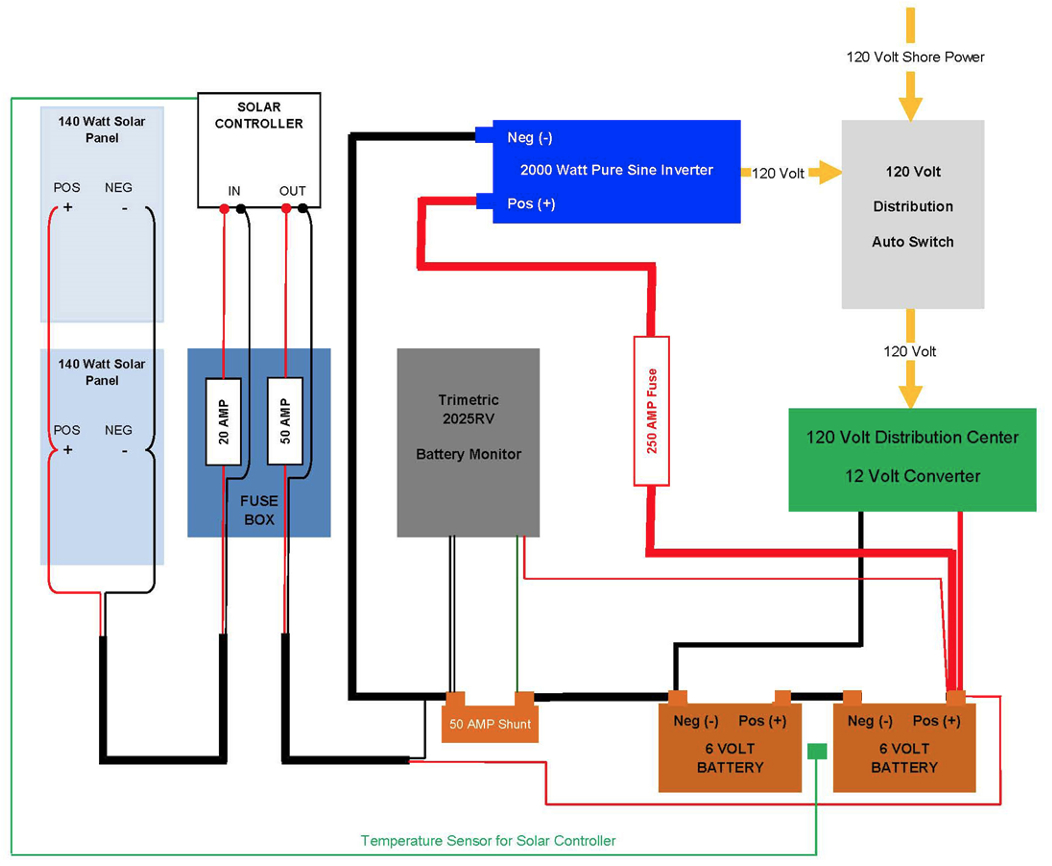
Before installing anything, I put together a wiring schematic. Many people install one or two parts at a time and then test. I prefer to install everything at once, hold my breath, and turn the system on. 🙂
Good news is that everything worked the first time.
SOLAR PANEL INSTALLATION
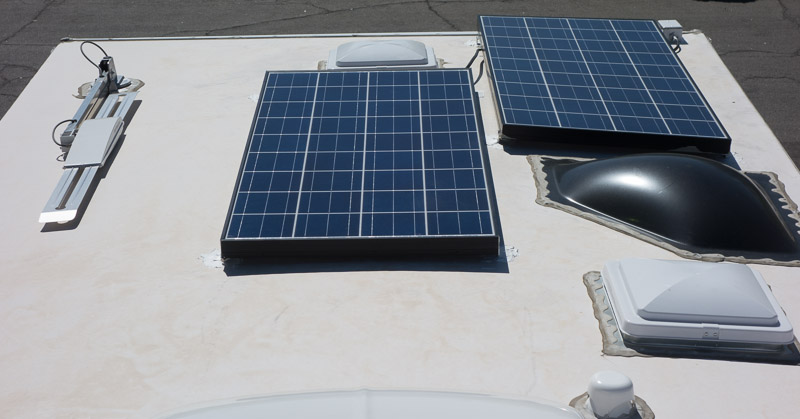
We have received excellent results from Kyocera solar panels in the past. There are cheaper Chinese panels available, but we want a company that will be in business should we ever need warranty service. Our Kyocera panels are monocrystalline construction and have a track record of outstanding performance. The panels have a 20 year warranty on power output and 5 years on workmanship.
Our roof is rubber coated plywood. The Z-Brackets were mounted to the roof using ¼” X 1” Well Nuts. Installation required drilling ½” holes in the roof, inserting the well nuts, and bolting the bottom of the Z-Brackets to the well nuts. Well nuts are 1” rubber with a ¼” X 20 nut at the bottom. As the bolt is tightened it draws up the rubber creating a seal in the drilled holed. Theoretically the well nut will not leak. I sealed the brackets with Dicor Lap Sealant as a precaution.
To run the solar panel wires to the Solar Controller, I drilled a hole through the roof using a waterproof electrical box to keep water out. The box can be seen at the upper right of the picture above.
COMPONENT INSTALLATION LOCATION
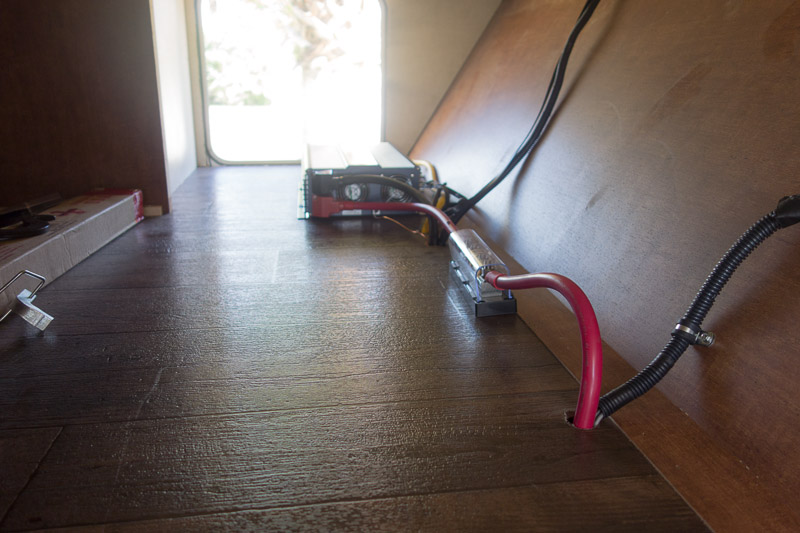
After years of camping in tent trailers, our new Milan has much more storage than we can fill. This means there is plenty of room in the front pass-through storage area to mount most of our components. It also means a very short run for the wires connecting the solar panels, solar controller, and inverter.
SOLAR CONTROLLER AND BREAKER PANEL
With both solar panels wired in parallel, the maximum output will be around 15 amps. In case we add panels in the future, we installed a 45 amp Morningstar TriStar Pulse Width Modulated controller, with a remote digital meter, and a temperature sensor. In addition a circuit breaker panel was installed with a 20 amp breaker for solar input into the controller and a 50 amp breaker from the controller to the battery.
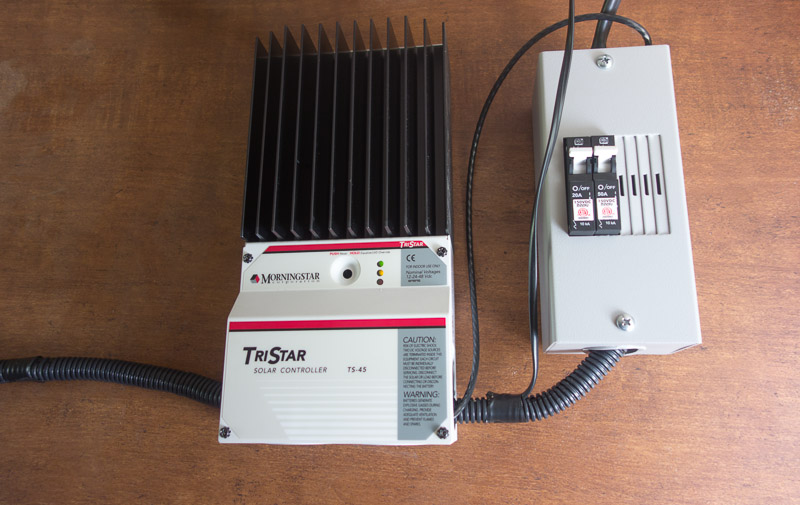
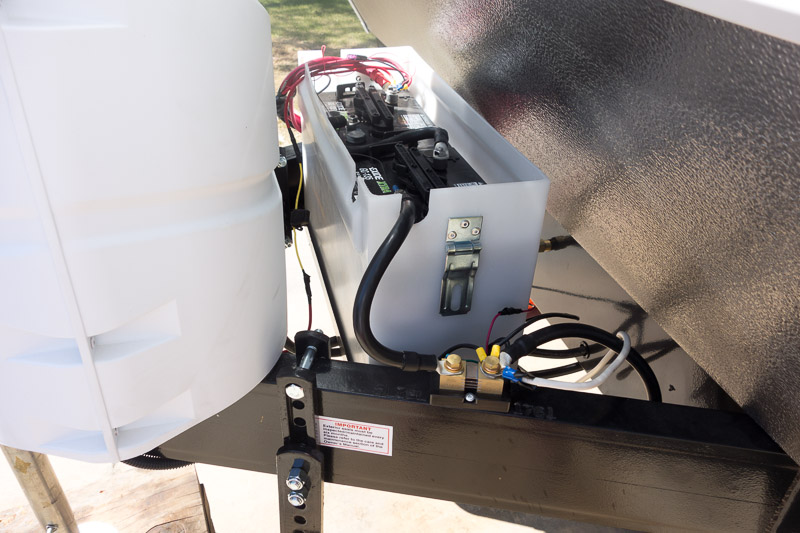
The temperature sensor in the battery compartment makes sure the controller provides the proper charging to the battery bank. One reason I chose the TriStar is because the charge point can be set to 14.8 volts. Most solar chargers can only be set to a max of 14.4 volts, even though most deep cycle battery manufacturers recommend 14.8 volts.
SAMLEX 2000 WATT PURE SINE WAVE INVERTER
Pure sine means the inverter will produce clean alternating current, just like is found in your home. Pure sine current ensures that any sensitive electronic equipment will operate flawlessly. A pure sine inverter is several times more expensive than inverters used by many boondockers, which are typically modified sine wave inverters.
Many inverters, even the expensive ones, will not operate if the battery input voltage goes over 15 volts. In cold weather, a properly set up solar system controller with a temperature sensor can occasionally go over 15 volts. Most inverters will shut down. The Samlex will not shut down unless input voltage exceeds 16.5 volts.
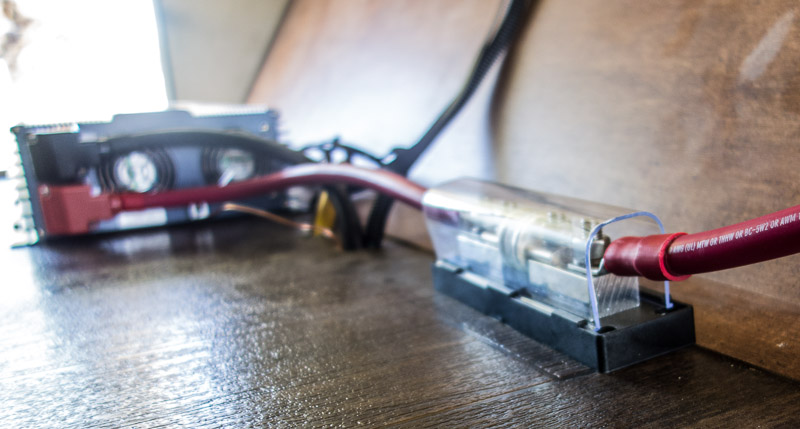
For protection against a possible short, we wired in a 250 amp fuse. Since the inverter is located in a storage area, we also installed a remote control unit inside the camper to turn the inverter on or off. With our system we can run any appliance you would find at home. Items such as a microwave or toaster should be used at a minimum as they draw 10 times more amperage from a 12 volt system than a 120 volt source. Theoretically it could power our air conditioner, but the battery bank would be depleted in a matter of minutes.
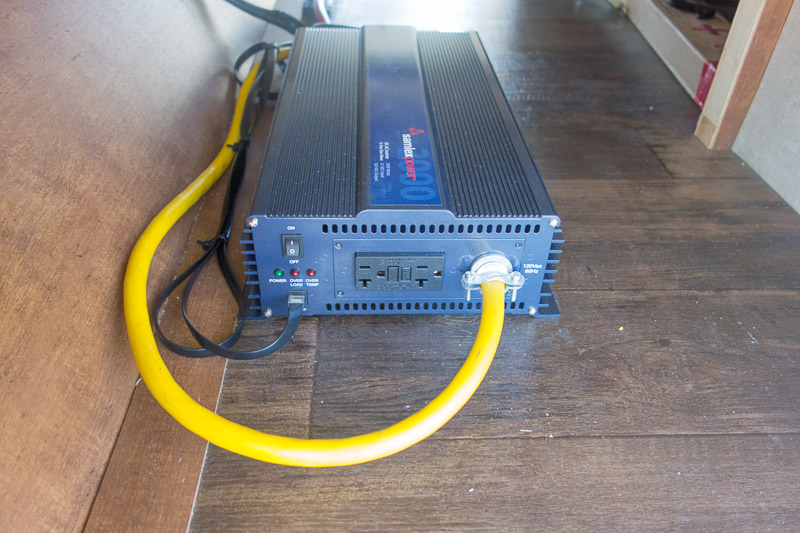
Instead of running Romex cable to power our 120 volts system with the inverter, we used waterproof 30 amp wiring. Romex can vibrate loose, although trailer manufacturers now use it in most interior installations.
50 AMP AUTOMATIC TRANSFER SWITCH
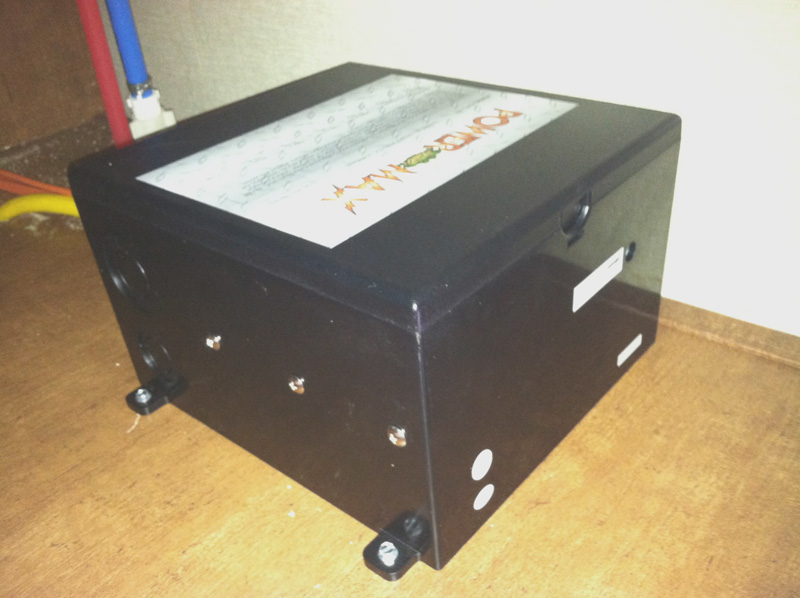
This box automatically switches 120 volt electrical system to and from shore power to the inverter. If the switch does not see 120 volts from the main electrical service, it switches the system to the inverter. This means that all 120 volt electrical outlets can be powered from the inverter.
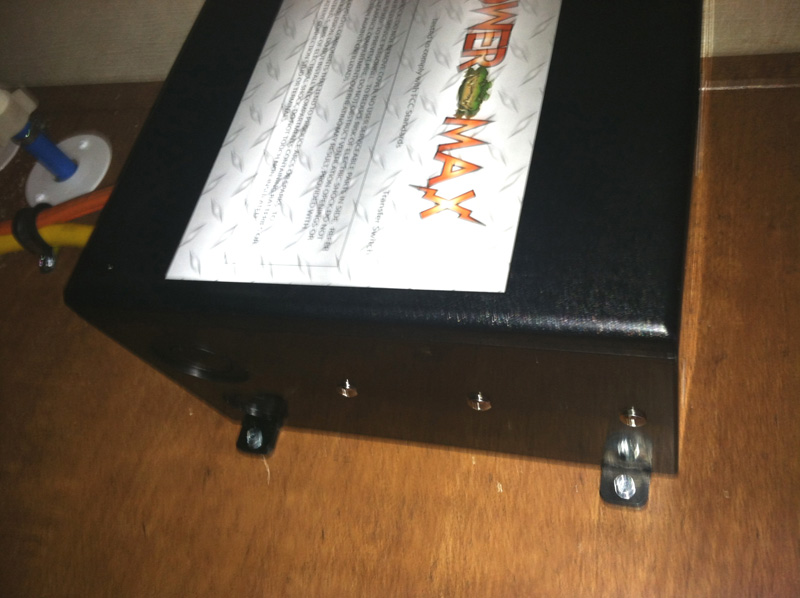 The transfer switch should be placed a close a possible to the trailer’s 120 volt electric panel / 12 volt converter. This meant installing it under the sink. The yellow cable shown in the Pure Sine Inverter section runs from the inverter to the transfer switch.
Lesson Learned
New to us is the refrigerator that will automatically connect to any power source available, and it chooses 120 volt first, then propane. When we first turned on the inverter, the refrigerator switched from propane to 120 volts and soon used nearly ½ of the usable battery bank capacity. Luckily I noticed it on the battery monitor and changed the refrigerator setting to run only on propane. The solar system brought the battery bank to full capacity.
TRIMETRIC 2025RV BATTERY MONITOR
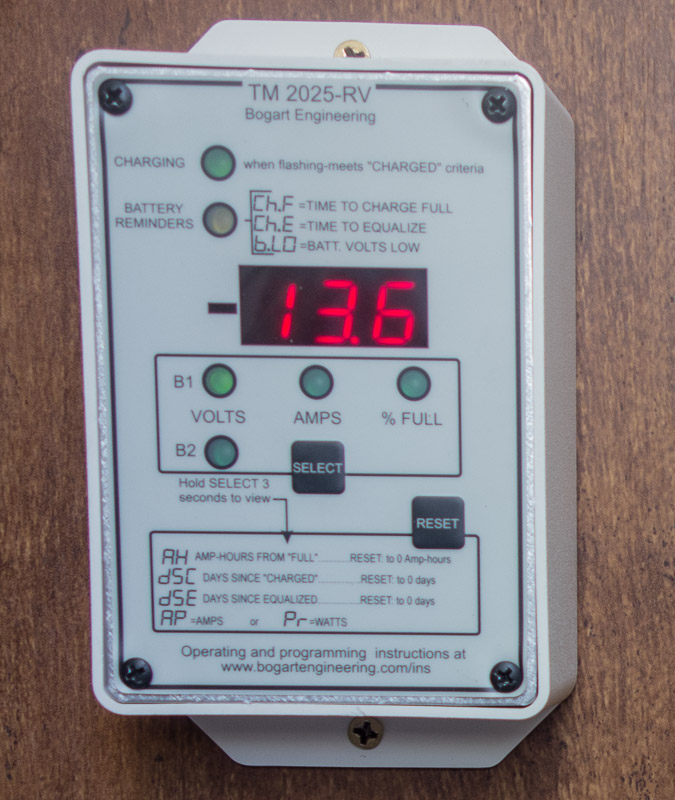
If you want to live off the grid for a period of time, a “real” battery monitor is an absolute necessity. The monitor will measure the percent of battery capacity remaining and a plethora of other useful information. Not all battery monitors are equal. Buy only a Trimetric. We used the 2020 model in both our tent trailers and opted for the newer 2025RV for our Milan.
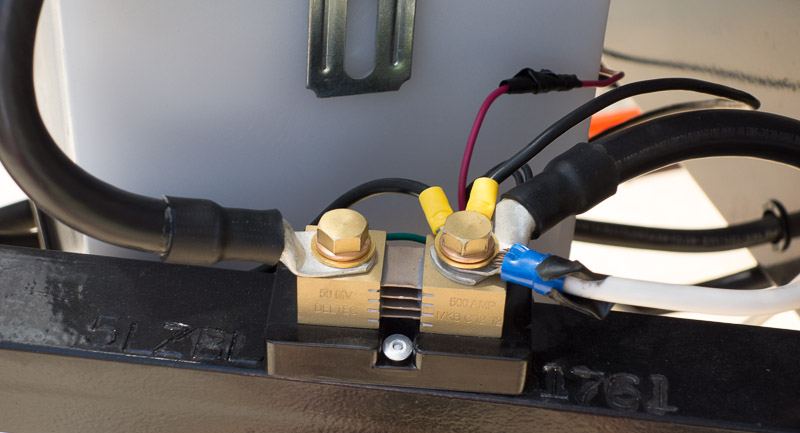
The monitor reads the amps that are put into the battery bank and records the amps that are used. This is accomplished by run ALL ground circuits through a shunt, which is also connected to the Trimetric.
BATTERY BANK
Out of convenience and time, I purchased a pair of 6-volt golf cart batteries made by Exide. Total amp hour (AH) capacity is 226 AH, which means a useful capacity of 113 AH. This is a little less than the 245 AH capacity of our old Trojan T-145 batteries, but it should be sufficient. I was unable to find the Trojan’s locally, which is perplexing since there are so many golf courses in Palm Springs. If the bank does not prove to be sufficient, we will upgrade.
REMOTE CONTROLS
I decided to mount the Trimetric 2025RV, the Solar Controller Remote Display, and the Samlex Remote On/Off Switch in the bedroom, which is close to the storage compartment. Plus Joyce didn’t want a bunch of gadgets in the living room or kitchen area.

