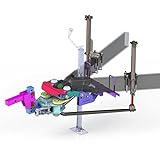
Recently I posted a 25,000 mile update on our ProPride trailer hitch along with some maintenance tips. This got me to thinking about something I have wanted to do for about 3 years — replace the Weight Distribution Jacks that came with the hitch. This new version, which ProPride calls the v2 WD Jack (version 2) was released about 8 years after we purchased our hitch.
ProPride now includes the v2 jacks with a new hitch. The original version 1 jacks are no longer sold by the company, although they still have repair parts for them.
Why did I wait 3 years? Because there was nothing really wrong with the originals, other than it was somewhat difficult to remove the plastic propane tank cover. The old jacks did have a couple other idiosyncrasies, but they we’re deal breakers for me.
In this post I’ll discuss the installation of these new WD Jacks, which has already been a great upgrade. It will probably only interest those owners of ProPride hitches with the original version 1 WD Jacks, but some folks may appreciate my approach to solving problems.
But first a few preliminary comments for the uninitiated —
What is a Weight Distribution Hitch?
The ProPride Hitch solves two problems.
First, unlike almost all other hitches on the market, it eliminates trailer sway
Trailer sway is when a towed trailer moves from side to side. I discussed it back in 2013 in this article, How Much Trailer Can You Tow (Part 3).
Trailer sway can be very dangerous resulting in injury or death. This video from ProPride explains how their hitches eliminate trailer sway versus the common types that attempt to control sway.
Of course the video is also a marketing piece for ProPride. I can unequivocally state that the ProPride hitch works! It eliminates trailer sway. I had towed trailers for over twenty years and had experience sway many times, even with two different Equal-i-zer brand hitches on two different trailers. Over 11 years and 25,000 in all kinds of conditions, to include the often windy deserts we travel in, our Milan has never experienced sway; unlike the Equal-i-zer hitch we towed with for the the first couple of months we owned our current Eclipse Milan RLS26 travel trailer.
Second, the ProPride is also a Weight Distribution Hitch
A weight distribution hitch distributes the weight of the trailer across the axles of the tow vehicle and the axles of the trailer. Many tow vehicles have two towing capacities: (1) Loaded trailer weight without a weight distribution hitch and (2) a higher capacity with a WD hitch. For example our 2013 Expedition had a max trailer weight of 6,000 pounds, and 9,200 pounds with a WD hitch.
Adjusting a WD Hitch
The method recommended by Ford for our 2013 Expedition and our 2020 F-250 Super Duty is the same:
- With the trailer disconnected measure the distance of one of the front wheels from the ground to the the wheel well opening (this is H1)
- Now connect the trailer with the WD bars disconnected and the tongue jack retracted
- Measure the distance of the front wheel in Step 1, from the ground to the the wheel well opening (this is H2)
- Adjust the WD bars so the distance at the front tire is moved halfway between H1 and H2 (this is the target height, T)
An example:
T = H1 + (H2-H1)/2
T = 34 + (38-34)/2
T = 34 + (4)/2
T = 34 +2 = 36 inches
I provide more detail in this post, Quick Tip: How to Adjust a Weight Distribution Hitch.
Okay, let’s proceed to discuss the Version 1 and 2 ProPride WD Jacks. We’ll start with some installation challenges of our v1 jacks.
Version 1 Jack Installation Issues
I had some problems when I originally installed the jacks back in 2013.
Leaning Tower of Pisa Syndrome
Because our trailer frame is a C-channel construction, the installation hardware set-up was not very good for our type of frame. After a couple to test runs, the jacks started to tilt away from the frame, which was not a good thing.
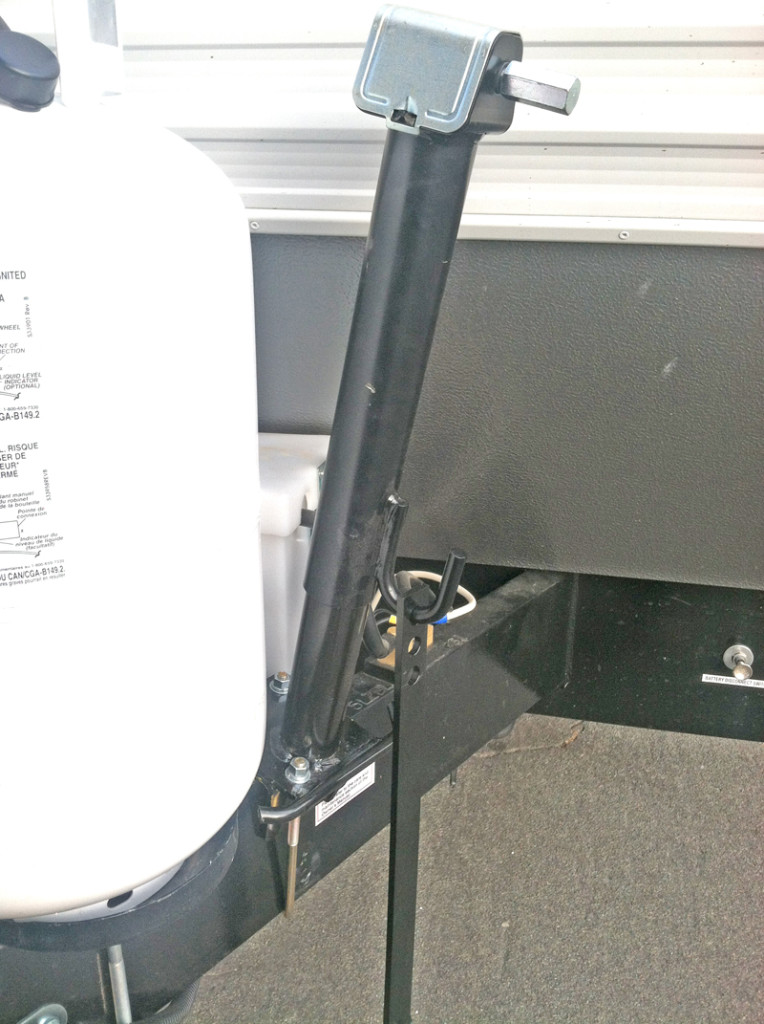
The problem was really a One-Size-Fits approach with these jacks. They work great for a tubular rectangular frame, but not so good on a C-Channel like ours. So with a little bit of thought, I came up with a solution that included drilling a couple holes on each side of the frame and bolting the jacks to the trailer frame. I documented all of this in this post.
After these modifications the jacks were rock solid for over 11 years. Zero problems.
Fitting the Jacks to Clear Other Components
The WD Jacks need to be 26 inches (plus or minus 1.5 inches) from the trailer’s coupler. This leeway of 3 inches is mostly to work around the location of the propane tanks. Propane tank location is not standardized on travel trailers.
For our trailer, the location of the battery box also reduced the installation options. I had to fit the jack between the propane tanks and the battery box with no wiggle room to spare. But the jacks were still within the 26 +/- 1.5 inch specification.
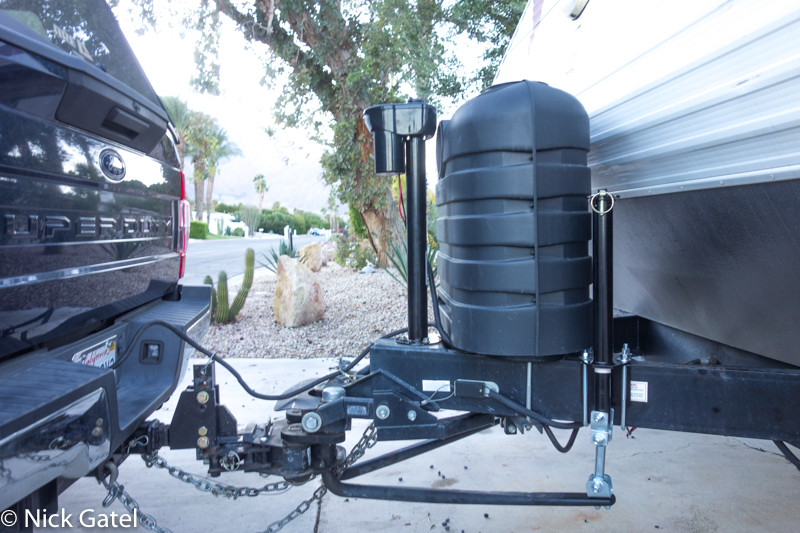
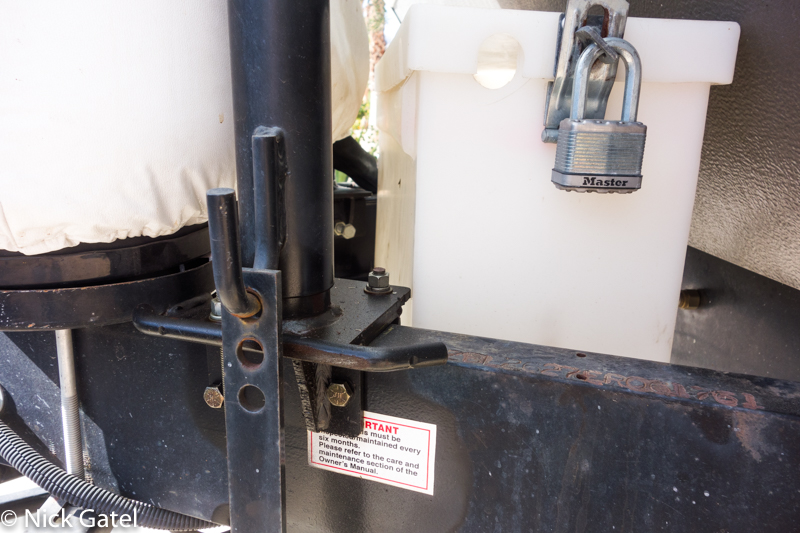
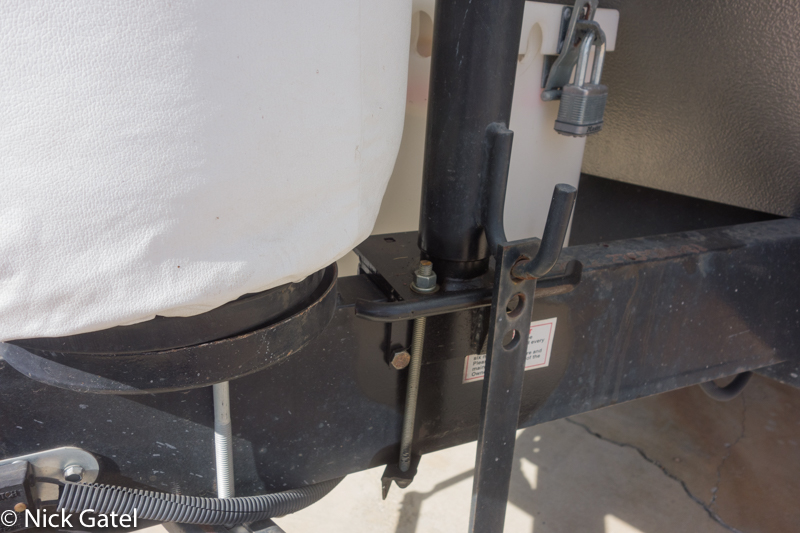
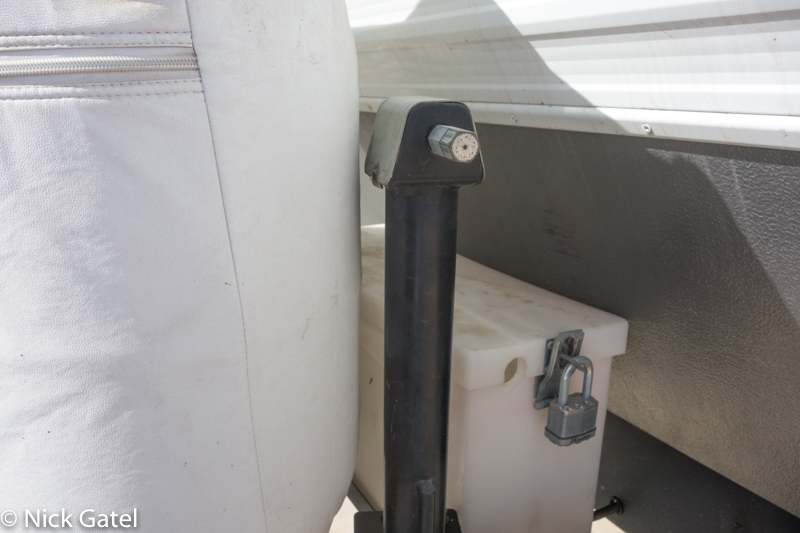
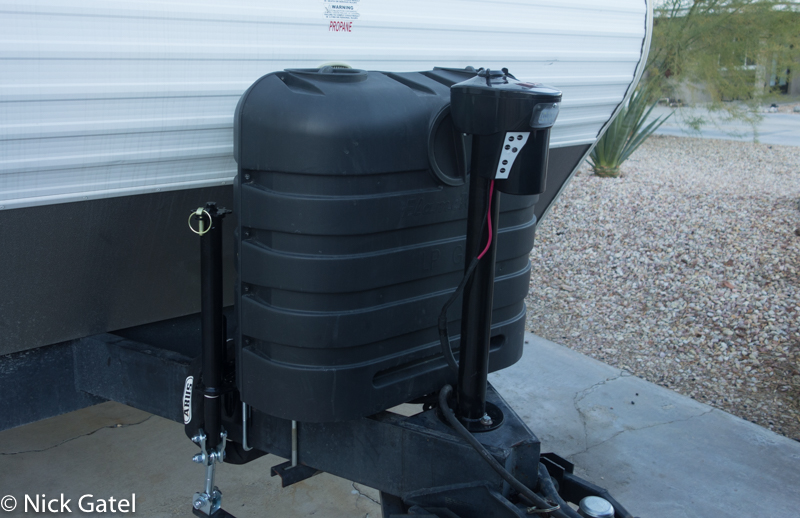
Below is the competed installation 11 years ago. You can see the Jack is right next to the propane tank cover. In fact, the top of the jacks on each side actually were contacting the cover. This did not cause any problems with the functionality of the WD Jacks, but it was a hassle to remove the propane cover. I eventually replaced the cover with vinyl fabric cover that provided a little more room.
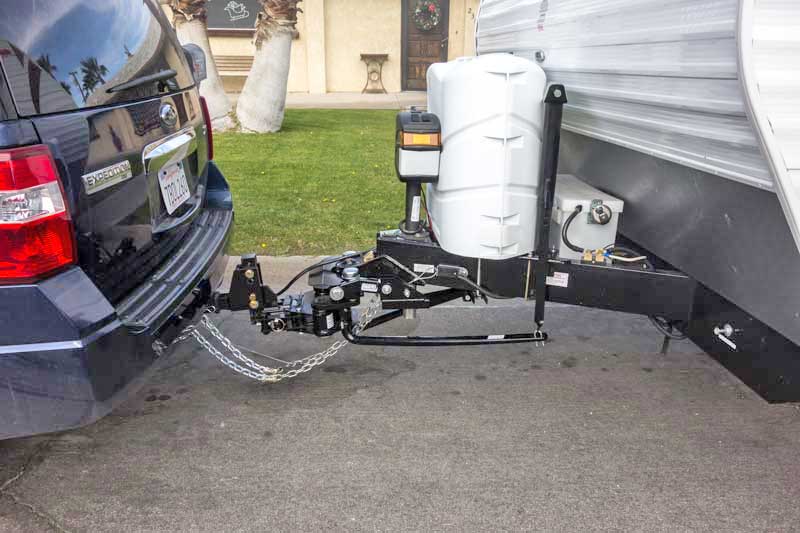
The pictures below better show to limited space for the jacks on the frame.
Other Version 1 WD Jack Concerns
Each jack connects to the weight distribution bars via a long metal bar that passes along side the trailer frame. The top of this bar has holes to fit into a hook that is welded to the outer body of the jack. Friction has slowly elongated this hole.

To keep this bar from rubbing on the trailer frame, the jacks have a round rod the bar can move against. It can seen better in the picture below. If you look closely you can see I had to cut part of this bar off where it is close to the propane tank tray. I had to cut a bit of this rod on both jacks so they could fit between the propane tanks and the battery box.

Sharp Turns
When making very tight turns, especially when backing into a camping spot or our driveway at home, the hitch often makes a creaking sound. I was never concerned about the noise as it wasn’t that loud. With the new jacks I haven’t heard the noise. Some of the noise might still be there. I have to wear hearing aids and my hearing is pretty poor.
I have read reports where some folks have bent these long bars when making very sharp turns. Nothing else was damaged, but the bars had to be removed and straightened using a vise. So it is a design issue, in my opinion.
Why I Upgraded
Two and half years ago I replaced our lead-acid batteries with a 300AH Lithium Phosphate (LiFePo4) battery. As I shared back then, I was able to place the new battery inside the front storage area of the trailer. After installing the new battery I removed the battery box from the front of the trailer.
With the extra space opened up by removing the battery box (mostly useless space), I could have moved the old WD Jacks back away from the propane tanks. This would have required me to drill two new holes through each side of the trailer’s frame; something I really did not want to do.
Had I moved the old jacks back, I still would have the “other concerns” mentioned above.
Version 2 WD Jack Installation
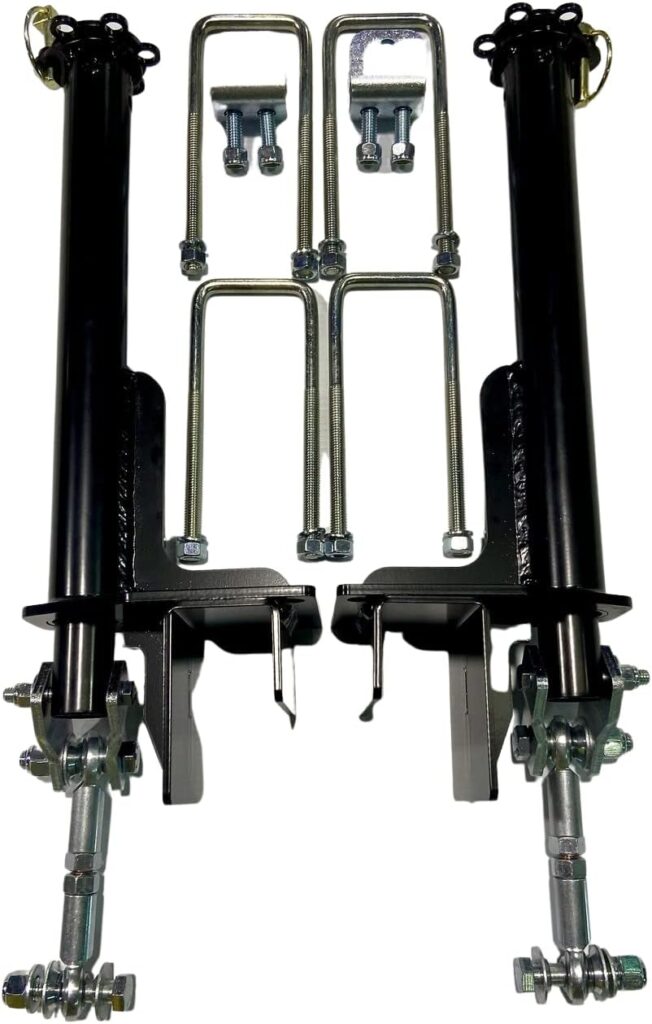
The new jacks arrived in a well packed box with moulded foam surrounding everything. Not a single part was missing. The included instructions were easy to follow with plenty of pictures.
It took me about 30 minutes to remove and replace the old jacks. Keep in mind that I spent decades as an auto mechanic and still have all my tools. Most people should be able to change these jacks in about an hour or so.
The version 2 jacks solved all the issues mentioned above. The dimensions of the jack mounting base is narrower and extends further down the side of the trailer frame. The mounting hardware is a much better design.
Instead of the jack body sitting directly above the trailer frame, it is slightly offset to sit outside of the trailer frame. The long bar is gone replaced by coupling system that has a ball-joint type of fastener that greatly reduces any friction. How the jacks connect to the weight distribution bars should be much quieter and last far longer.
Oh, and I now have an easy to remove hard sided propane cover 😉
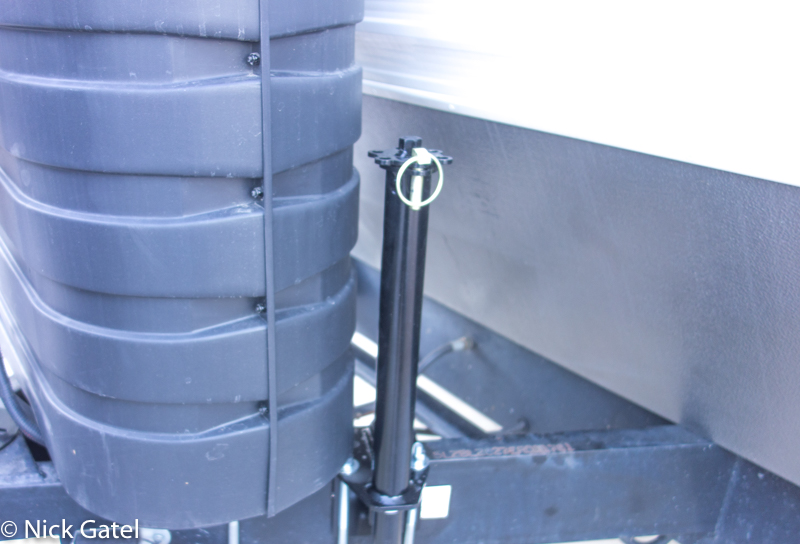
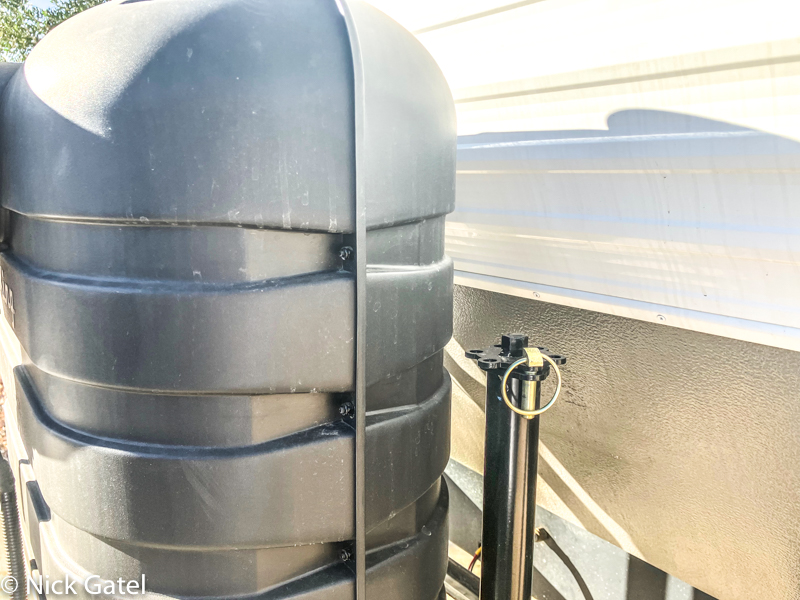
The new jacks are much easier to adjust. The old jacks were pretty easy to adjust. With this version a lynchpin is included for each jack to keep it from changing adjustment when traveling.
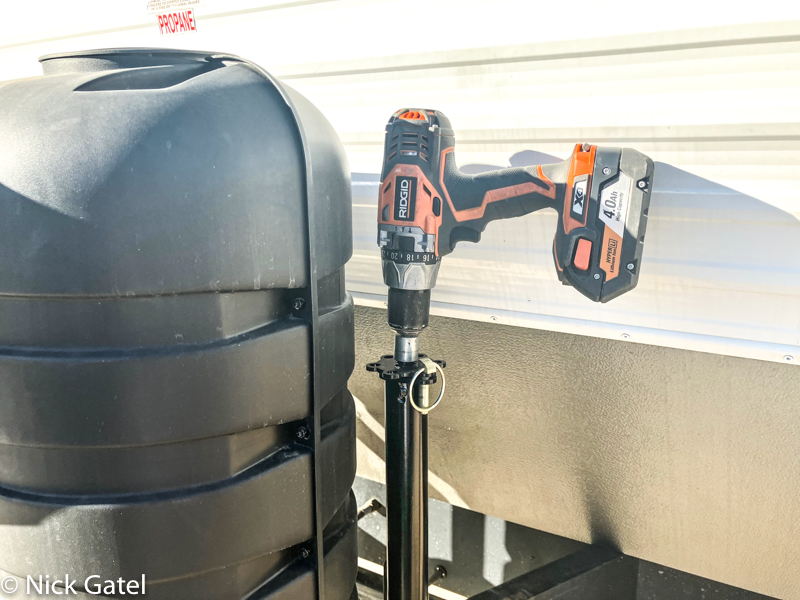
There is plenty of room to adjust the jacks with a battery power drill motor.
This website may be compensated for linking to other sites for sales of products. As an Amazon Associate I earn a small fee from qualifying purchases at no additional cost to the purchaser.

