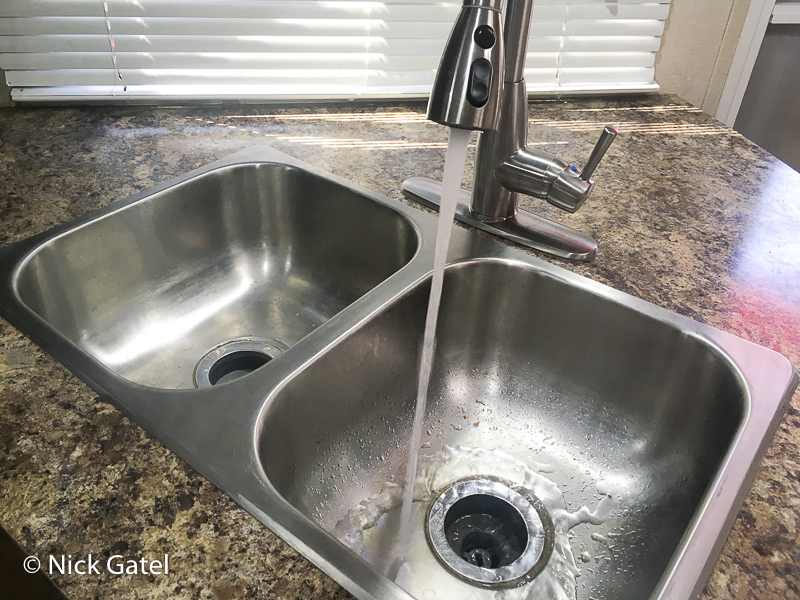
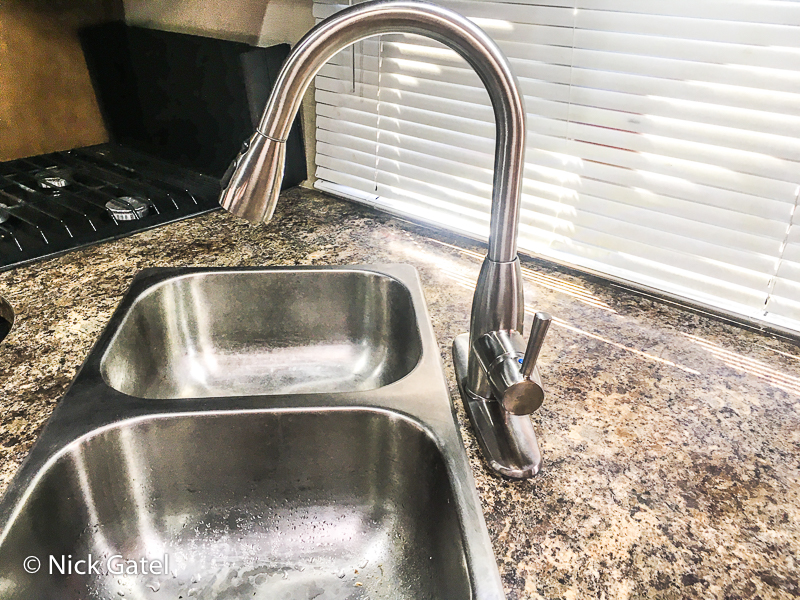
I liked the new pull-down kitchen faucet we installed during our house remodel so much that I thought a similar faucet would work well in our camper too. Joyce agreed.

This website may be compensated for linking to other sites or for sales of products. As an Amazon Associate I earn a small fee from qualifying purchases at no additional cost to the purchaser.
Standard Camper Kitchen Faucet
Most camper faucets I have seen, to include our 2005 Fleetwood Niagara and our current 2014 Milan 26RLS, use a two hole cut-out. I knew ahead of time that installing a single pull-down faucet would require drilling a new center hole in the counter. I also knew that the hoses included with a pull-down faucet would not connect directly to the camper water supply lines. So a little advance planning was required — meaning I would have to buy some fittings to connect the new faucet’s supply hoses. I already have a selection of hole saws, so buying a hole saw to do the job would not be needed.
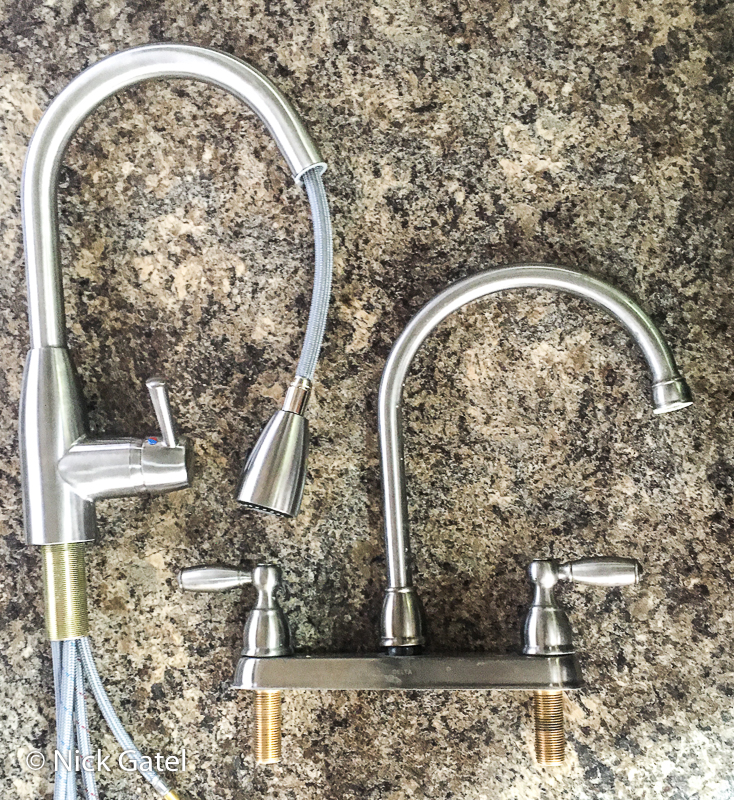
I purchased a faucet and a couple fittings at Home Depot. Note that there are water supply lines integrated into the new pull-down faucet. The old faucet connected directly to the camper water supply lines.
What follows are the steps.
Steps
I will assume your camper’s faucet is mounted to the counter, not the sink. If it is mounted to the sink, you will need to measure the sink holes, as most RV sinks are not standard household size.
With a little advance planning this job should only take 30-60 minutes if you don’t have any experience. Planning should included:
- Inspect current faucet hose connections and hose types.
- Inspect the faucet mounting hardware under the counter.
- Purchase any needed tools or extra hardware.
Drill Center Hole
Turn off the water pump and open the old faucet’s control valves to drain any remaining water. You probably want to place a pan to capture any remaining water when you disconnect the water supply lines.
Once the lines are disconnected, remove the faucet fasteners (usually large plastic nuts on the two large supply line fittings), then lift off the faucet.
Most standard faucets have 1 3/8 inch diameter fittings that fit into the holes of the countertop or the sink.
The two existing holes in our counter are only 1 3/16 inches, but that wouldn’t matter because the new faucet does use those existing holes. I just point this out for reference.
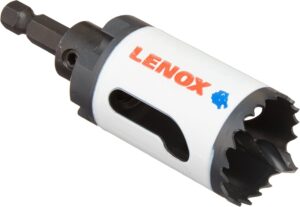
The correct tool for drilling a large hole is a hole saw, which fits a standard drill.
LENOX Tools Hole Saw
![]()
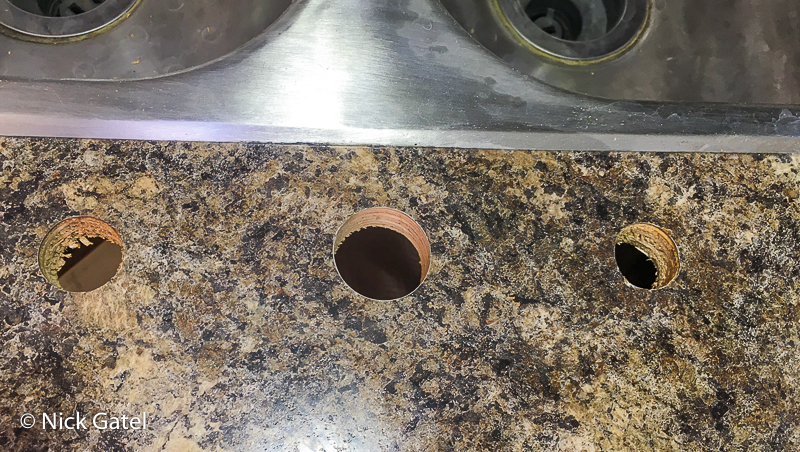
As you can see below, the center hole is larger than the original left and right holes. When drilling a hole in the counter top you will want to cover the area to be drilled with painters tape to prevent chipping.
Connecting Water Lines
Note on faucet water lines: the faucet will probably have three hoses. One for hot water, one for cold water, and one that is the pull-down allowing the faucet head to be pulled away from the curved faucet neck. On most installations, there is a connection fitting on the pull-down line because it needs to be a long loop under the counter. Loosen this fitting and separate the hose ends so the lines can be passed through the countertop.
The water lines are first routed through the center hole, then the faucet itself. At this point the new faucet is secured to the countertop.
Using the hardware supplied with the new faucet, secure the faucet with the correct included fasteners. Make sure the faucet is lined up in the correct position and tighten. Follow the manufacturer’s instruction sheet.
Reconnect the looped pull-down hose fittings.
Now you are ready to connect the water supply lines.
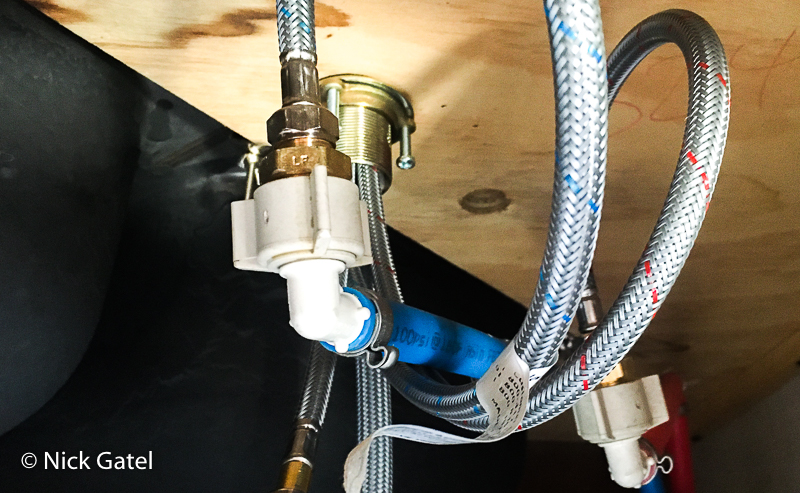
Most campers will have color coded water supply lines: red for hot and blue for cold. Same goes for the faucet.
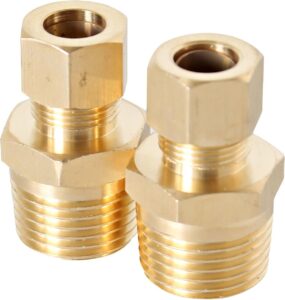
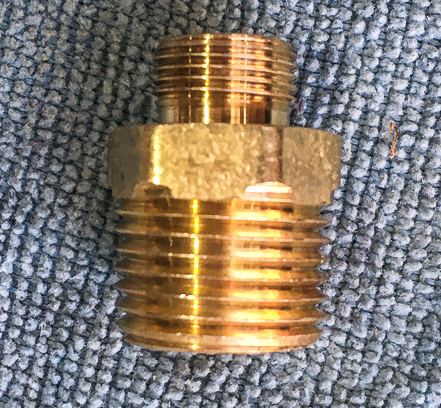
For this install, I needed an adapter for each water line. The fitting size is 3/8″ OD Compression Fitting X 1/2″ MIP Male. Had I bought these from Amazon, I would have saved $7. But I was in a hurry.
Brass Reducing Coupling 3/8″ COMP x 1/2″ MIP Male
![]()
The little fitting on the top of the fitting (see above) for the smaller 3/8″ end of the fitting will not be needed.
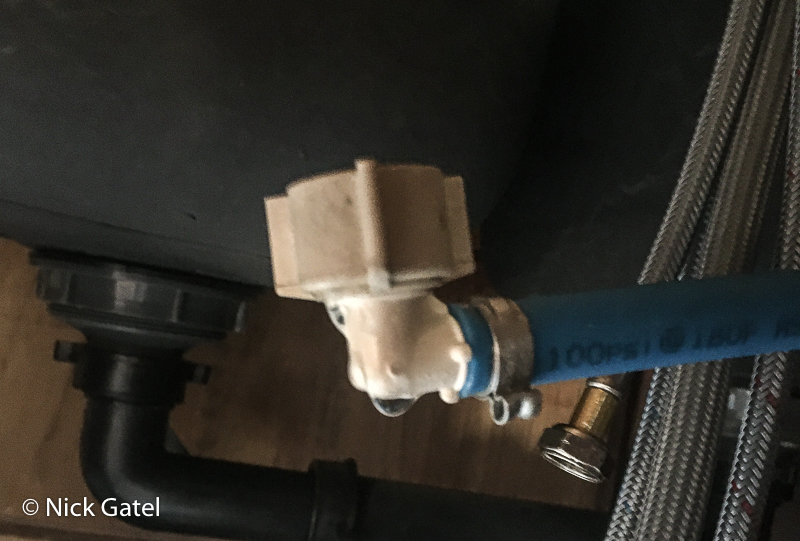
First connect the adapter to the camper’s water supply line. It should seal without using teflon pipe tape, but tape might be extra insurance. I taped mine. Snug the fitting with a wrench. Not too tight or you might break the plastic fitting on the supply line hose.
Next connect the faucet hose to the adapter. Make sure you are connecting hot to hot, and cold to cold hoses. Don’t use teflon tape as the small end of the fitting will seat against the rubber seal in the faucet hose.
The last step is to attach the included weight to the looped pull-down hose. This is required so the pull-down faucet head can retract back into the faucet neck. Follow the manufacturer’s instructions.
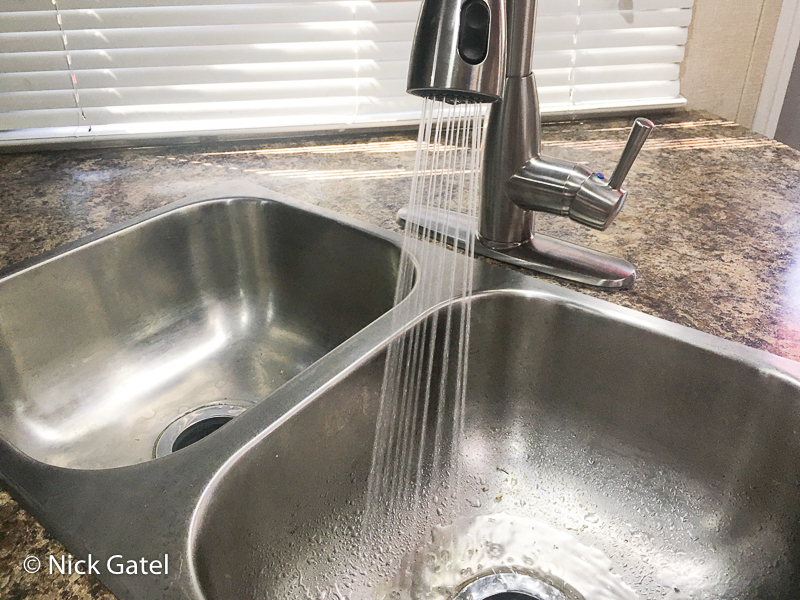
Test
Make sure all the water line connections are secure. Turn on the water pump and check for leaks. I like to place a paper towel under the water line connections and let everything sit for 5 minutes or so. Then check the paper towel to ensure nothing dripped. If there are no leaks, test the faucet’s water delivery.