
Back in April I wrote,
This shelter is an old friend. It finally died. More specifically, it really isn’t cost effective to resuscitate it.
You can read the obituary here. A few days after that post, just before I was going to lay it to rest forever, I was contacted by Patagonia Worn Wear. They had seen the post and given my Chouinard Pyramid’s age and place in history, they offered to repair/replace the zipper for free. They also said, that if I didn’t want to take them up on the offer (since they could not renew the polyurethane coating), they would like to obtain it for their private museum. Here’s an excerpt from the email…
The Offer
Dear Nick,

I just attended the virtual funeral of your Chouinard Pyramid tent. Your grievance is shared among another fan of most all things Patagonia and beyond.

I work for a program through Patagonia called Worn Wear and our motto is: If It’s Broke, Fix It. We believe in keeping gear in use as long as possible and out of the landfills. We’d love to offer our regenerating services to you and your tent to bring it back from the dead.

A few things to consider…

Zombie tent - When we bring things back, they are never really the same again…We may not be able to make your tent waterproof again, due to the delamination.
Motor functions – While your tent may not be holding out an incessant rain, I’m confident that I can get zippers, Velcro and ties working to original performance, as well as any holes patched up if needed.
Piggy bank – Don’t grab the hammer. This repair would be free of cost.

Why? We know what it’s like to say goodbye to a favorite piece of gear that holds your adventures like a well kept secret. But we also believe in a second chance, or even just one more adventure. If you think our services will get your tent back into the wild, please consider sending your tent to Worn Wear.
A final offer for a final resting place…

If you have already thrown your tent into the garbage, well, do not tell us. If you don’t think it is worth saving, or that you won’t use it beyond the repair, there is a museum of sorts at Patagonia that would likely showcase your tent and your story in some way.

Please let us know if you are interested and we’ll work whatever magic we can to save your tent!

Happy trails and good health,
They did not ask for a review or anything else, other than a picture of the shelter on a trip after the zipper had been repaired.
I was floored! I decided that if they were willing to do this, then I could surely go ahead and spend the additional time and money to renew the delaminating polyurethane coating.
In this post I will review the excellent repair done by Patagonia, and then go through the steps to remove and re-coat a polyurethane shelter. But first, I want to discuss . . .
Patagonia Worn Wear
Click here to visit the site. Patagonia offers several services:
- You can purchase used or re-crafted Patagonia wear. For example, if you want to buy the elusive pre-2013 Houdini jacket, go to the site. The list of wear for sale includes the model year!
- If you want to repair something yourself, you can find directions.
- If you can’t repair something yourself, Patagonia can do it for you.
- If you have a potential warranty repair, this is also the place to visit.
- If you don’t want to throw something in the landfill, send it to Patagonia for recycling. For example, much of their polyester garments are made from 80% recycled materials.
My Futile Attempt at Sewing
I was already familiar with Patagonia’s repair services. You see, I have a 10+ year old Patagonia R-2 jacket that had separated pocket zippers. Back in March, I went to the Worn Wear site to send it in, but found they had closed due to COVID-19. Having zero sewing ability, I ended up doing the job myself. The repair is functional and really, really ugly. This exercise told me I would need a professional to repair my Chouinard Pyramid.
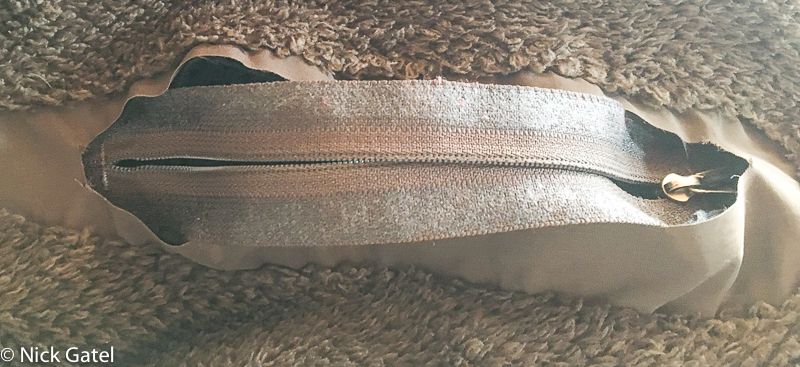
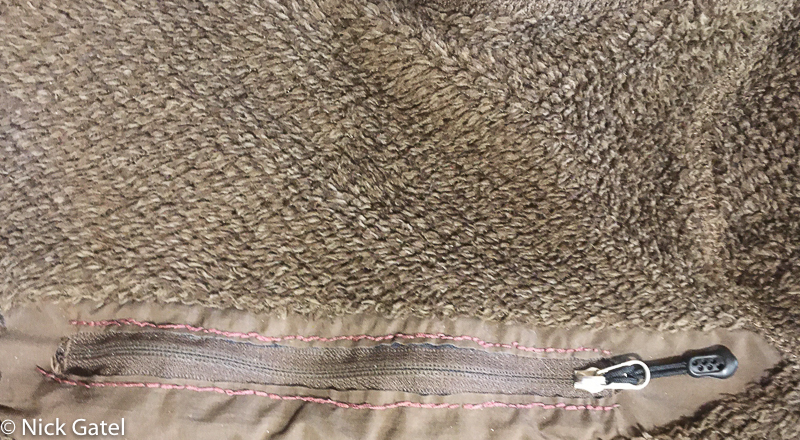
Zipper and Velcro Repair
BEFORE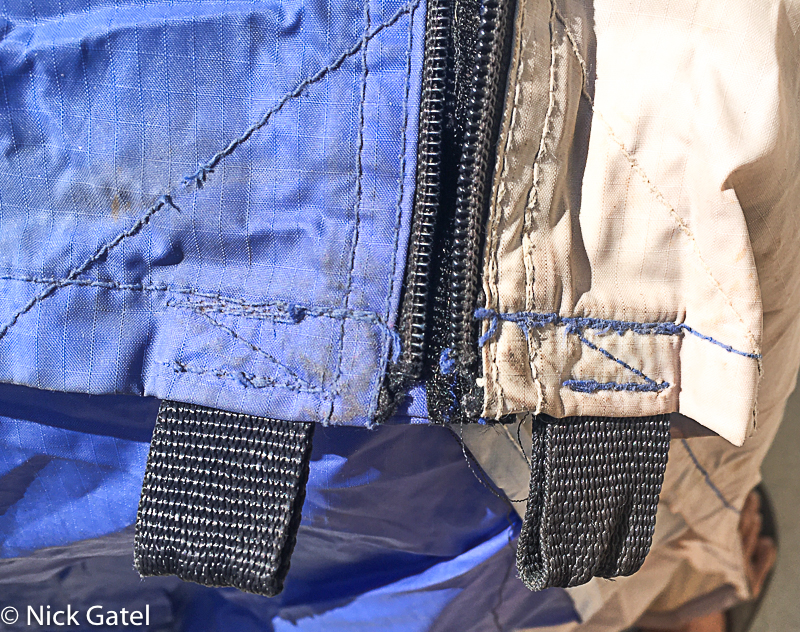
AFTER
BEFORE

AFTER

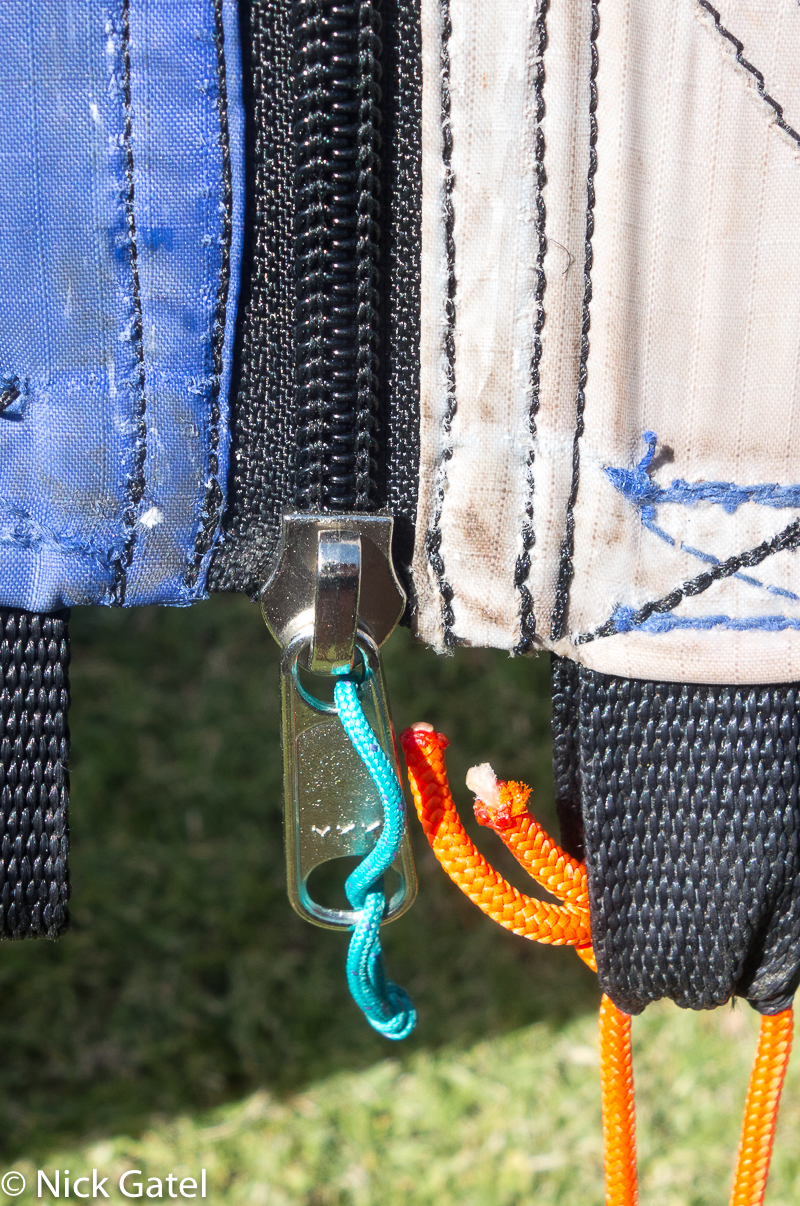
BEFORE

AFTER
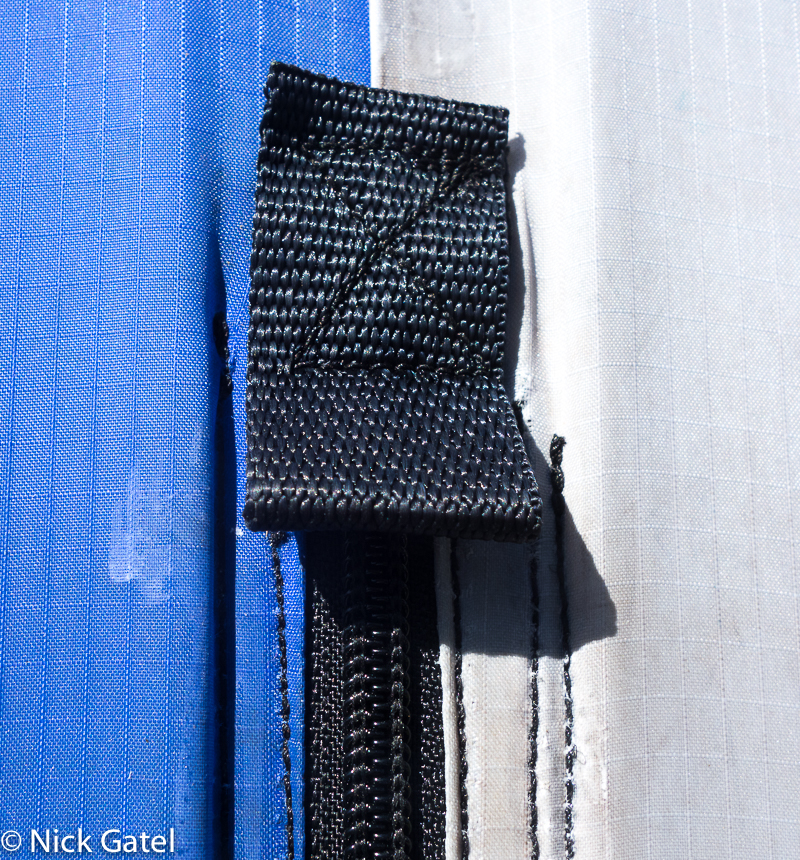
After inspecting the zipper and velcro replacement/repair, I was thrilled with the quality of the workmanship, and ready to deal with the polyurethane coating that was delaminating from the nylon surface.
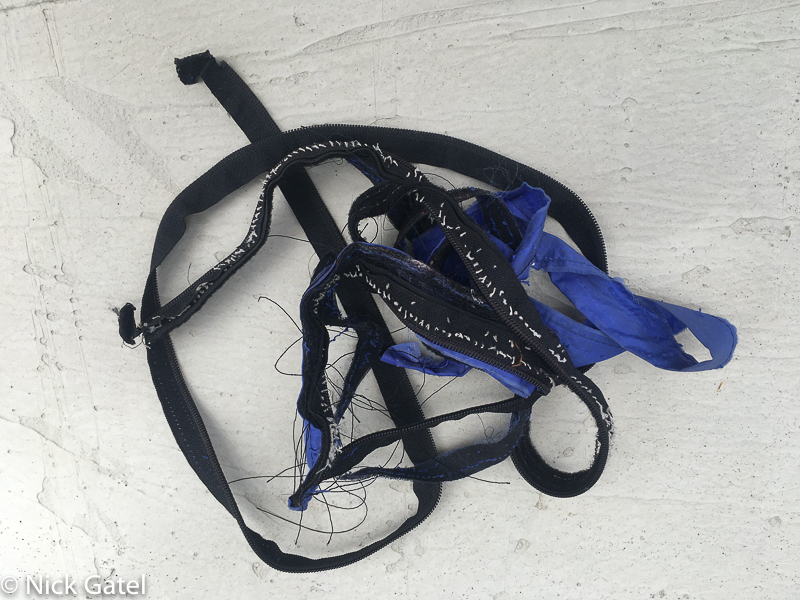
Patagonia Worn Wear even returned the materials they replaced.
The Problem With Old PU Coatings
Back in the ’70s and ’80s all my shelters and water proof tarps we made from rip-stop nylon, with a waterproof polyurethane (PU) coating on the inside of the material. Over time, the PU coating often would degrade. Sometimes the coating would just start to peel off, or with a shelter, where two PU coated sides were in contact while stored (especially in a stuff sack), the coating would start to stick together, along with a musty smell. Usually when this happened, folks would usually discard the shelter, as there was no way to renew the PU coating.
In recent years, silicone impregnated nylon has replaced these old methods of waterproofing, however I have seen a recent trend of using PU coated polyester fabrics, and PU coated nylon shelters. I am skeptical about their long-term durability, in spite of manufacturer claims of improved techniques.
How to Revive a PU Coated Nylon Shelter
STEP 1: REMOVE THE OLD PU COATING
This is really the most difficult step. One method is to lay sections of the shelter of a large flat surface and remove the coating with a soft brush using an appropriate detergent/soap or even rubbing alcohol. I don’t know how well this would work, and it is time intensive, especially with a large 4 person shelter like my Chouinard.
A second option is to wash it in a washing machine. BIG caveat here — normally you would never, ever, want to wash a tent in a washing machine. It will remove any coating. But for me, this was the intent.
With most shelters, if you opt for the washing machine solution, can suffer other, more extensive, damage when placed into a top-loading machine with an agitator. It is probably better to use a front-loading washer, and preferably, a large commercial washing machine found in laundromats.
I opted for the at home top washer with agitator. The Chouinard Pyramid only has a single zipper, no vents or other potential areas to snag. I also removed all the tent stake guy loops at the 8 attachment points.
Placing the shelter, with the zipper closed, and the material oriented with the inside surface facing out (think turning the shelter inside out), I (or rather Joyce) put it into our washing machine.
Pro Tip: If you live with a significant other, such as mine, who “owns” all the household appliances, you should seek written permission to use the washing machine for projects like this.
I learned this lesson years ago when I used “her” oven to bake some newly painted motorcycle parts. In this instance, she made me buy my own baking oven for “man” work, and then replaced the kitchen range. It was an expensive lesson. Point being, if you decide to use your spouse’s or significant other’s appliances, do so when they are gone, and remove all evidence of your multi-use approach to appliances. Of course you will have to own-up to any damage, or hint of inappropriate and unauthorized use.
In this case, I asked for permission to use the machine. More precisely, I asked my wonderful wife, Joyce, if she could wash it for me. After inspecting the shelter (I don’t know what criteria or mental processes she uses for determining appropriateness), Joyce agreed. The important step here is that her approval made her culpable for any damage to said appliance. At least in my mind, she would bear some responsibility for potential damage. In reality, this probably wouldn’t hold up in a household court of law where she is judge, jury, and executioner.
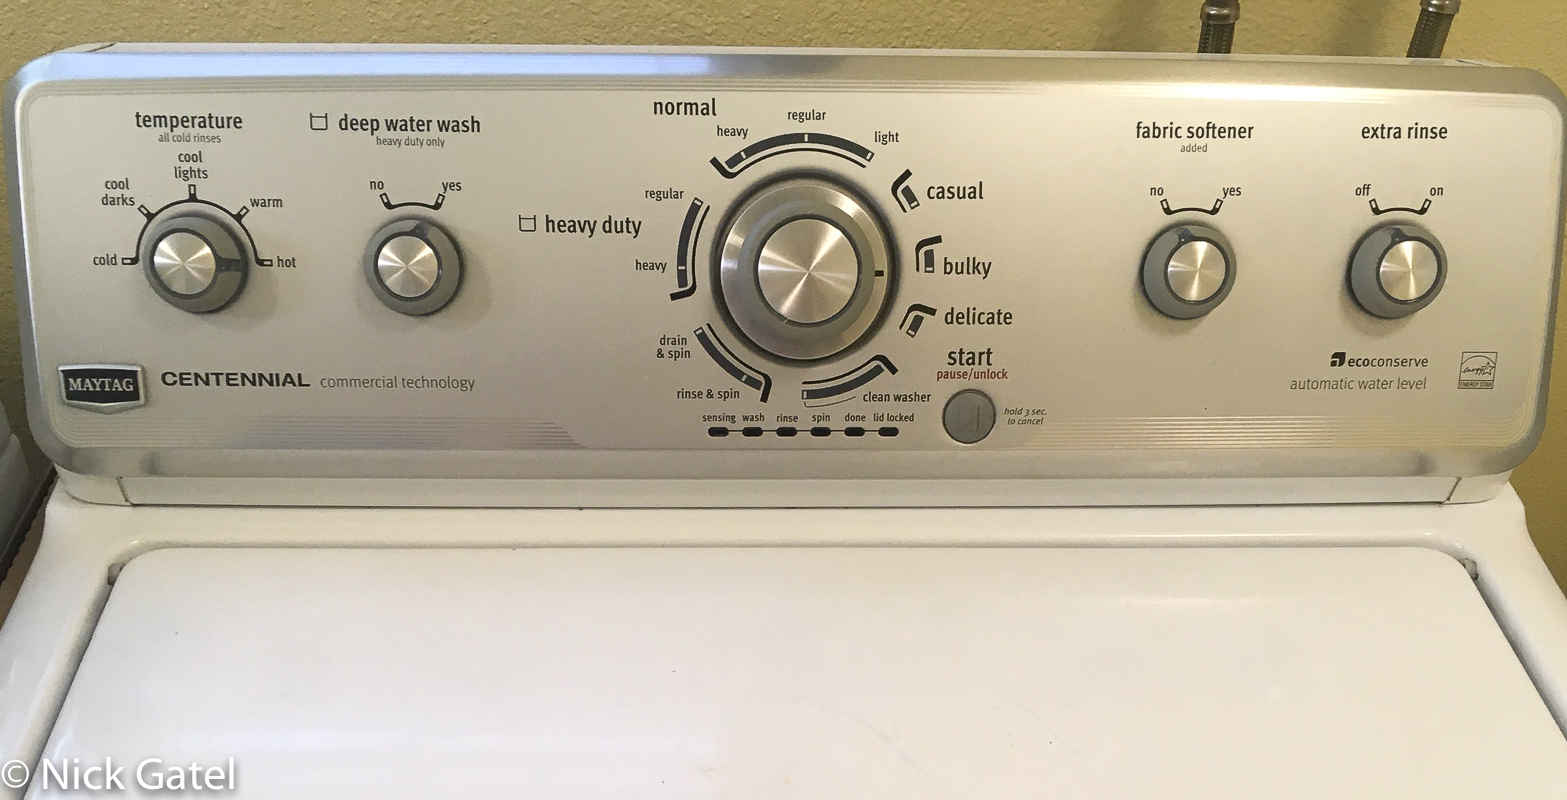
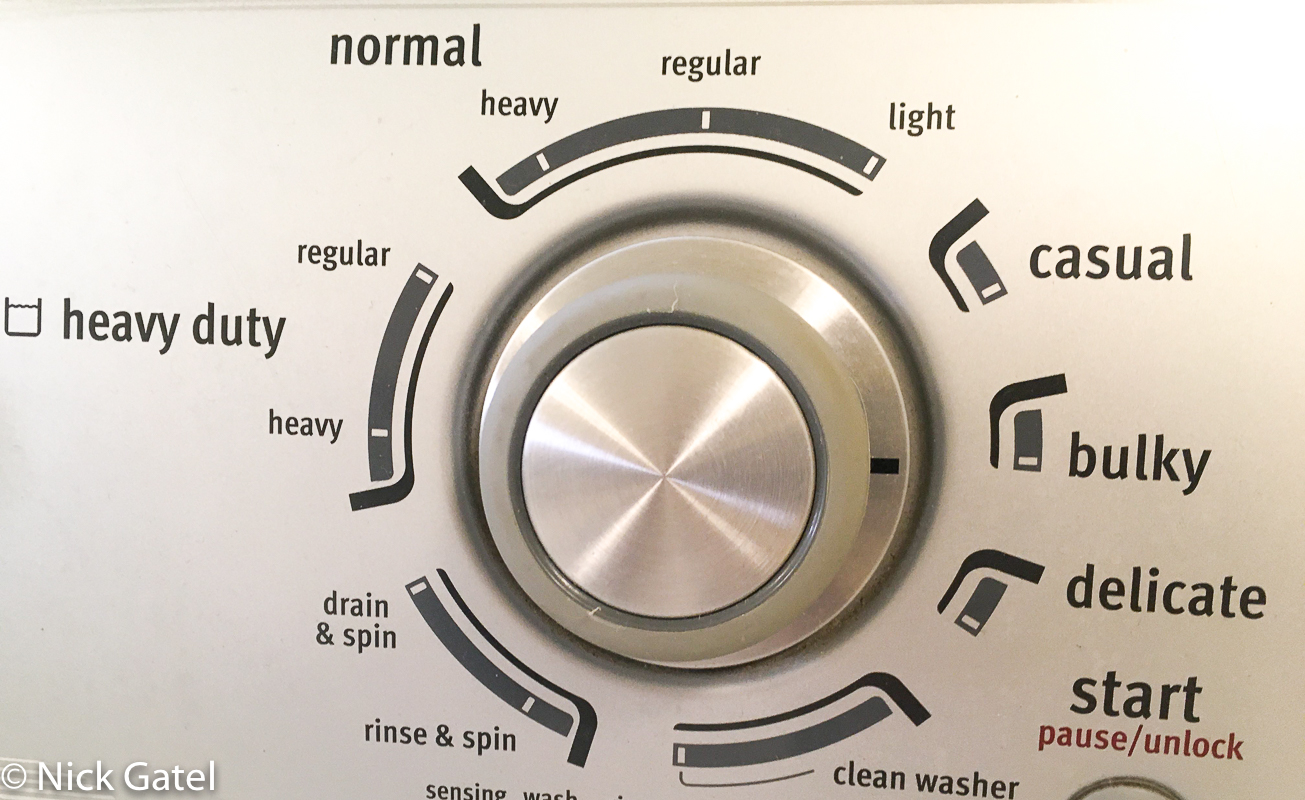
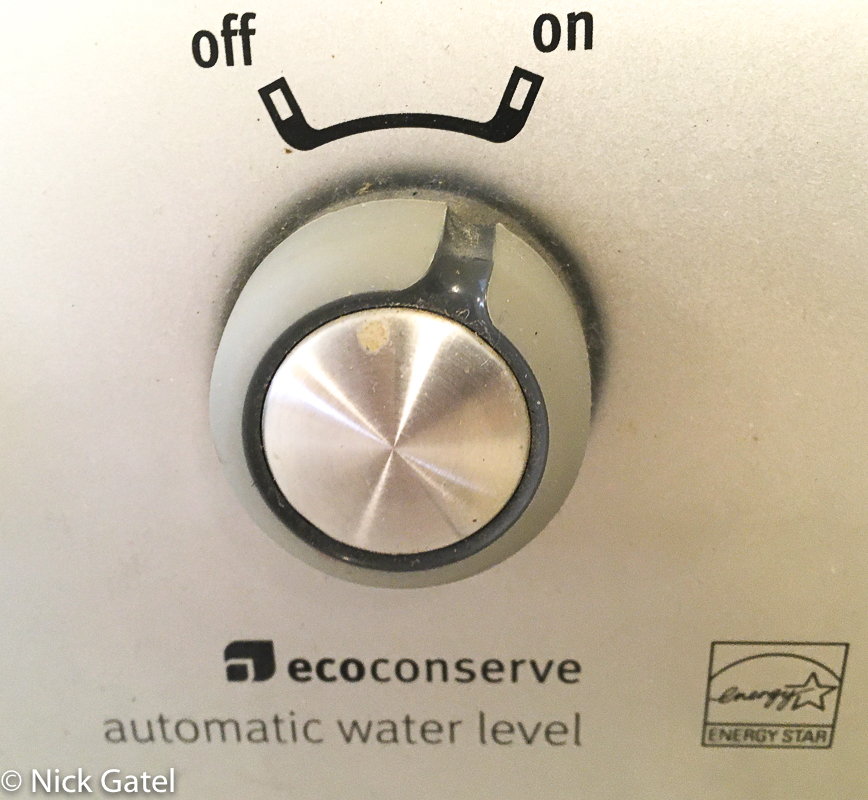
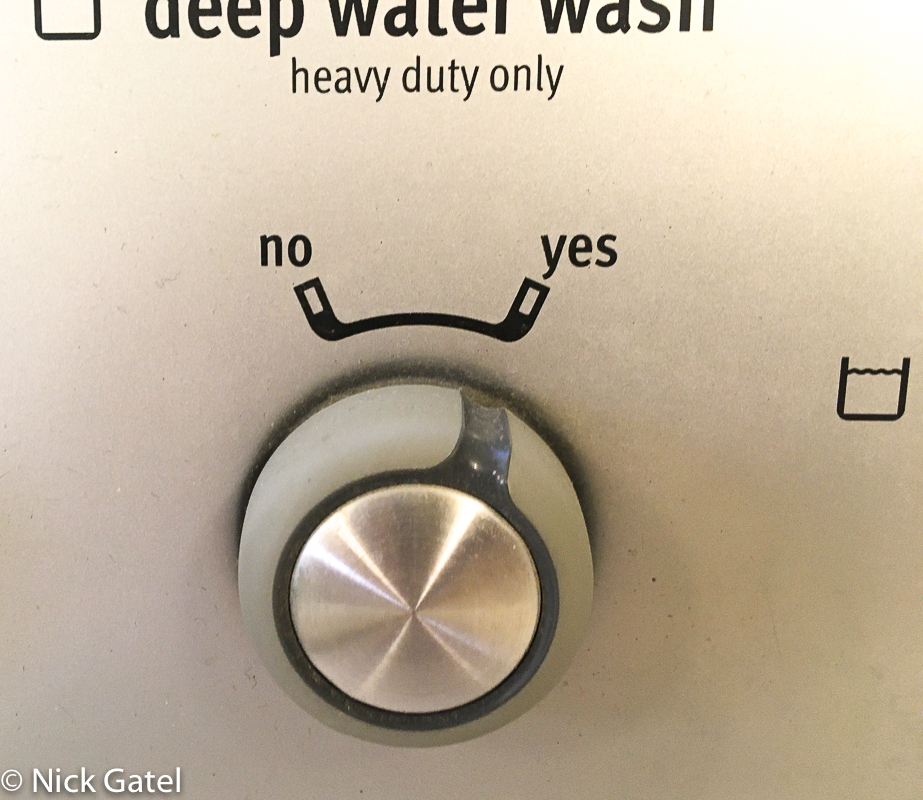
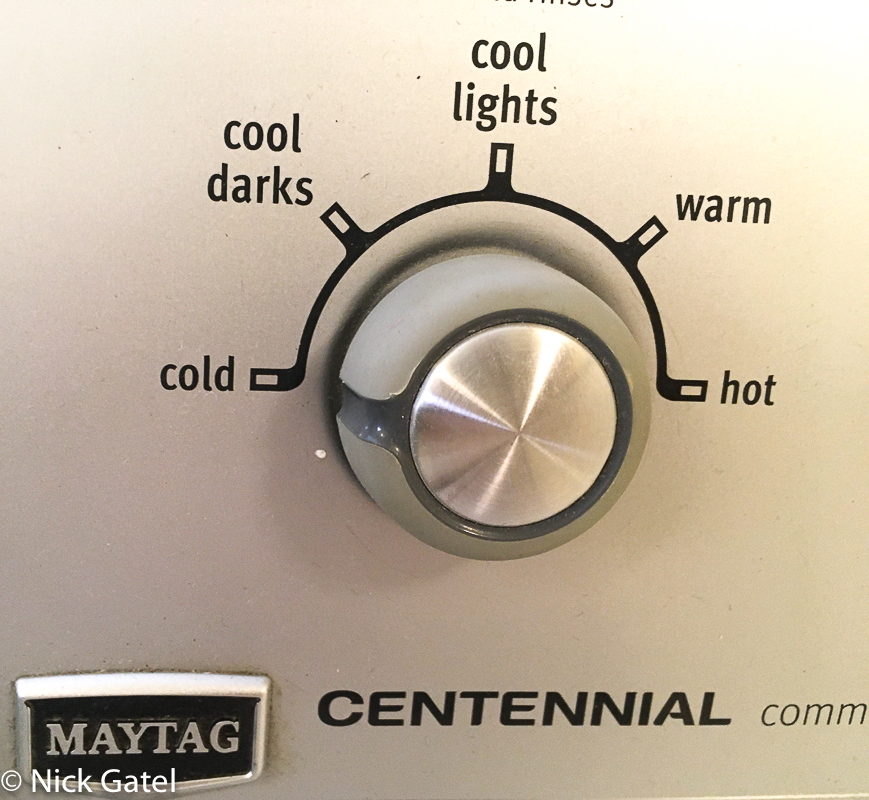
Pre-Flight Checklist
Next, Joyce set the controls.
STEP 2: DRY THE SHELTER
Before the new PU coating can be applied, the shelter must be completely dry.
Here, you need to have some expertise and guide the household CEO in this most important step. In my case, Joyce determined it would be okay to place it in the dryer using something called “air fluff” or maybe it was “air dry.” I quickly vetoed that idea. Dryers and backpacking gear/clothing usually don’t play together well.
Besides, my idea of “air drying” is hiking for a week or more without showering, finding a nice lake, go for a swim, then walk around camp naked for 30 minutes. So I applied this technology to the shelter. Because a pyramid is a simple shaped shelter, with a single center pole, it can easily be set up inside out. Also, the daytime ambient temperature in Palm Springs was over 100° F, perfect for drying.
STEP 3: INSPECT THE WASHING STEP
After the shelter was completely dry (I left it up overnight in our low humidity environment), I inspected the fabric.
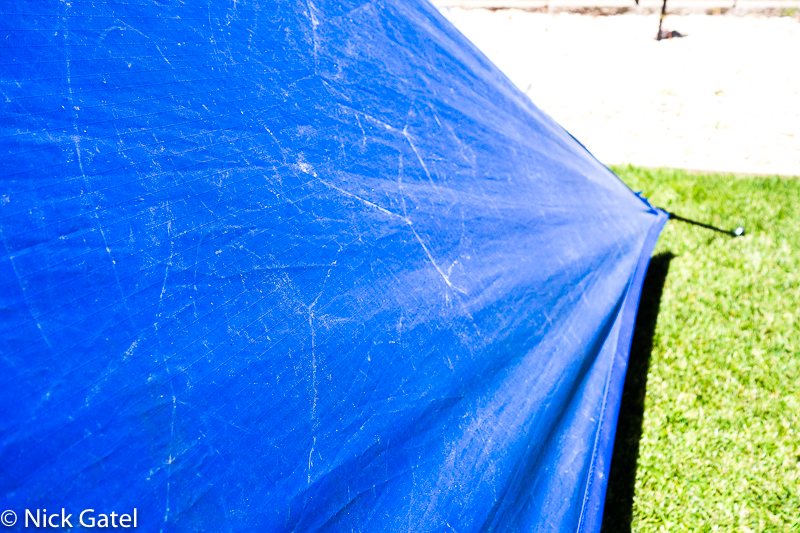
All those little white lines and spots (above) are a chalky residue of polyurethane. Using a soft brush and a large sponge, I washed the remaining PU from the fabric, rising it thoroughly with a water hose nozzle set to the “shower” function.
Untreated nylon absorbs water. After rinsing, the material was so “waterlogged” that it sagged far more than I thought was possible, even though I had staked out the shelter with the normal amount of tension I would use when backpacking. This told me that the nylon was no longer waterproof nor water resistant. An excellent state of affairs.
Letting it sit for a couple hours in the mid-day desert sun, it dried out completely and the shelter returned to its “drum tight” condition. All the PU residue was no gone.
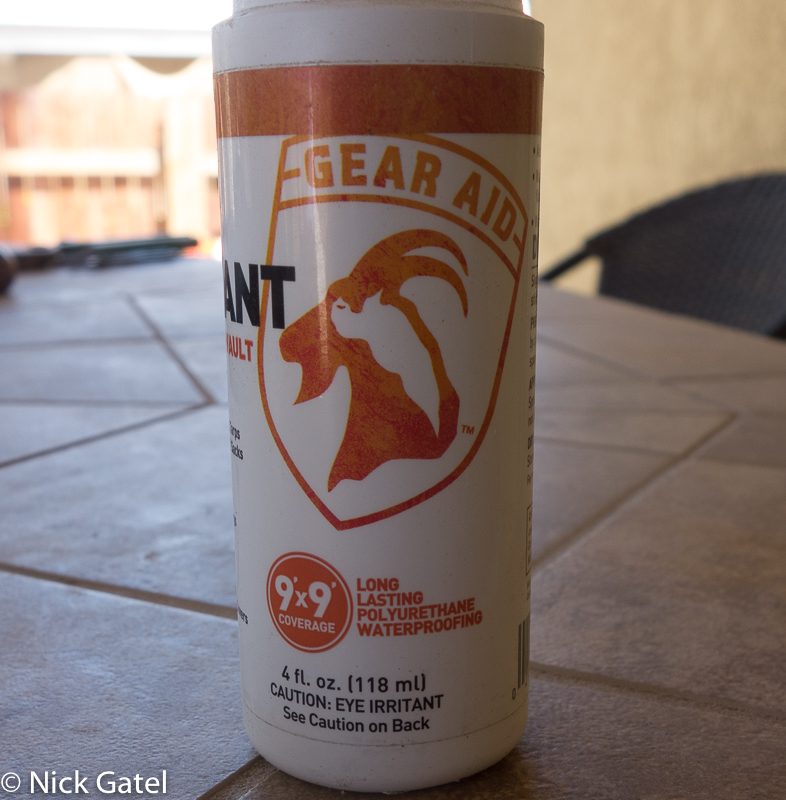
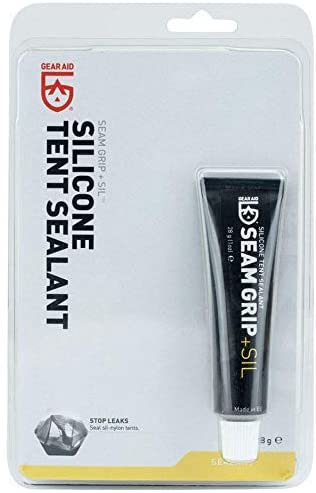
STEP 4: COAT THE INSIDE SURFACE WITH GEARAID “SEAM GRIP TF TENT FABRIC SEALANT”
This was formerly known as McNett Tent Sure. It is a water based product designed to replace PU coatings. Make sure you get the RIGHT GearAid product!!
One bottle will cover 85 square inches of fabric. My calculations indicated I would need two bottles, so I purchased three just in case.
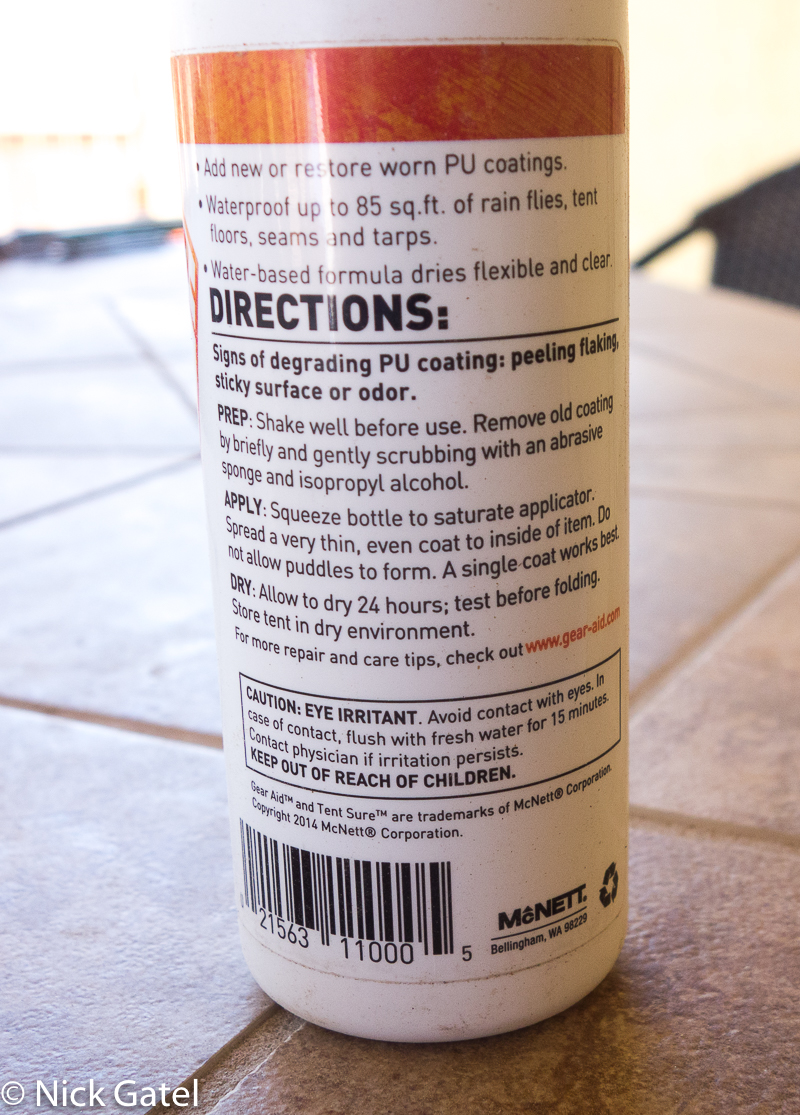
The bottle instructions are below.
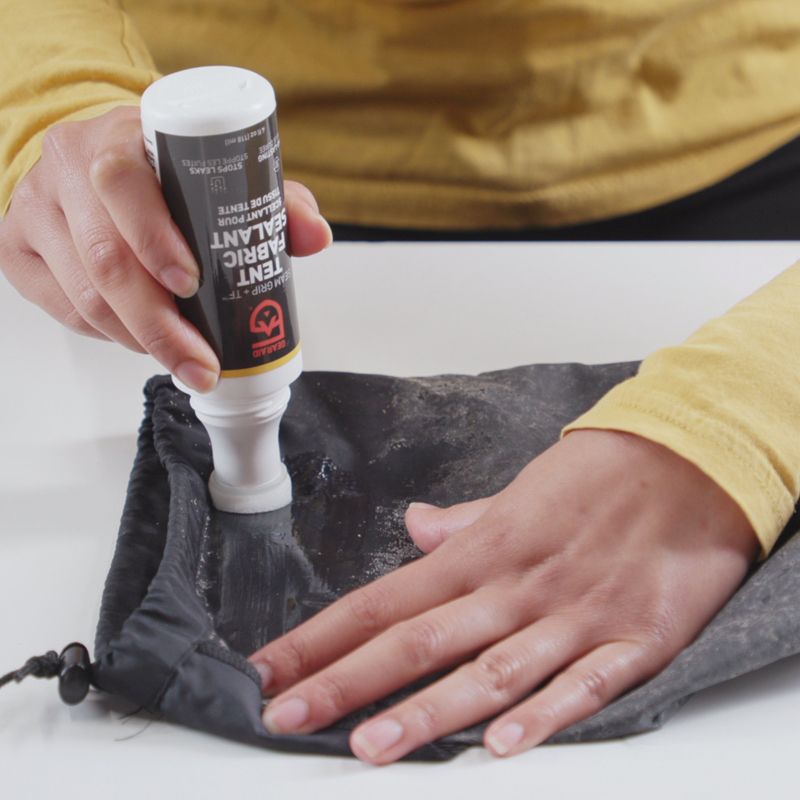
It would be best to lay the material on a flat surface and apply the sealant in sections. To apply the sealant, you have to press the foam applicator tip, which has a plastic valve that opens under pressure, against the material. At the same time you have to gently squeeze the bottle to apply the solution. The picture below, from the GearAid website, shows the application on a stuff sack.
Because the Chouinard Pyramid is such a large shelter, I wanted to apply the solution to the fabric while it was set up in my backyard with the inside out. It was too difficult to use the applicator, and the applicator’s sponge material was too small. So I opted to pour the solution into a separate container and use a 1 inch foam paint brush to apply it. Given the ambient temperature, I only poured half the bottle into the container as it quickly dries out when sitting in an open container.
It is important to apply a single thin coat. Too much is not good. The solution is white, but when thinly applied the coating turns into clear wet look, making it easy to completely cover all areas. Again, don’t let the solution puddle.
I let the shelter dry for 24 hours.
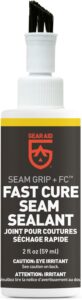
STEP 5: SEAL THE SEAMS
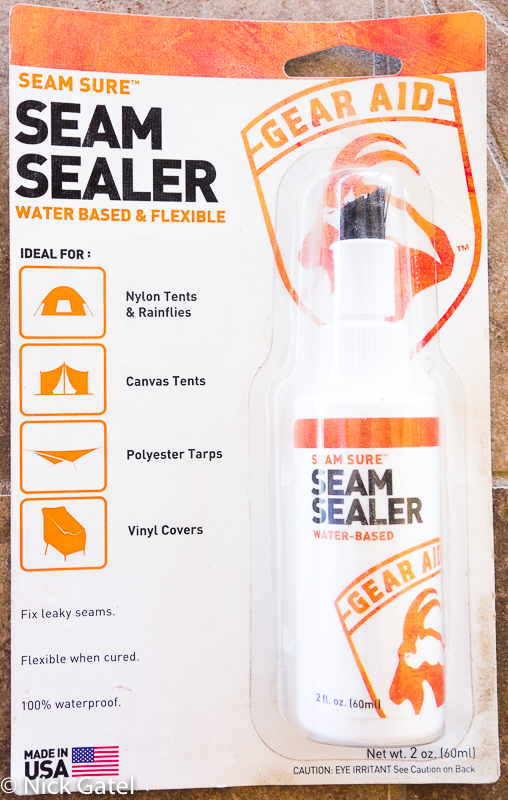
Given my shelter is a four-sided pyramid, with two triangles composing each side, there are 8 seams from top to bottom, plus two more seams for the zipper. Then there is the bottom seam and seams for each of the sewn-in stake loops. That’s a lot of seams to waterproof. One bottle of GearAid Seam Sure covered all the seams. The product is a water-based polyurethane solution.
The instructions (below) say to apply the sealer to the inside (coated side) of the fabric. It looked to me that this wouldn’t work well on my shelter due to the way the seam fabric was folded when the seams were sewn — much different than my other nylon shelters. So I opted to take the shelter down, then set it up agains; this time in the normal configuration with the outside of the material facing out.

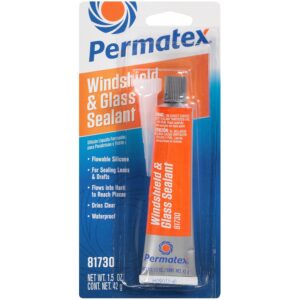
I then applied the sealer to the outside of the seams, contradicting the instructions. The solution is very thin and tends to run down the seams. A couple areas received too much sealant. If I were to do it again, I would probably try a silicone based sealer. My favorite for tents is Permatex Flowable Silicone Windshield and Glass Sealer, although I have successfully used GE Silicone II diluted with mineral spirits, or GearAid Silicone Tent Sealant on silicon coated nylon. Since I had coated the inside of the fabric with polyurethane solution, the silicone might work on the outside of the seams.
STEP 6: CURING AND TESTING
I left the shelter standing for a couple days in the backyard. Remember it is hot and dry where I live. Then tested it.
Using a water hose with a spray nozzle set to shower, I sprayed the entire shelter with the nozzle fairly close to the fabric. This wasn’t a quick spray, but a spray for several minutes. Result: no leaks at all. I again let the shelter stand overnight.
After all of this, with the thin, single, PU coating the shelter matters has a slight stiffness to it. Not a noticeable stiffness, but a feeling it is not long plain nylon. It folds up normally and I had no difficulty getting it into the original stuff sack. Then I weighed it. It weighed exactly the same before the new zipper and Velcro, and the new waterproof coating — 40.80 ounces (or 1156 grams for you metric type people).
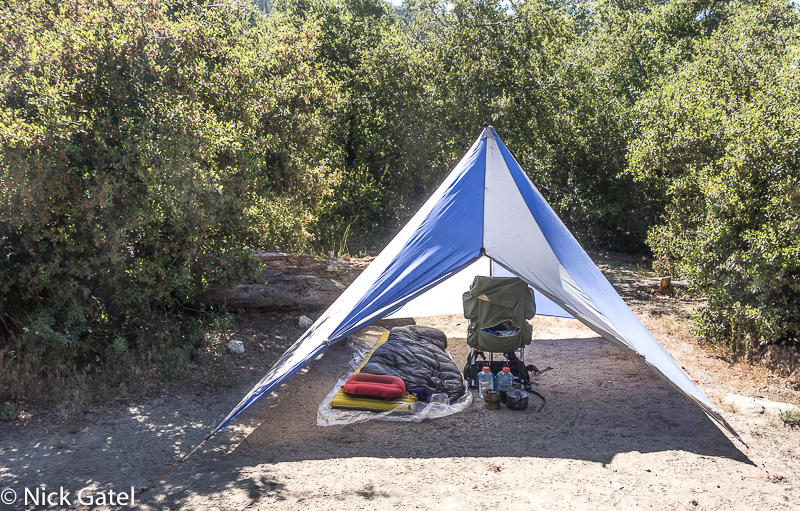
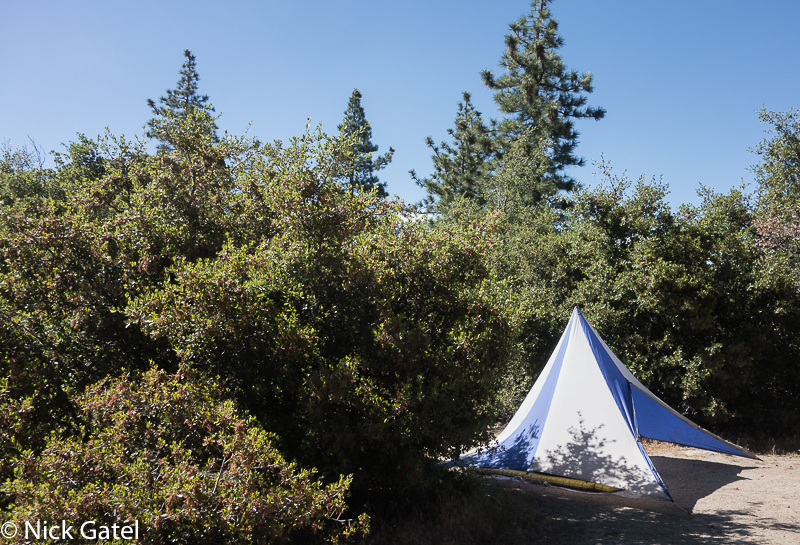
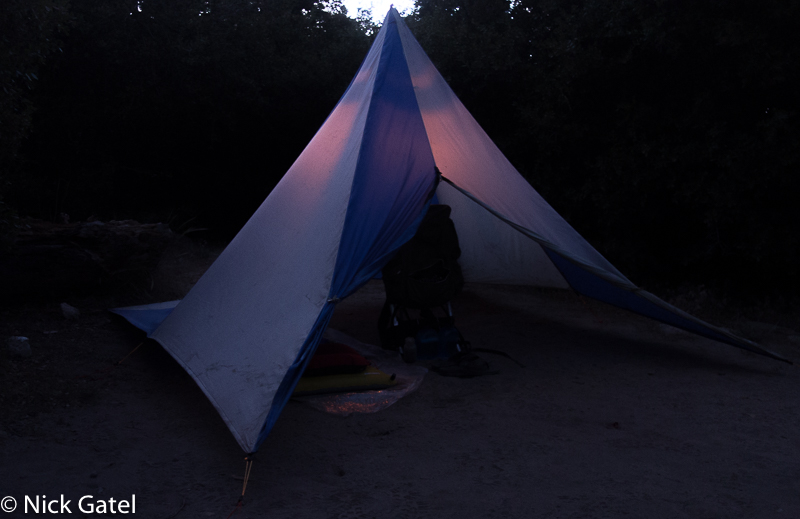
I left the shelter in the stuff sack, outside in the desert heat, for a week, to ensure the coating wouldn’t lift from the shelter material. Then I took a backpacking trip to test it out. You can read about the trip here.
The shelter is like new. Again, many thanks to Patagonia Worn Wear for their help and for motivating me to resurrect the shelter.
This website may be compensated for linking to other sites or for sales of products. As an Amazon Associate I earn a small fee from qualifying purchases at no additional cost to the purchaser.
GEAR AID Seam Grip TF Tent Fabric Sealer for Waterproofing and Restoring Polyurethane Coating

![]()
GEAR AID Seam Grip FC Fast Cure Sealant for Sealing Seams on Tents
![]()
Permatex Flowable Silicone Windshield and Glass Sealer
![]()