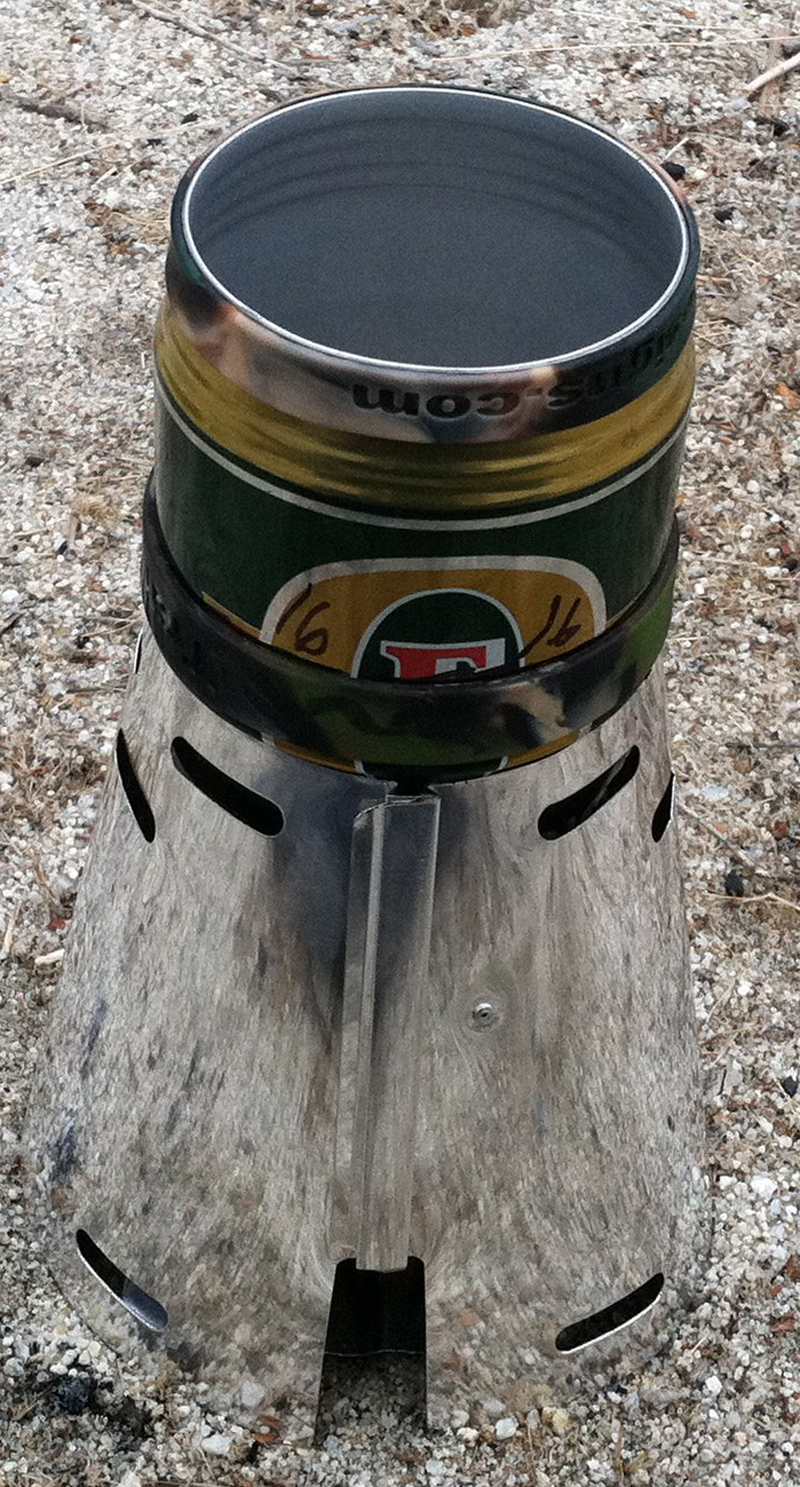
Tag Archives: Caldera Cone
Esbit Stove Shoot Out: Caldera vs LiteTrail
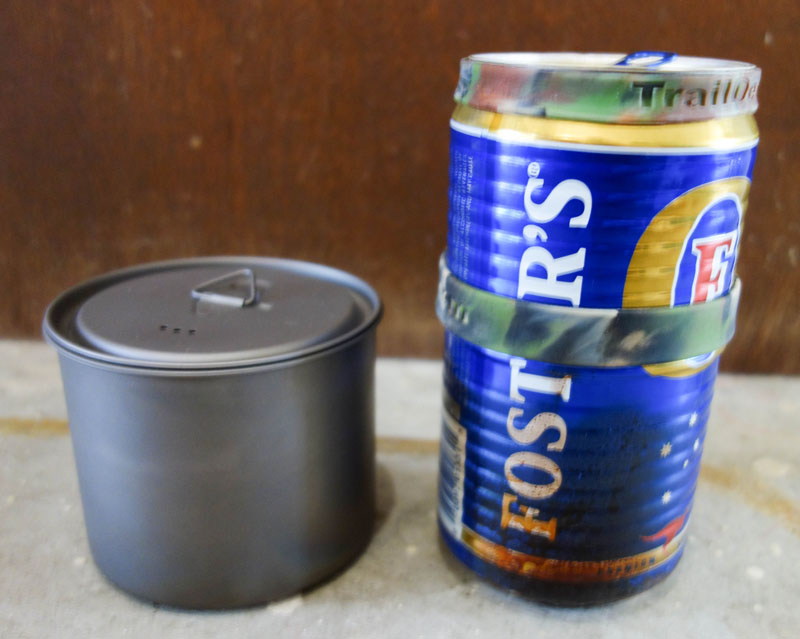
Last year I posted my first impressions of the LiteTrail Esbit Cooking System. I have used this 3 ounce system quite a bit over the past 6 months. The only other real competition at this weight in the Esbit world is the Trail Designs Caldera Cone GVP, which I have been using as my main stove for several years. LiteTrail has improved their system by adding handles (and weight) to the cook pot, which solves my only true criticism of the system.
In the field, the Caldera Cone GVP seemed to use a little less fuel than the LiteTrail, which was a little surprising to me since it uses a tall narrow Foster’s beer keg versus the shorter and wider LiteTrail titanium pot. The field comparison is not quantitative just a feeling. My hiking is varied in regards to elevation and temperature, and when I am hiking I don’t have the inclination to really test any gear, other than qualitative observations. So I decided to do a little side-by-side testing at home.
My testing was done under ideal conditions:
- Ambient and water temperature at 82F
- No wind
- Elevation of 450 feet above sea level
- After lighting each Esbit cube I let it burn for 15 seconds before placing the pot in place
- Total times includes the 15 seconds for the Esbit to start fuel combustion
- Each pot was filled with 16 ounces of water
- I stopped timing when the water temperature hit 212F, much higher than I usually use for cooking
Typically in the field I use at least 1/2 of a 14 gram Esbit cube to heat 16 ounces of water. But it is not unusual to get two pots of heated water from a single cube.
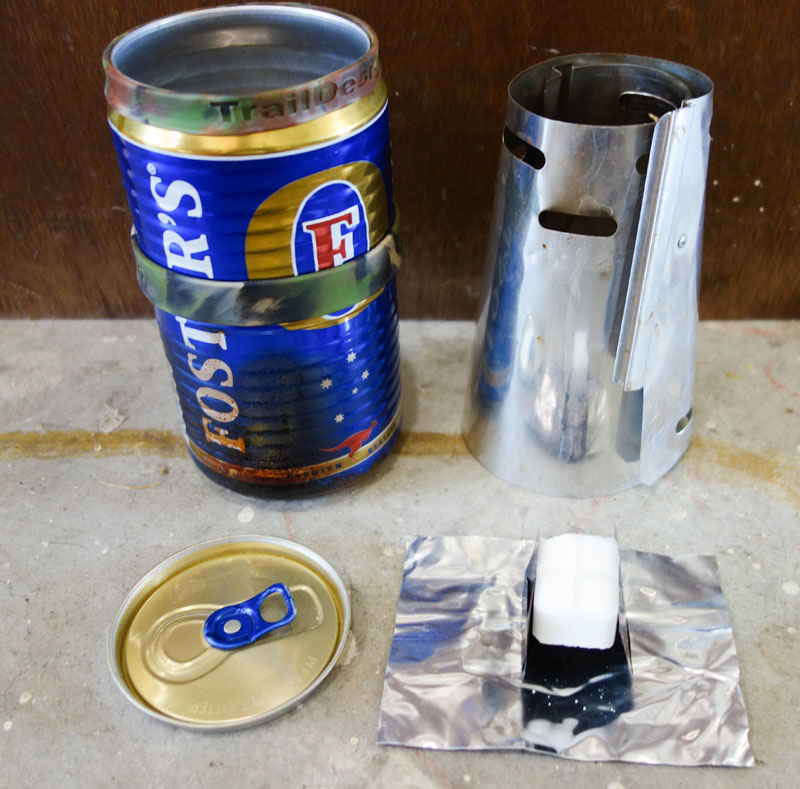
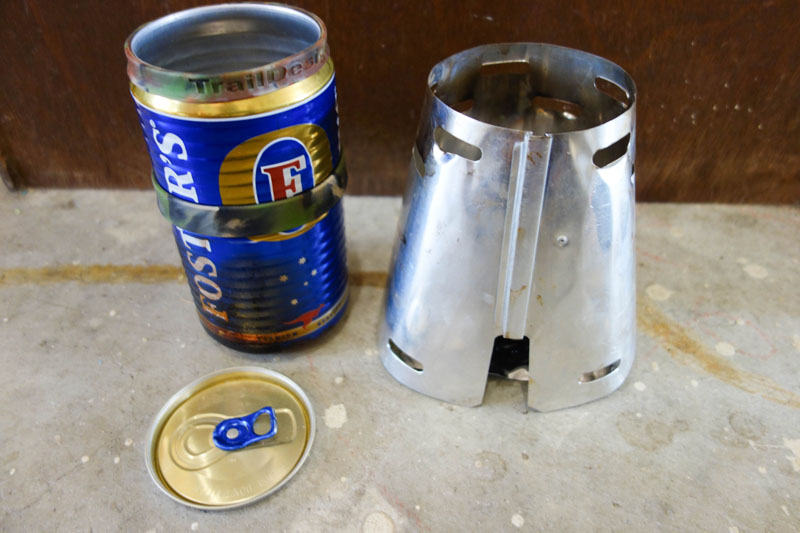
Lets start with the Caldera system. It consists of
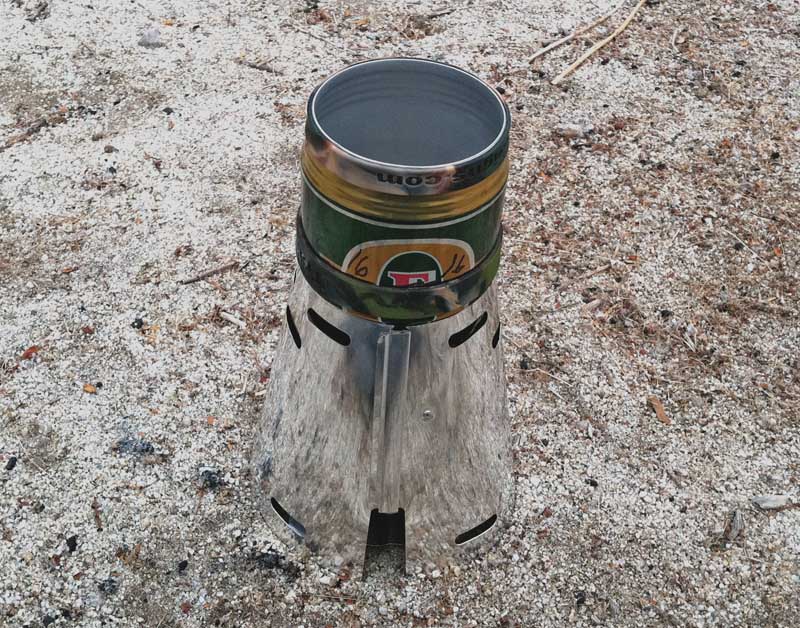
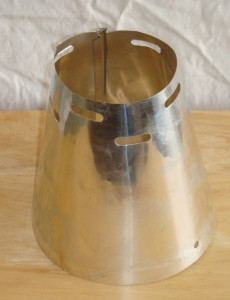
- Aluminum cone used as the pot stand and windscreen
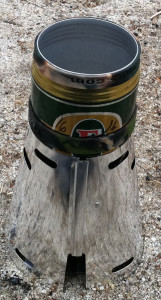
- Foster’s beer can (also called a keg) with a 25.4 ounce capacity (750 ml)
- Lid made from the top of the can
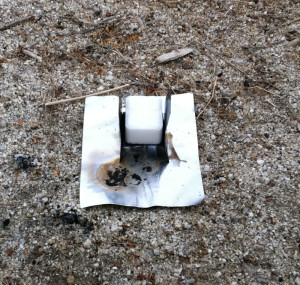
- Graham cracker Esbit cube holder
- Small aluminum ground protector
- Total weight including the Cuben stuff sack is 84 grams
The LiteTrail system includes
- Titanium pot and vented lid
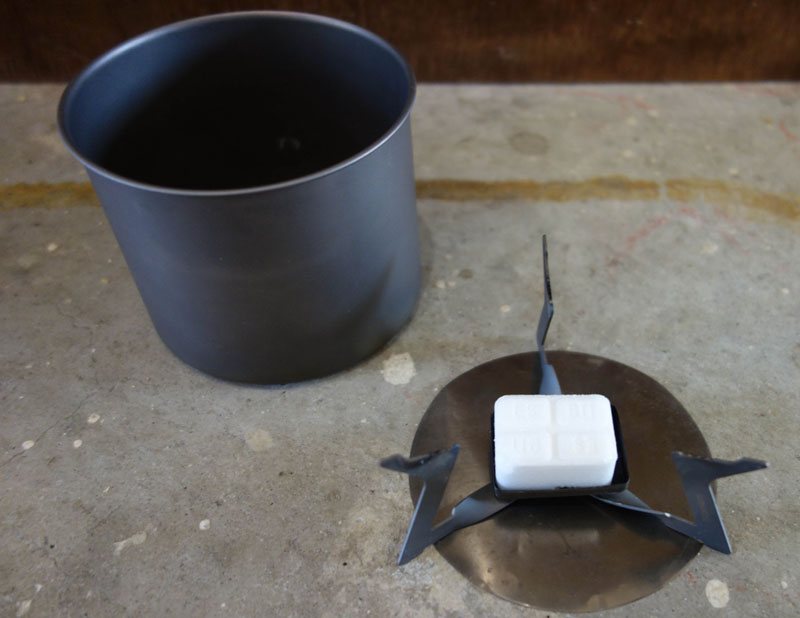
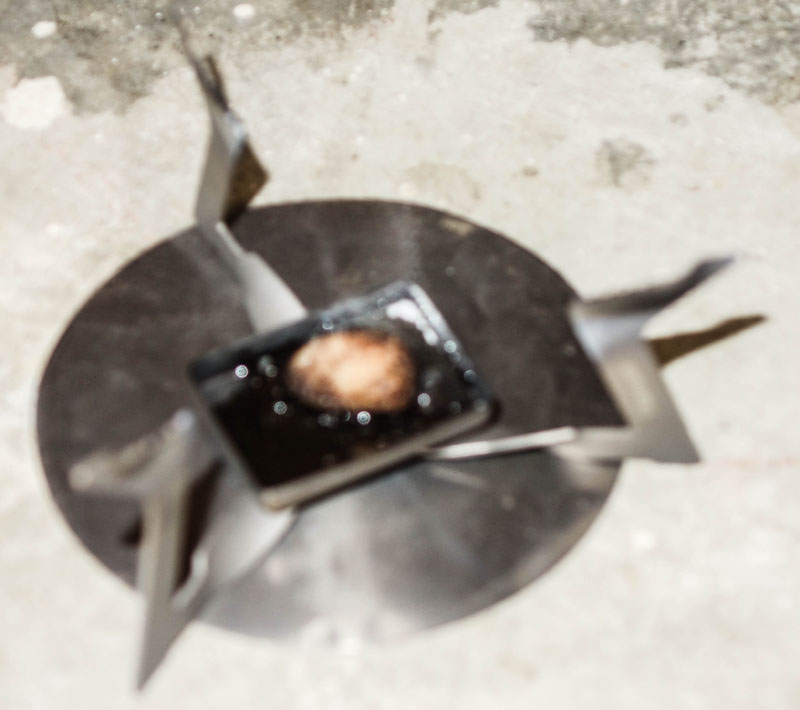
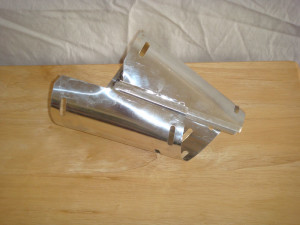
- Titanium wing Esbit holder and pot stand
- Titanium foil windscreen
- Titanium ground protector
Size
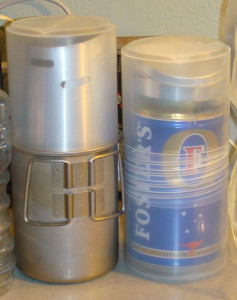
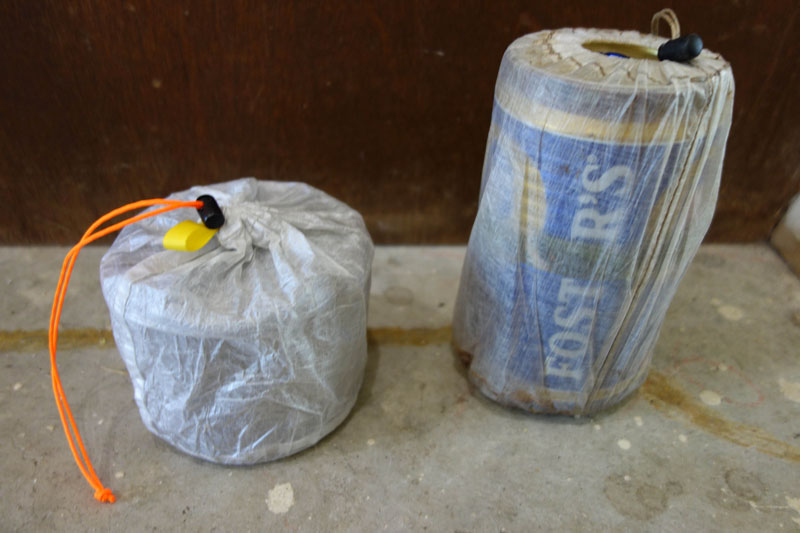 The LiteTrail is packs much smaller. For the lightweight hiker weight and size of each piece of gear is important. Smaller gear means a smaller pack.
Pots
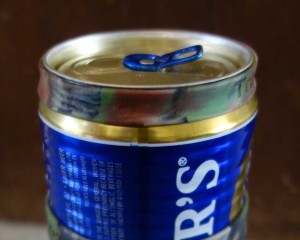 The Caldera system uses a Foster’s beer keg. Early versions had a single ridge added to the side of the can. Because it is thin aluminum, the can would develop a pinhole along this ridge from flexing during handling and storage. Trail Designs improved this by adding additional ridges to the can, making it more durable and less like to flex. I am on my third can.
Because the can isn’t robust, it isn’t practical to scrub the can to clean off the Esbit residue. So over time time the can gets rather dirty looking and discolored.
The Caldera keg includes silicone bands that make it easy to hold the pot. Because the LiteTrail pot has a larger diameter than the Foster’s keg (3.75 inches versus 3.00 inches), it is harder to remove from the stove and hold, especially since it doesn’t have handles. Note: the new version of the LiteTrail now comes with handles.
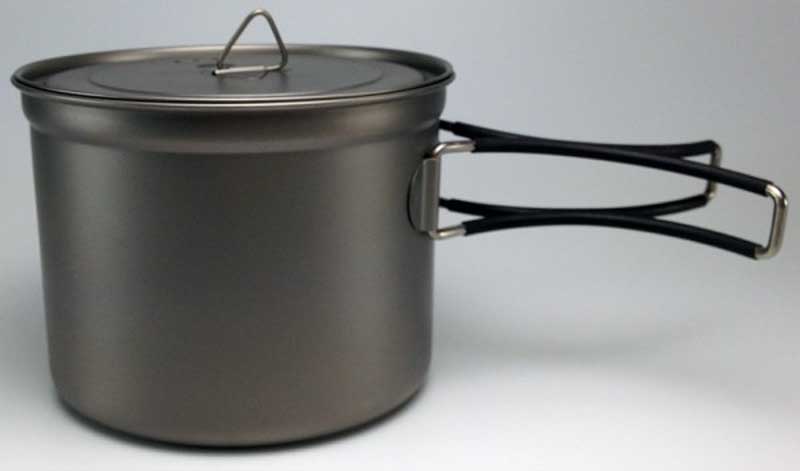
I found too difficult to handle the LiteTrail pot without handles using a bandanna or gloves and finally resorted to using either an MSR pot holder (28 grams) or a Zelph’s silicone band (23 grams).
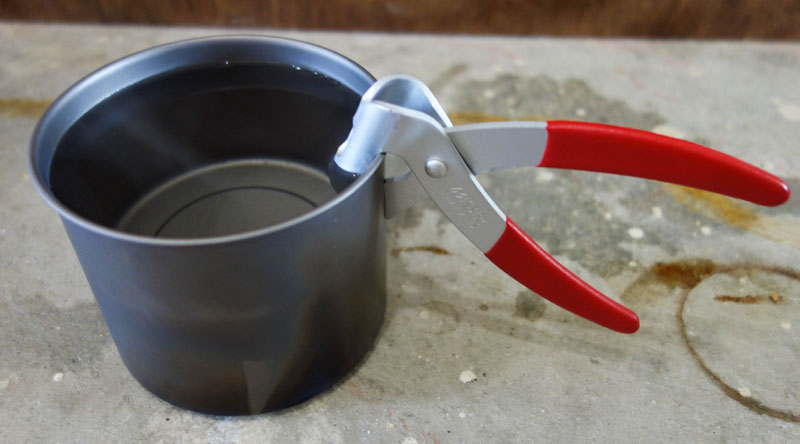
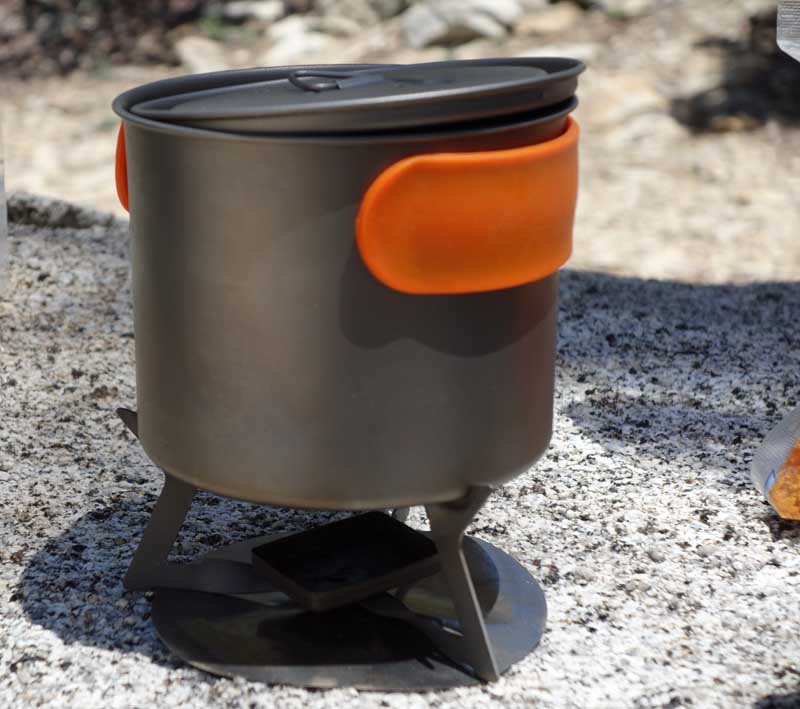
I have grown very fond of the Zelph’s band and now take in trips with my Caldera Cone system in colder weather where I am drinking a lot of hot beverages.
Because the LiteTrail is much more robust than a beer can, I clean it after every trip to remove the Esbit residue and it still looks nearly new after nearly 6 months.
Lids
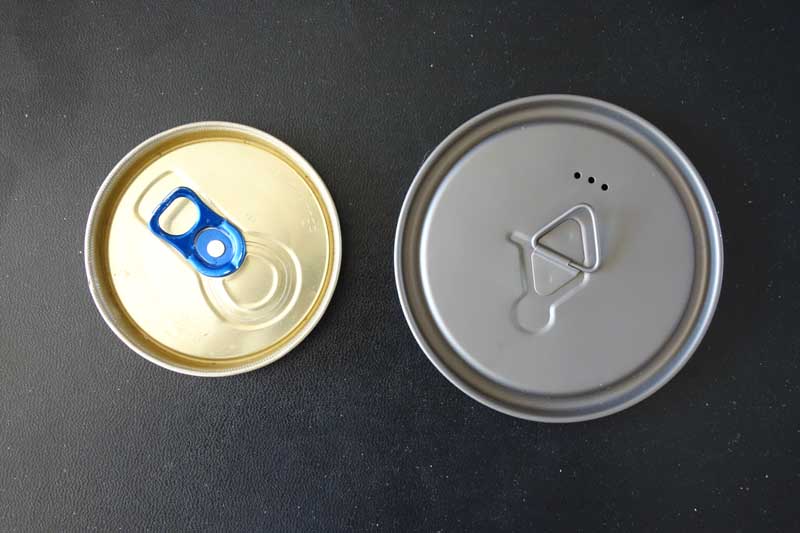
Both lids fit snug on the pots, but not too tight. The LiteTrail has 3 vent holes, the Foster’s none. I have found no advantage to the vent holes and it would be easy to drill holes into the Foster’s lid.
Windscreens
Caldera Cone
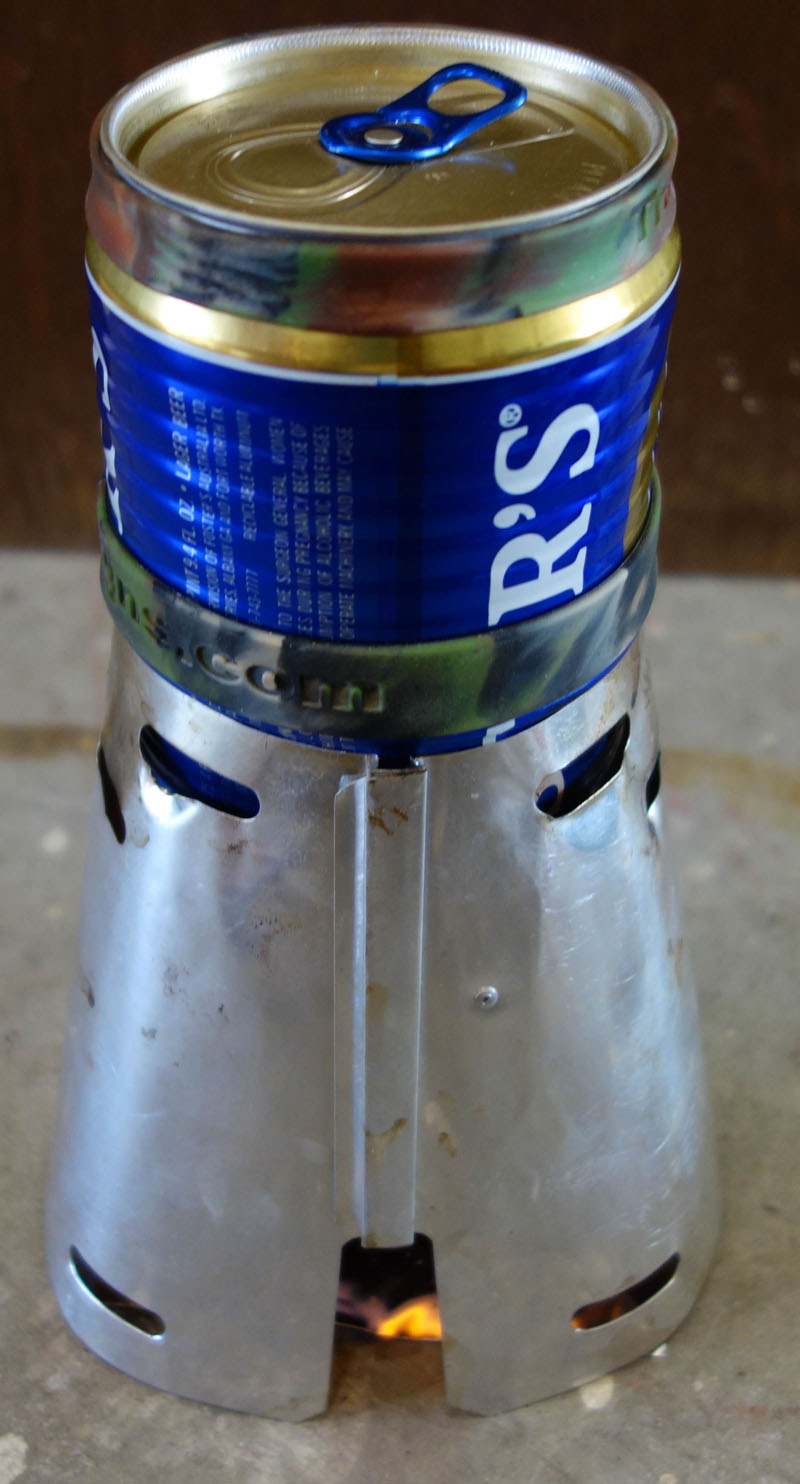
The Caldera windscreen is exceptional. It does a much better job keeping the wind out while maintaining the proper air/fuel mixture. One aspect of the screen I have never seen mentioned is that it can be rotated (turning the screen back and forth) in soil to get the assembly perfectly level. In addition the windscreen makes the system on of the most stable units I have used in a stove system.
This is the method I use when heating water with the Caldera Cone system:
- Assemble cone
- Place can in cone
- Fill can with water
- Place ground protector sheet
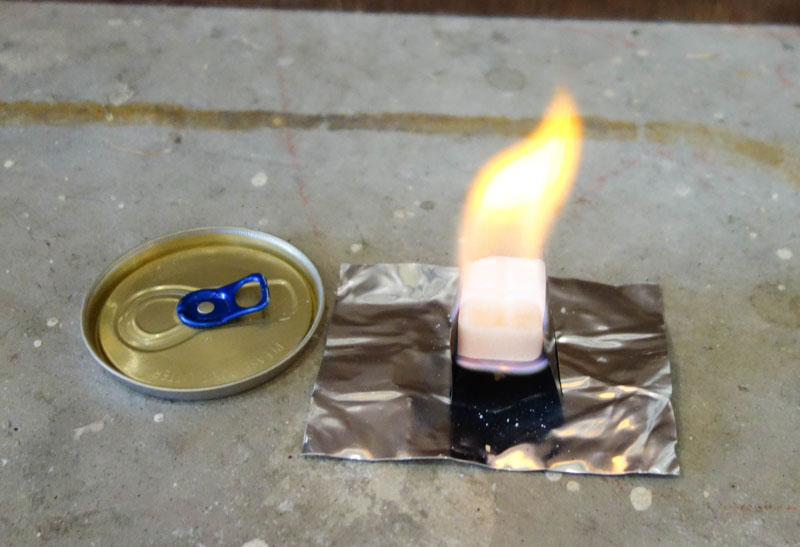
- Place Esbit in the graham cracker holder
- Light Esbit
- Place cone assembly with can over the graham cracker and ground protector
- Lever the cone assembly by twisting it back and forth
LiteTrail
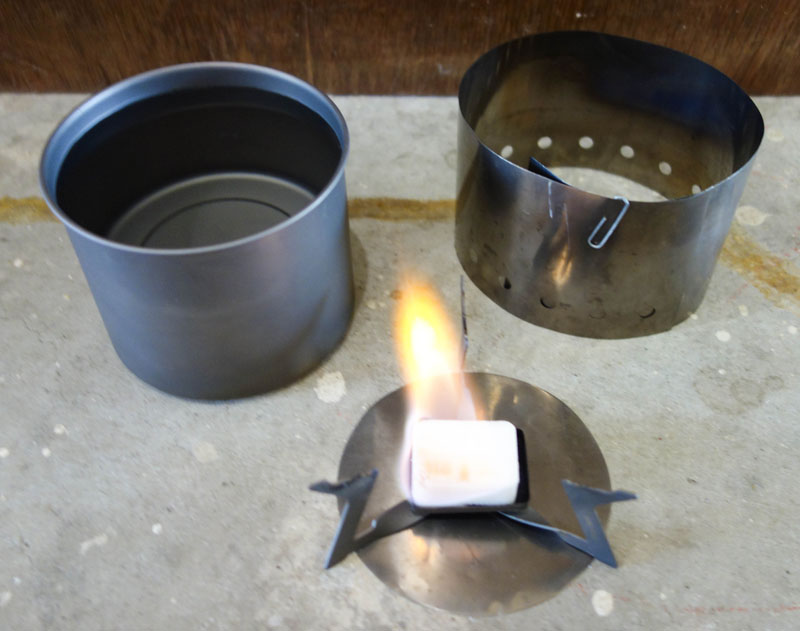
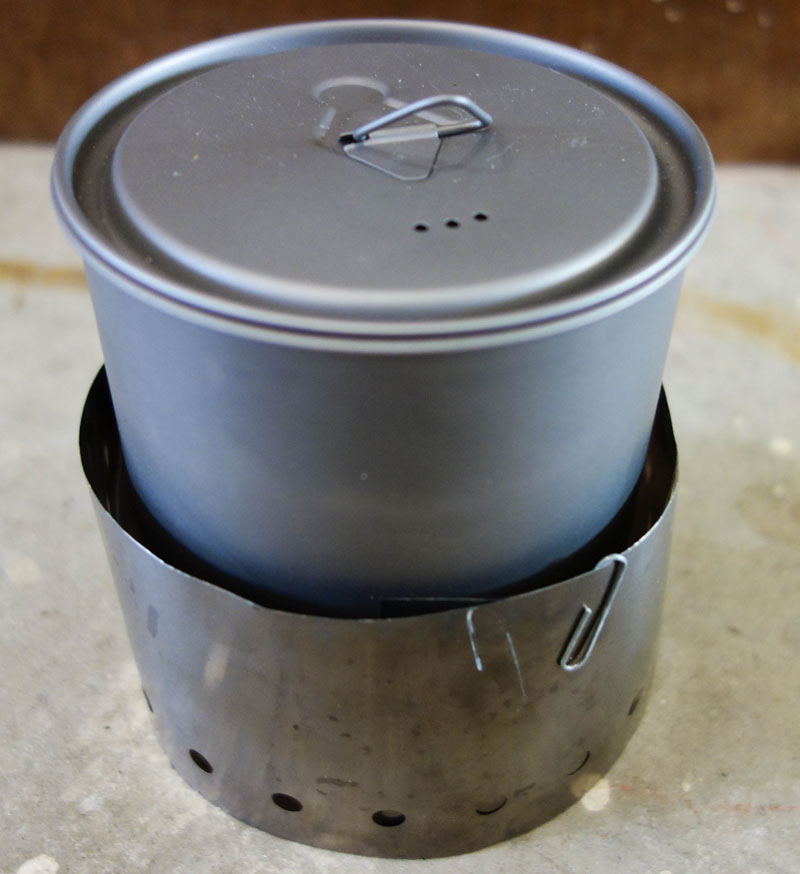
The windscreen is just a thin sheet of titanium foil, which makes it extremely light (5 grams). It is held in place with a paper clip. One needs to be careful not to lose the paper clip, and in windy weather not to leave it laying around as it can blow away.
Apparently LiteTrail has changed this design and now the windscreen is welded, meaning you cannot change the diameter, and it appears it can be bent and damaged rolling it up to fit inside the pot. But since I have not seen the new version, I really cannot comment on it further.
This is the method I use when heating water with the Caldera Cone system:
- Place the titanium ground protector
- Place the titanium wing stand on the ground protector
- Light the Esbit cube
- Place the full titanium pot on the wing stand
- Wrap the titanium windscreen around the assembly and paper clip the ends
Pot Volume
- LiteTrail = 550 ml (18.6 ounces)
- Foster’s = 750 ml (24.5 ounces)
One most trips I only need to heat 16 ounces of water, so the LiteTrail is perfect. But on some trips I want more water for a larger beverage and enough water for my meal. I find the Foster’s is often more advantageous with its greater capacity. In addition the smaller diameter makes it more convenient as a beverage holder.
System Efficiency
The Caldera System wins, especially in windy weather. See the table below.
Other Considerations
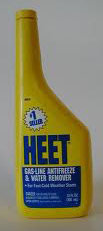
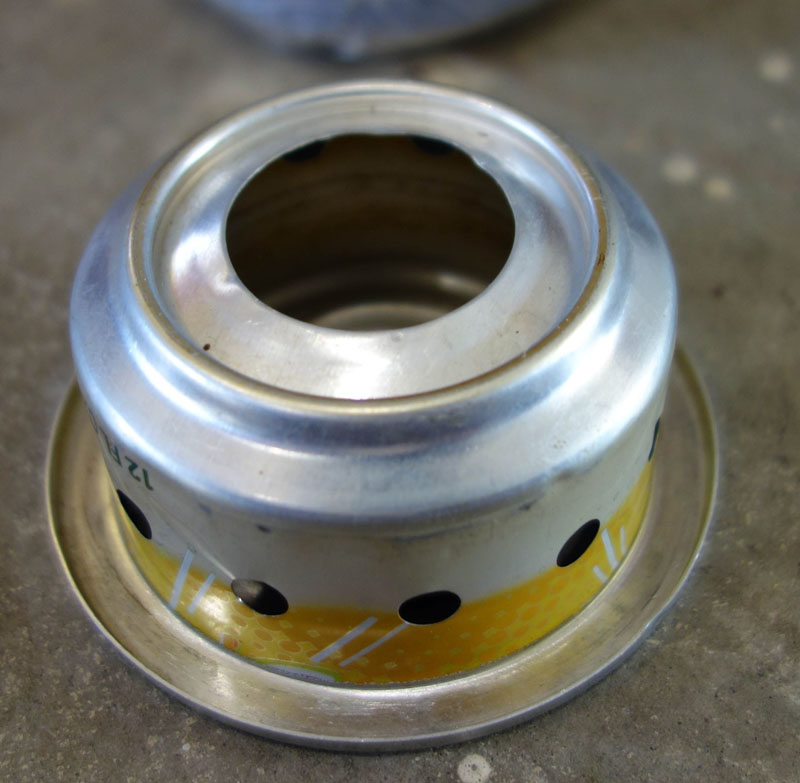
The LiteTrail system can only be used with Esbit. The Caldera Cone can be used with a Trail Designs 12-10 alcohol stove, which is a big plus, and Esbit is sometimes difficult to find in small towns. I am not sure if Trail Designs recommends using the alcohol stove with the GVP system, but it has worked well for me. You can almost always find denatured alcohol or HEET brand gasoline anti-freeze as fuel for the alcohol stove.
Lighting Esbit
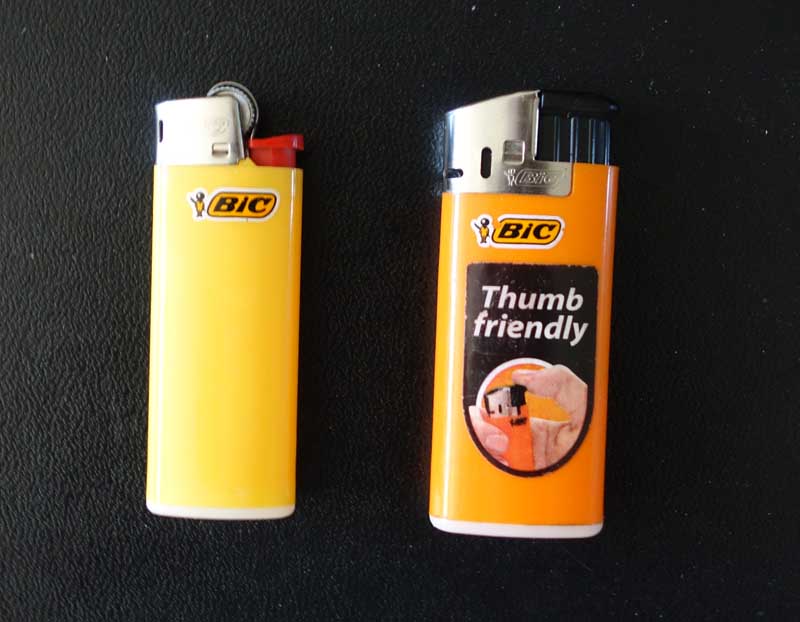
Many people seem to have difficulty lighting the Esbit tabs, especially in windy weather. My method is to scrape the top with my fingernail, dislodging fine granules of the tab. These small pieces ignite much easier and the flame quickly engulfs the entire cube. In addition, I use a Bic “Thumb Friendly” mini lighter, instead of the standard mini Bic that seems to be standard equipment for most lightweight backpackers. The Thumb Friendly lighter is much easier to hold the flame to the Esbit tab for a few seconds until it catches fire. The mini Bic weight 11 grams versus 14 grams for the Thumb Friendly version.
Current Pricing
- Caldera Cone GVP = $59.95 (Trail Designs Website)
- LiteTrail Titanium Solid Fuel System = $89.95 (LiteTrail Website)
Summary
Both systems are excellent for the lightweight backpacker, and the improvements made to the LiteTrail system since I purchased mine seem to overcome most of the negatives I found. Both companies are great to work with too.
I usually take the Caldera System on most trips, unless size becomes important. You can’t go wrong with either.
More Pictures
Caldera Cone
LiteTrail
Caldera Cone Stove System
Caldera Cone Stove System
Caldera Cone Stove System Review – Highly Recommended
The Caldera Cone Stove System by Trail Designs (http://www.traildesigns.com) is probably the most used system by backpackers looking for the lightest, most efficient cooking kit. Trail Designs offers many systems for various pots and fuels.
I bought my first Caldera Cone in 2008. Since then I have used a Caldera Cone on almost every backpacking trip over the past 4 plus years.
Why is the Caldera Cone so Popular?
- Ultralight.
- The cone completely surrounds the cooking pot and stove, which makes cooking extremely efficient,
- Excellent performance in windy conditions.
- Can use denatured alcohol or solid fuel tablets like Esbit brand fuel.
- Some models also burn wood.
I will review two different Caldera Cones I have used:
- The Original Caldera Cone
- The Caldera Cone GVP (named after Glen Van Peski founder of Gossamer Gear)
Limitations
The cone system is really designed to boil water. Many backpackers prepare instant meals that just require adding water to their food (instant, dehydrated, or freeze dried). Some folks have actually cooked in their cone systems, but I have never tried to do this. What I do is place my meal in a freezer bag or microwave bag and then add the boiling water to the bag. The meal is usually cooked and ready in 10 minutes. Doesn’t get any simpler than this.
Common Fuels I Use
- Esbit
- Denatured Alcohol
- HEET
Esbit is light wight (one cube weighs about 14 grams or .49 ounces) and can easily boil 16 ounces of water. You can’t spill it. It does leave a sticky residue on the pot and smells like fish. However it is my favorite fuel for most trips. It can be difficult to find in small towns.
Denatured Alcohol is readily available in hardware stores and other outlets. 1 fluid ounce easily boils 16 ounces of water. However the flame is difficult to see in daylight and if the stove is tipped over it can cause a fire. Make sure you purchase denatured, not rubbing alcohol!
HEET brand gasoline anti-freeze (in the yellow bottle, not orange) can be found in most automotive supply stores. Most backpackers report that its performance is about the same as denatured alcohol. My use of both verifies this.
Stoves
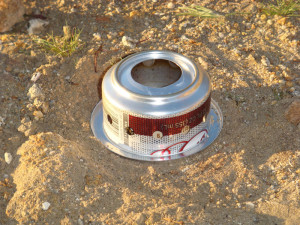
Trail Designs includes two stoves with each cone. One is an alcohol stove recycled from 12 ounce soft drink cans. These stoves are designed especially to match and work best with their Caldera Cone. You can’t just use any alcohol stove with their cones.
The second stove is called a Graham Cracker and is designed to be used with Esbit tabs or other similar solid fuel.
Above: Soda Can Stove (left); Esbit Graham Cracker (right)
The Cone
The cone is used as a combination pot support and windscreen.
Above: (left) the cone is rolled for storage. Each edge has a dovetail joint that allows the quick connection to create the cone shape (left).
Cook Pot
You can purchase a cone with a matching pot, or Trail Designs sells a cone kit without a pot to match many popular pots available today. But the cone must be ordered to match your specific pot; every cone is different. Cones are available for popular pots in the .5 to 1.3 liter capacity. Normally you will get the best performance from a short wide pot. Trail Designs also sells cone systems with Heineken or Foster beer cans that are used as a pot.
Standard Cone System
My first two Caldera Cones were the basic model. One was sized to match my Snow Peak Mini-solo cook set, and the second was a complete system with a Fosters beer can that is used as a pot. Both systems work fantastic, but the cone was taller than both pots, so it could not be fitted completely inside the pot, which could cause damage to the cone when carried in my pack. It is crucial that the dovetail joint that is used to set-up the cone does not get bent or damaged. To solve this problem, Trail Designs includes a food grade plastic caddy to protect the cone and can be used as a cup or bowl. Unfortunately the caddy weighs more than the cook-set.
Above: (left) Snow Peak Mini-solo. I only used the top part of the caddy to save weight. (right) Complete caddy with a Fosters Cone kit. Note that the rolled up cone is taller than the Fosters can.
Snow Peak Mini-Solo and Caldera Cone System in Use

Above: The complete package. Note that the bottom is the plastic caddy.
Above: Everything is stored in the cone.
Above: Cook-set components. Instead of using the Snow Peak’s pot lid, I use a piece of aluminum foil to save weight.
Above: Soda can alcohol stove.
Above: Light the stove, place the cone (windscreen and pot support) over the stove, insert pot into the cone.
Above: Waiting for the water to boil. Took about 6 minutes or so.
Caldear Cone GVP
This is a great set-up. A Fosters can for a pot and the cone fits completely inside the pot. It comes with a caddy, but I never used it. Everything fits neatly into a super light cuben fiber stuff sack. I have cooked hundreds of meals in this system, always using the Esbit option. Total weight is only 3.08 ounces! Below is the kit.
Above: Caldera Cone GVP next to a 12 ounce Pepsi can. This has the Esbit Graham Cracker set-up with a total weight of 3.08 ounces for stove, ground sheet, cone, lid, and cuben stuff sack.
Step 1 Above: Place the base on the ground (to protect the ground)
Step 2 Above: Place the Graham Cracker on the base.
Step 3 Above: Place Esbit on Graham Cracker and light it.
Step 4 Above: Place the Cone over the stove.
Step 5 Above: Insert the Fosters can into the cone. Wait about 6 minutes to boil 16 ounces of water.
Step 6 Above: Add instant coffee or hot chocolate for a tasting drink. Drink right out of the pot. No extra drinking cup or mug needs to be carried. Notice the bottom of the pot is discolored from hundreds of boils.
