Familiar Places, Familiar Gear
While cleaning and organizing my gear storage area this year, I was reminiscing about some of the more interesting desert trips I had done with my old backpacking equipment. During the period of 1977-1982 I unsystematically explored most parts of then Joshua Tree National Monument. A couple trips stand out, although the facts about one of those trips were revealed to me about 4 years later.
Thinking about this particular trip, I decided to do it again using the same gear used during a hike in 1978. I also decided to make the trip my annual birthday hike.
Background on the Original Trip
I was exploring a mountainous region hoping to see my first Big Horn Sheep and locate any springs in the area. Now, I am not going to tell you exactly where the area is, but if you are interested, engage in a little research and you can locate it. The special find mentioned earlier was not especially important; an early 20th century curiosity. One concern I have about the find is its documentation by an author who has put together a trail guide of the area I live in. I have heard he has identified this find in one of his trail guide hikes, but I cannot verify that, since I have not read the book. But the book has caused me concern.
I am going to provide neither the name of the trail guide nor the author’s name, because he has singled-handed done more damage to the wild areas I hike in than any other person. How do I know this? Since its publication I have found more people in these isolated areas, more trash, and have run into lost hikers with book in hand. Yes, they had the book, but they did not possess the needed skills, experience, gear or appreciation of the places they were in. Also of concern are reports that this author had asked local hikers to take him on some of the hikes without telling them he was planning to include it in the trail guide he was writing. And I have heard some of these folks feel betrayed and angry about his sneaky request to join them on hikes to places that were not commonly known to the public. Ah, trash the wilderness for a few shekels of gold.
Anyway… about the original trip. It was a four day hike. On day two I located a reliable spring and saw about 12 Big Horn sheep. Adjacent to this area was a longish canyon that showed three possible springs. One would be too difficult to reach without a long circuitous hike and the other two would be fairly easy to locate, but requiring a difficult drop down into the canyon. If both springs were dry, I would have to hike out of the canyon to a nearby town and then hitch-hike back to my car. If I found water, I would be able to loop back up out of the canyon and hike back to my car.
Working my way down into the canyon required a slow, careful decent of a couple thousand feet down a side canyon. No trail. Gingerly working my way down, I was soon on the canyon floor. From here it would be easy walking the entire length of the canyon, except for sections of muscle-tiring soft sand in the wash. Within a couple of hours I was at the bottom of the side canyon that would lead me to the first spring. Winding my way up this short side canyon, I soon found myself standing below an empty rock house, which sat on a small shelf above a wash. I continued on for about 50 yards and found a small pool of water at the bottom of a 10 foot rock pour-over. The spring was somewhere above this. No need to hike to the actual spring, there was plenty of water below it.
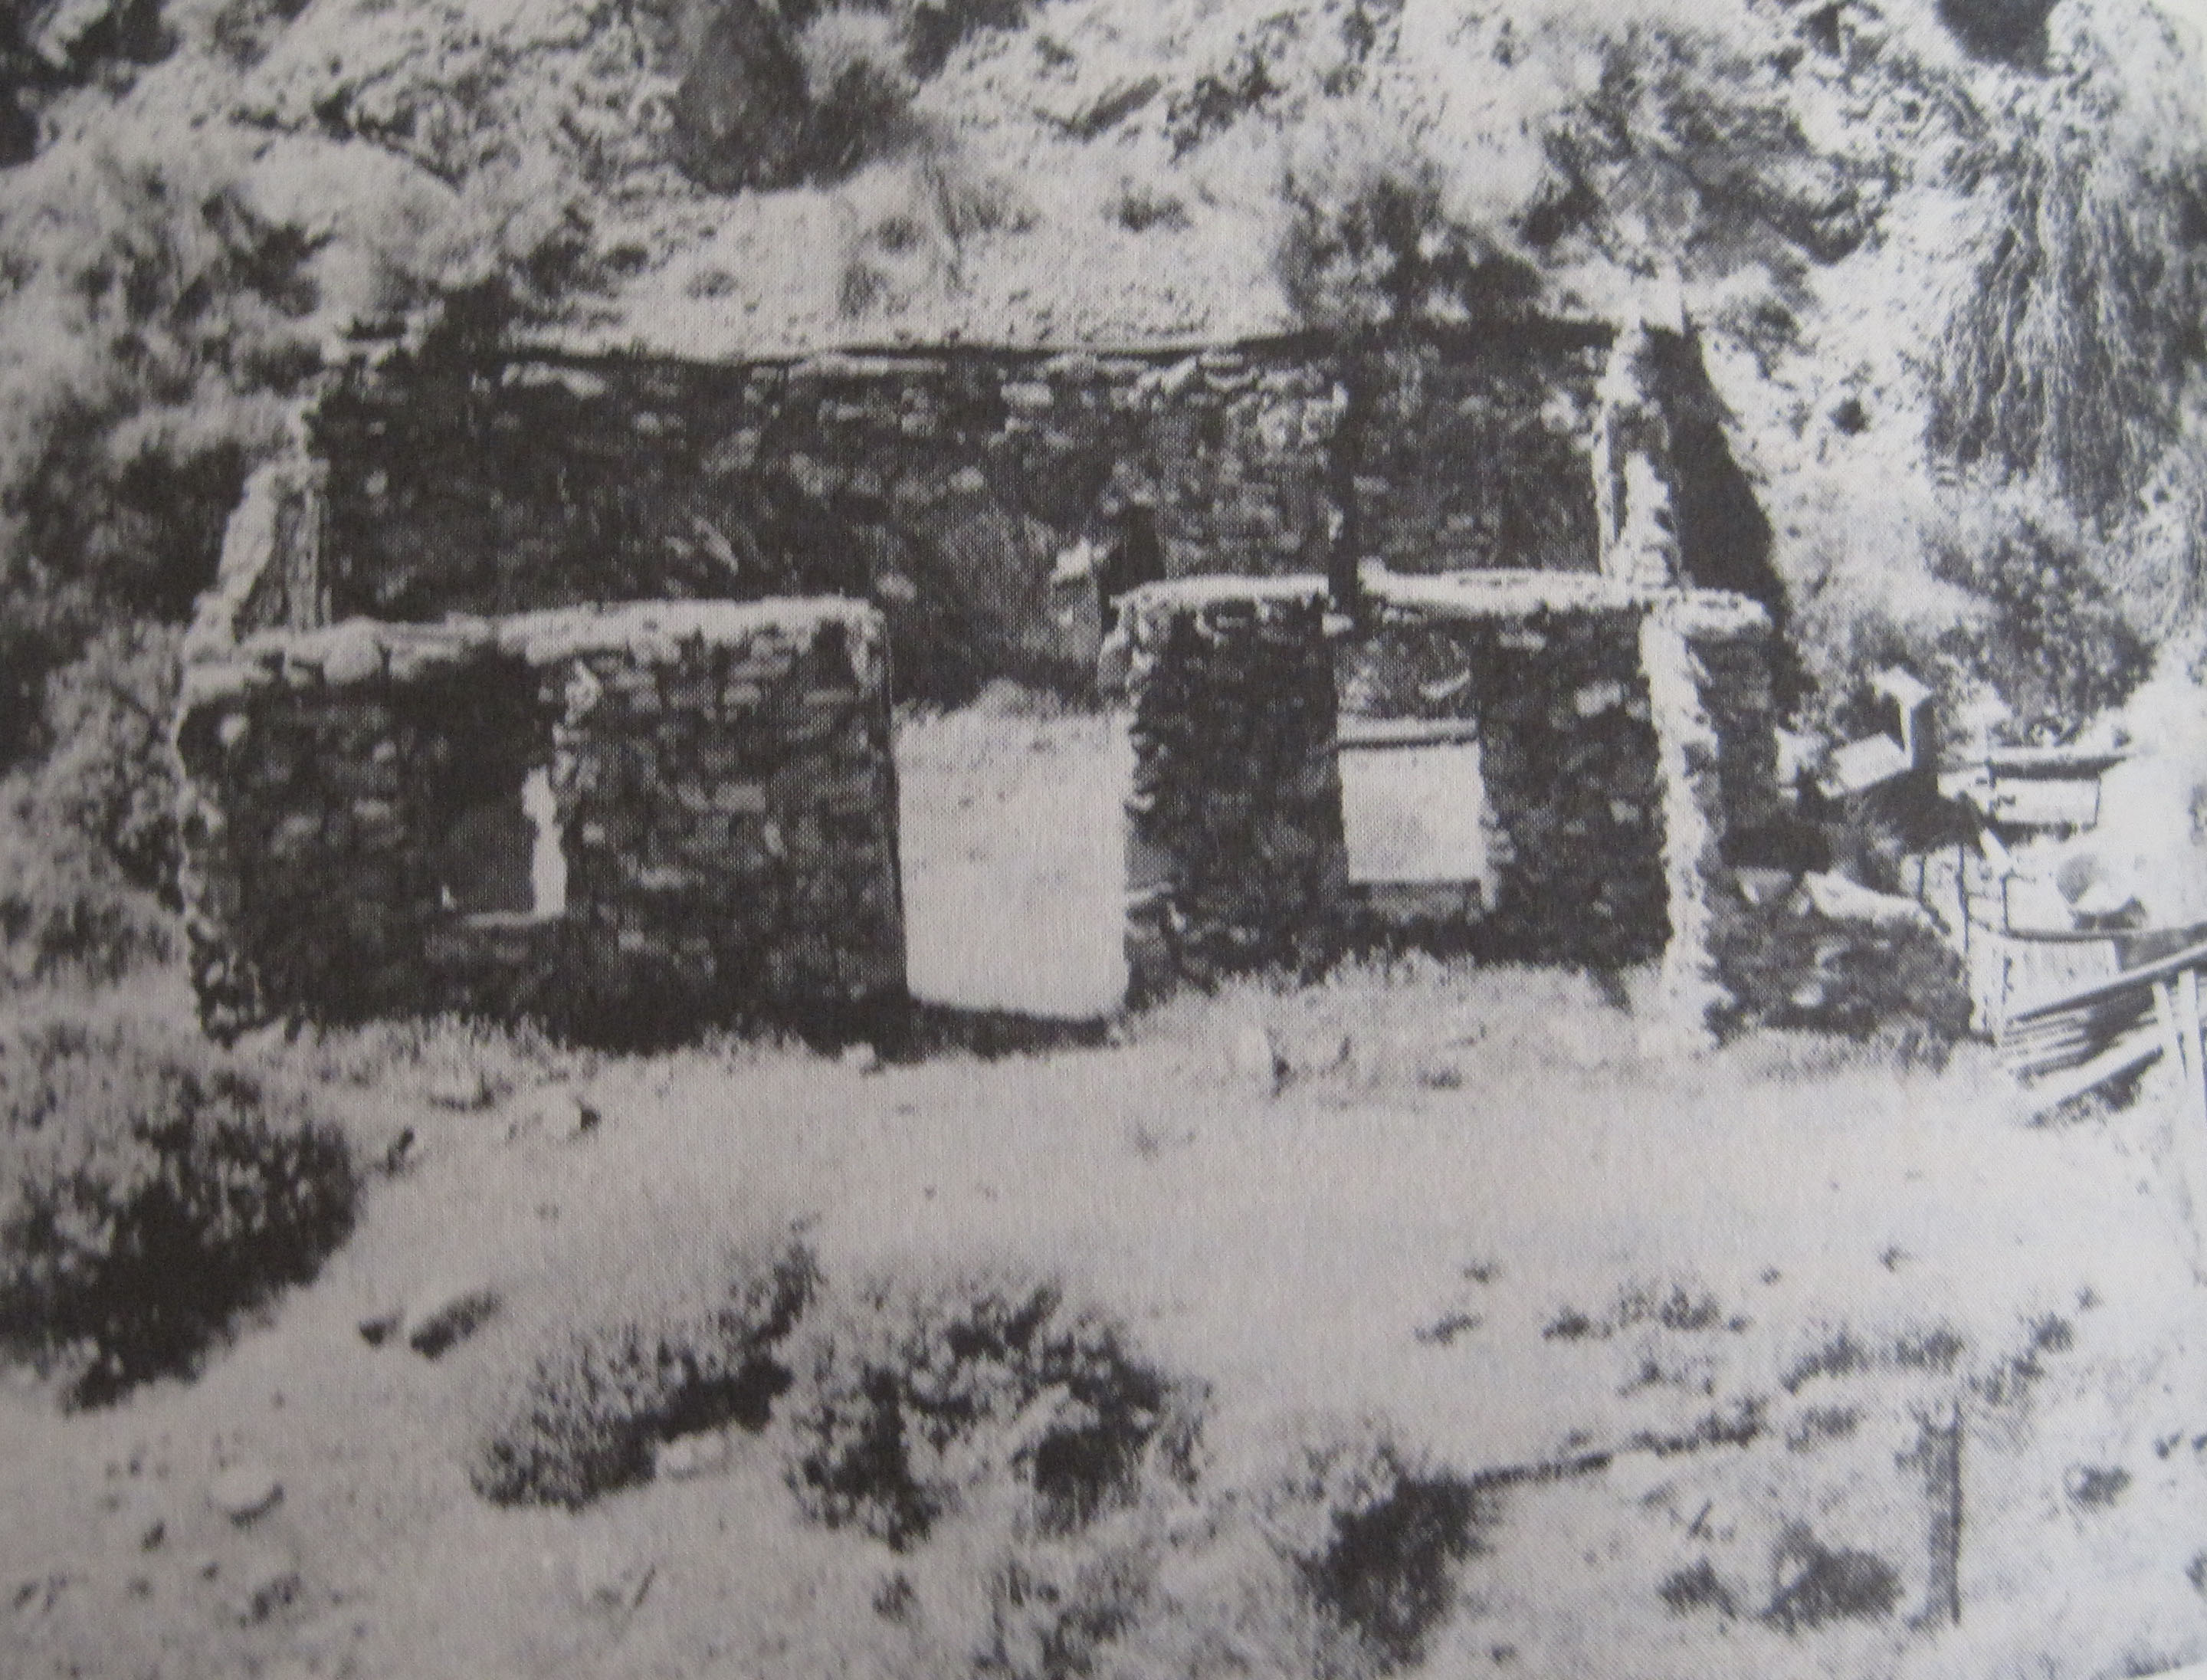
It was late afternoon. I decided to spend the night in the rock house. This way I could cook dinner and clean up, then refill my canteens in the morning with a full load of water. The only flat spot in the area to sleep was in the rock house, or in the flat area of the shelf in front of the house. I walked up to the shelf, and then into the rock house. The roof was gone and there were a few pieces of remnant furniture on the hard packed floor. A few small shrubs were growing in the floor of house. Also there was a small fireplace. Looking about, I didn’t give the house much historical significance. I had seen many rock houses (or remnants) throughout Southern California’s deserts. Some had been built by native Americans and many by prospectors, homesteaders, and ranchers.
I laid out my gear and cooked dinner. Afterwards, I went outside the house and sat down to observe my night camp. The canyon was narrow and the house lacked the large vista or sweeping views many desert rock houses provide. Its location had been determined by the close proximity of water, not aesthetics. The tall canyon walls provided early day shade that the open desert does not provide. This would be advantageous during the hotter parts of the year. A reliable water source was another benefit for its location. I supposed that in wet years there was probably lots of game available. Mule deer and Big Horn sheep would provide meat. Quail and small game would be available also. I wondered what had brought the builder of the house to this spot. Maybe it was a prospector. Or maybe someone just wanted to get away from society. The desert attracts these kinds of people. The builder of the house probably lived here prior to 1936, when the area was declared part of Joshua Tree National Monument. Looking at my maps, it would have been a long hike out to civilization pre-1936. To me, it looked like it would be very difficult to drive here, although I had seen some old faint tire tracks. Well, enough speculation. I needed to plan the rest of my trip and get some sleep.
The next morning I hiked further down the main canyon and found the other spring. It was dry. Locating a navigable side canyon on the other side of the main canyon, I worked my way back up to the ridge that would eventually take me back to my car. I didn’t give the rock house another thought for several years.
Mystery Solved
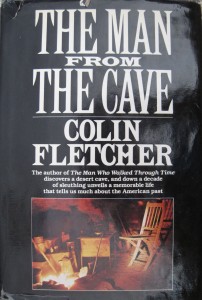
In 1981, Colin Fletcher published a book titled, The Man From the Cave. A short time after it’s publication I read it. The book is the story about a man who had lived in my local area. Fletcher had found a trunk in a cave along the Colorado River, just below Boulder City, Nevada. Plotted as a detective story, Fletcher sets out to discover who this man was. And it turns out the man, Chuckawalla Bill, lived throughout the lower Colorado Desert and occupied the rock house I had found in the early 1930’s with a woman named Grace. He didn’t build the house, but did refurbish it. The book was intriguing, especially Fletcher’s sleuthing. Fletcher did a lot of “romancing” of Bill’s character, but it made a good story. One thing I had not noticed at the rock house was that Chuckawalla Bill scribed his name in the mortar above the fireplace.
After reading the book, I went back up to the rock house, this time taking the same shorter route as Fletcher did. I wanted to take a closer look at it, because I had missed a lot of the little details that Fletcher had focused on. But this is to be expected. To me it was just another rock structure — I had seen many. For Fletcher it was a quest to reconstruct Chuckawalla Bill’s life, and to dig deep for the little details of “how” he lived. Upon my return, I immediately noticed the inscription on the fireplace. After this trip the rock house held no further fascination or interest to me. To Fletcher, Chuckawalla Bill was a kindred spirit searching for his place in the world. To me he was a quasi-prospector, drifter, and sometime con-man. But he must have had an appreciation for the beauty of the desert. Over the next few years I would occasionally hike in this canyon because it is 10 miles long and offered great exploration of the many side canyons, and at times would seek water at the spring (which was sometimes dry). During these hikes I would sometimes run into one of the Monument’s Rangers. A nice fellow who would drive down to the mouth of the canyon once a week to make sure no one was violating the Wilderness policies. Also over the years I would run into this same Ranger in other parts of the Monument.
62nd Birthday Trip
It had been at least 25 years since my last trip in the canyon, and I was looking forward to this trip — wondering if anything had changed — especially since it was now included in a damned trail guide. I was fairly certain the spring would be dry and I wanted to re-do my original hike in the area, which meant not hiking to it using the route Fletcher took. So I cached two gallons of water above the canyon and then drove my truck to my original starting point. There would be one variation to my original trip. I would enter the canyon much higher via a less direct route due to the need to circle around and pick up my water cache. Also, I would need to go back to the water cache after the trip was completed to pick up the two empty gallon jugs used to cache my water. But entering higher up the canyon would be safer than my original descent.
Now if you want to make this trip, you need to read Fletcher’s book and have an interest in the story, Chuckawalla Bill, and the house. Or you need to be a true desert affectionado — otherwise the trip will probably lack inspiration — unless done in spring during a wet year when the desert is in full bloom.
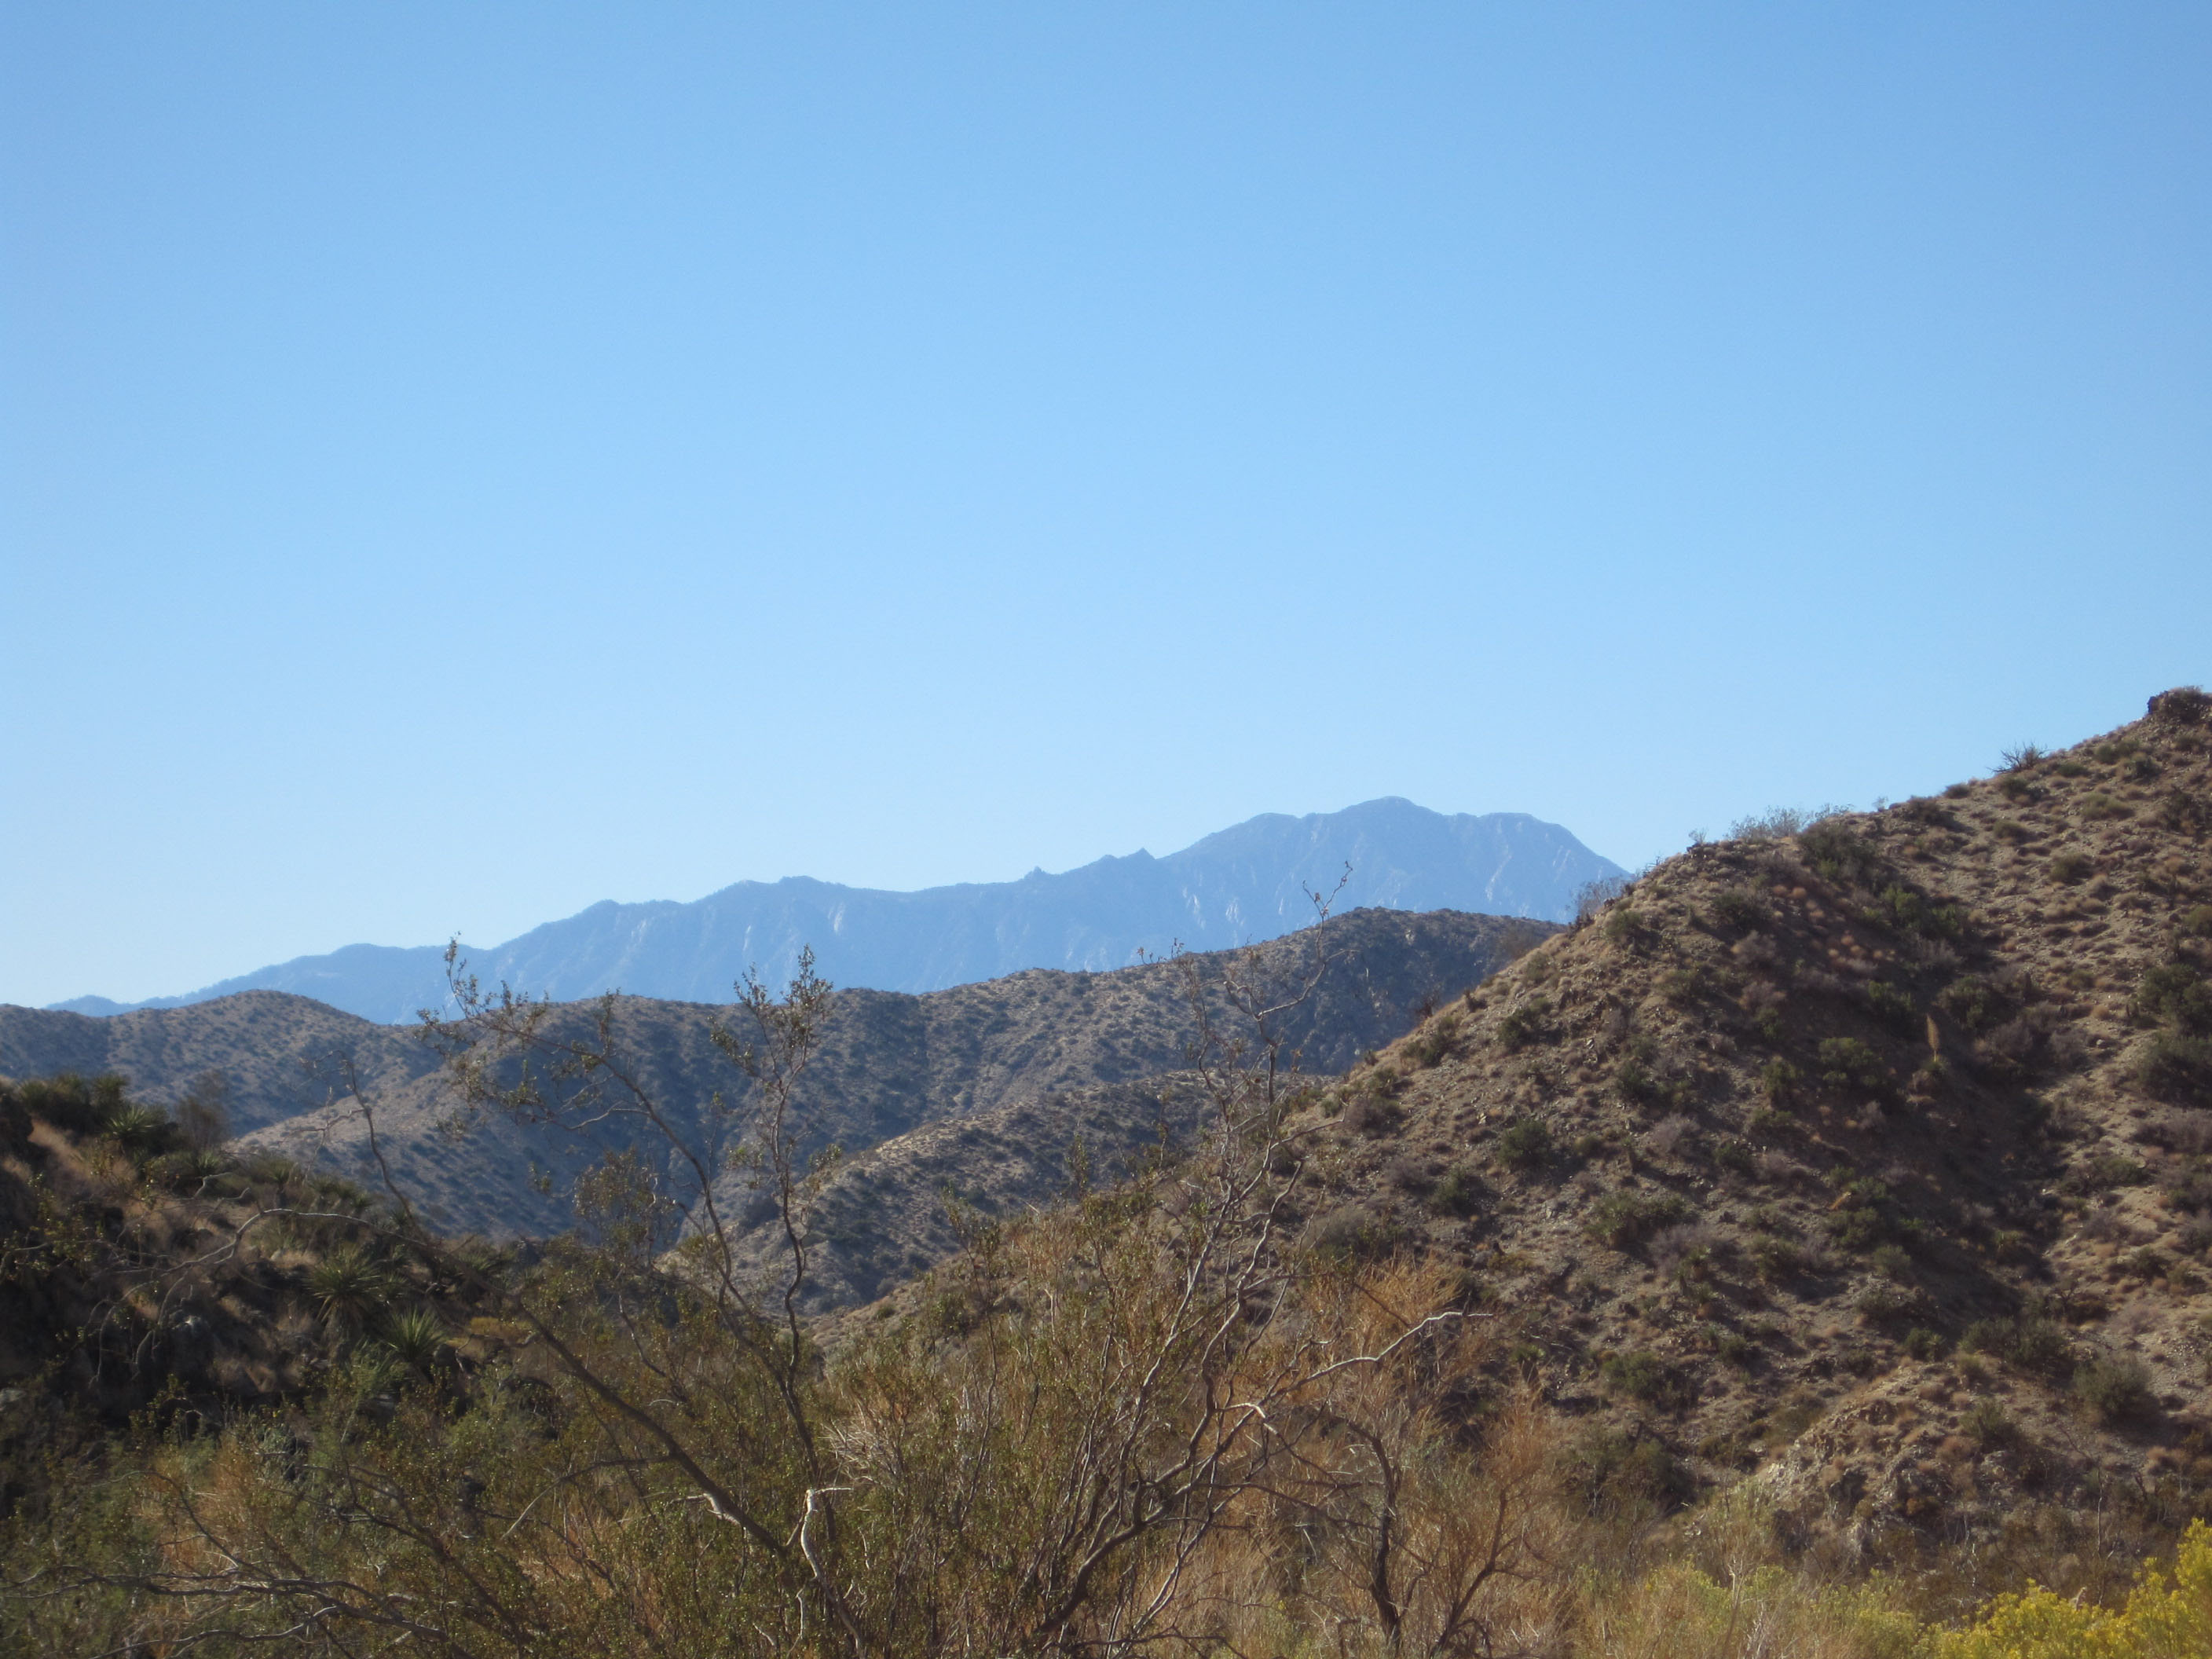
The hike starts in the high desert (Mohave) and drops down into the low desert (Colorado). Once I started down into the canyon and walking a couple of miles, I had high hopes. I saw no trash or vandalism.
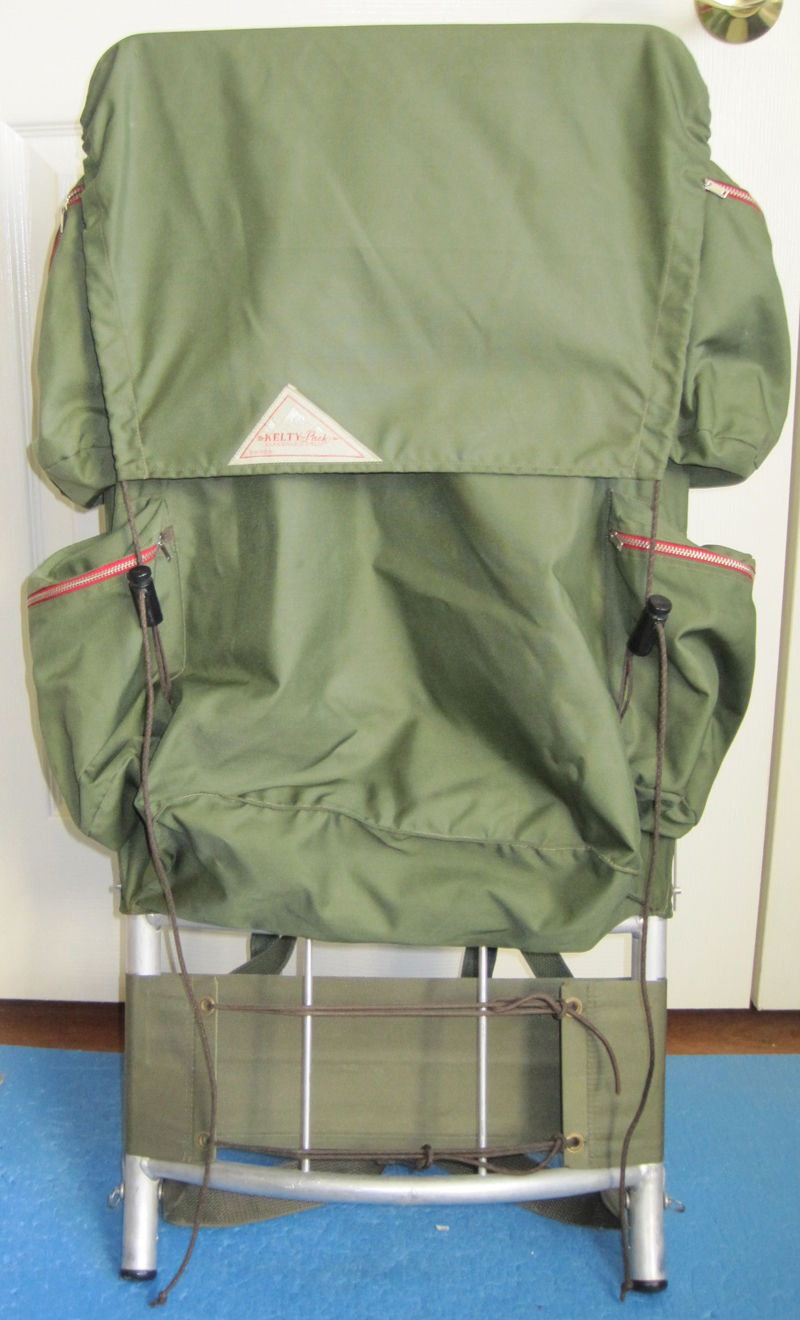
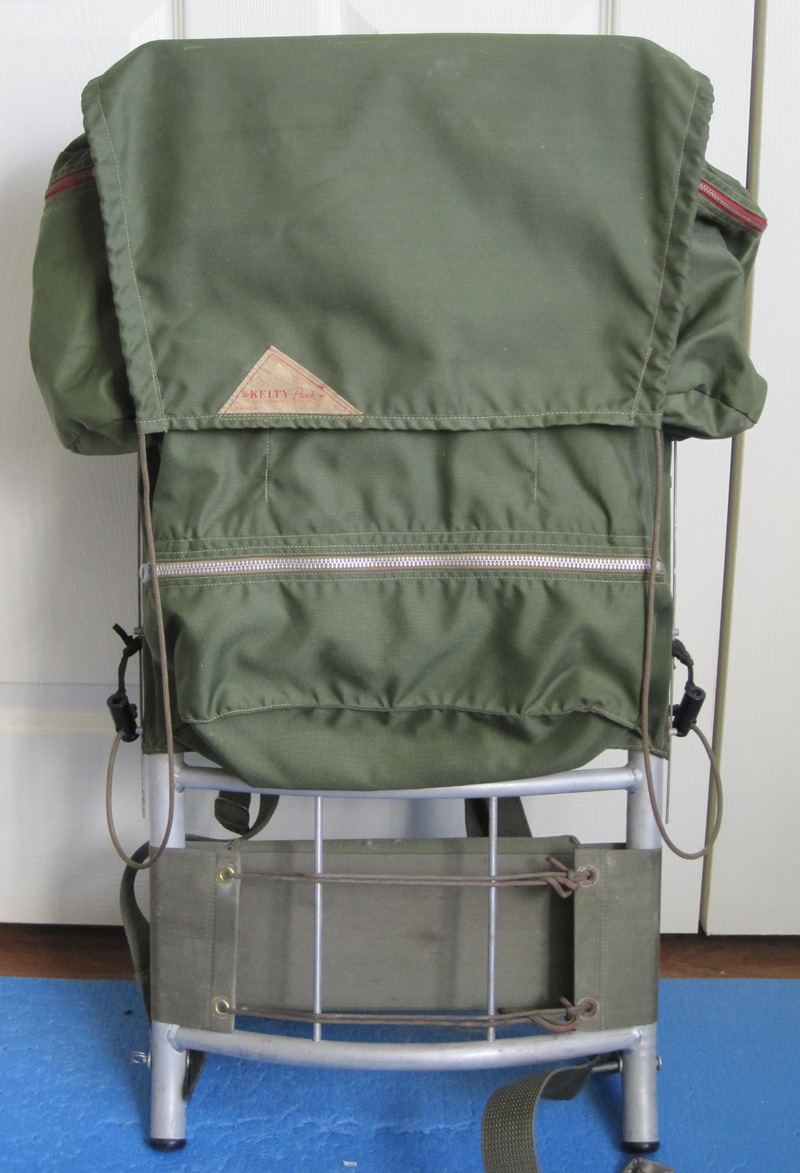
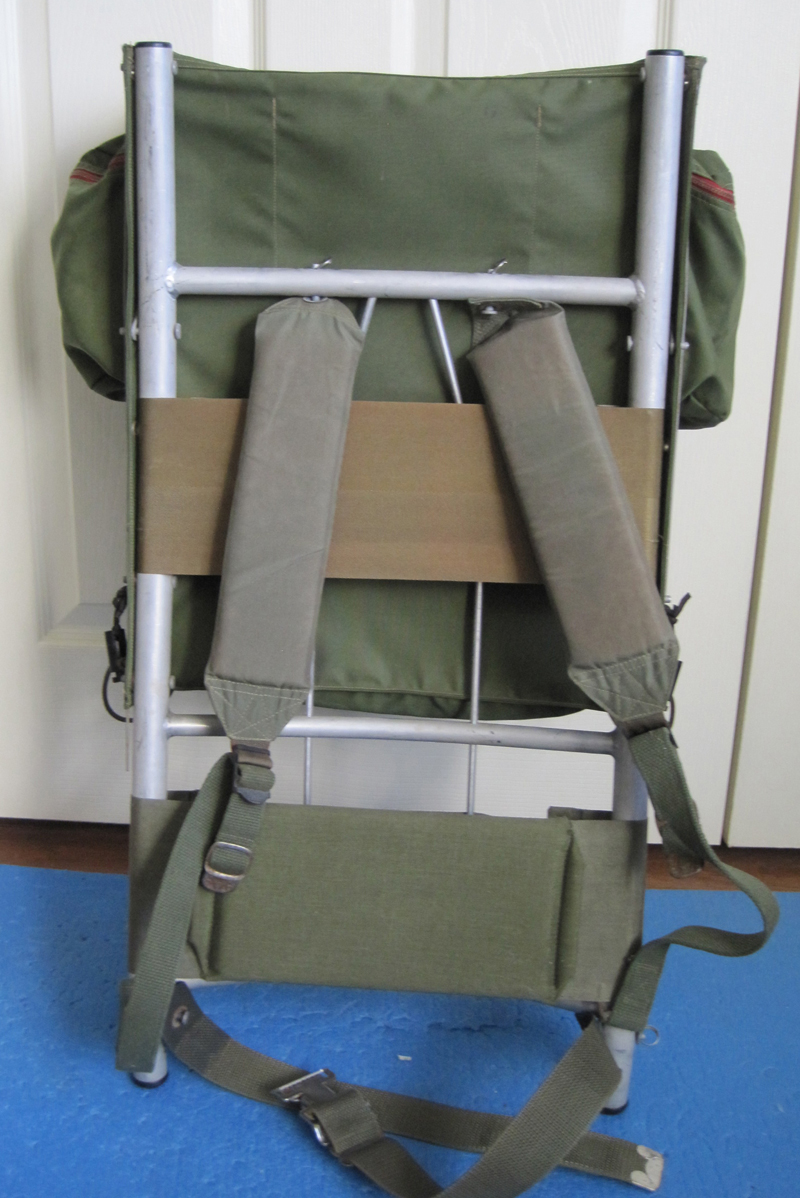
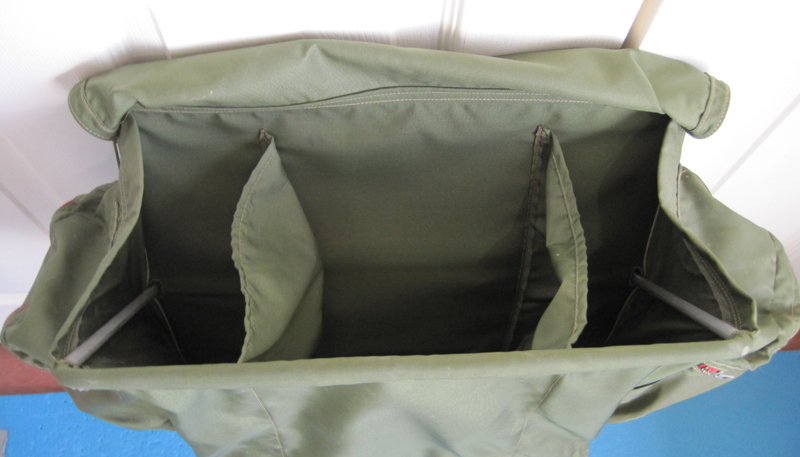
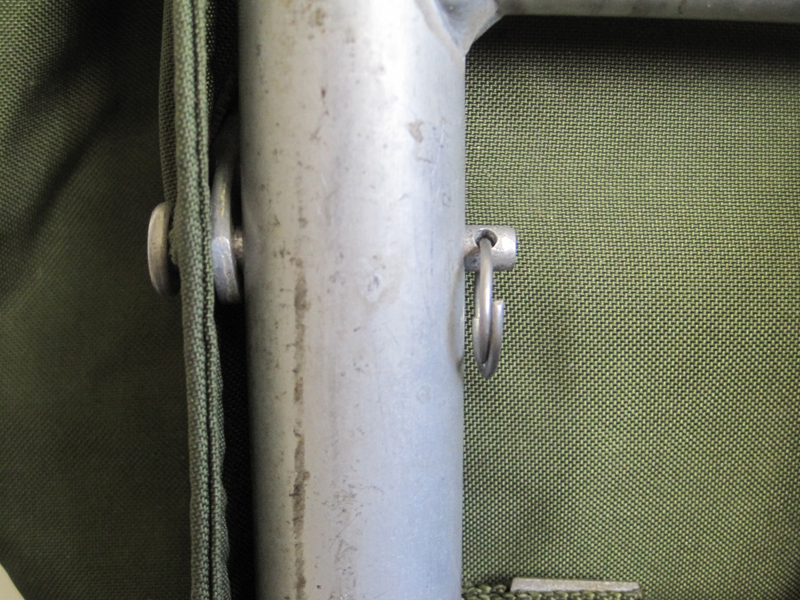
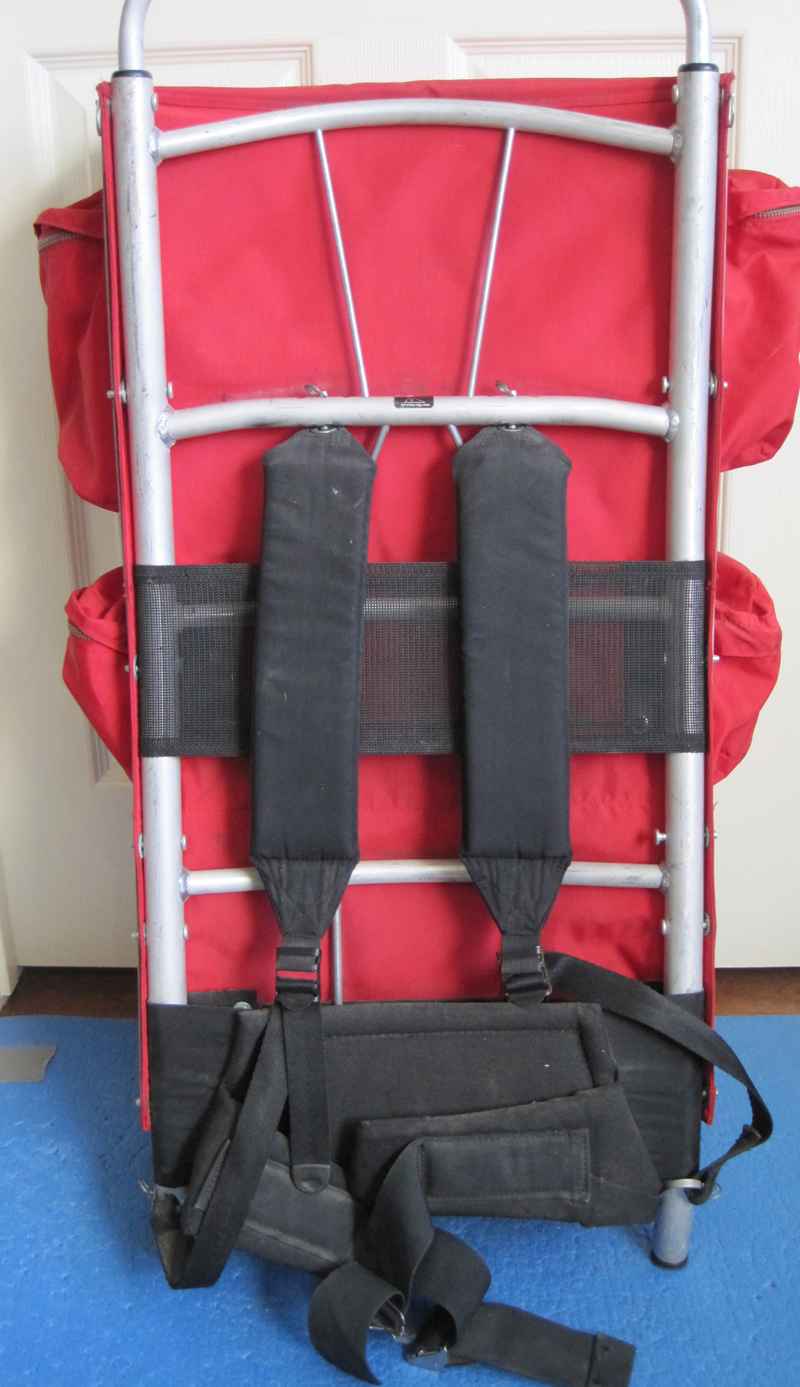
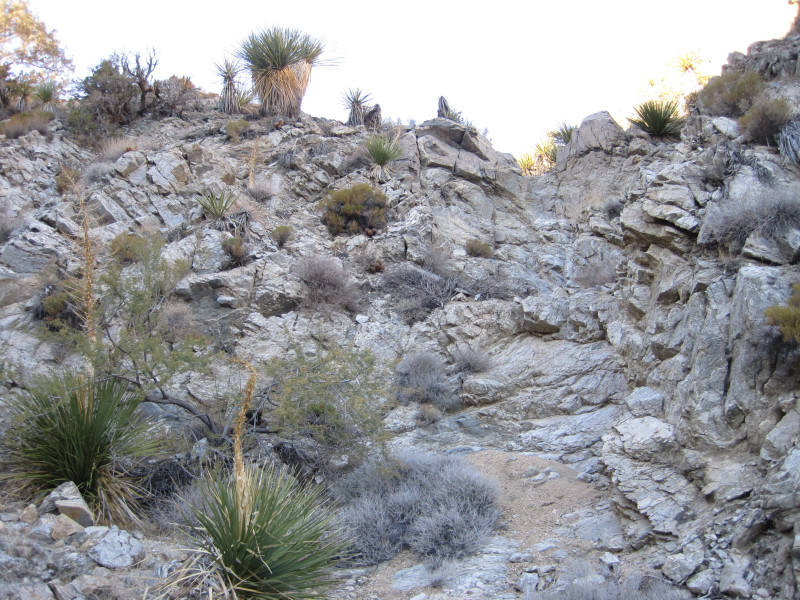 One advantage on an internal frame backpack is the ability to scramble down or up rock pour-overs like the one above much easier than with an external frame pack. This is probably a 20 foot obstacle. But I got down it easily with my 40 year old Kelty external frame pack.
 An isolated Pinyon Pine. Very full foliage. I wonder if there is water seep in this location. I started to investigate, but didn’t want to bother with all the thorny Cat Claw. It’ll have to wait for another day.
However I did see some mountain bike and dirt bike tire tracks in the canyon wash, and pretty high up too. As I descended the number of tire tracks increased, but no other damage noted. This fact ticked me off. The National Park Service is not doing its job protecting the wilderness. A quarter century ago there was an effective barrier at the mouth of the canyon to keep vehicles out, and a weekly patrol monitored the canyon. Again, the NPS is not doing its job of protecting this designated wilderness area, but they are doing a fine job of improving the roads through the main portion of Joshua Tree National Park, so tourists can speed through and view the sites from their air conditioned capsules. Perhaps it is time to blow up all the entrances to the Park and keep vehicles out! In the 1990’s Joshua Tree’s classification was changed from a National Monument to a National Park.
 Notice the tire track in the lower center of this picture.
 Following the wash (and tire tracks).
The Rock House
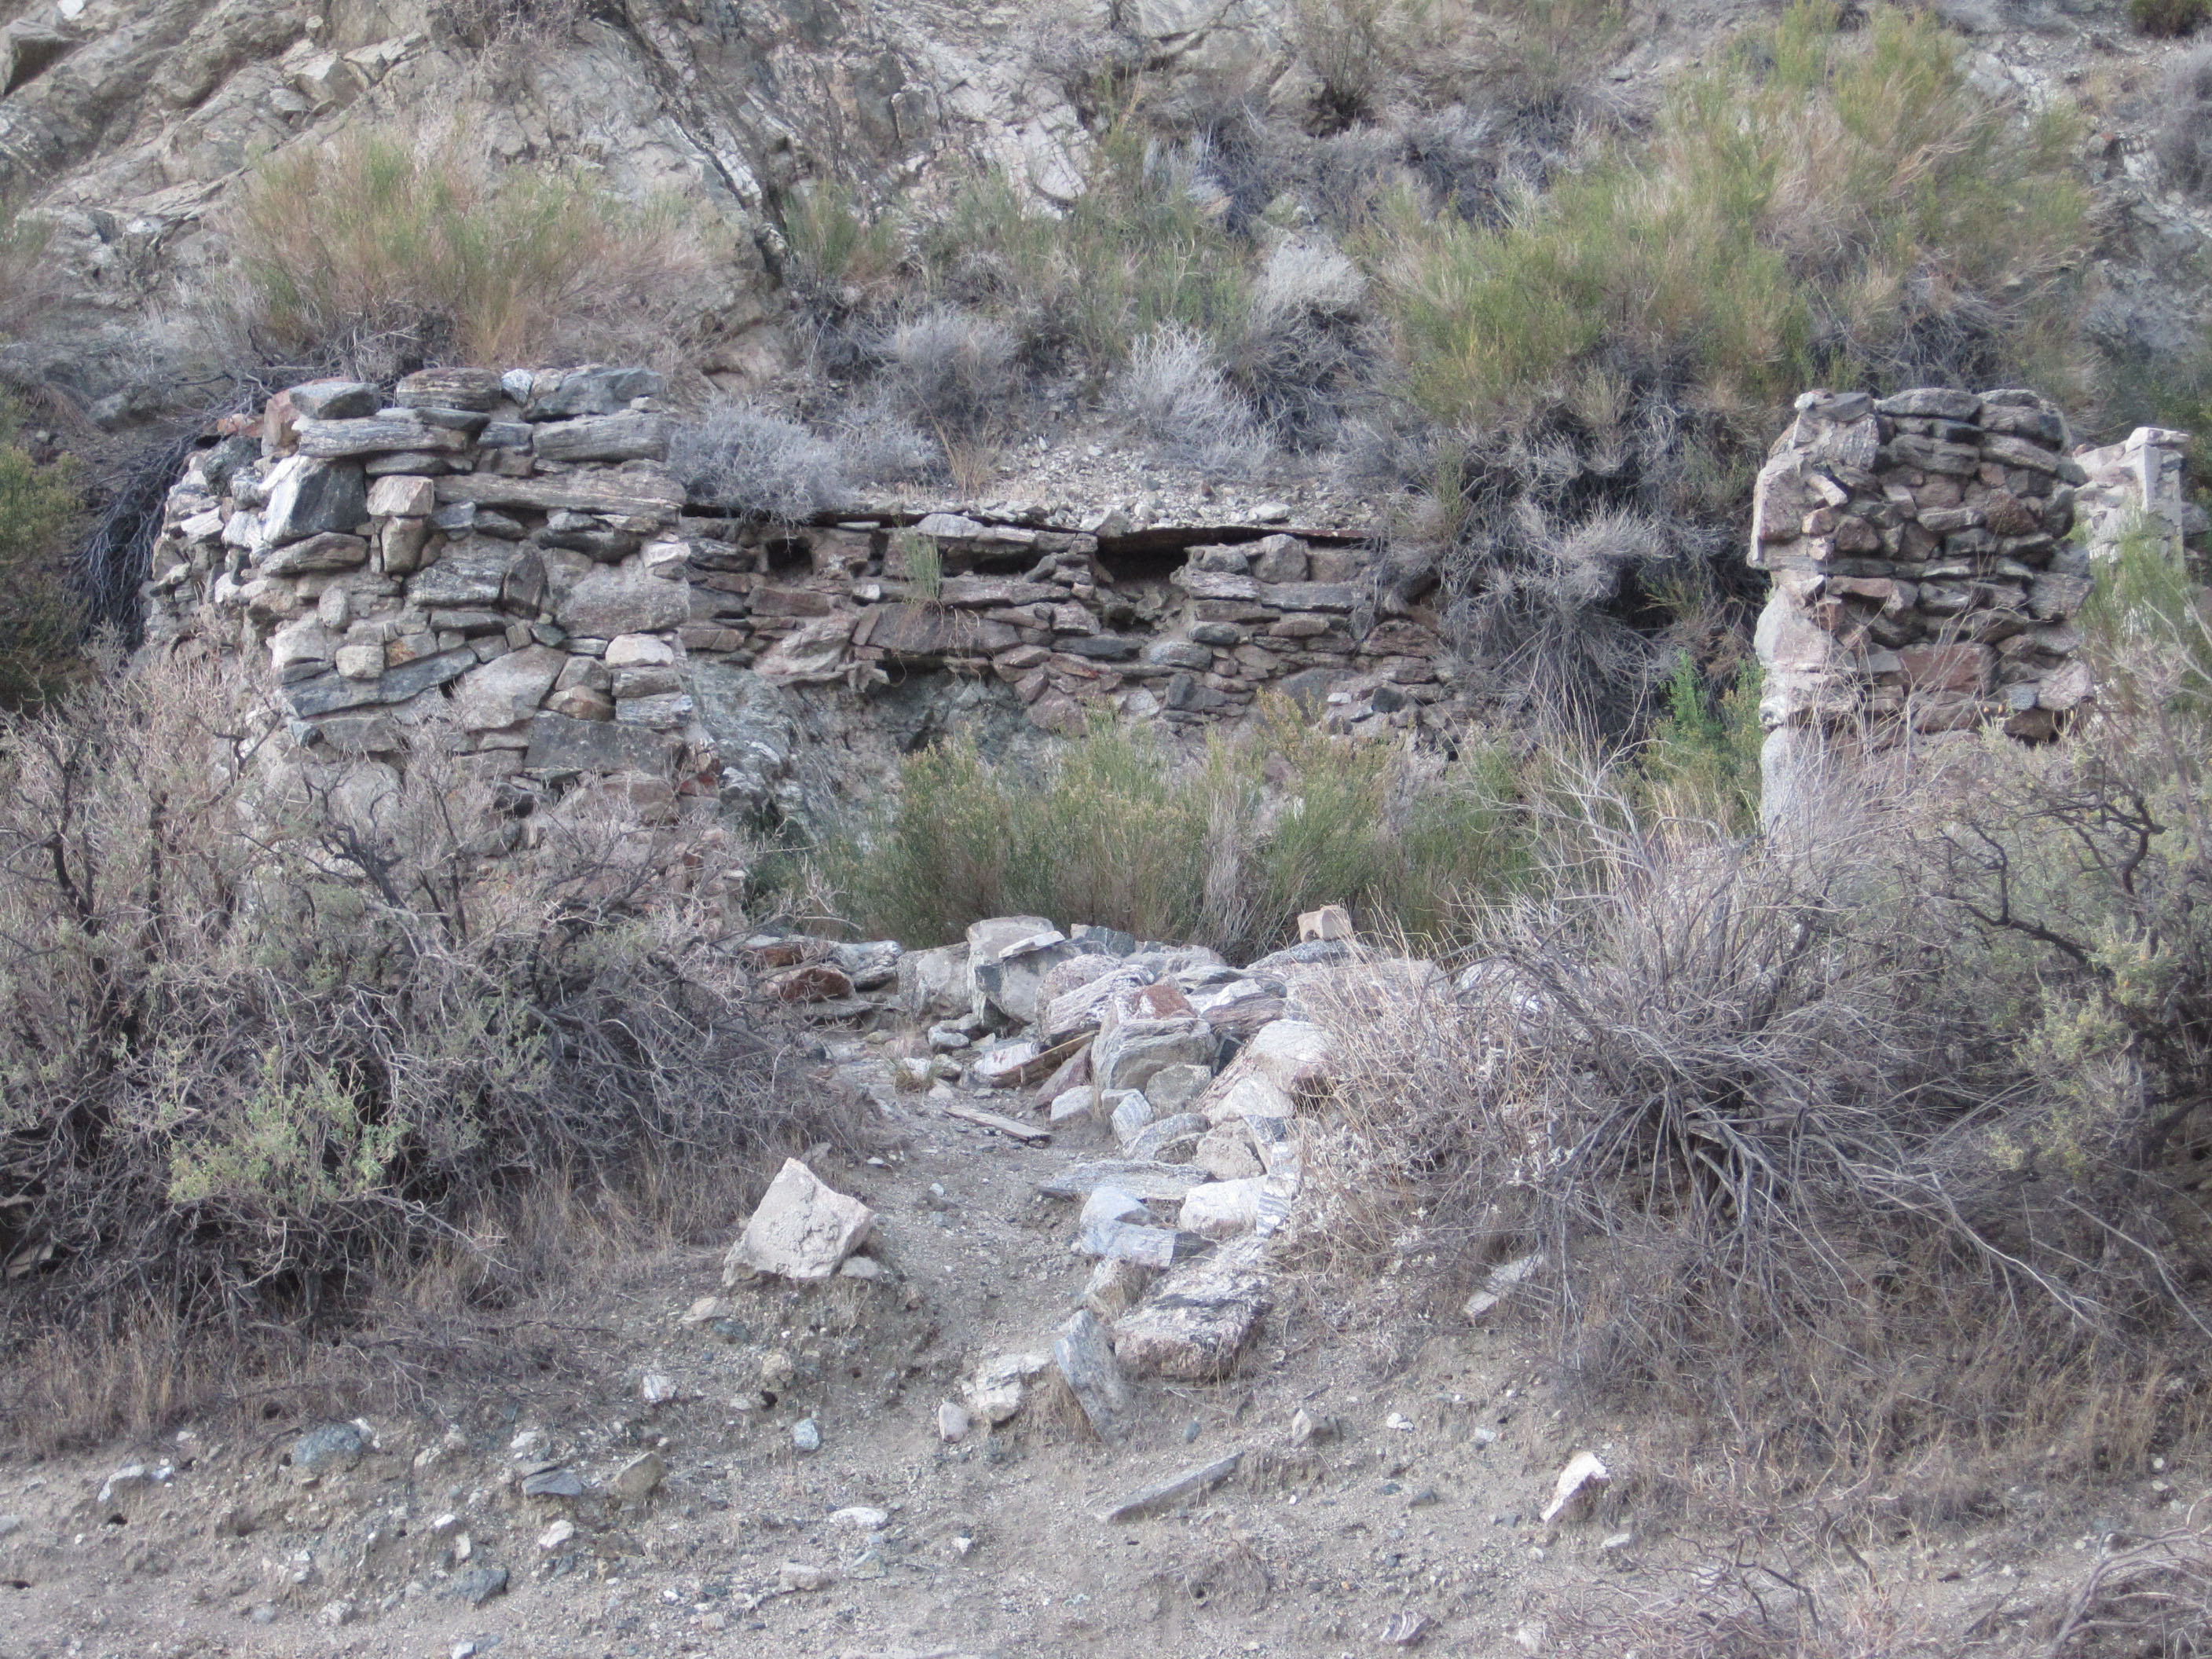
Finally I made it to Bill’s side canyon and hiked up to the house. Part of the front wall has collapsed into a pile of rubble. Probably the result of an earthquake; at least I hope so. Much better than some two legged moron deciding to knock it down. As expected, the spring was dry.
 In wet years the spring cascades down this pour-over and creates a pool at the bottom, then trickles down the canyon.
 I climbed up beyond the pour-over and found wet soil. With a little work and possibly some digging I would have found water. But I had brought enough with me.
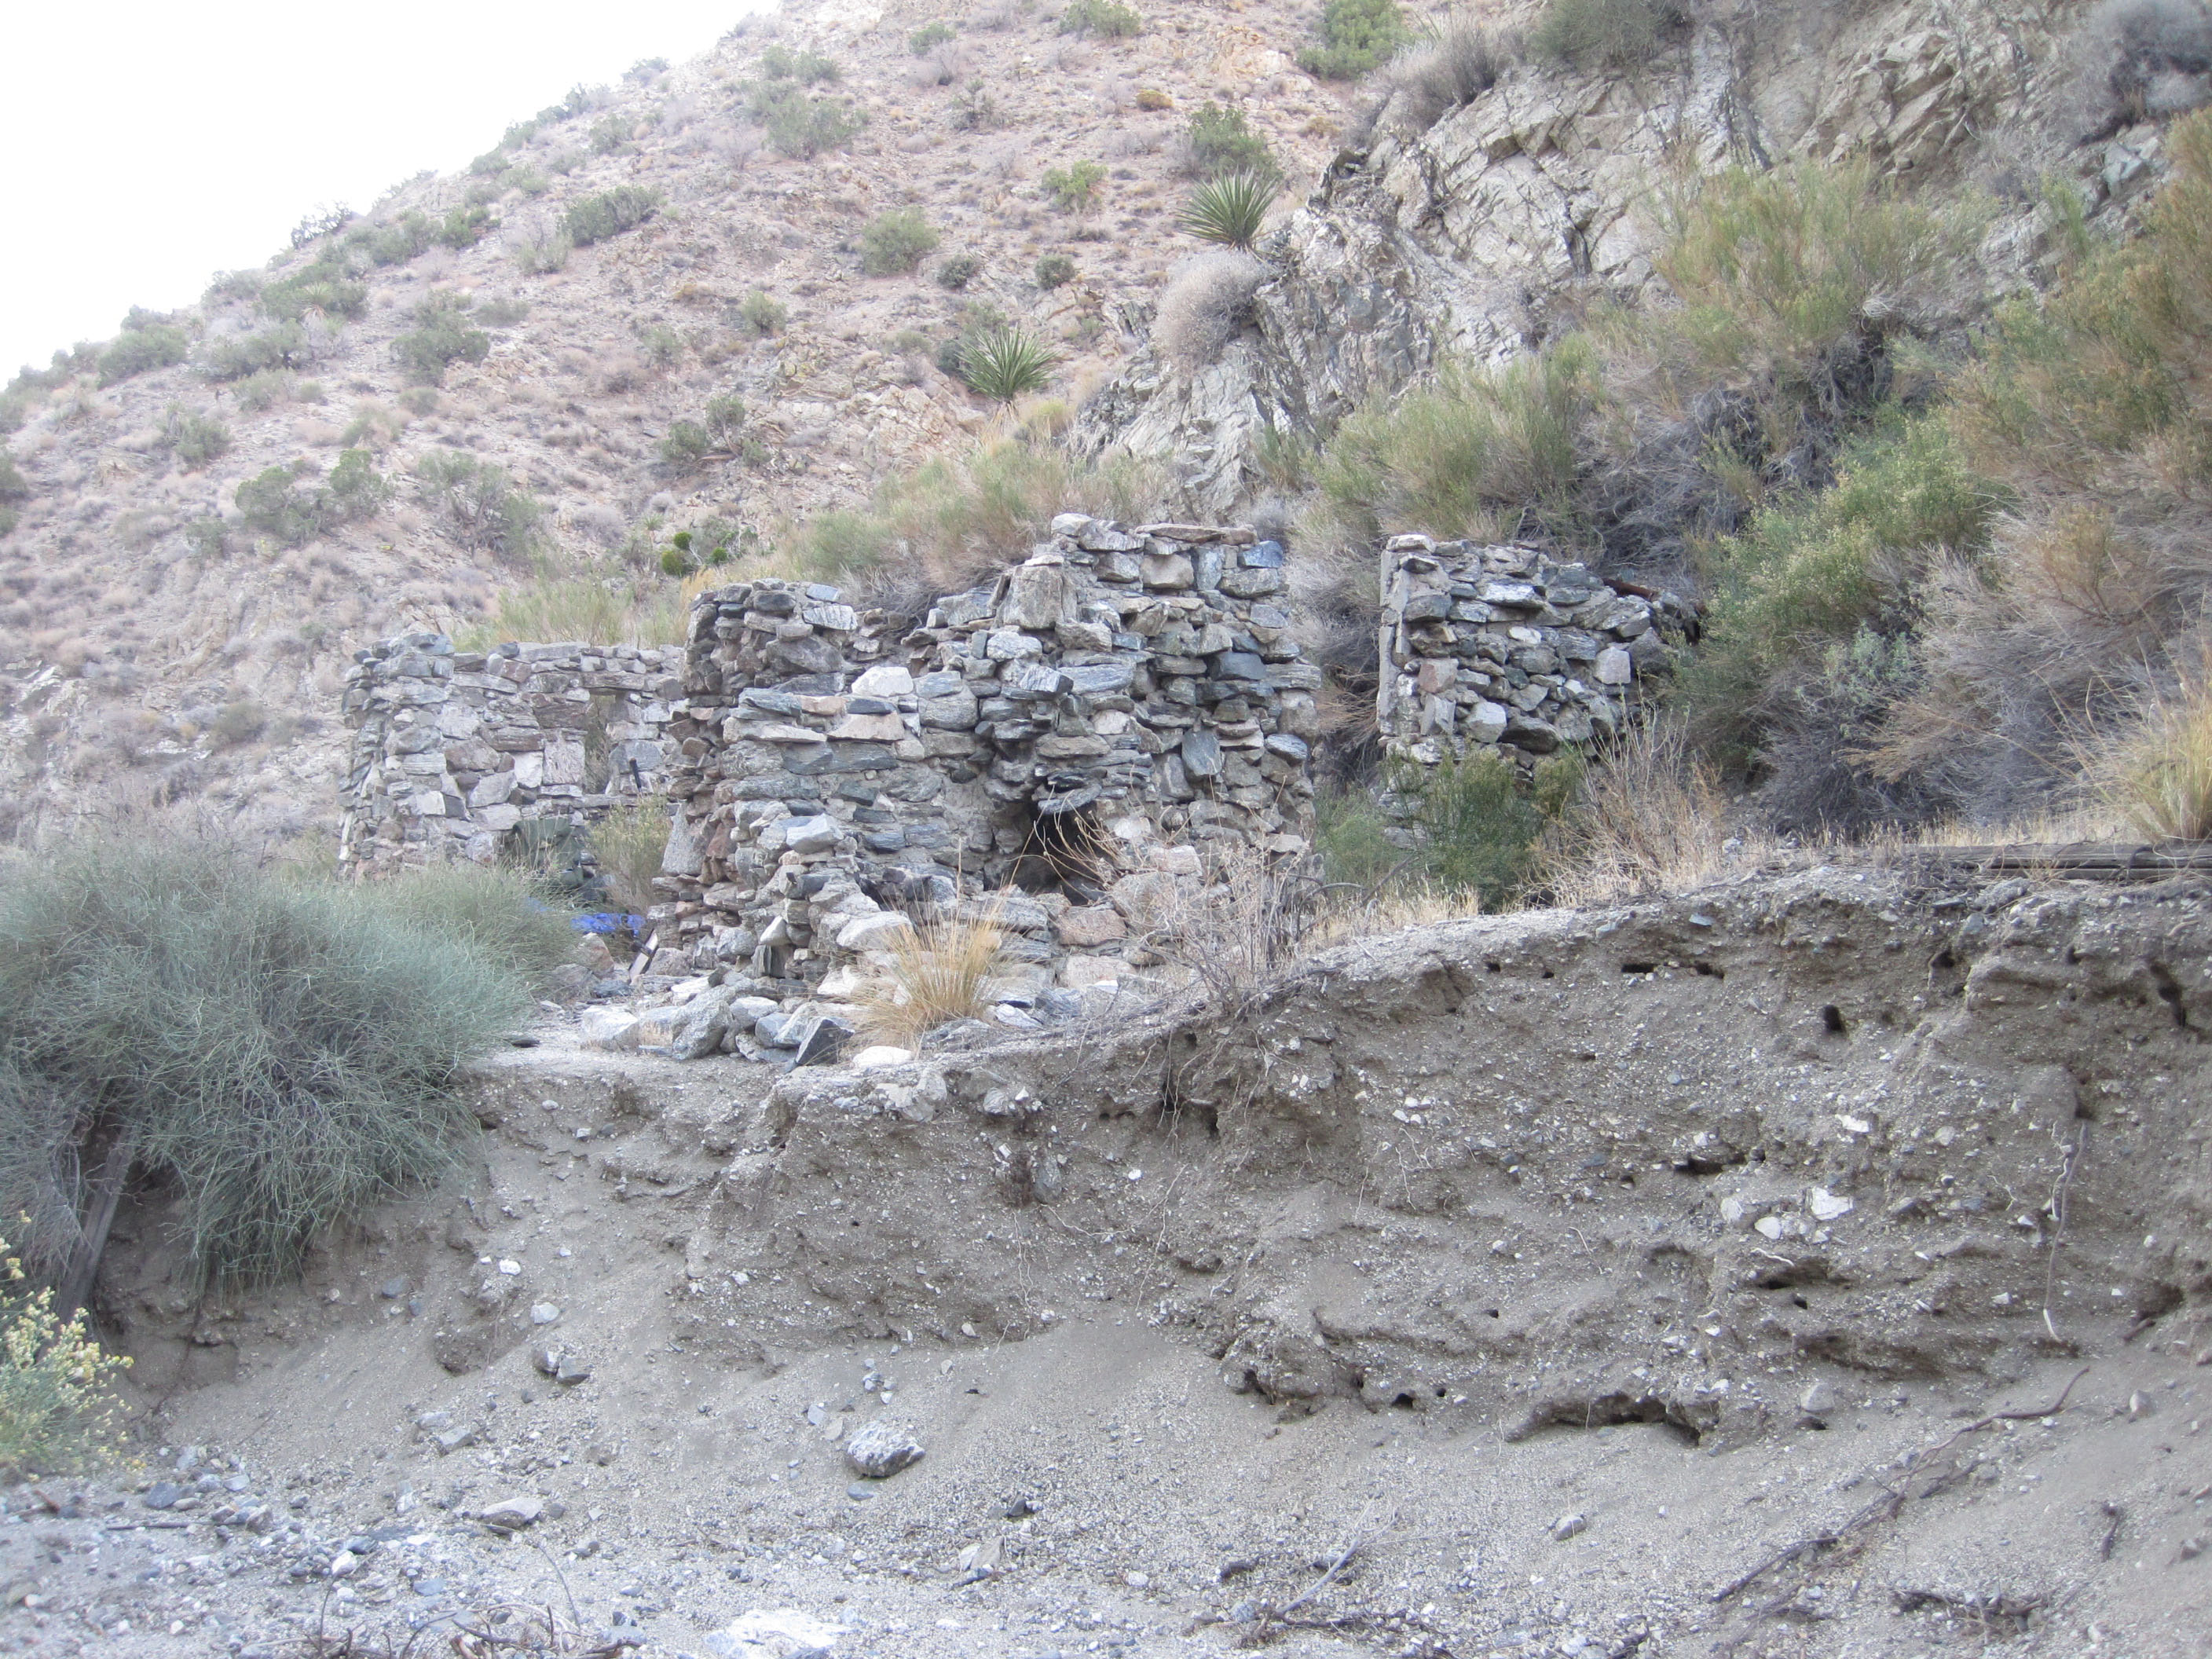 View of the Rock House as I returned from the spring.
I decided once again to sleep on the floor of the house. I was a little concerned that the walls might not be stable, but all was well. There are more shrubs growing out of the floor than 25 years ago — just Nature reclaiming what is her’s. I set out my gear and then went out onto the shelf and just sat until it got dark.


The inscription is “Chuckawalla Bill 1934 A.D.”
After eating dinner, I again went out and sat for quite a while. There was a partial moon and the canyon was illuminated by moonbeams. The moon soon dropped from my view, blocked by the hill behind me, and the remaining moonlight danced on the canyon wall in front of me. Another hour and the canyon was dark. Stars started multiplying and populating the night sky. Jupiter became the the brightest object and I fell asleep after seeing a couple shooting stars to the west.
In the morning I had my normal instant oatmeal and coffee breakfast, and by 7 am I was heading down canyon. The tire tracks increased, but no other damage was seen. After a couple miles I turned east and worked my way out of the canyon. Not sure what kind of damage/vandalism I would have found near the wilderness boundary at the mouth of the canyon. I didn’t have the heart to go further and find out.
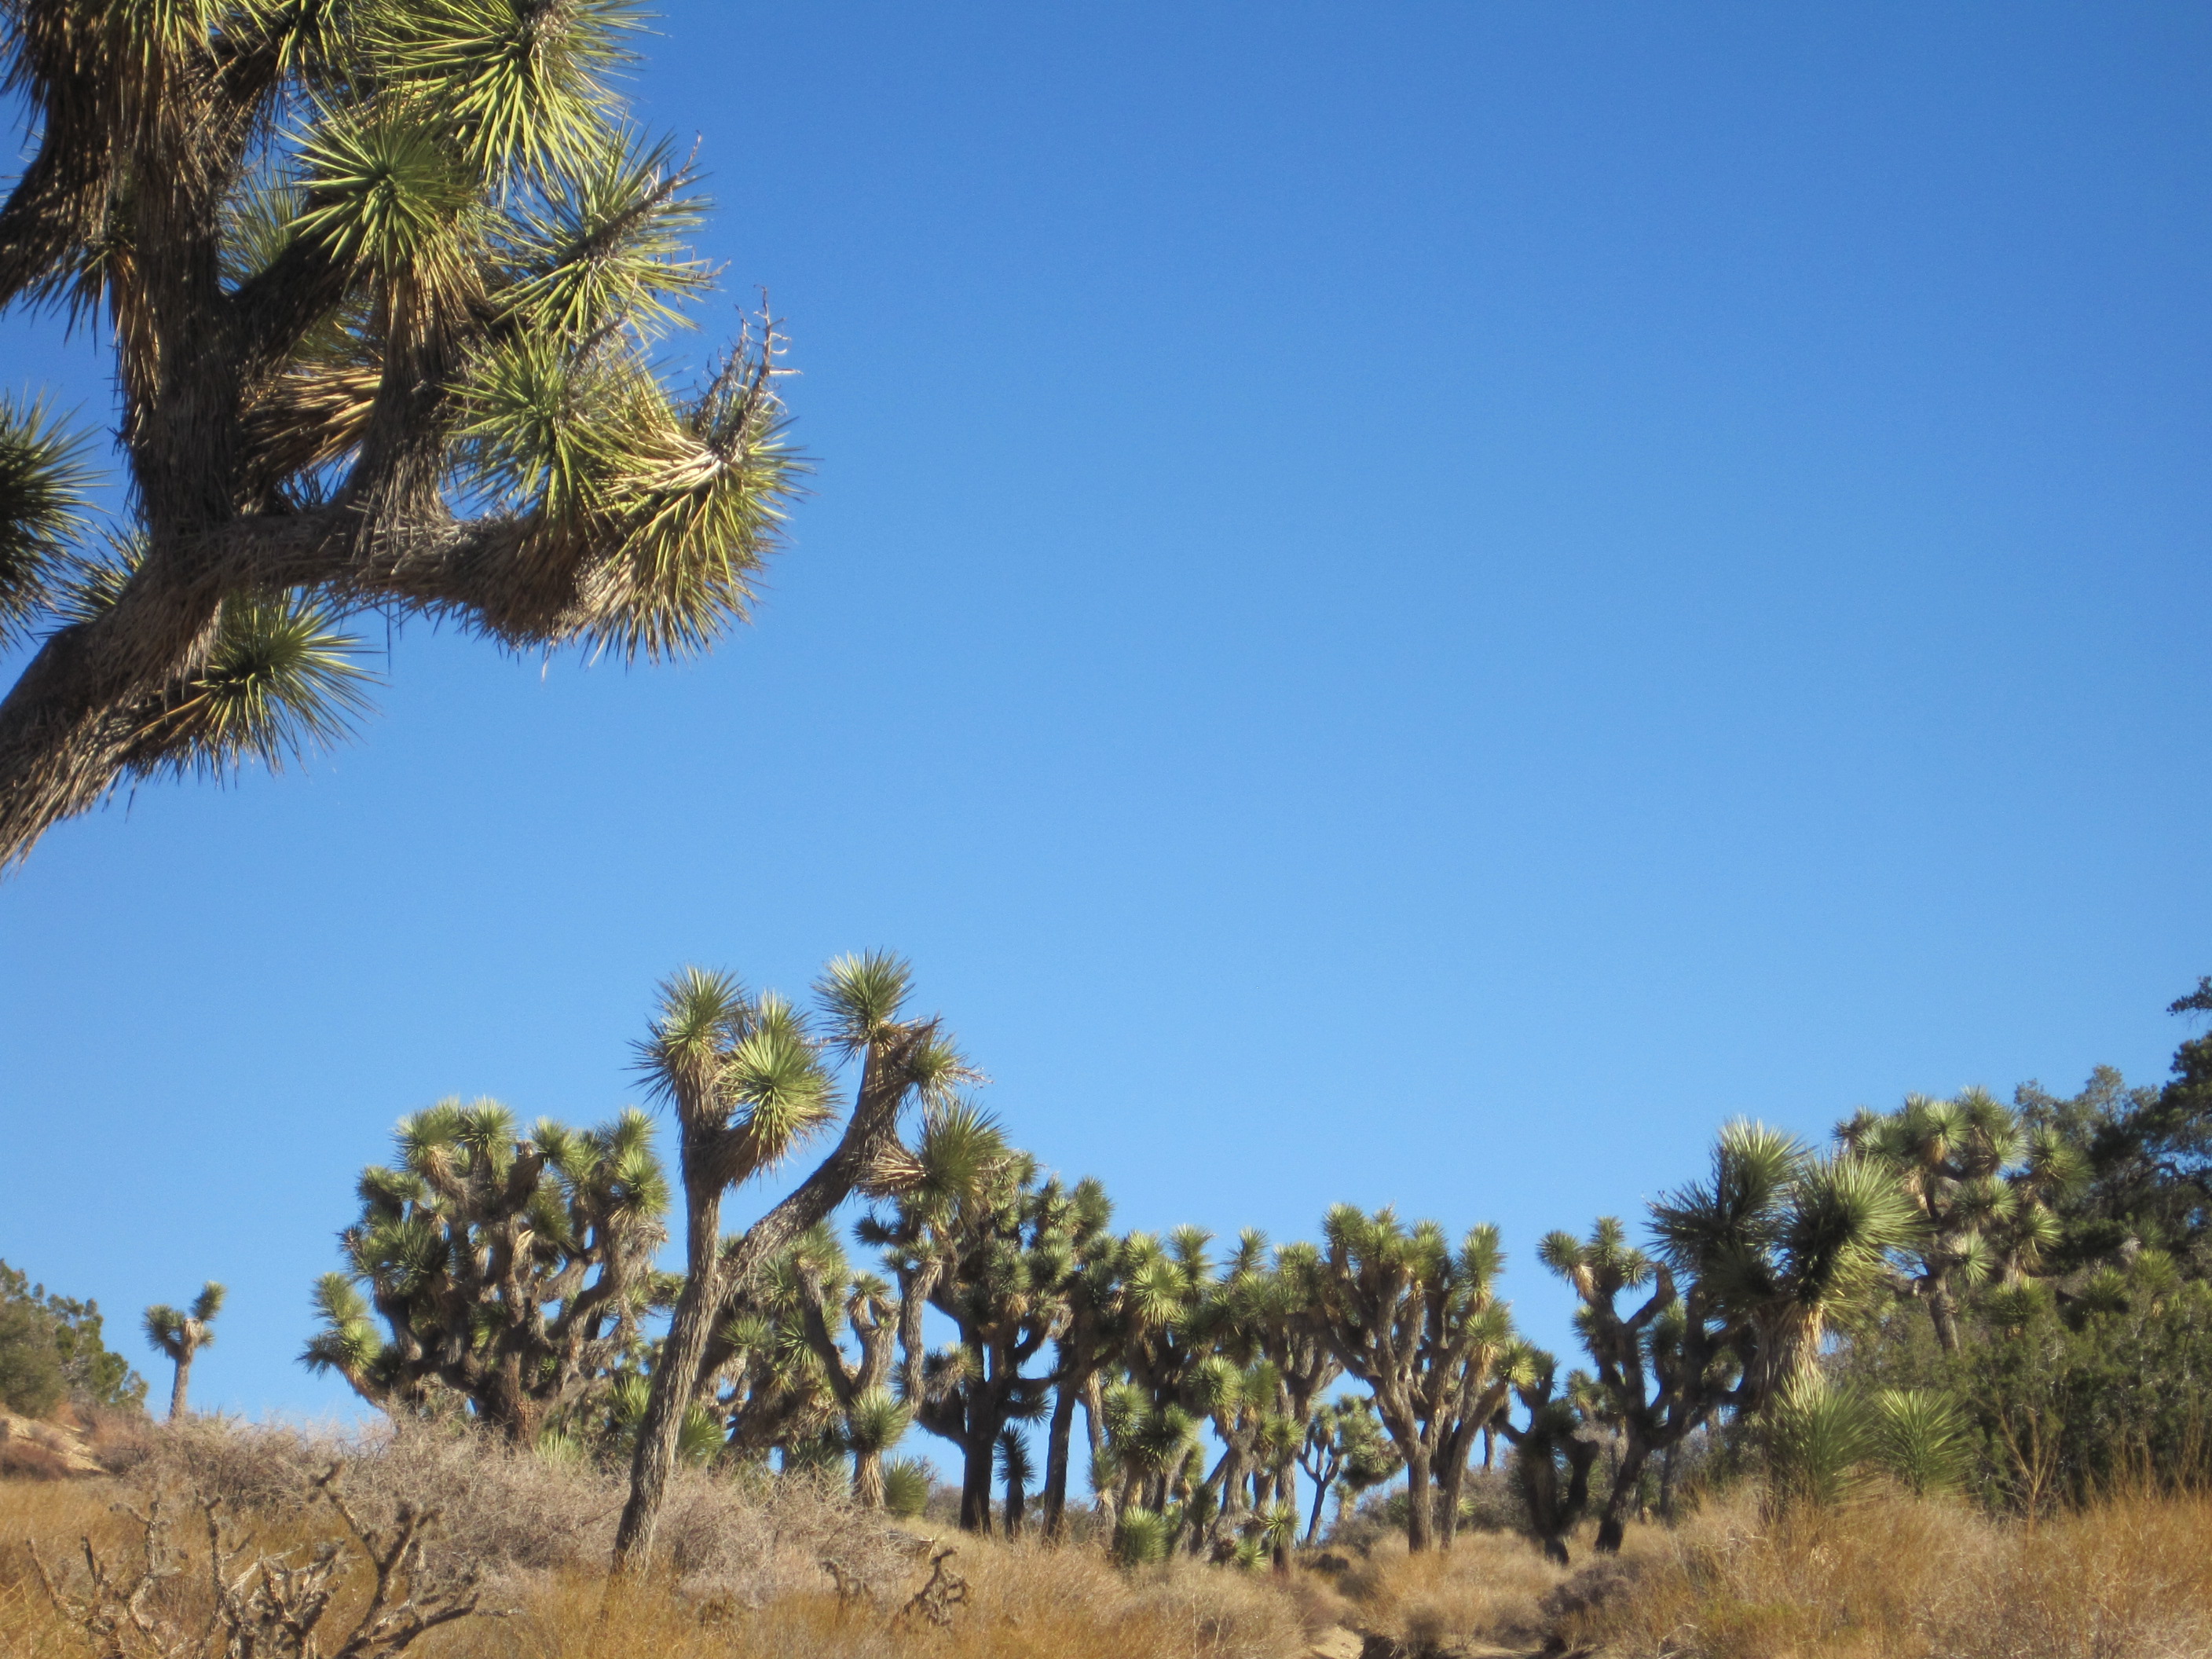
 Back up in the high desert the terrain is covered by a cast of thousands. Main players are Joshua Tree, Scrub Oak, Juniper and Pinyon Pine.
Gear
Today many people think that backpackers in the 70’s and 80’s carried heavy loads — 50, 60 or more pounds. Not true. My normal three season base weight was always less than 20 pounds. This was for short and long trips. The gear I took on this trip was pretty typical of what I used during most of the 70’s. Actually I took more in the way of clothes for this particular trip, taking clothes that would keep me warm in temperatures below freezing, which was not as cold as it would get. But I wanted to determine what my actual 1970’s base weight was. Back in those days I only weighed the total pack weight (not base) and it was almost always less than 40 pounds including food, water and fuel.
Pack Base Weight = 18lbs, 4.99 ounces
Consumables = 14 lbs, 0.16 ounces (1 gallon water, 6 lbs food, 14 oz fuel)
Total Pack Weight = 32 lbs, 5.15 ounces
Worn/Carried = 6 lbs, 11.30 ounces
Total Weight from the skin out (FS0) = 39lbs, 0.45 oz

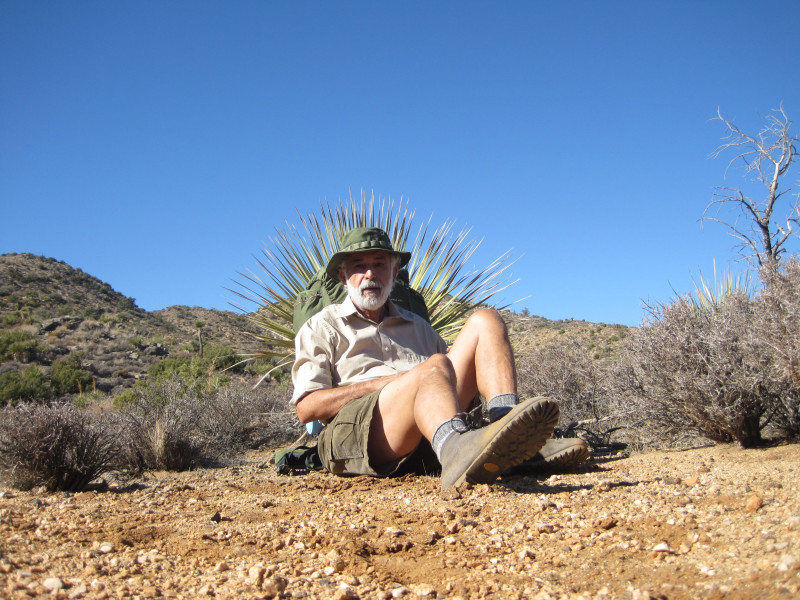
I am not abandoning my McHale packs. The are by far the best backpacks I have ever own. But it is fun to occasionally dig out the old gear and take a nostalgia trip like this one. One advantage of an external frame pack is that with a walking staff it makes a great seat.
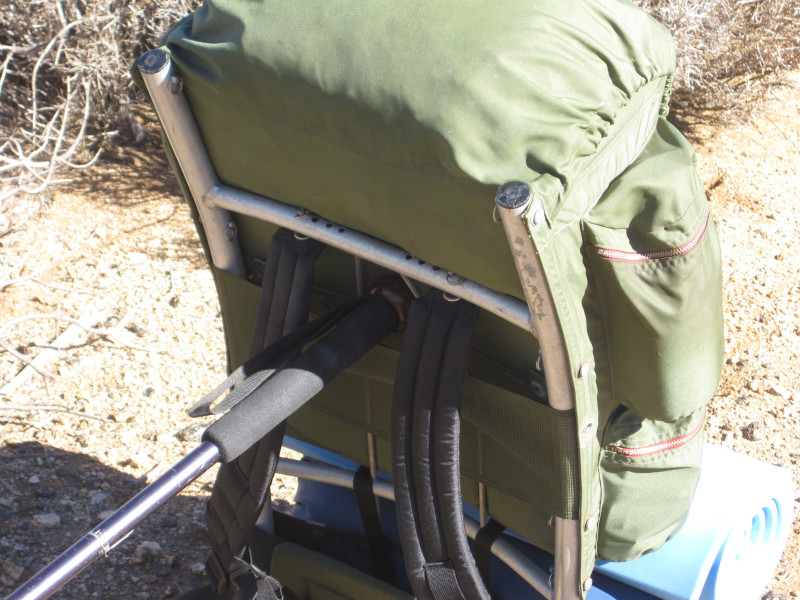 Propping up the pack with a walking stick.
 Pack is now converted into a back rest. Also the external pockets are convenient for getting needed rest stop items.
 Find a well placed rock and your night camp has a perfect headboard with convenient storage. Sit up and you can cook right in bed.
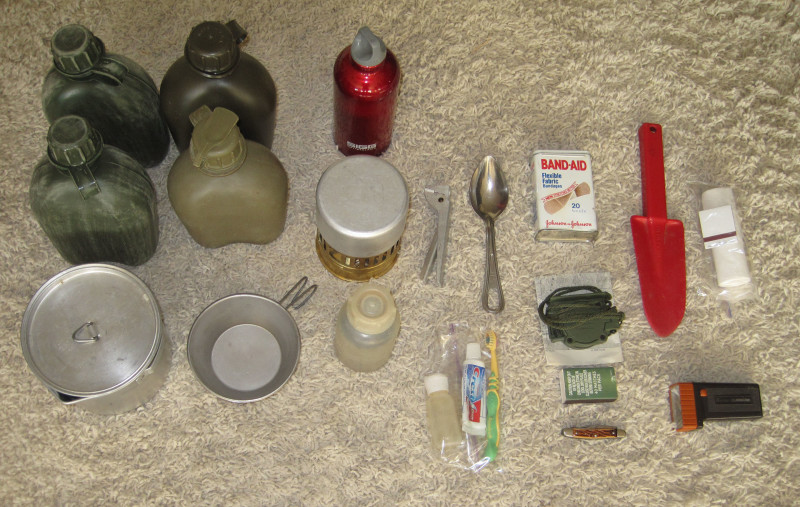 Kitchen and Utility Gear. (Left to right, and top to bottom)
CANTEENS, SIGG FUEL BOTTLE, SVEA 123 STOVE, POT HOLDER, SPOON, LENSATIC COMPASS & MAPS, WATERPROOF MATCHES, KNIFE, TROWEL, TOILET PAPER & MATCHES, 1 QUART POT, SIERRA CUP, COFFEE CONTAINER, TOOTH CARE & SOAP, FIRST AID KIT IN METAL BAND-AID BOX, FLASHLIGHT.
Colonial 3-Blade Jack Knife

Weighs 1.31 oz and is abo ut 3 inches long. Has three blades. Bought it in 1971 for a couple dollars. Still in excellent shape and the blades are sharp. Made in the USA.
Duracell Flashlight
Actually I bought a couple of these in 1985. I had been using plastic Mallory
flashlights that broke after a year or two. So I bought two of these Duracells expecting the same results. Both are still working!
Sierra Cup
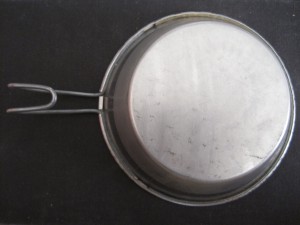
Wonderful invention. Although there are no measurement graduations, and is easy to tip over. But you can drink hot liquids out of it without burning the lips. The handle can hang from all kinds of attachment points.
Notice how the wire handle wraps around the cup and the top of the cup is rolled over the wire effectively insulating the lip.
First Aid Kit
I had forgot I had this. The band-aids were all stuck together, so I replaced them. Above the band-aids are Moleskins for blisters. Haven’t used them in years. Left bottom is a Chouinard Expedition Sewing Kit.
Clothes and Other Gear in Pack
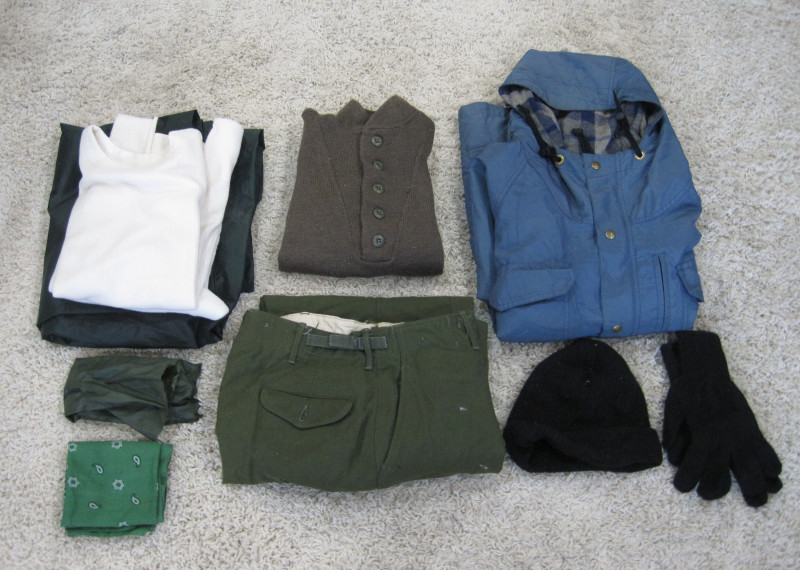 Left to Right and Top to Bottom.
COTTON LONG JOHNS (ON TOP OF PONCHO TARP), WOOL SWEATER, REI 60/40 MOUNTAIN PARKA, TENT STAKES IN BAG, WOOL TROUSERS, WOOL WATCH CAP, WOOL GLOVES, BANDANNA.
It has been decades since I used cotton base layers and I had forgotten how nice and comfortable they are to sleep in. The REI Mountain Parka is water resistant. For serious rain, I use the poncho.
Gear Worn and Carried
Boonie Hat, Pivetta Boots, Corduroy Shorts, Plain Cotton/Polyester Shirt, Wool Blend Socks, Tracks Hiking Staff.One think about Pivetta boots is they need little breaking in. There is padding between the outer and inner leather. The outer is one piece leather. Because they are constructed with a Norwegian welt (time consuming and expensive), the soles are narrower than most other leather boots. I quit wearing corduroy shorts in the 80’s, switching to lighter nylon. After this trip, I am going to reevaluate that decision. The wide leg openings allow them to breath well and they are much more comfortable when sitting on rocks or hard surfaces than nylon. I purchased the staff in the 80’s also. In the 70’s I usually hiked with a Yucca staff.
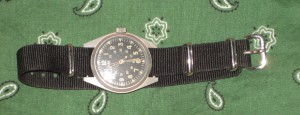
Military Watch
I wore my military issued watch until the 80’s, replacing it with a battery operated unit. This one still keeps extremely accurate time. Just need to remember to wind it up every day. The band is not original.
