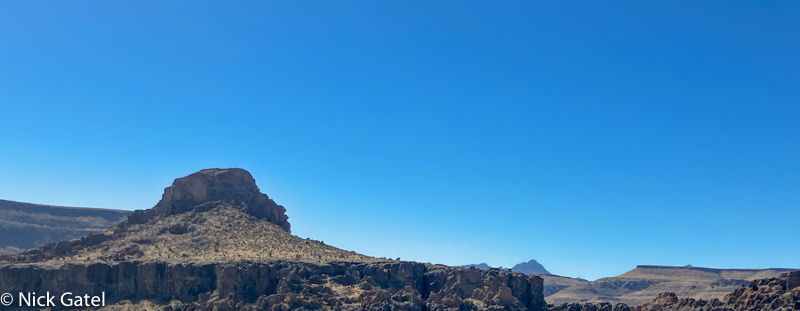
After two weeks in the Sequoia National Forest we packed up for the second leg of our month of camping.
We still had over 50 gallons of fresh water on board. After hooking up the trailer to our truck, we drove a short distance to a water spigot in the campground and topped off the fresh water tanks. To off-load our black and gray water holding tanks, we had to drive about 30 miles to a dump station in the town of Isabella. We also stopped at a super market to get some fresh vegetables and other food items. A final stop, at a gas station to fill up the Ford F-250 and one of our propane tanks, completed our pre-trip tasks.
Destination: the Mojave Desert about 300 miles southeast of our first campsite.
Weather
Because I started this two-part trip report with a reference to the Weatherman, might as well provide a weather report. Our Mojave Desert campsite was at an elevation of around 5,000 feet. Daytime highs started in the 80s and gradually dropped down into the 70s by the end of our time there. The nights were cool and we had to wear jackets and long pants when sitting outside. Perfect fall weather.
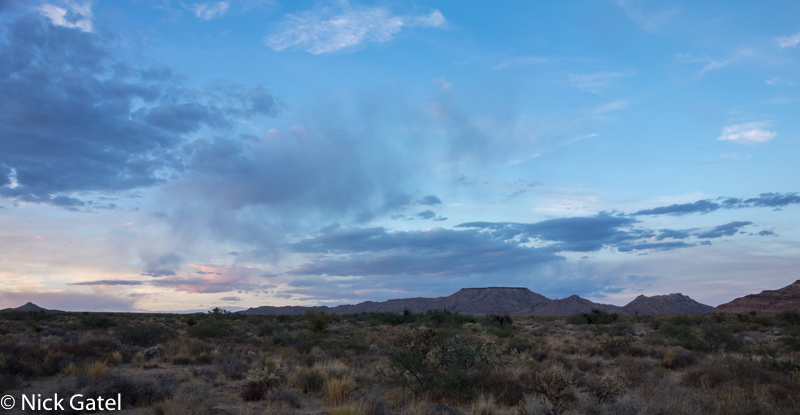
As is typical in deserts when camped near mountains, scattered daytime clouds lead to pretty sunset pictures, but the clouds clear in the early evening encouraging nighttime stargazing.
Campsite Setup
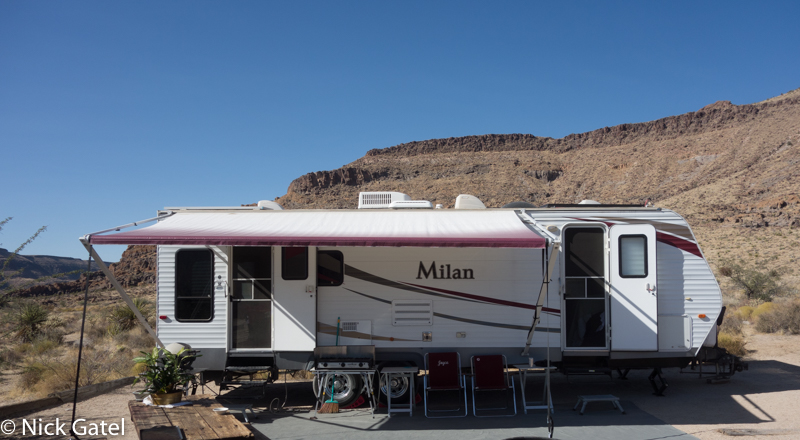
We have done this a couple thousand times and have gotten organized and efficient over the years. Usually takes us an hour from the time we unhitch the camper until we are all set up and sitting outside in our ZipDee chairs. Here’s a link to a post about how I replaced the fabric on these wonderful ZipDee chairs.
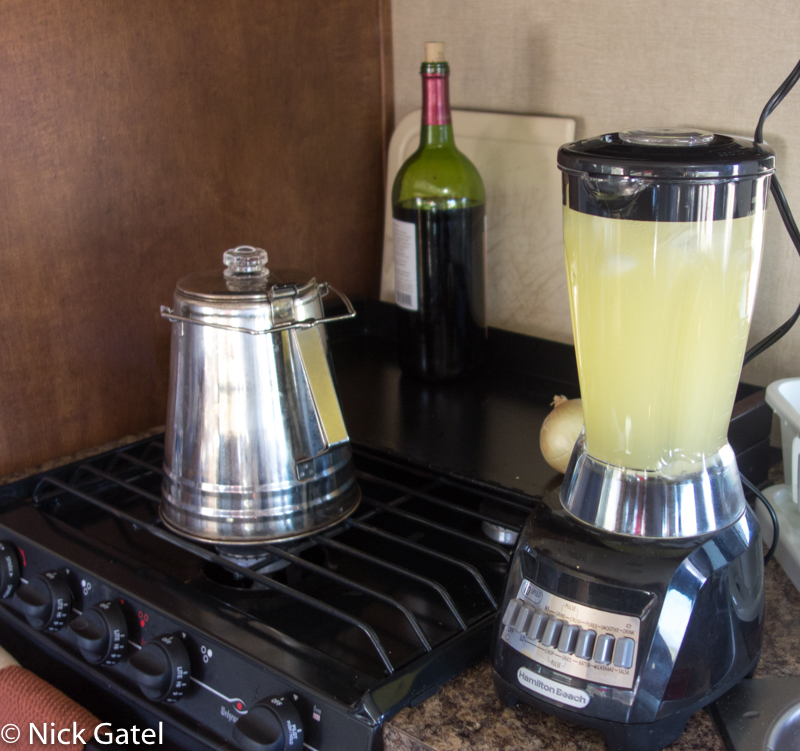
Often times, especially in warm weather, Joyce will make some blended Margaritas to “celebrate” the campsite set up 😉
Camping Activities
As we get older we appreciate the learned skill of just sitting and observing the environment around us. I can sit for hours and enjoy the views, and often supplement the time with binoculars.
Exploration
Camping isn’t just sitting in a campsite. Pick the right place, far from civilization and there is much to see. A great campsite is close to trails or open spaces that can be traversed by simple cross-country walking. Our campsite had all of this. Not only this, but the area has many dirt roads that beg for exploration.
The Old Spanish Trail and the Mojave Road
Upon our return home I got a subscription email to my friend Paul’s blog about a trip to the Old Spanish Trail. How timely! So Paul and Joan were on the Old Spanish Trail at the same time as us.
This 700 mile trading route connected Santa Fe, New Mexico to Los Angles, California. In 2002 Congress designated the trail as part of the National Trails System as the Old Spanish Historical Trail. This ancient trail passes through the Mojave Desert, and the Mojave section is commonly known as the Mojave Road, which today can be traveled by 4WD vehicle, horse, or even foot (water is an issue for walking).
The Mojave Road
Also known as the Old Government Road or Mohave Trail, this mostly dirt road starts near the Colorado River north of Needles, California at the Old Fort Mohave and mostly traverses the Mojave Preserve for nearly 150 miles. Today a 4WD vehicle is needed to drive the entire road, as most of it is not maintained.
There is much to see along the Mojave Road, if you take the time to walk away from the road and explore.
Note: Both Mojave or Mohave are correct spellings. I have used both where the most common spelling is used for different descriptions.
Astrophotography
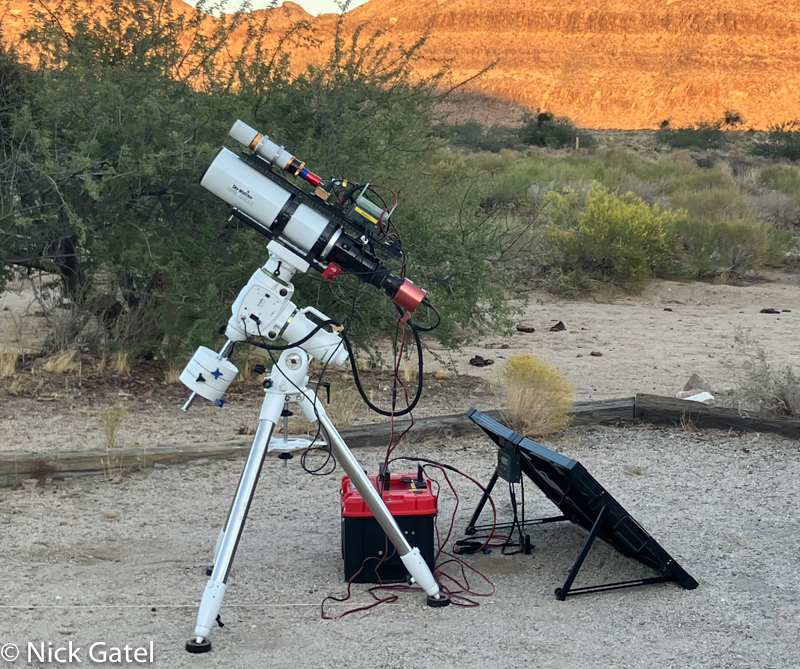
The second day I set up my telescope, mount and astrophotography equipment. Given our remote location I was comfortable leaving everything set up outside our camper, even when we were away from the campsite. The equipment stayed outside for the remainder of our visit to the Mojave Desert.
I need to mention that Joyce isn’t interest in astrophotography, although she enjoys seeing the finished product of my work. Like most people, she is fascinated with the night sky, but not into studying astronomy. At first glance, one might think it is unfair for me to engage in taking pictures of the night sky while we are together alone. However this isn’t the case. Let me explain . . .
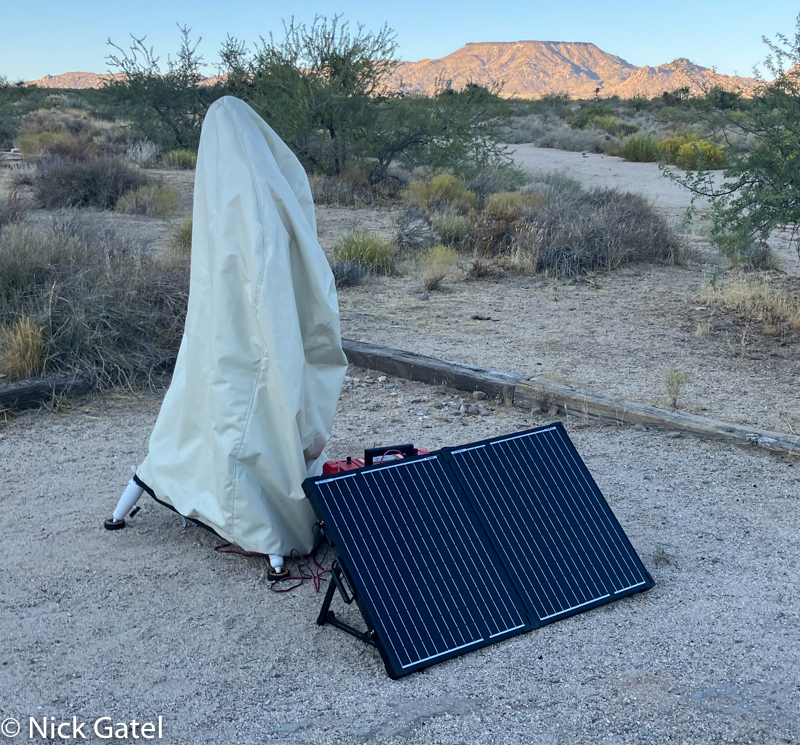
Once my equipment is set up, taking pictures is really a remote thing. The telescope has a mini PC mounted on it. Each night I remove the telescope cover, remotely connect to the mini PC with my laptop (or iPad) and select a target to image. Then I instruct the software to start at astronomical dusk and end at astronomical dawn. After clicking the Start button, the entire process is automatic. Nothing else is needed for me to do. May a total of 5 minutes to start the process. Then each morning I wirelessly transfer the pictures from the mini PC. After the files are transferred, I remotely shut down the mini PC, turn off the power to the equipment and cover the telescope and mount with a waterproof cover. The battery is then charged during the day with a solar panel.
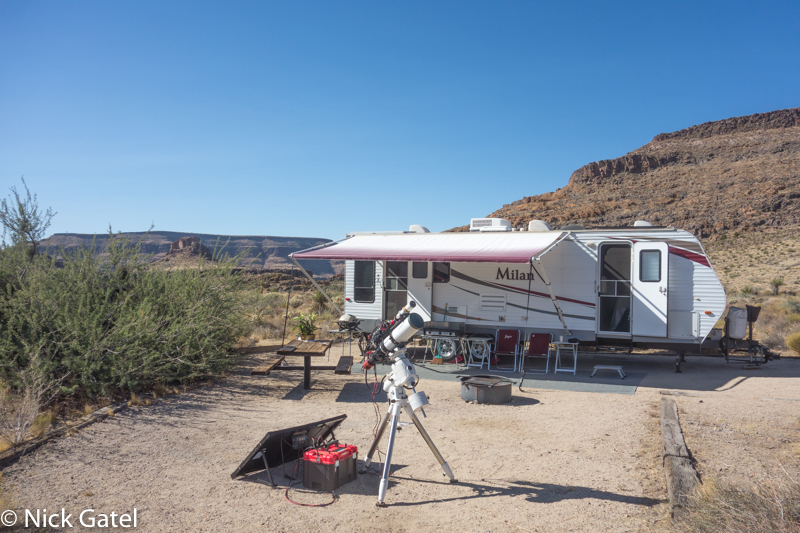
A post on how I assembled the remote power kit for the telescope, my remote power set up for the equipment.
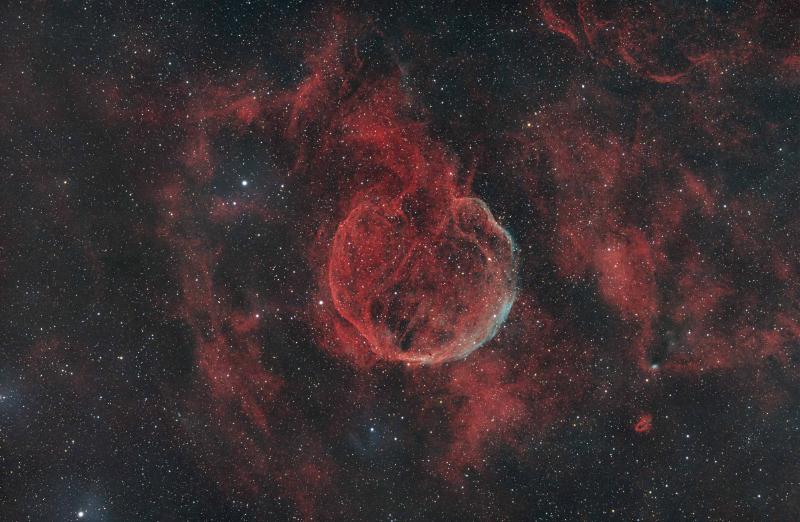
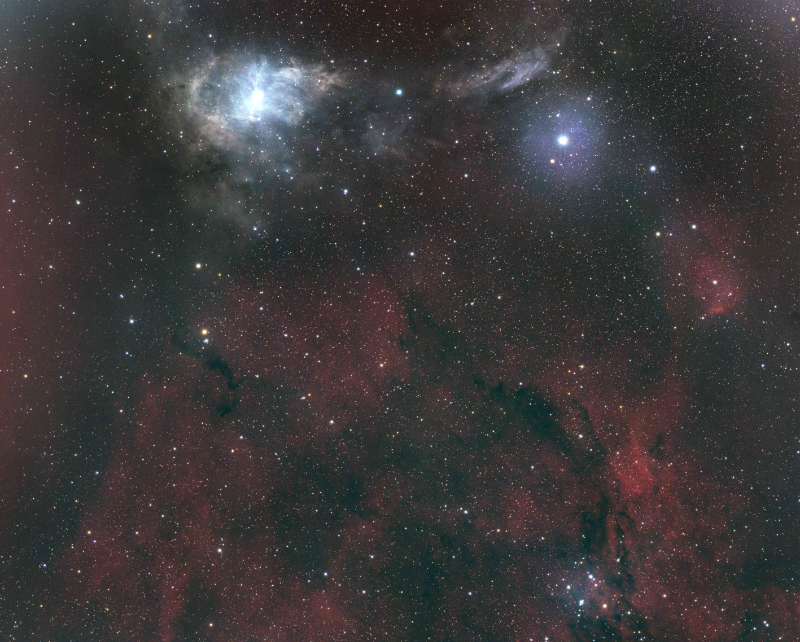
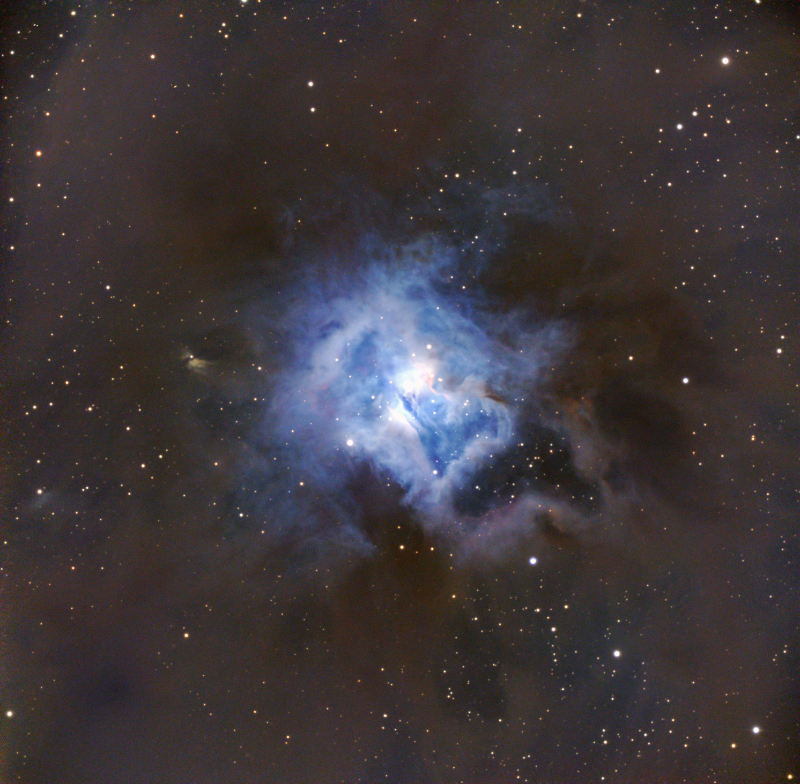
Since I am taking pictures of deep sky objects that are trillions of miles away, it is necessary to take a series of pictures of a target, then stack these individual pictures into a final single image. This is done with software once we return home.
Astrophotos from Our Camping Trip
Time to plan our next trip. Stay tuned . . .
