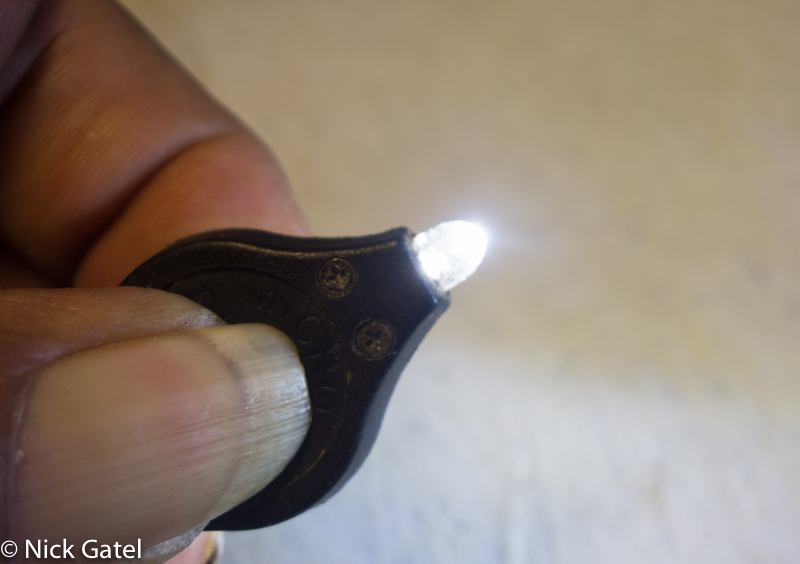
How to Replace Photon Micro-Light II Batteries
Back in June I presented my Headlamp Buyer’s Guide. One of the lights I have been using for ten years is the Photon Micro-Light II and in the guide I recommended not trying to replace the batteries in the field.
These little lights retail for around $12 and are sturdy. They last a long time, only weigh ¼ ounce (7 grams) and are a favorite of many hikers. Most people I know who like these lights just throw them away when the batteries are dead and buy a new once. Some don’t even know the battery can be replaced.
For some battery replacement might seem difficult, but then most people don’t fix their toasters, cell phones, or Blu-ray players (yes, I have fixed each of these). It’s our conspicuous consumption throwaway society. So why throw away a Photon II and spend 12 bucks for a new one when you can do a battery replacement for under $2?
I’m going to show you how to perform a battery replacement.
Which Battery?
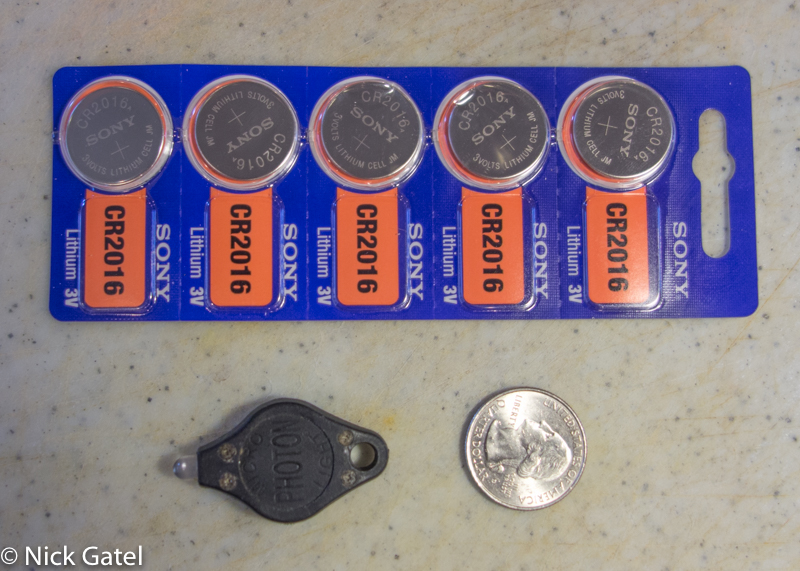
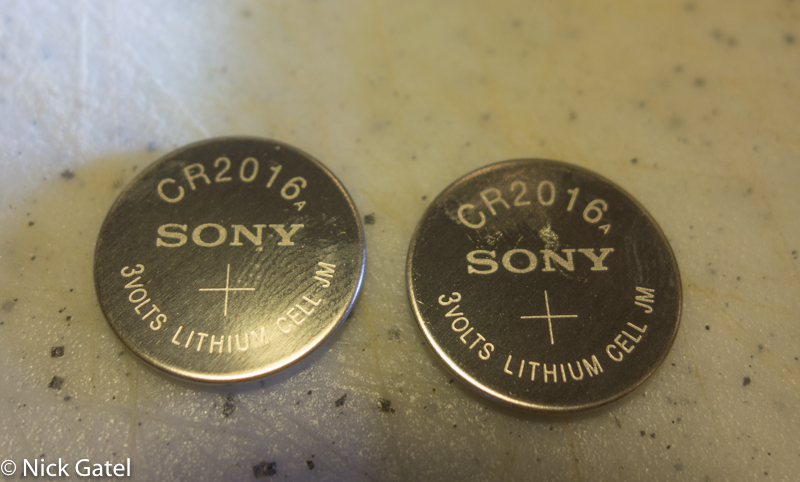
Before you replace the battery you need to know what battery to buy, and this is weird: the Micro-Light II uses two different batteries depending on what color LED light you have. The most common is the white light and it requires two CR016 batteries.
The White, Green, Turquoise, Blue, and Purple beam color lights all use (2) CR2016 batteries.
The Red, Orange, Yellow, and Infrared beam color lights use just one CR2032 battery.
CR2032 batteries are easy to find in stores, CR2016 not so easy. Since I have a white light, I went online and bought a 5 pack for $3. It was time to replace the batteries on the two lights on our car key fobs, and I had one battery in stock.
Pre-Work
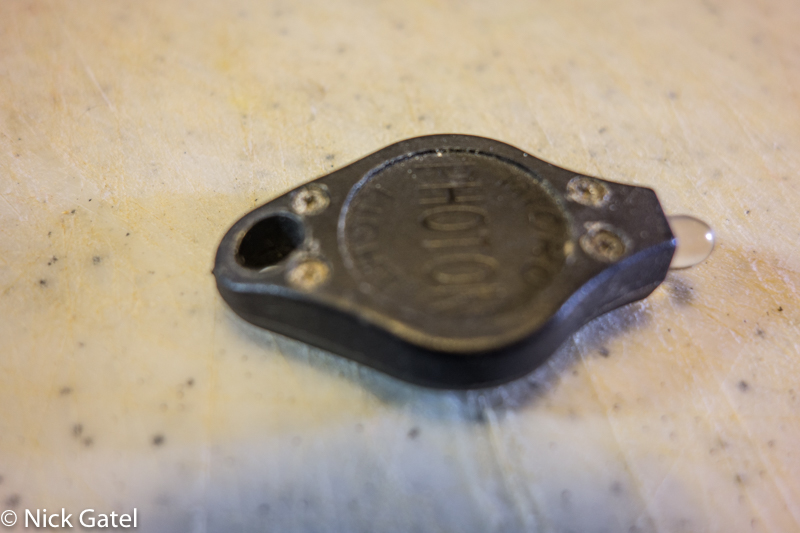
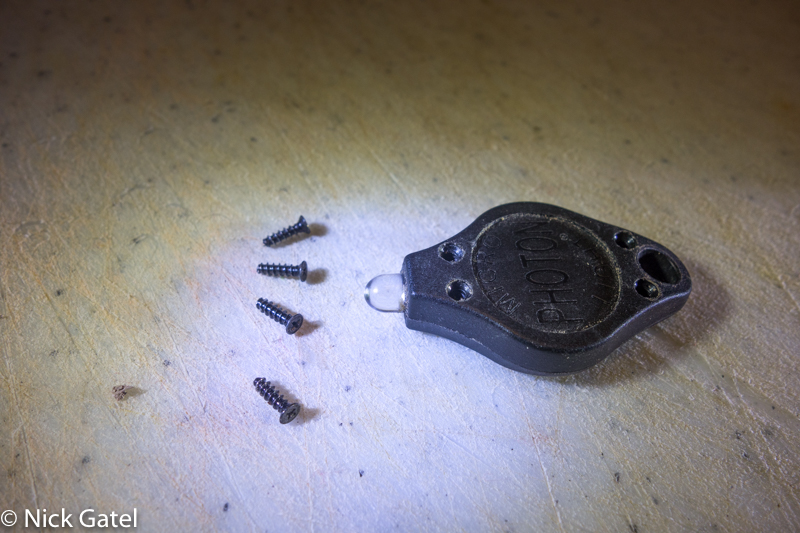
You will need to remove 4 tiny screws on the back of the light. It is more than likely the screw heads are caked with dirt and grime if you use it a lot for backpacking.
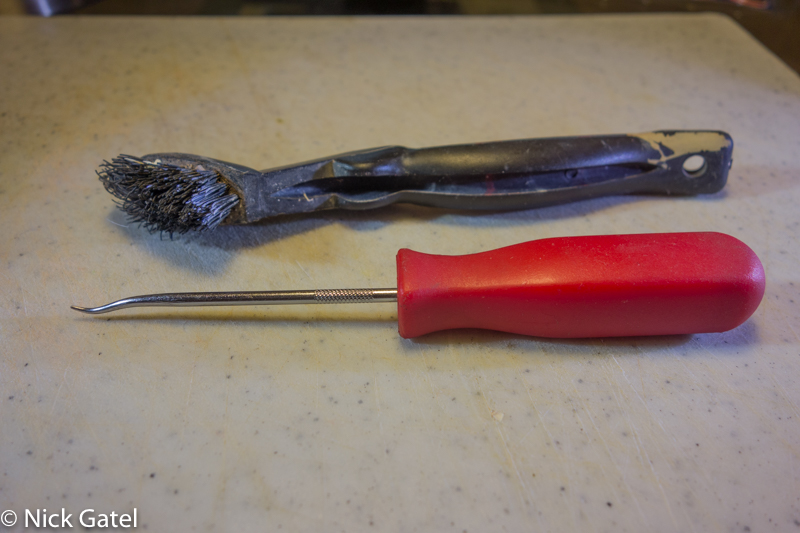
So you need to clean it. Here’s a tip – often difficulty in removing a screw is due to debris in the slots that does not allow the screw driver to fit properly in the screw, resulting in a damaged screw head and sometimes not being able to remove the screw without some machine work. So clean the heads first.
A small wire brush and a pick will clean the screws nicely.
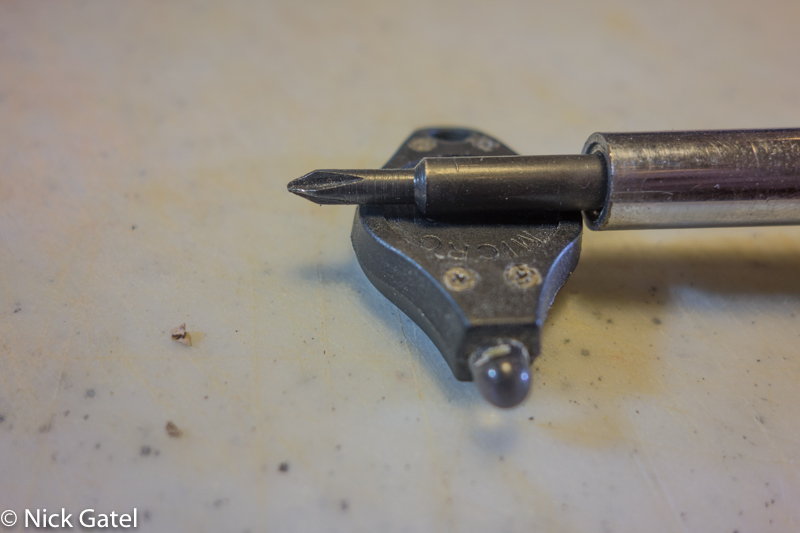
You will need a #0 Phillips head screw driver. You might have a #2. You probably don’t have a #1 either. A #1 or a #2 won’t work.
A magnetic screw driver is a big plus!
Step 1: Remove the 4 screws from the back
You want to work on a large, clean surface. There are several small parts that can easily be lost in those invisible black holes in your floor.
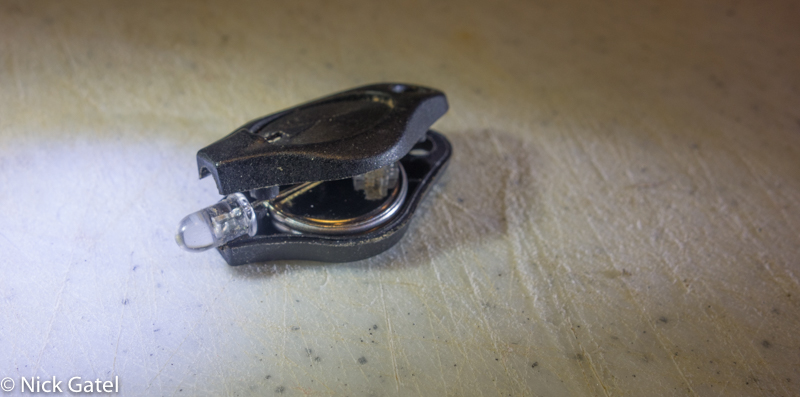
Step 2: Separate the two halves
This is really easy if you follow these instructions. Holding the bottom half (the side you took the screws out of), lightly press down on the LED bulb. It will separate easy. Trying to pry the light open won’t work well.
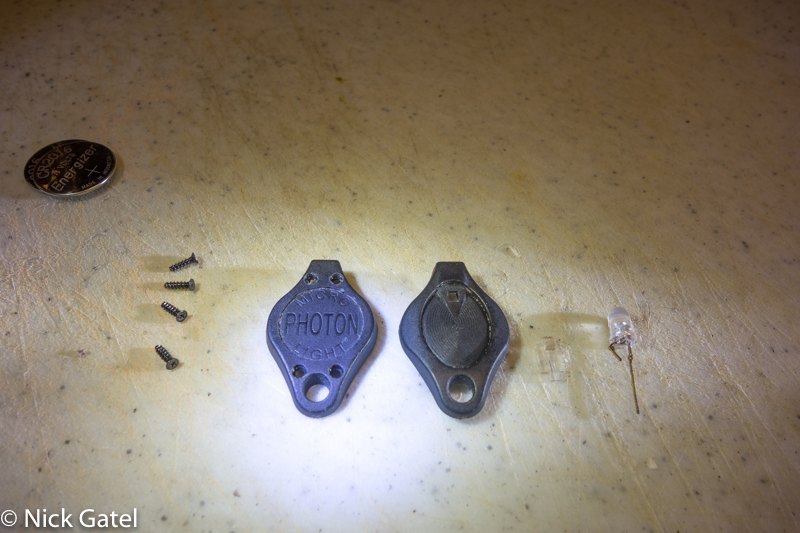
Step 3: Lay out all the parts
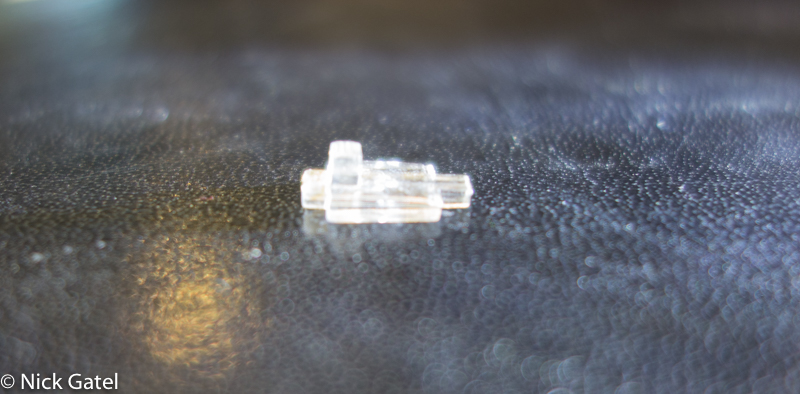
Left to Right: Old batteries, screws, bottom, top, switch, LED bulb. Be gentle with the LED light’s wires, you don’t want to bend them. You can barely see the switch in the picture, so here’s a close up below.
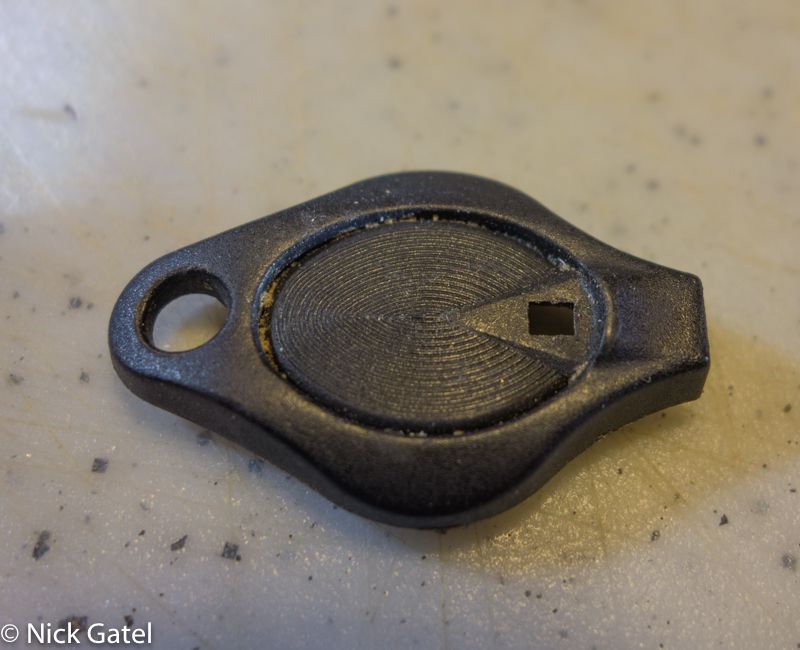
Notice that the top of the switch has a small tab sticking up. This tab fits into the top half of the light assembly.
The tab of the switch will be set into the square hole in the top half of the light assembly.
Step 4: Assembly
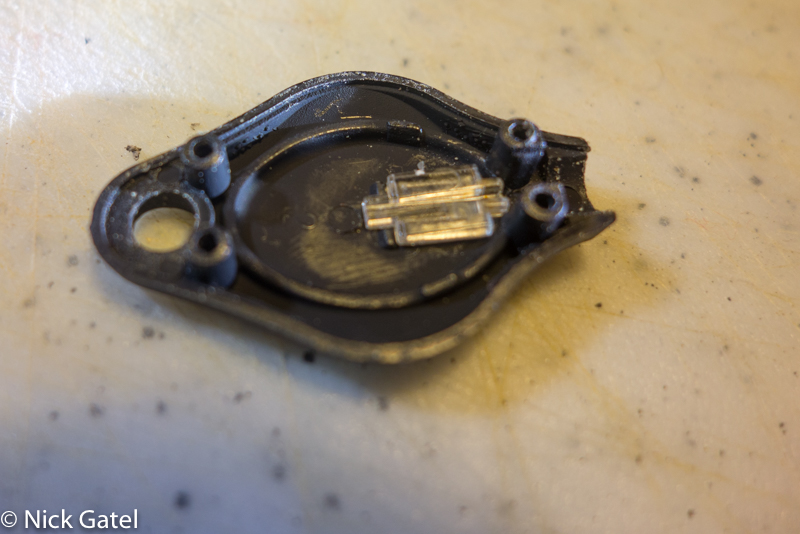
Lay to the half on your work surface with the outer side facing down. Now place the switch into the top half as shown below.
There is a small groove in the switch, and the long wire on the LED light will lay in that groove. If you haven’t bent the wire, it will pretty much fall into place. But we aren’t ready for that right now.
Get you batteries and place both of them on the work surface.
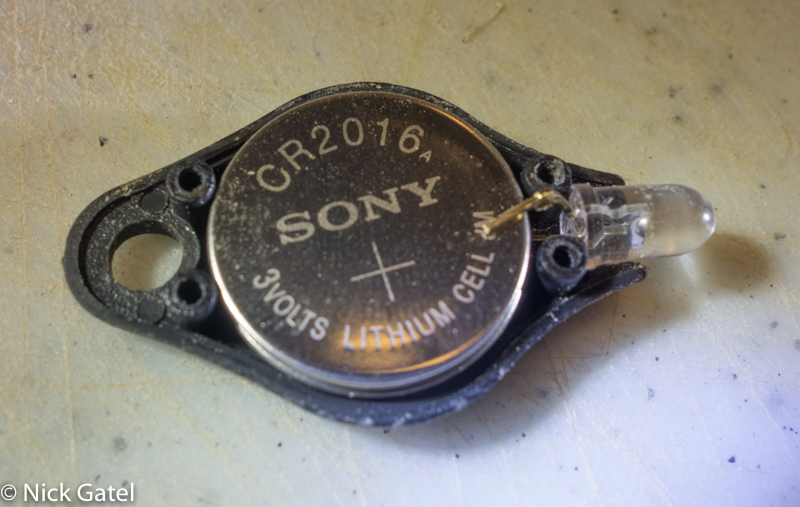
Make sure both are batteries are placed with the + side up. Now place one of the batteries on top of the other. Both batteries will have the + sign pointing up.
Now you will place the two stacked batteries between the wires of the LED light.
The long wire will be on the bottom of the stack, and the short wire on the top of the stack (the + side).
Now gently placed the batteries and light into the base.
The bottom of the LED light needs to be to the right of the screw holes as shown in the picture above. If you place it in the correct location it will fit easily and snug. Notice that the positive (+) is point up. If you reverse the batteries the light won’t work (e.g. both positive sides facing down). The LED light needs the correct polarity.
Place the bottom of the assembly on top of your work.
Now insert and tighten (not too tight!) the 4 screws. A magnetic screw driver makes this super easy.
Note that the screws aren’t as visible as in earlier pictures: that’s because I cleaned them before starting the replacement process.
Don’t worry if the light comes on during assembly. If you follow instructions and don’t bend the LED light wires everything will work properly once the screws are tightened.
Step 5: Test you work
The light should come on when you squeeze the light body. It should turn off immediately when you release pressure. Should the light stay on or is slow to turn off, you probably bent one of the LED light wires.
Other Thoughts
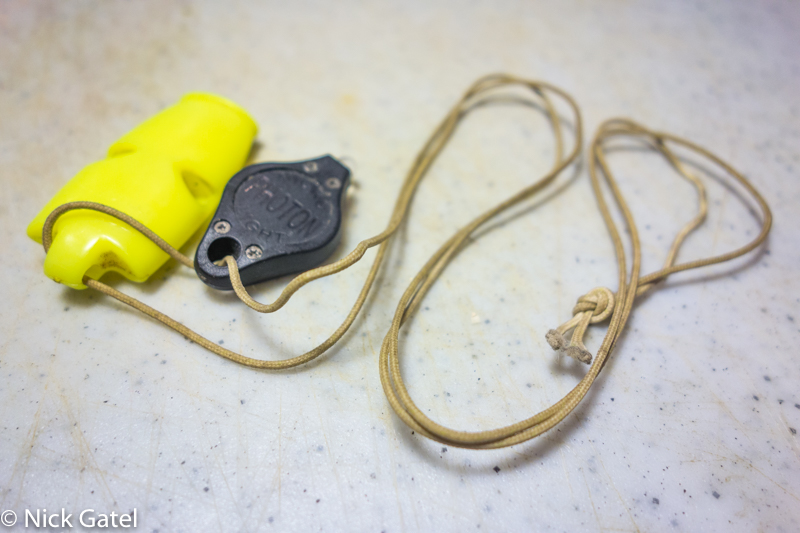
When I use one of my headlamps on backpacking trips, I store it in one of my shoes while sleeping so they are easy to find during the night. These little Photon Micro-Light II units can be extremely easy to lose in the field. My light is on a lanyard along with a whistle. I really don’t need the whistle, but its bright color makes it easy to find if I drop or misplace it. At night I sleep with the lanyard around my neck… actually when I get to my night camp, I put the lanyard around my neck and it stays there until I pack up in the morning.
This website may be compensated for linking to other sites for sales of products. As an Amazon Associate I earn a small fee from qualifying purchases at no additional cost to the purchaser.

