Just got back from a camping trip.
We left early on a Sunday morning. On Saturday afternoon, as I always do before a trip, I filled our fresh water tank and then ran the hot and cold water to purge any air, and to fill the water heater so when it is turned on there is no damage done by trying to heat an empty tank.
When I turned on the water pump it was extremely noisy and then it quit pumping water. Crap.
On our last few trips, the pump was louder than normal, but then I was wearing my new hearing aids, so I had not been concerned now that I can hear well.
The Art of Diagnosing
I spent several decades as an automotive technician priding myself on my diagnostic ability and repairing things the first time. Critical to repairs is proving a part is bad before replacing it.
Getting out my digital voltmeter and amperage clamp, I then removed the kitchen cabinet panel for access under the sink, where the water pump is located. Steps would be to verify that the proper voltage was being supplied to the pump and then verifying the pump wasn’t pulling excessive amps. Low voltage would indicate an electrical problem. Proper voltage and excessive draw would mean the pump was probably bad.
But before replacing the pump, should it indicate a failure, I would want to remove it and test it on my workbench.
Turning on the wall mounted pump switch and placing my hand on the pump motor, I could feel the pump turning at a fairly high speed. Indicating a possible bad pump. However it was 3:30PM and we needed to leave first thing in the morning. So I decided to see if I could even buy a pump on a Saturday afternoon. Google, as usual was my friend.
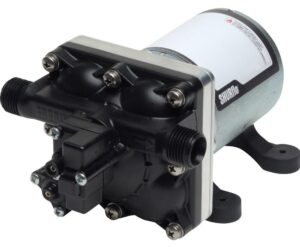
Nope, no pumps available close by. But the Camping World website showed the direct replacement of my Shurflo Revolution sells for $83.19. I have always been happy with my Shurflo pumps and never had a failure previously. Given this one was over 6 years old, there was no reason to pick another model or brand. I figured Camping World should have them in stock and we could stop by one of three Camping World stores Sunday during a 250-mile route to our campground. Once I confirmed availability, I could complete the diagnosis.
Oh, oh, they all close on Sundays. Drat!
I called the nearest Camping World, a 110 mile round trip, to see if they had one in stock. Yes, they had several on the shelf and the in-store price for Camping World members is $119.99. I pointed out the huge discrepancy of $36.80 (44% more) compared to the Internet price and got a song and dance about middlemen.
To add insult to injury, Amazon had one for $73.23 with free shipping.
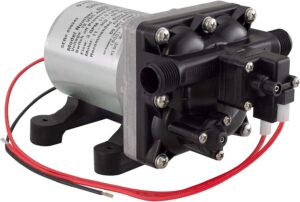
SHURFLO New 3.0 GPM RV Water Pump Revolution, 12V

This website may be compensated for linking to other sites for sales of products. As an Amazon Associate I earn a small fee from qualifying purchases at no additional cost to the purchaser.
Well, if I needed a new pump today, I needed to leave now, as it was almost 4PM and they close at 6PM. No time to compete my diagnosis.
The Old Pump Was Not Bad
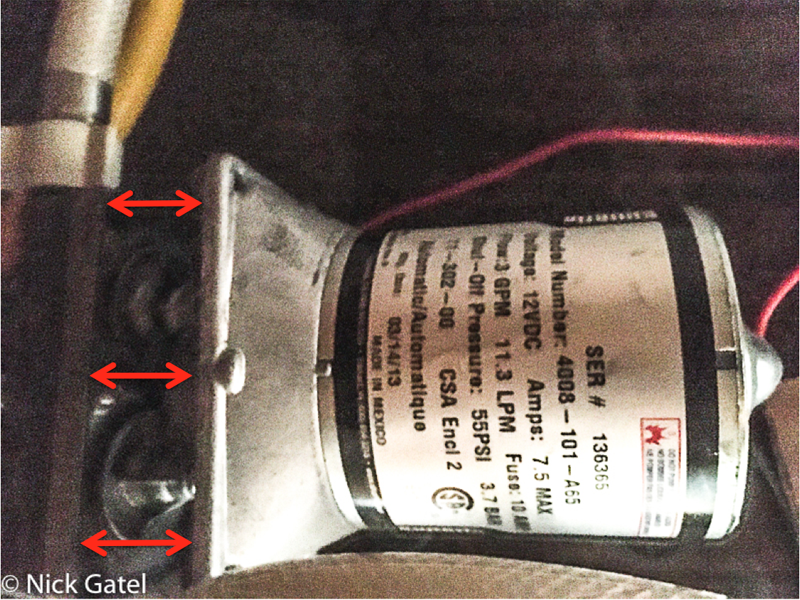
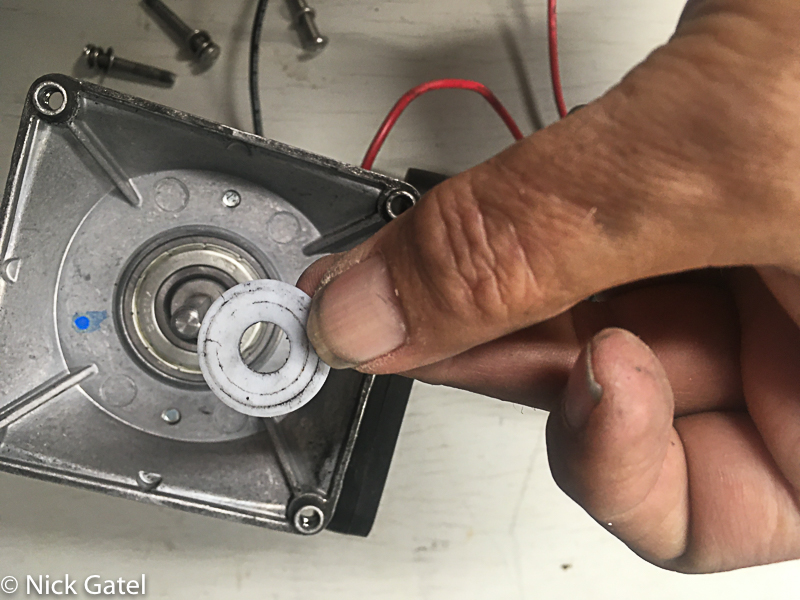
It was dark when I got home and I went to work. The replacement wouldn’t take long, although it was difficult to see everything with all the water hoses, accumulator, and electrical wiring under the sink. I quickly removed the hoses, then removed the four mounting screws that secure it to the floor of the camper. Pulling the pump out, the pump head remained – in other words the water pump assembly had separated.
Before searching for a new pump, I had taken a picture with my iPhone of the pump by reaching into the cabinet area to get the model number and didn’t notice the head had separated (see below). The red arrows show the gap between the head on the left and the pump motor on the right. The tension of the water hoses had held the pump head close to the pump so the separation wasn’t obvious.
Time was running out, so I installed the new pump and tested the system. Everything was A-Ok. I figured if the old pump could be repaired, I would put it together when we go back home and keep it as a spare.
Putting the Old Pump Back Together
The four screws holding the pump head and the motor had backed out of the assembly, and the thrust washer was on the cabinet floor. Even though the assembly is separated, the pump head won’t leak, which would be an indicator you have a problem 🙂

Note the blue caps are from the new pump to protect the threads.
Inspecting the screws I saw there was a little bit of “thread locker” on the threads, in addition to the lock washers. I cleaned the screws, and applied some thread locker.
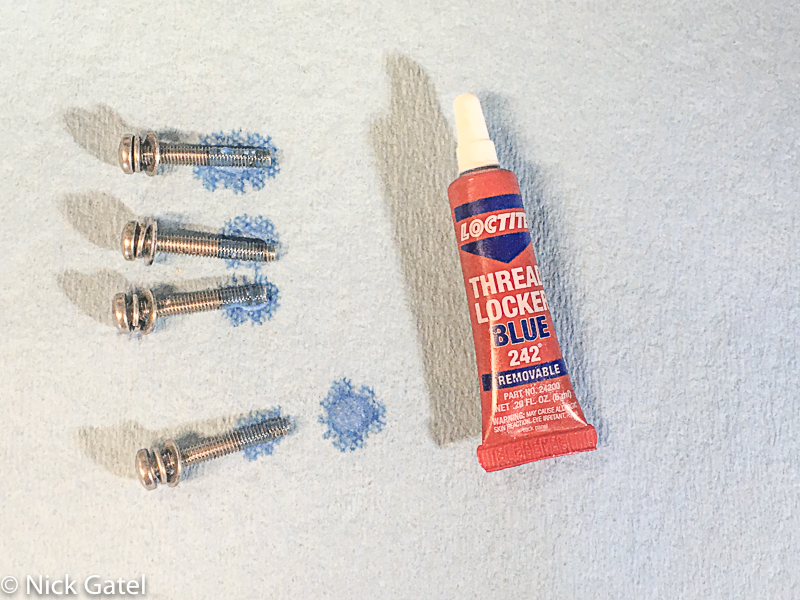
Loctite Threadlocker Blue

![]()
Next I inserted the thrust washer over the motor shaft, then assembled the parts with the four screws.
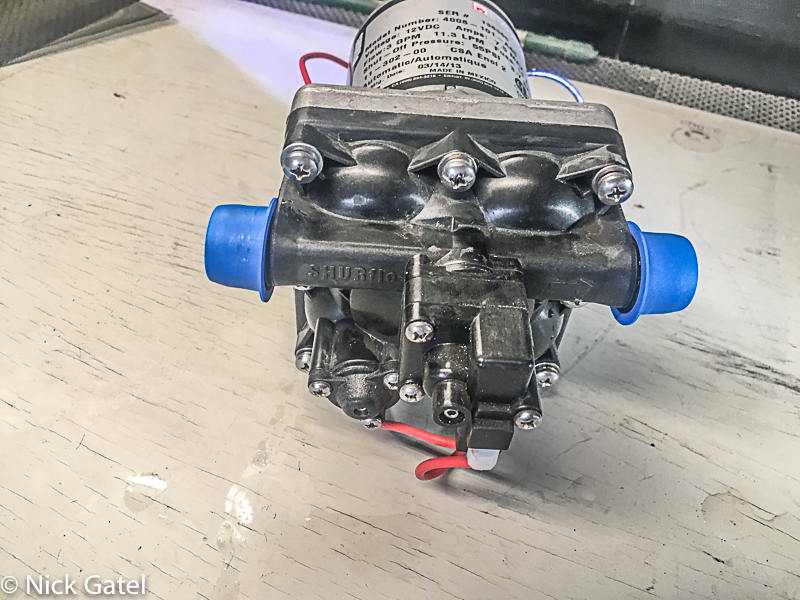
Once assembled, I hooked up a water hose with one end in a bucket of water, connected the wires to my truck battery and it pumped liked a champ.
And so, if your pump starts to get excessively noisy or quits working, check the screws first.