When I first started backpacking, eating was complicated. I didn’t have a backpacking stove (didn’t know that such a thing existed) and I cooked over a campfire. Simmering over a campfire wasn’t always easy, not to mention the difficulties when it was raining or windy. With a campfire or backpacking stove, food required preparation and oversight.

Adding a backpacking stove to my kit in the 70’s was a godsend. Click to see vintage stove article. Most of the food I took was dehydrated or of the instant variety; and a stove made it easy to bring water to a boil, add the ingredients, and simmer to taste. After a meal was finished, there were pots to wash. As you can imagine, hot meals were time consuming. But a warm meal, especially dinner, is satisfying on the trail.
Over the years my eating habits haven’t changed much. Instant oatmeal and coffee for breakfast; no lunch as I normally snack throughout the day on trail mix, crackers, chips, candy bars, beef jerky, similar non-cook foods; dinner is usually a hot meal with a cup or two of hot chocolate. Since my breakfast and dinner required cooking in a pot, it was most convenient to bring a pot (or two) and a cup.
My First Cook in a Bag Food
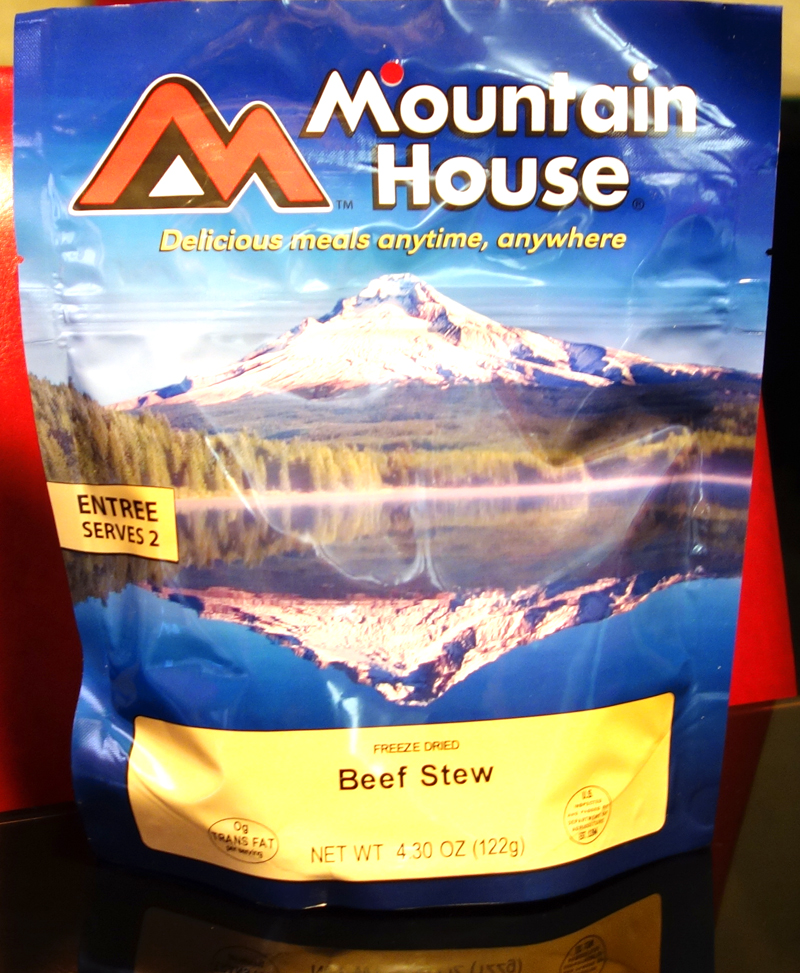
Many years ago I started buying Mountain House Freeze Dried food. Just add water to the bag, let it sit for 8 – 10 minutes and you can eat right out of the bag. However not everyone likes the taste of freeze dried food.
I liked most of the Mountain House offerings, although they weren’t inexpensive. Mountain House meals were not always readily available and I would take some sort of dehydrated or instant food for my dinners. Even with the freeze dried dinners I was still preparing breakfast using a pot for the oatmeal and a cup for my coffee.
Today a Mountain House double serving (really just enough for one backpacker) runs around $7 each. I still enjoy them and usually make them my dinner fare.
Freezer Bag
Then a few years ago I read about people who were cooking their food using freezer bags. The process requires boiling some water, adding the boiling water to the food in a freezer bag, letting it sit for a while (usually around 10 minutes) and the food would re-hydrate and cook in the freezer bag, just like the Mountain House Freeze Dried food. The advantage of freezer bag cooking over freeze dried meals is much lower cost, greater variety of food, less fuel used (not simmering), the hiker can even dehydrate their own food at home and control the ingredients, and the ability to leave all the pots at home. The water could be boiled in a large cup, and while the meal was “cooking” in the freezer bag the hiker could enjoy a hot drink in the cup.
Freezer Bag Meals Don’t Require Sophisticated Stoves
If a hiker is only boiling water for meals, a heavy liquid fueled or canister stove can be replaced with a much lighter alcohol or solid fuel (Esbit) stove. Click for Caldera Cone article or LiteTrail Titanium Solid Fuel Cook System article or Esbit Stove Shootout article.
By 2009 I had switched to alcohol and Esbit stoves for most of my trips, and started cooking meals using the freezer bag method. I even transferred my Mountain House Freeze Dried meals to individual freezer bags, saving packaging weight and reducing the volume the meals took up in my backpack, since the Mountain House meals are quite bulky.
An empty Mountain House package weighs 0.95 ounces (26.9 grams) versus 0.21 ounces (6 grams) for a 1 quart Ziploc freezer bag. Switching to freezer bags on a trip requiring 5 dinners saves 3.7 ounces. More importantly, it reduces the bulk as 5 meals in freezer bags are about the size of one Mountain House meal.
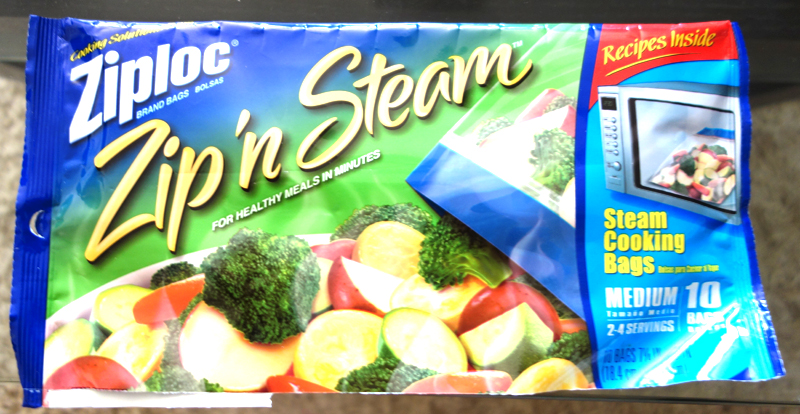
Since freezer bags are not designed for boiling water, some people are concerned that the water could release harmful materials into the food. Bad chemicals are not something I worry about, but an option is to use Ziploc Zip ‘n Steam microwave bags. These are designed for cooking, are easier to handle with a large top, and seem to cook better. But they cost more.
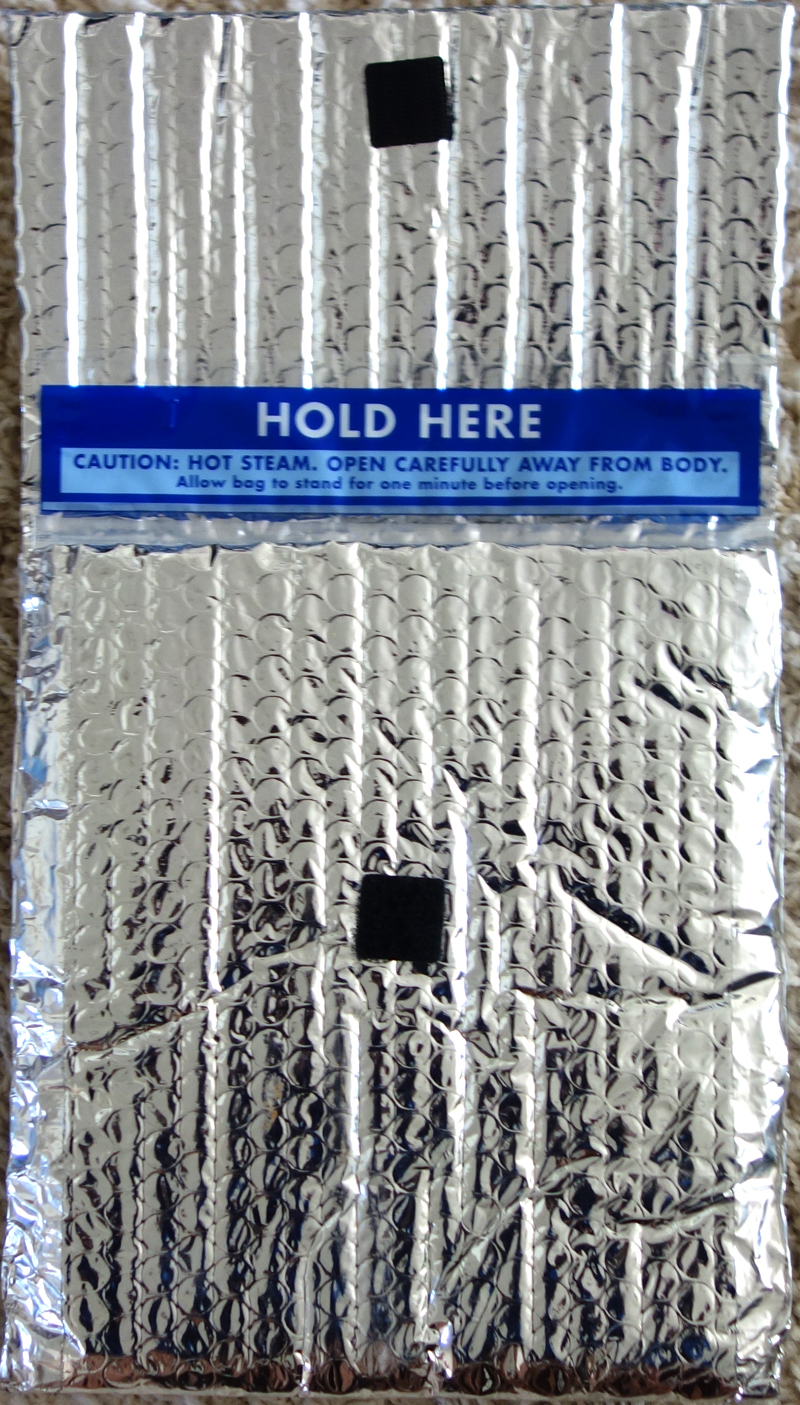
ZIPLOC ZIP ‘n STEAM BAGS
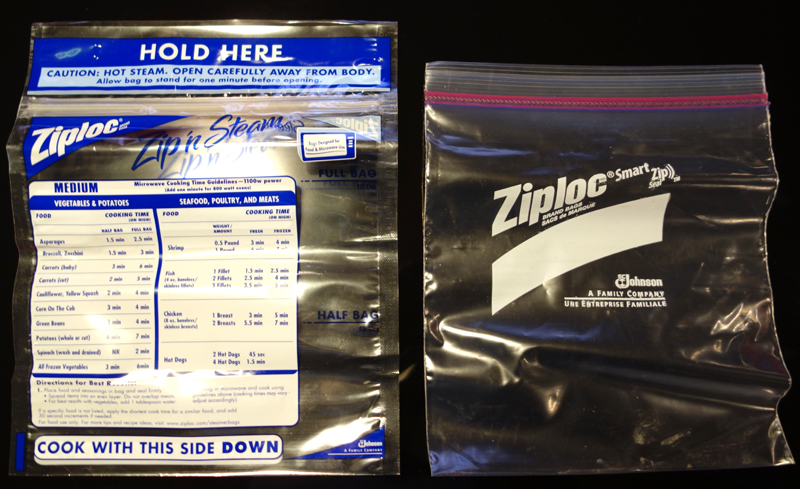
I like the Zip ‘n Steam bags better than freezer bags. They are easier to handle and have convenient measurements on package.
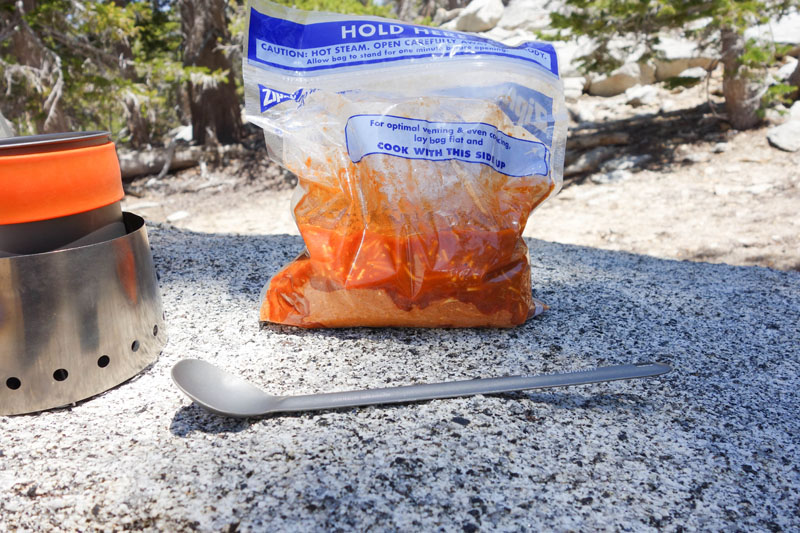
One thing to be careful about if you decided to use these bags is the vent at the top of the bag (it is a sealed bag designed to be placed in a microwave. If you hold the bag upside down or tilt it at a severe angle, lot liquid could leak out. This has never happened to me.
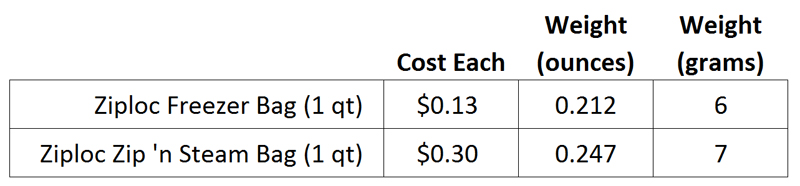
Bag comparison table below:
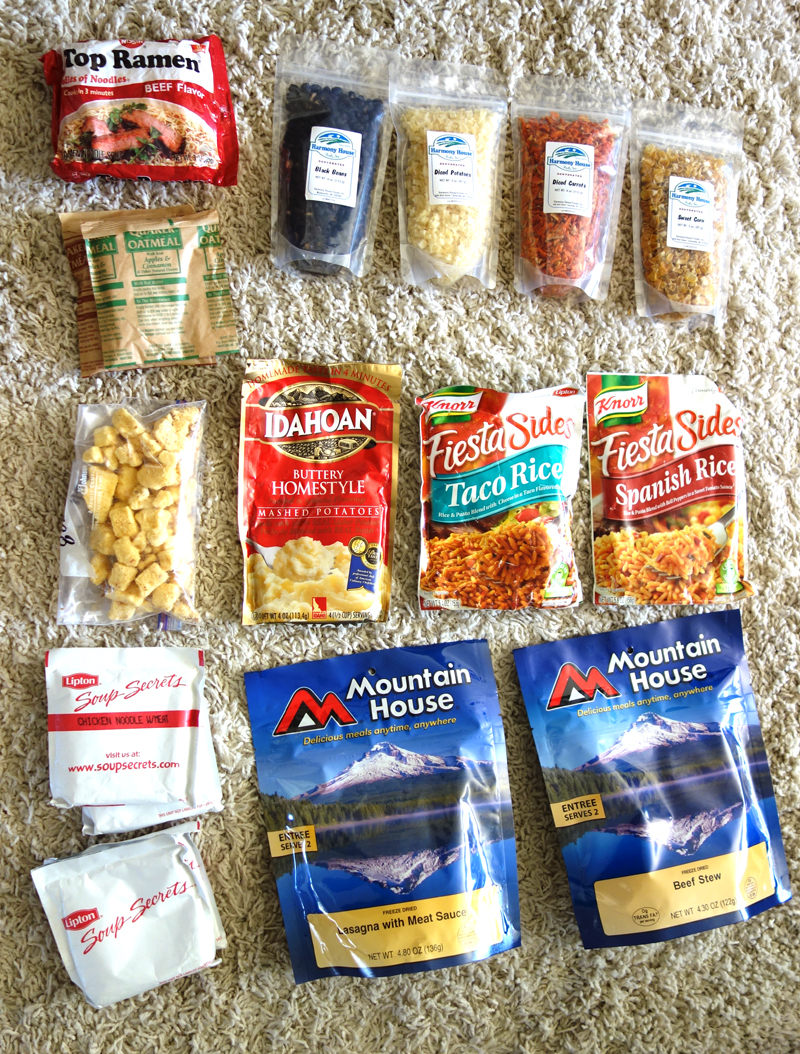
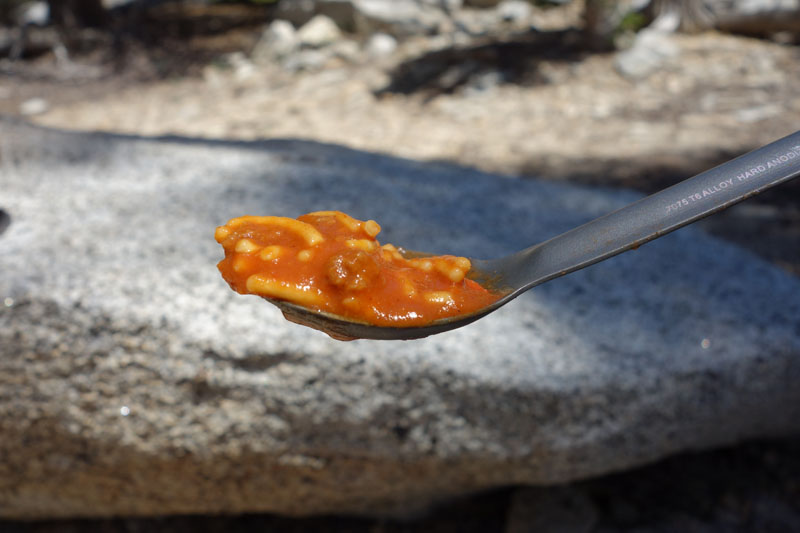
Sample Meal
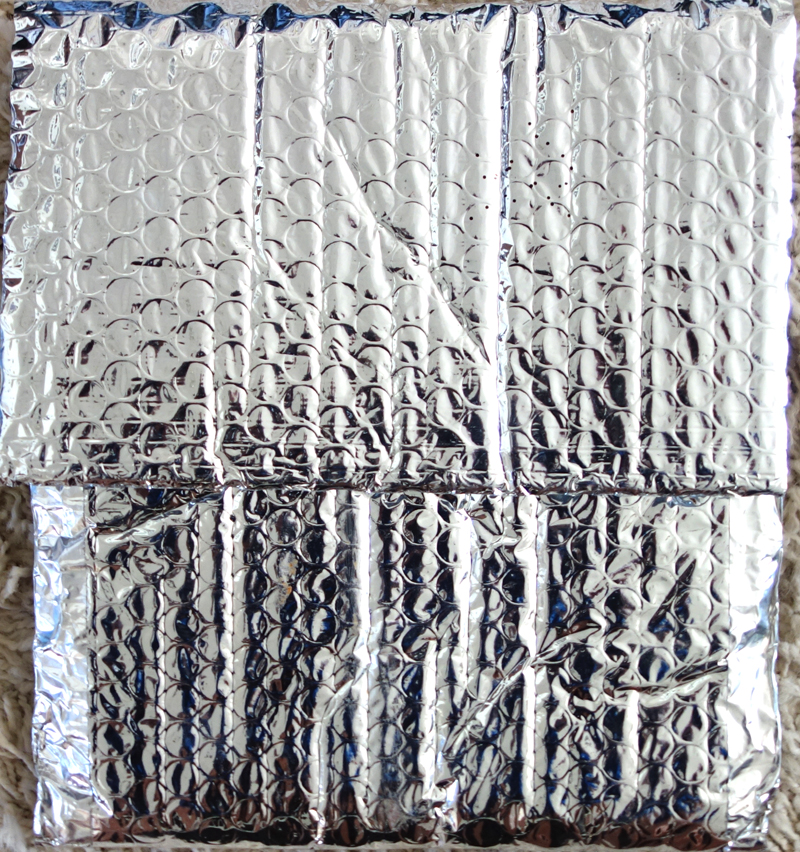
Cozies
In colder weather, food quickly cools in a freezer bag and seems to take longer to cook. Many people use some sort of insulated container to keep the heat in, usually something made from Reflectix insulated material. A cozie also makes it easier to hold your meal and eat out of it. I use one in the winter. It really isn’t a necessity for me, but I bought one from a Cub Scout who was trying to make money to buy gear. It only weighs 1.2 ounces and I get excited when kids take the initiative to earn money.