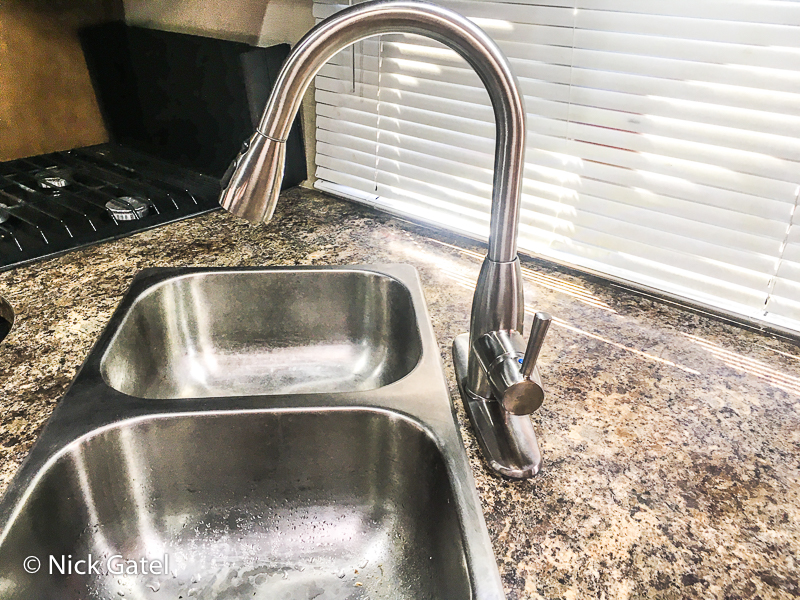
On a recent camping trip the faucets in our trailer started spurting out air and a significant reduction in the volume of water. This was while using the water pump, because we almost never camp where there are water hook-ups. Out campsite was in the middle of the desert and not having water would be a big problem. A quick diagnosis identified the problem, but we weren’t close to a city where we could get parts. This is how I figured out was wrong, and the solution, given our remote location.
As RV owners know, when the water tank is filled after being empty, the faucets will sputter for a while until all the air is purged from the system. This is pretty simple: just let the water run which will remove any air in the system in a few minutes. This includes running the hot a cold water sides of the RV. Air needs to be forced out of the water lines and the water heater.
Once all the air is purged, the fresh water system should operate on demand without any sputtering.
Diagnosis
Steps
- Is the water tank empty?
- Are there any kinks in the inlet or outlet lines?
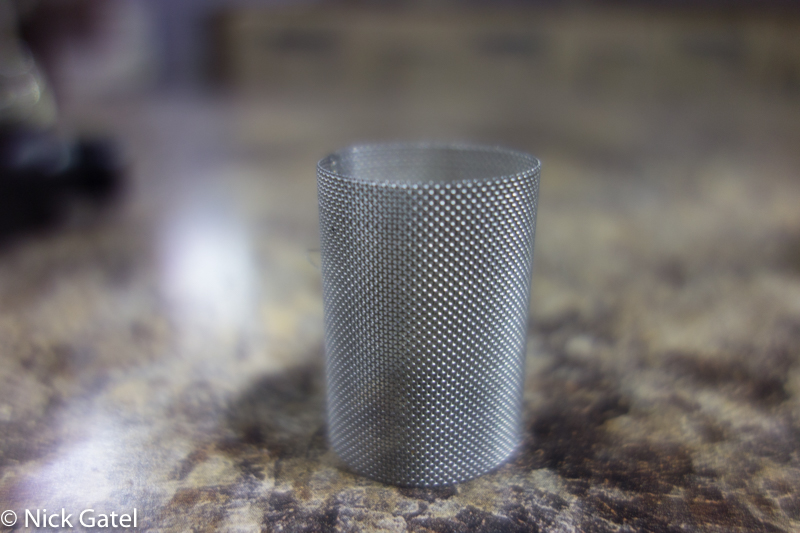
- Is the strainer filter clogged?
- Are there any vacuum leaks on the inlet side of the system?
- Possible water pump failure.
We had been camping for about a week and the water tanks were around 50% full. No kinked water lines. There didn’t appear to be any vacuum leaks on the inlet side, but I didn’t have any equipment to actually test for this. All hose clamps on the inlet side were tight and snug.
To be honest, even if we were at home with my full component of professional automotive tools, testing for vacuum leaks could be time consuming, require some disassembly of components and then testing each.
The strainer metal mesh filter was absolutely clear. I removed it and it looked brand new.
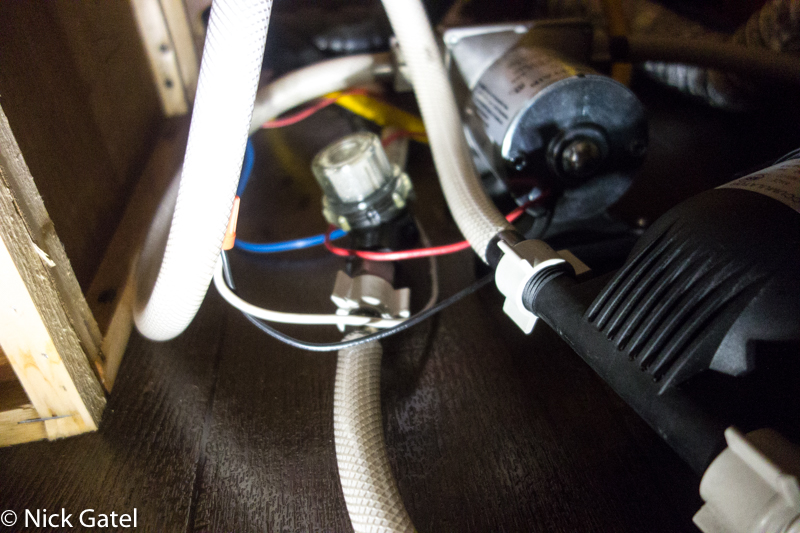
Water pumps can be rebuilt if you have a rebuild kit. Loose screws on the pump head can cause problems, as I shared in this post back in 2020, when I replaced a perfectly good water pump. I had kept the original pump as a spare. The next step in diagnosing the sputtering problem was to remove the water pump and inspected it. It looked good. But since I had a spare pump, I went ahead and installed it just in case.
Same problem — sputtering water and the normal purge procedure did not work. Pretty unlikely two different water pumps was the problem.
Process of Elimination
There had to be a vacuum leak on the inlet side of the water pump. That is, air was being sucked into the water pump. If there was an air leak, it wouldn’t necessarily also leak water since it isn’t under pressure.
The things to check for a vacuum leak are pretty simple. The hose from water tank is connected to the bottom of the tank, allowing gravity to feed the hose. I checked the hose from the tank all the way to the water pump. The hose was firm with no spots where it might have collapsed internally. The clamps were secure and tight.
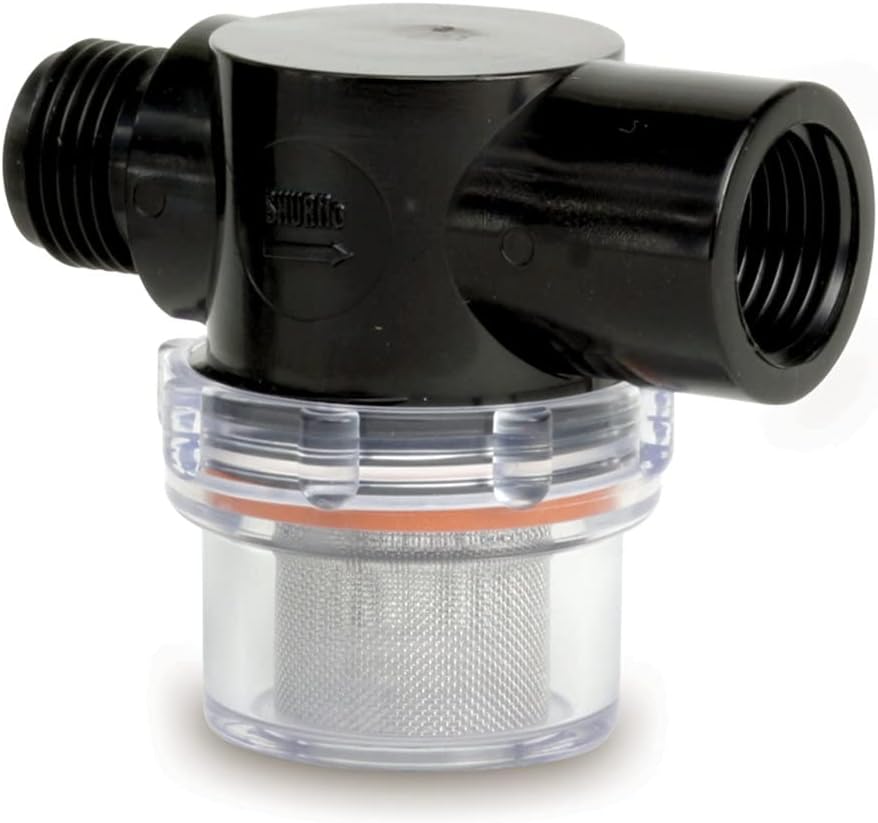
This hose actually connects to the filter/strainer and then is connected to the water pump inlet side with a short hose. The strainer now became the prime suspect. Our ShurFlo brand strainer comes with a body, a screen filter, plastic cap, and a rubber gasket that sits in a groove in the plastic cap.
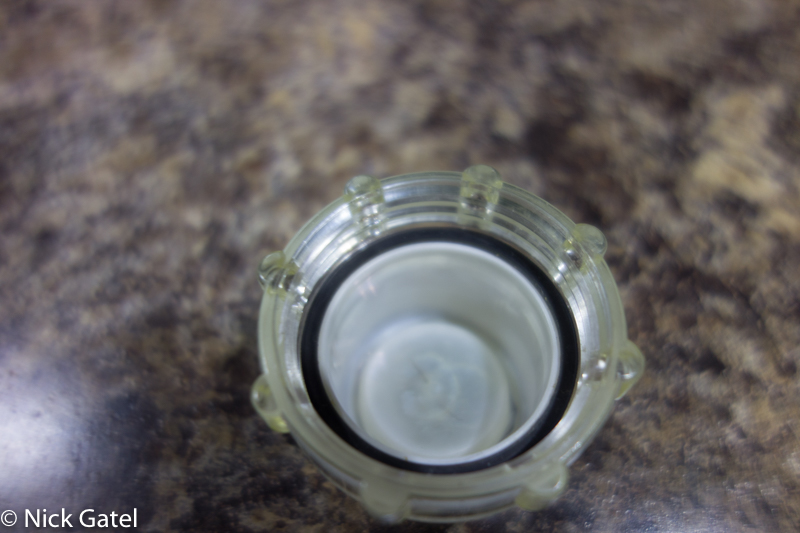
The gasket looked okay, but no way to know for sure. I took it out and it didn’t have any cracks and was pliable. I did notice the cap was discolored, being opaque and not clear. This is probably from the bleach I use when I sanitize the water system, not a defect.
The gasket had become the prime suspect in my investigation.
I also closely inspected the housing and cap and could not see any defects. Replacement was the next step.
I was fairly confident this would solve the sputtering problem.
Locating Parts
The nearest town with RV supplies was 85 miles away. Could I find a replacement gasket there? It was unlikely I could find the correct gasket with the exact inner and outer diameter, and thickness in a hardware store. It was time to go online.
Well, no cell phone or internet at our campsite. A 20 mile drive got me to a place where I could connect to the human world. I quickly found that ShurFlo does not sell a separate gasket or any separate parts. You have to buy to whole assembly, but they are inexpensive. I also could not find anyone who had found an aftermarket gasket that would would match the original gasket.
The next question was, could I find a replacement strainer and get it quickly? My best bet was to check Amazon.
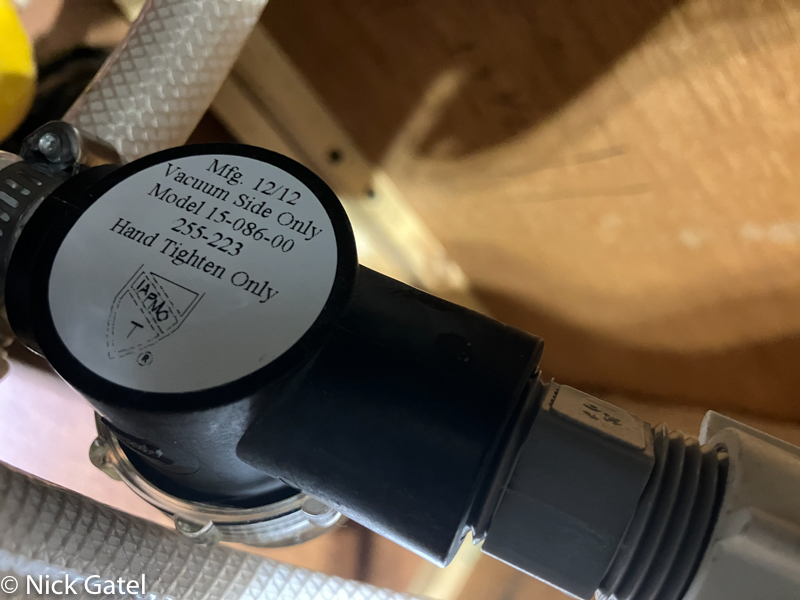
I had taken a picture with my cell phone of the bottom of our strainer and it had a part label attached. As you can see, it was made in December 2012, so ours was almost 14 years old.
Amazon did not have this specific strainer for sale. But it had other ShurFlo brand strainers, with the only difference being the connections for the water hoses. I could use all the parts (cap, filter, gasket) except the housing. The housing is thick plastic and I really doubted the old housing was causing the problem. The price was right at $7.15.
A huge problem loomed — how could I get this shipped to me in the middle of a huge desert, and get it quickly. Another search found the nearest Amazon Locker was 80 miles away. It would cost $40 in gas to pick up a part that wasn’t 100% guaranteed to work. On the other hand, if it worked we wouldn’t have to cut our trip short, which included a trip to another camping area.
I ordered the part and it was delivered two days later. The trip was fun and we did some shopping.
Installation and Testing
Only took a couple minutes to switch out the parts. It didn’t take long to purge the air and the faucets all now had a nice full consistent flow of water. Shower time!
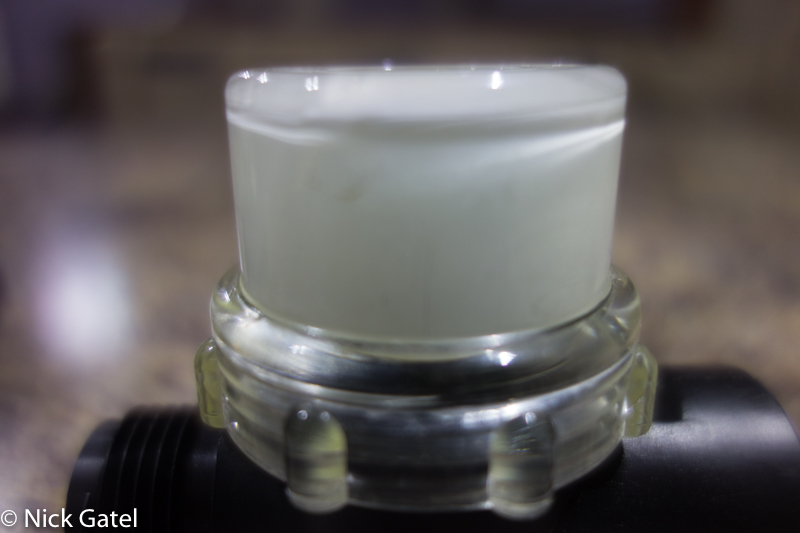
Strainer Orientation
In the picture above, the strainer/filter is pointing up. In the ShurFlo water pump installation manual, it is pointed down (see below).
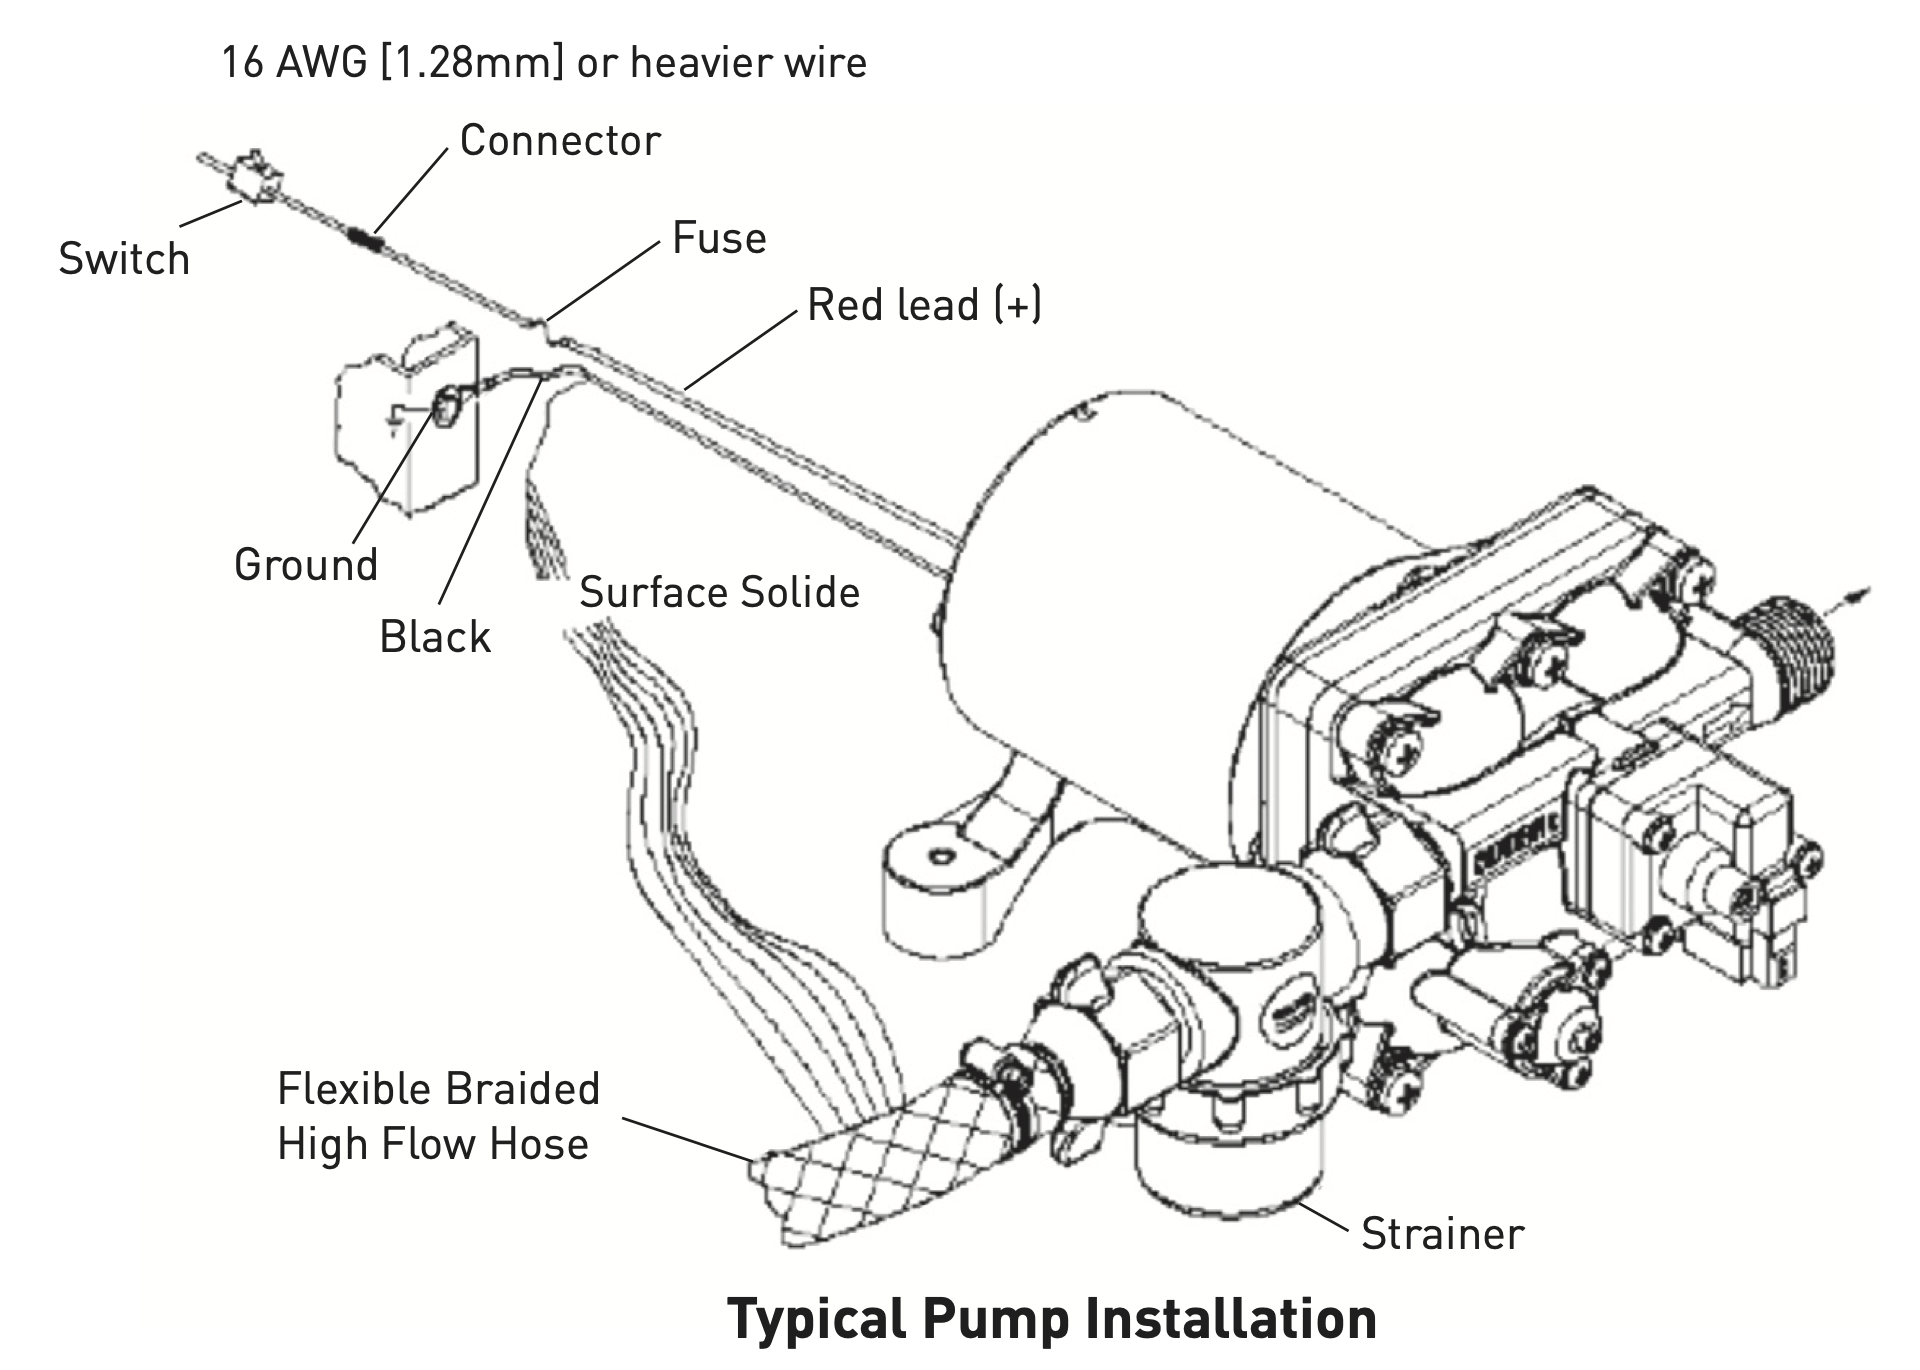
I have been unable to find any documentation from ShurFlo on how the strainer should be oriented. Ours was pointing up from the factory. Probably because that orientation was easiest to install. I don’t think it matters at all. With the plastic cap on top, it is much, much easier to remove the metal mesh filter to inspect it.
This website may be compensated for linking to other sites for sales of products. As an Amazon Associate I earn a small fee from qualifying purchases at no additional cost to the purchaser.
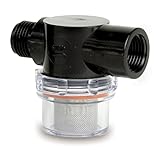
SHURFLO (255-313) 1/2″ Twist-On Pipe Strainer
47% Off $14.41 $7.60 (as of August 9, 2024 00:22 GMT -07:00 – More infoProduct prices and availability are accurate as of the date/time indicated and are subject to change. Any price and availability information displayed on [relevant Amazon Site(s), as applicable] at the time of purchase will apply to the purchase of this product.)

SHURFLO 4008-101-A65 New 3.0 GPM RV Water Pump Revolution, 12V
$69.99 $67.99 (as of August 9, 2024 00:22 GMT -07:00 – More infoProduct prices and availability are accurate as of the date/time indicated and are subject to change. Any price and availability information displayed on [relevant Amazon Site(s), as applicable] at the time of purchase will apply to the purchase of this product.)