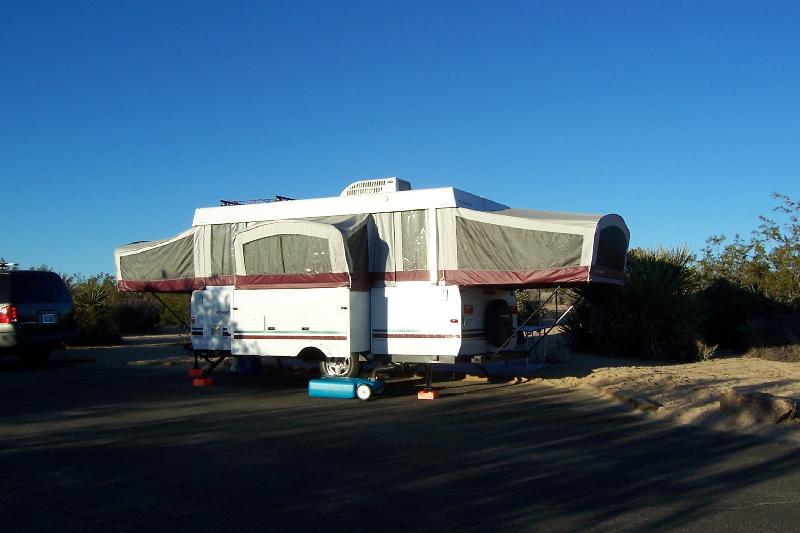
In October of 2005 we purchased a 2006 Fleetwood Niagara tent trailer to replace our 1992 Starcraft Meteorite, which was bought new in ’92. The Starcraft had an 8′ box and two double beds. For 10 years the Meteorite was used in its stock configuration, which had very few amenities. We mostly cooked, washed dishes, and lived outside. The camper was used to sleep in or as a shelter from rain.
In 2003 Joyce and I completely remodeled the Meteorite. We gutted the interior and re-did it from scratch. Click here for the Meteorite page to see what we did. It is amazing what we were able to accomplish with this tiny tent trailer. It had all the amenities normally found in large travel trailers. We camped over 200 nights in the Meteorite after the remodel, to include a trip to Rocky Mountain National Park to participate in the PUX RMNP Round-up.
Although we loved our tiny pop-up camper, it had very little storage space. This meant that on every single trip we had to gather most of our gear and put it into the back of our SUV. Once at the campsite, all the gear had to be unloaded and placed in the camper, then the routine reversed when we were done camping. It soon became obvious that we would be happier with a larger camper, not to mention more efficient since most of our gear could be stored permanently in a large camper.

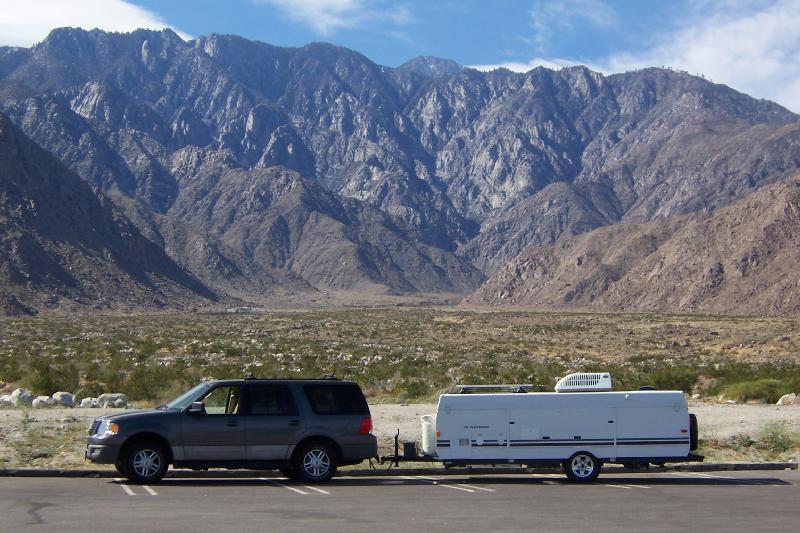
Our Niagara has a 14 foot long box (vs 8 feet for the Starcraft), which mean plenty of storage space.
Before our first trip, I made several upgrades, to include a roof-top air conditioner, transferred the solar system from the old camper, replaced the two 5 gallon propane tanks with two 10 gallon tanks, and replace the anemic group 24 battery with the two group 27 batteries on the Starcraft. We were now ready to go camping.
We have done many upgrades to our Niagara. For detailed articles on these upgrades and other camping equipment, you may want to check out these pages:
2006 Fleetwood Niagara Upgrades
You might also be interested in what we did with our first camper.
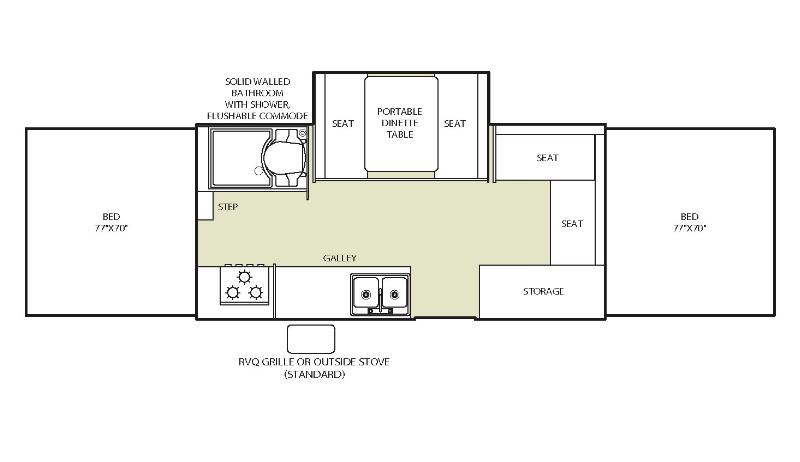
Above is the floor plan. Once the roof is raised, the two king size beds and the dinette area slide out.
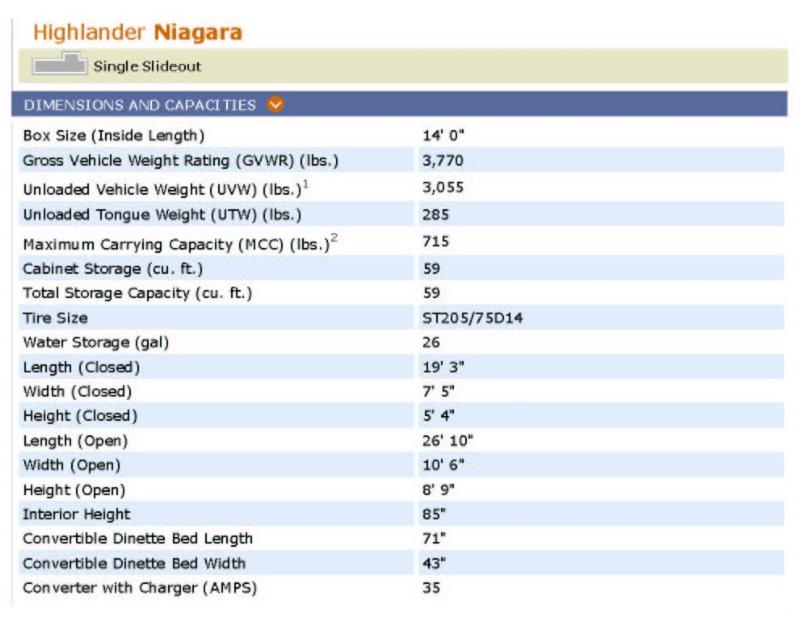
Above is the specification chart.
Set-up Sequence
- Level and secure the camper.
- Raise the roof (this may include deploying the awning).
- Pull out the beds (called bunks).
- Pull out the dinette.
- Insert the door.
- Insert the “shepherd poles” to tension the tenting above the bunks and dinettes.
- Set-up the shower.
- Lower the outside stabilizers on each corner of the camper.
- Fill the fresh water tank (we usually do this at home and tow with a full tank of water).
- Light the water heater.
- Have a glass of wine.
Once I have inserted the door (step 5), Joyce does steps 6 and 7, and takes our things out of the interior storage, while I am outside completing steps 8 -10. This usually takes about 30 minutes, but in really cold weather we get in done in 15. Then we do step 11.
Leveling the Camper
- Level from side to side.
- Level from front to rear.

Before leveling, we must chock the camper from rolling. We use a BAL Industries single wheel chock (above).
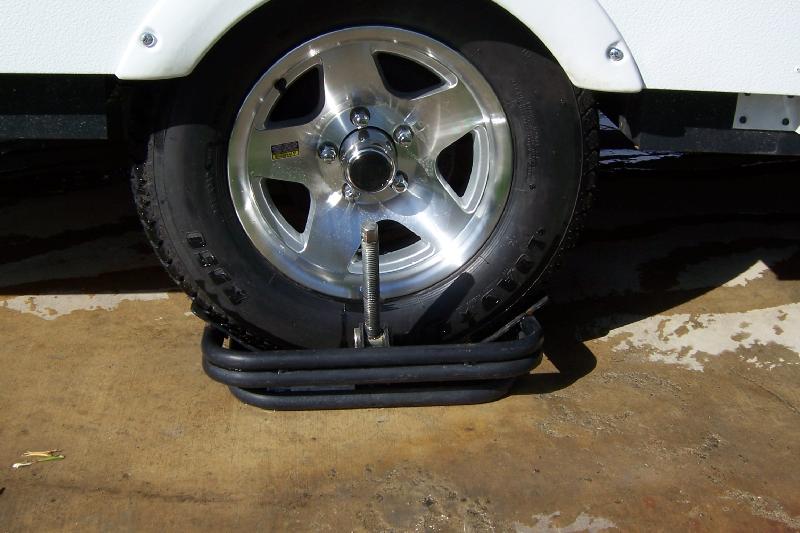
To level from side-to-side, we use this nifty BAL Leveler. Place it under the low side wheel, attach a Dewalt 18 volt drill and the big screw lifts the trailer. Quick and easy.
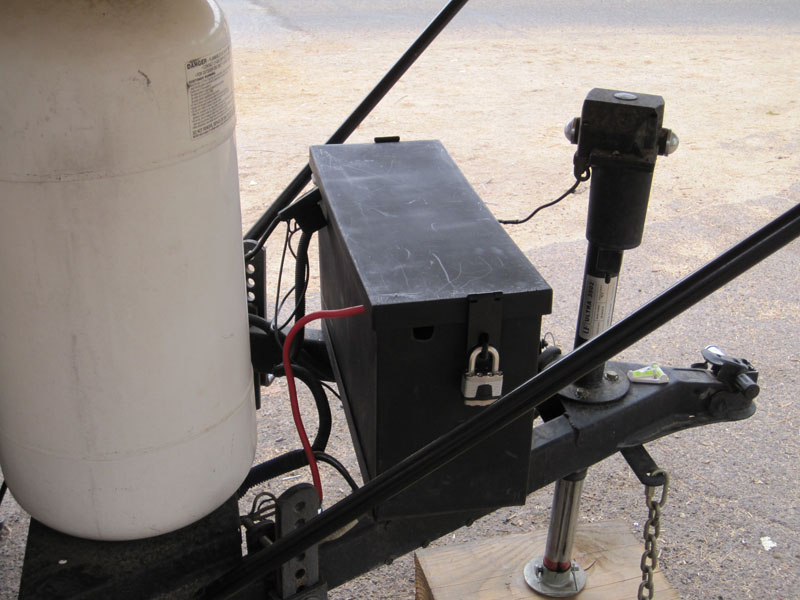
The camper came with a hand crank tongue jack to the the front to rear leveling. I replaced it with a motorized version above. This jack even has a built in light to help with nighttime set-up.

Also included with the camper was a hand crank to lift the roof. The drill replaced that item on Day 1. We used the drill to raise the roof on our Starcraft too.

Above: The stabilizers. It is important that they are not lowered until the roof is raised. Doing other wise could damage components.
Interior Set-up

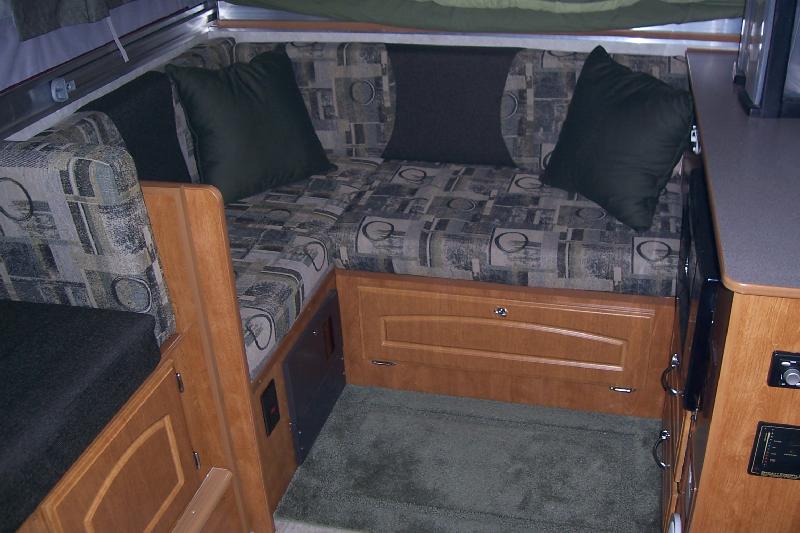
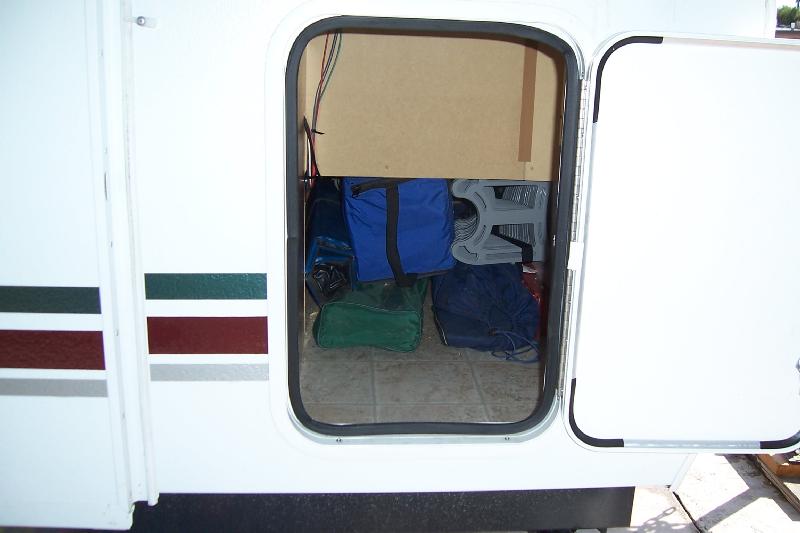
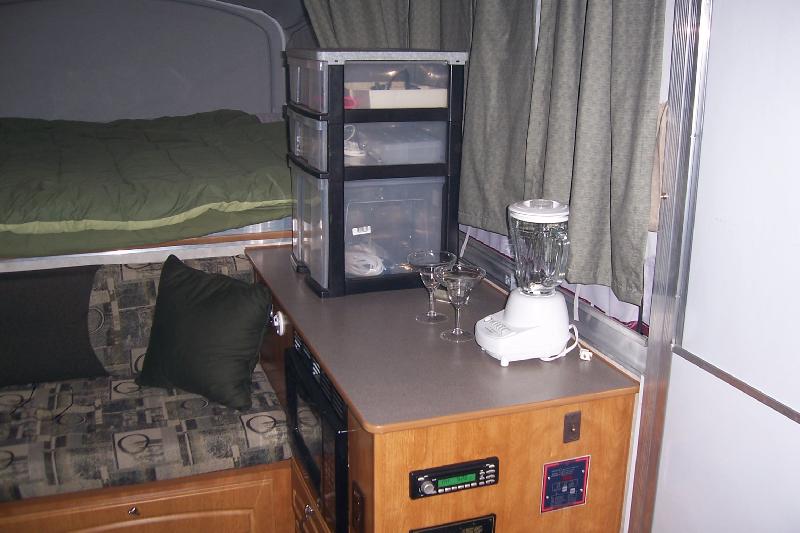
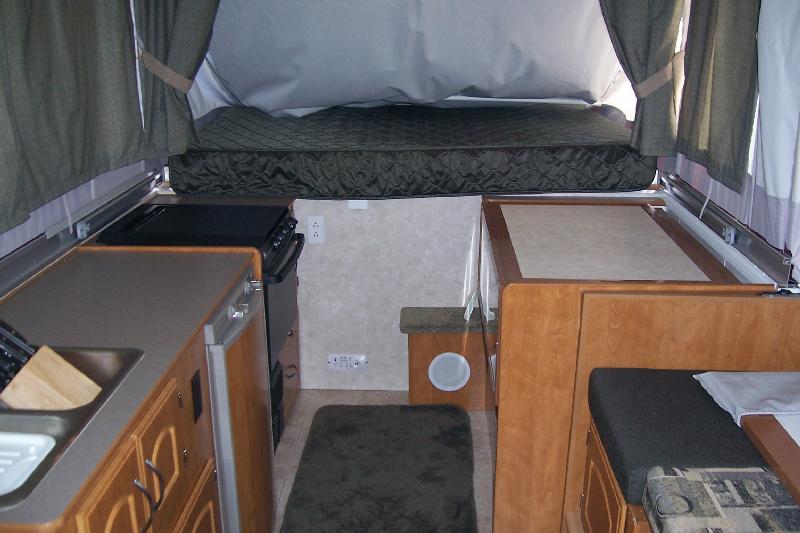
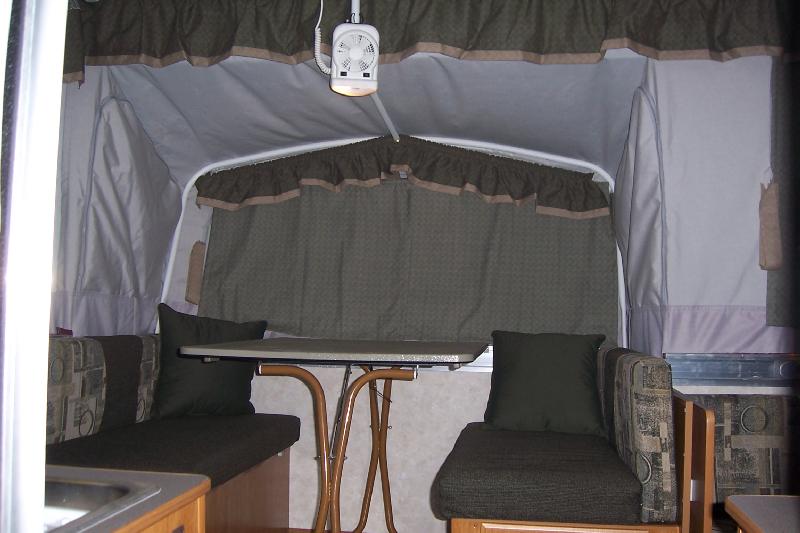
Above: view of the interior from the door after the roof is raised.

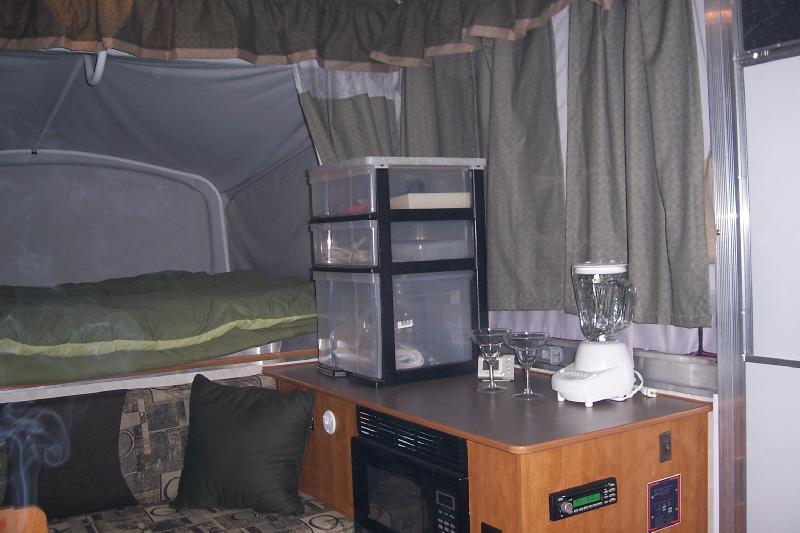
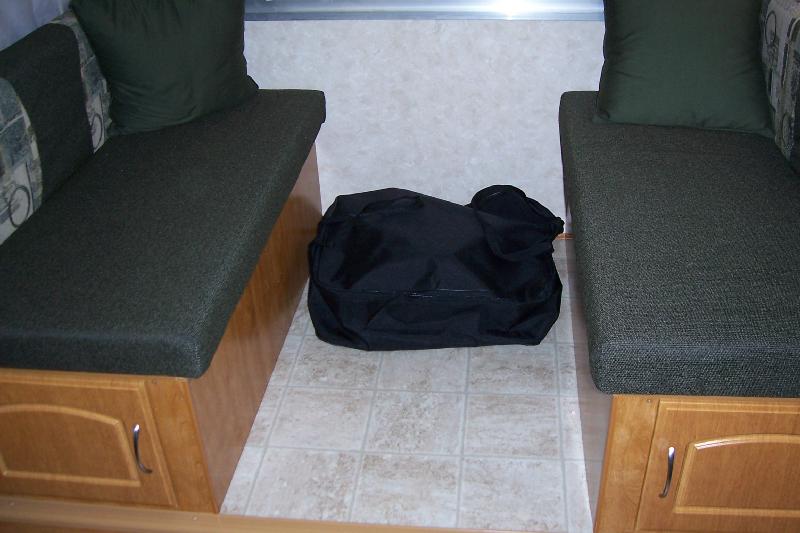
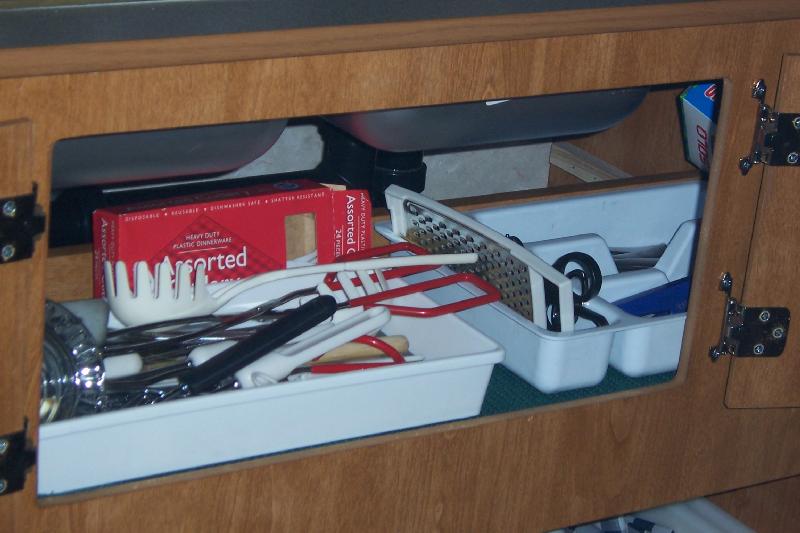
Above: Some of the items we store on the floor during transport. This view is looking at the front of the camper.
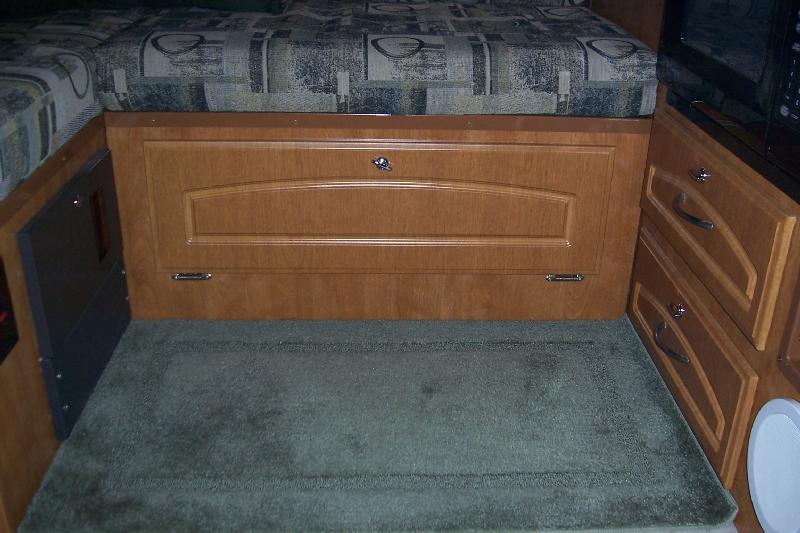
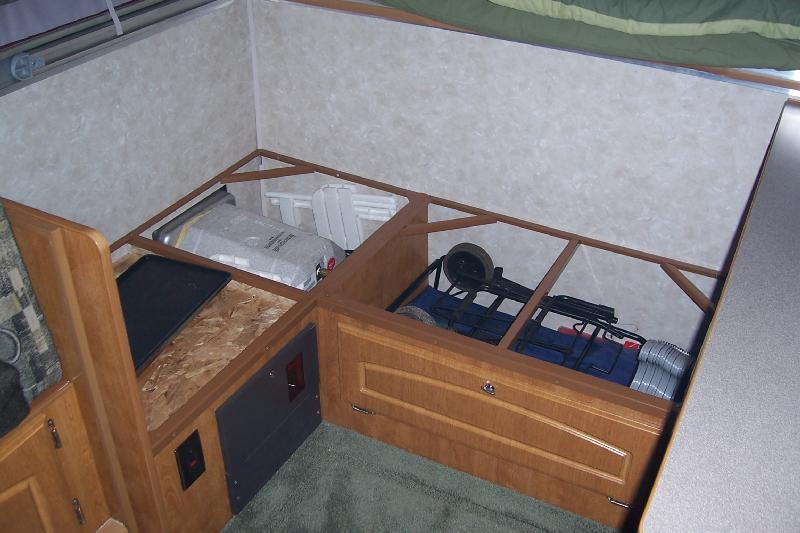
Above: view of the front after moving the stored items.
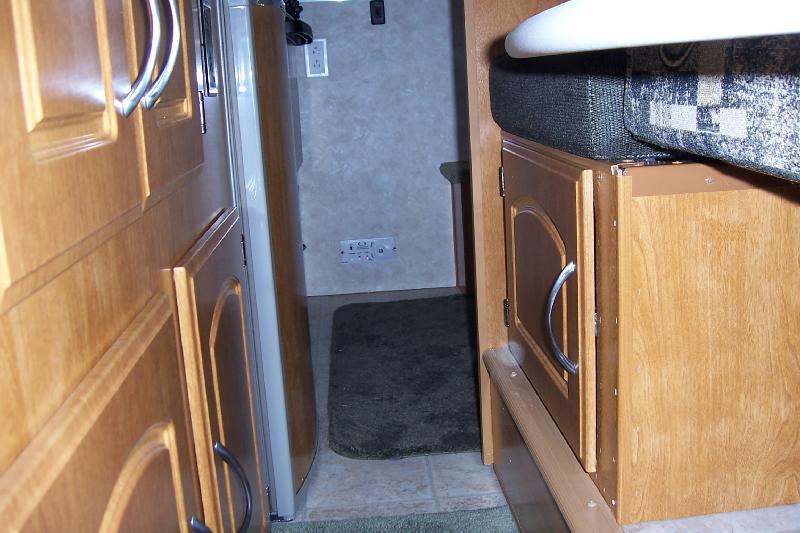
Above: View of the back interior. It is rather narrow because the dinette (right) has not been pulled out.
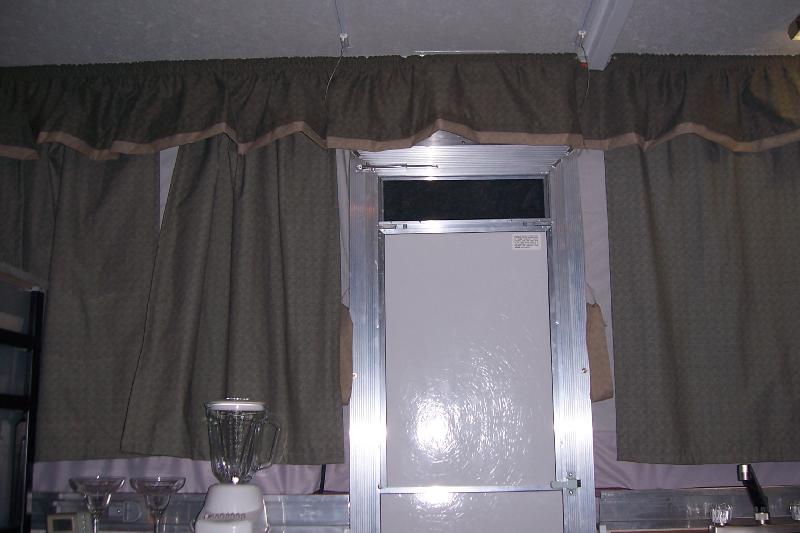
Above: The door is installed and I am ready to go outside. Must have been a hot day, as Joyce already has the Margarita blender and glasses out. Yes, we can run household appliances from our 12 volt electrical system 🙂
Interior Front Bunk Area
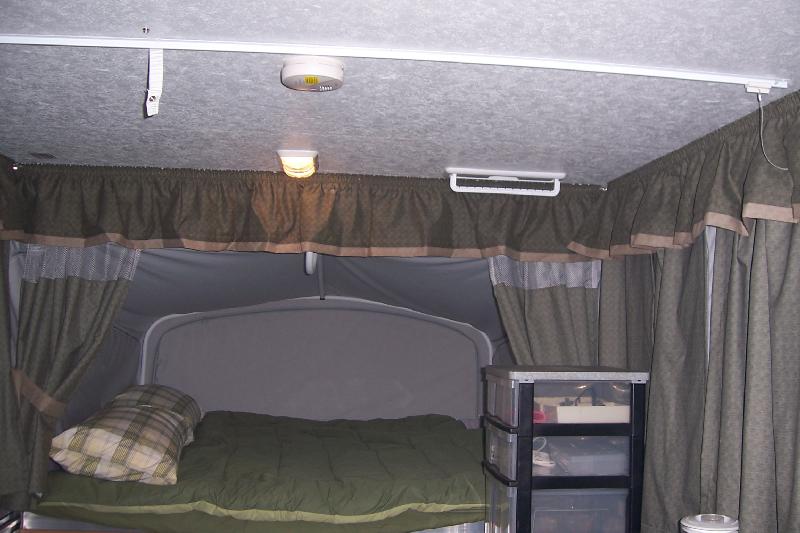
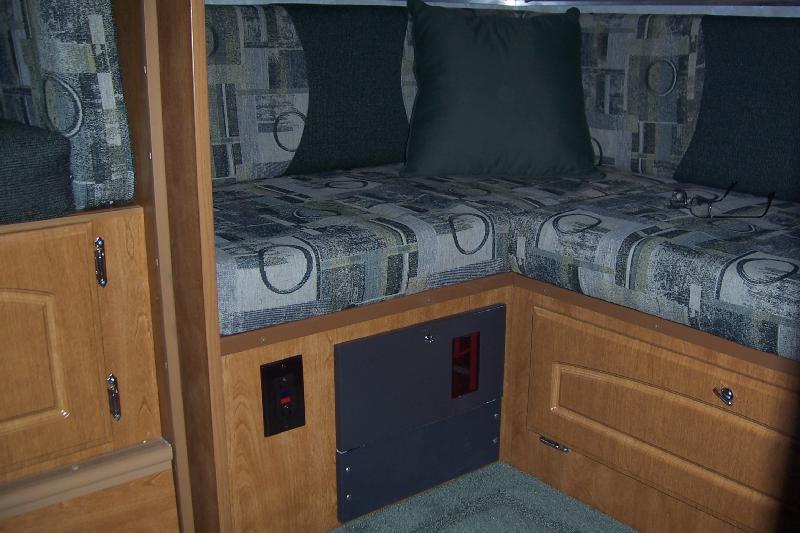
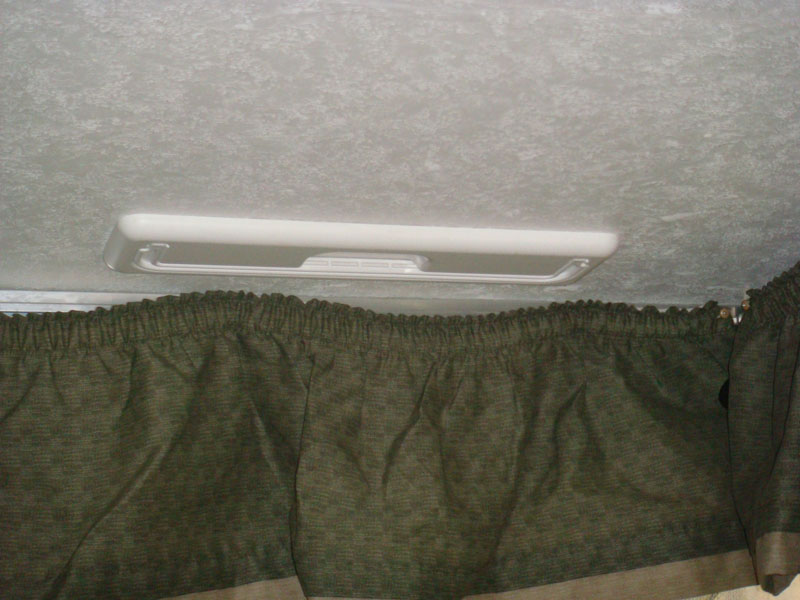
Above is the front bunk.
- The white rail on the ceiling is one of the tracks that the door slides on during traveling mode. The white strap hanging from the rail is one of the two that snap to the door to keep it secure when driving down the road.
- The light fixture is the original incandescent unit. We removed all of these fixtures and replaced them with 12 volt flourescent units made they ThinLite, same as we did in our Starcraft.
- You can see the built-in clothes hanger in the upper right of the picture.
- The camper also came equipped with a smoke/CO detector. It is the round thing on the ceiling.
- The curtains are “black out” type.
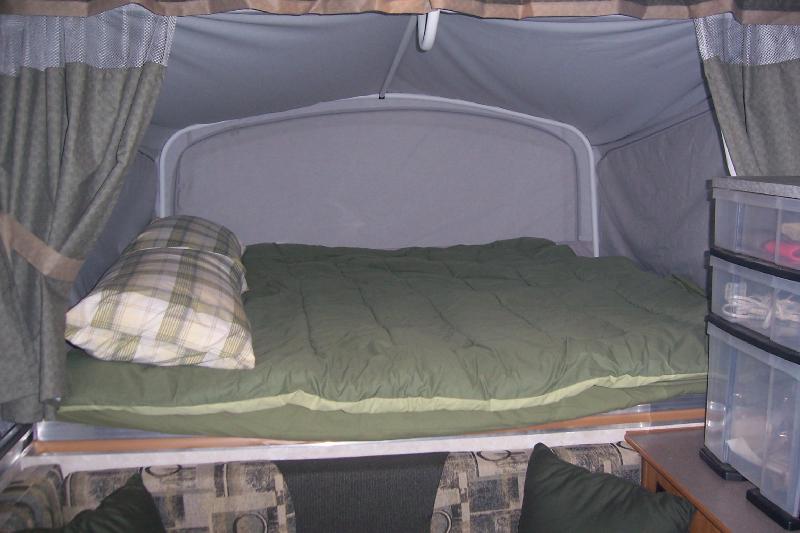
Above: Close up of the front bunk. The mattress has a fitted sheet. We usually sleep with a flat sheet and quilt above us. In winter we add a blanket. Those are regular king size pillow. Joyce is responsible for the color coordination efforts.
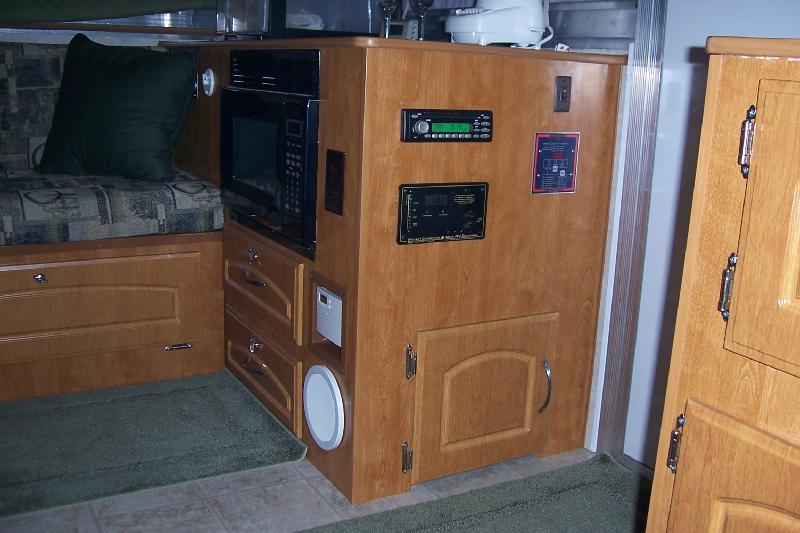
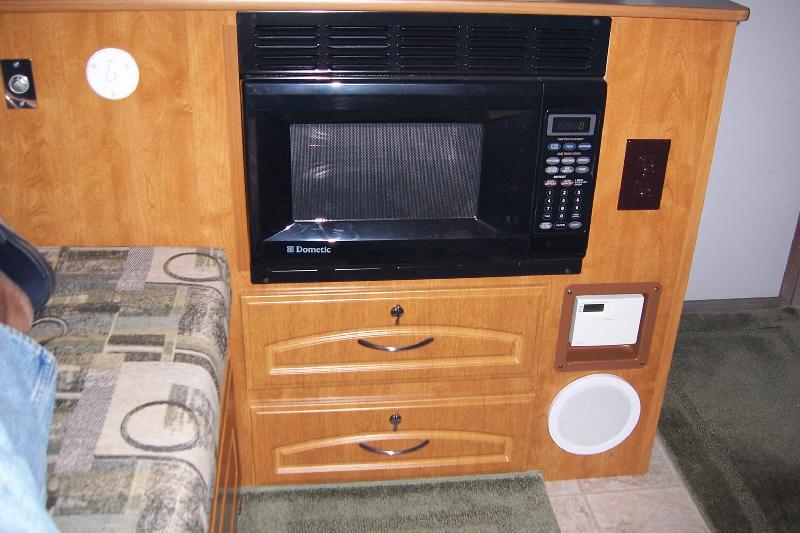
In front of the forward bunk is an L-shaped gaucho sofa and a cabinet. The cabinet has a built-in microwave, which we never use because we rarely camp where there are electrical hook-ups and it draws too many amps from a 12 volt system — although we could use it with our 12 volt inverter. Most of the campers electrical components are located in this forward section, which places them close to our battery bank.
Above: The Gaucho sofa. There is storage under the cushions. The big brown box on the left is the 12 volt/110 volt power distribution center.
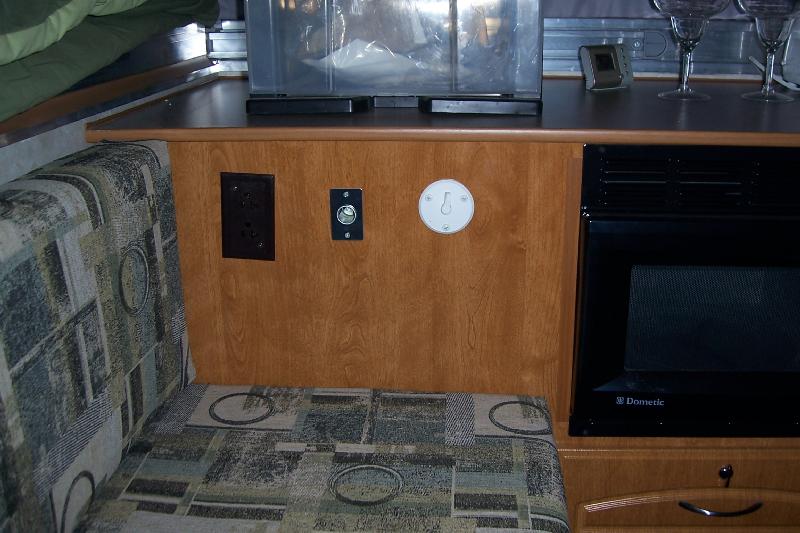
Above on the face of the cabinet (L/R): 110 volt power outlet for the air conditioning unit, 12 volt socket, and cable TV connection. The cable TV connection came with the camper (we have never used it) and I installed the other two items.
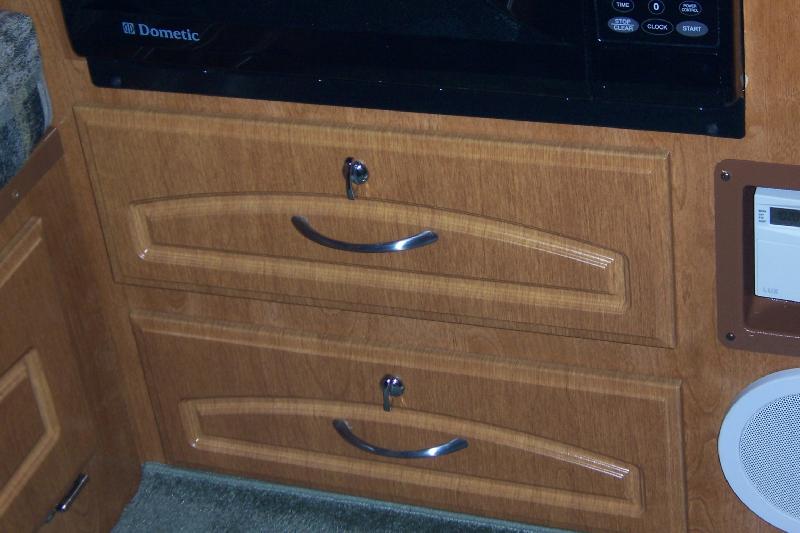
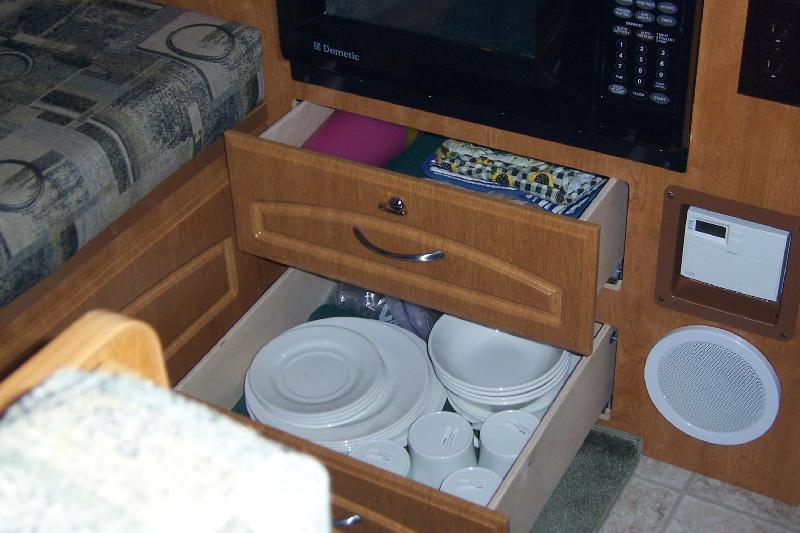
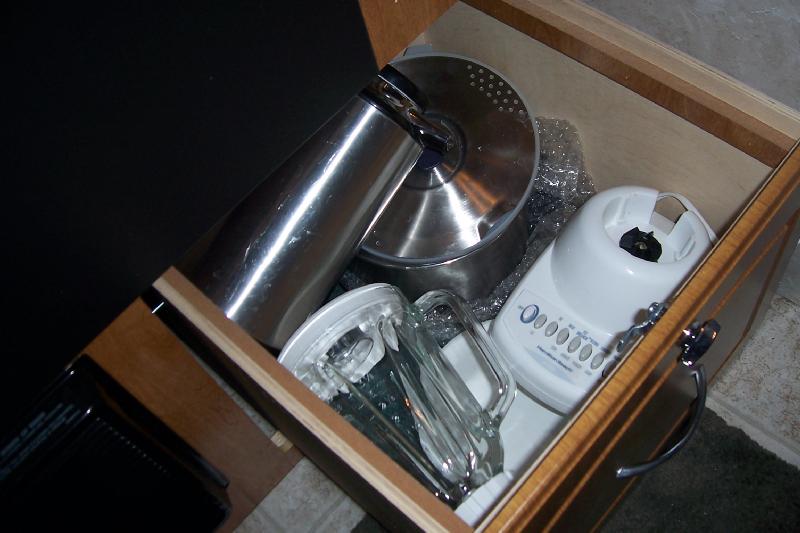
Above: View of the storage below the Gaucho, and drawers in the cabinet.

The cushions can be removed from the Gaucho for storage access, or the front door can be pulled open.
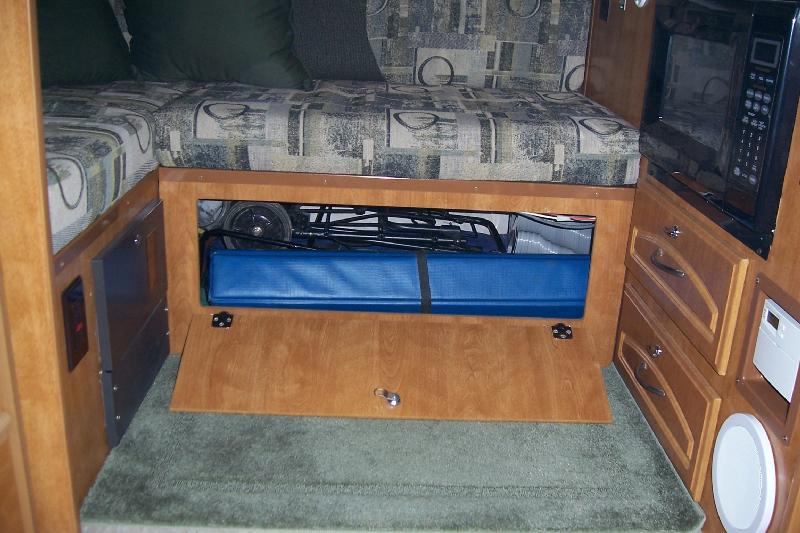
Above: Front access to storage.
There is also outside access to the storage under the Gaucho and underneath the cabinet. Very handy.
Above: Another view of the front storage. The water heater is located at the upper right of the picture. We store our spare florescent bulbs next to the water heater, so they can’t be broken by items shifting during transport.
Power distribution center (above).
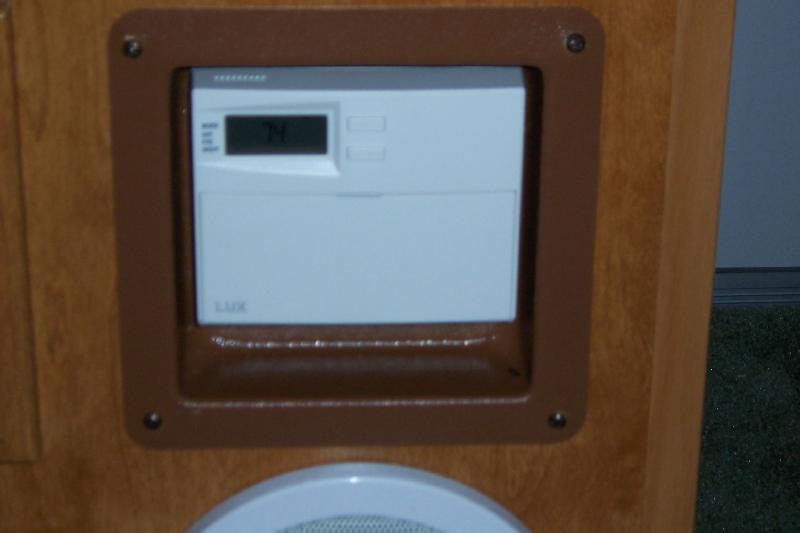
Above: The forced air heater came with a cheap analog thermostat. I replaced it with this LUX 500 digital unit that is used in houses.
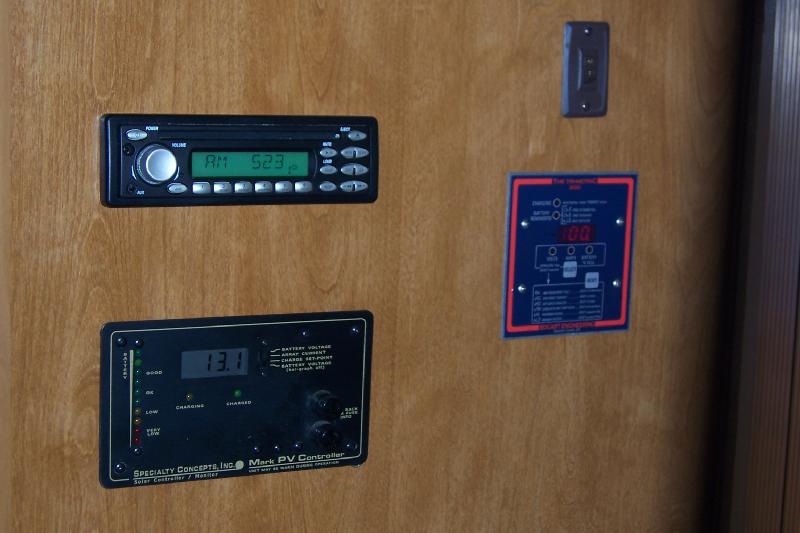
Above: The camper came with a radio. I disconnected it because we camp where there is no radio reception. Plus we rarely listen to music. We are too busy enjoying the outdoors. The switch at the upper right is the main power switch for the camper (lights and water pump)
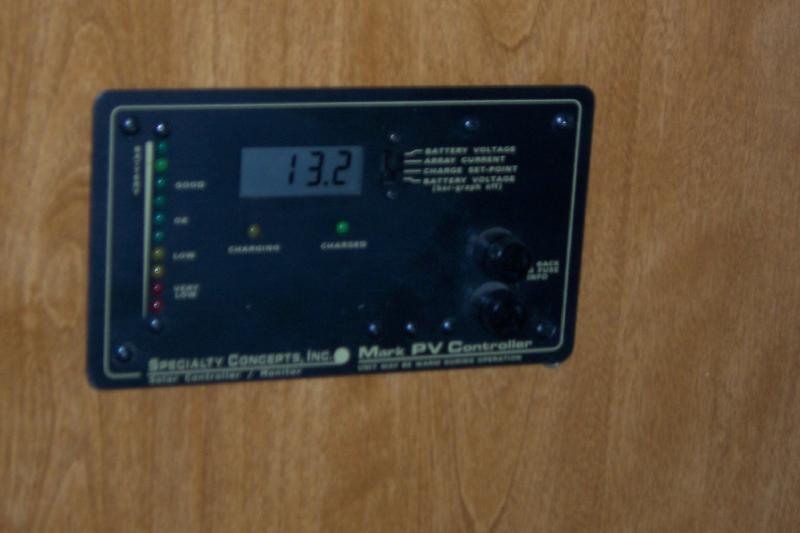
Above: Solar system controller.
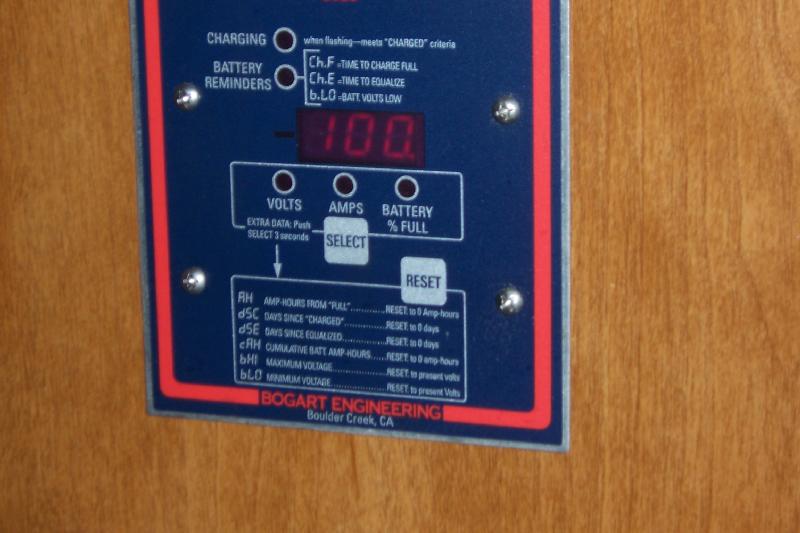
Above: Trimetric 2020 battery monitor.
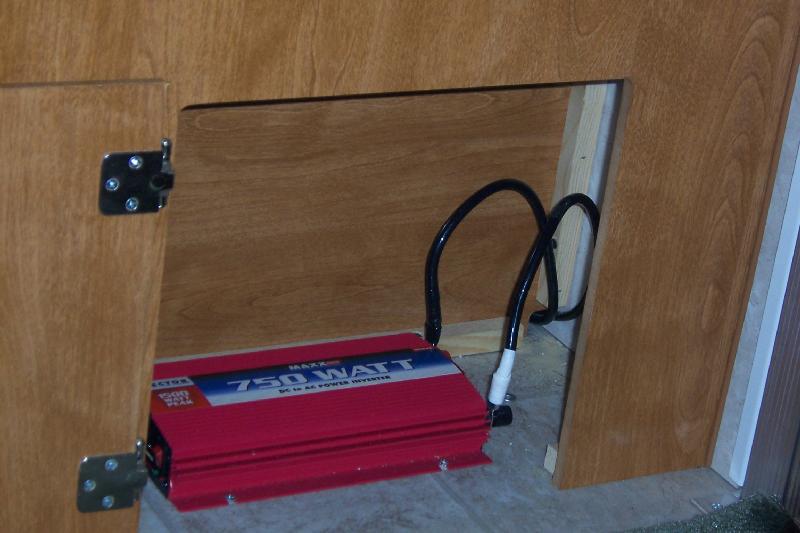
Above: Vector 750 watt inverter. This is a modified sine wave inverter and will run most sensitive electronics, although we rarely bring any. It is used mainly to operate our Margarita blender 🙂
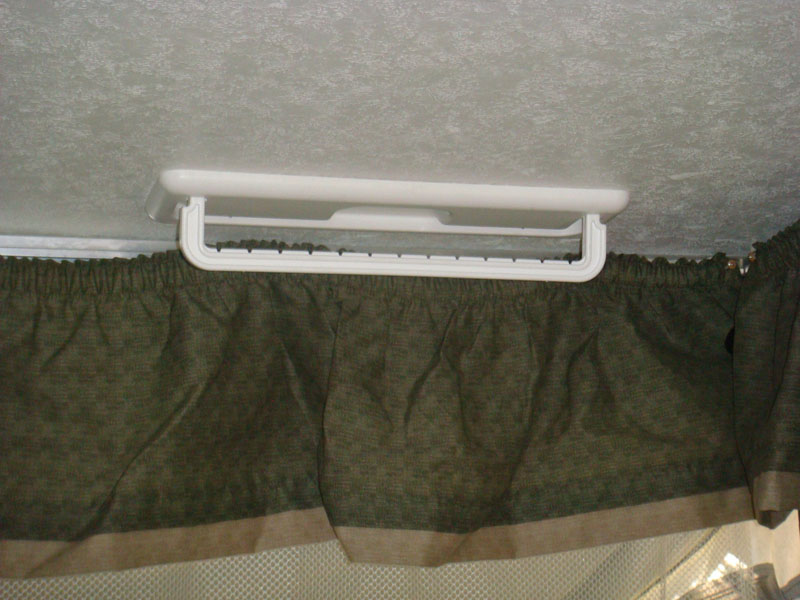
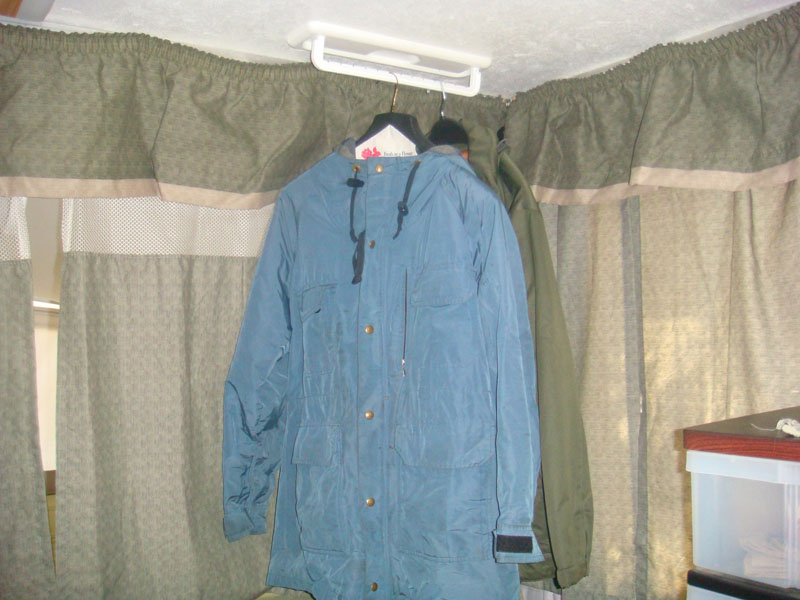
Below are three pictures of the clothes hanger.
Shower
Above: View of the rear of the camper. At the very back is the rear bunk. We use the bunk for storage. Note that the shepherd’s pole hasn’t been installed and the tenting material is hanging down. In front of the bunk (right) is the shower enclosure folded down, and the dinette is front of that.
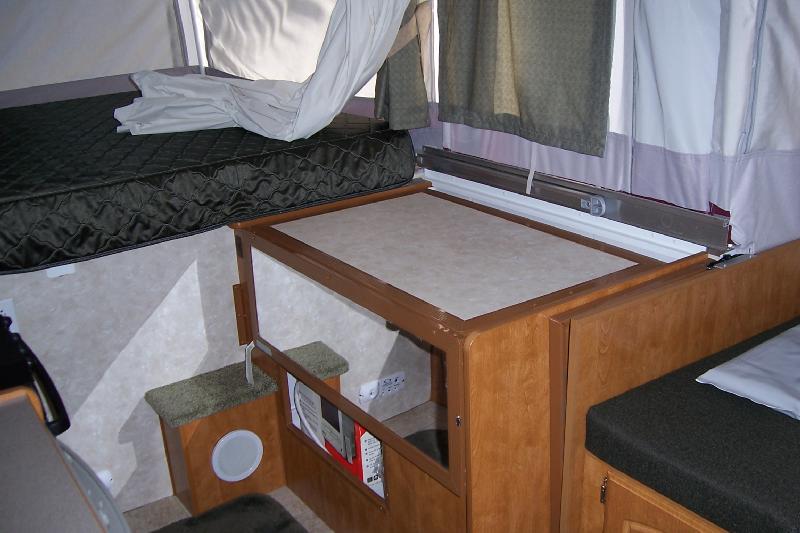
Shower enclosure (above).
Above: The shower door is stored on top of the dinette unit during transportation. Each end of the door has a vinyl cover to keep the sharp edges from damaging the fabric of the dinette seat cushions.
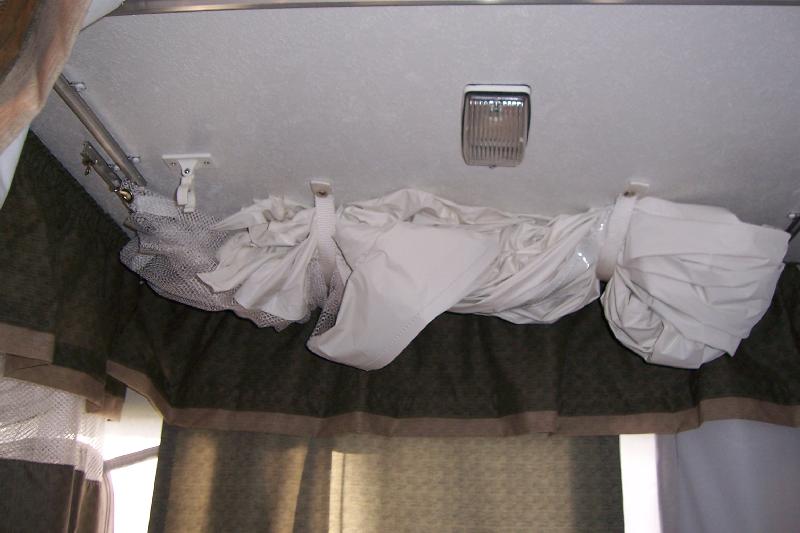
Above: During transport the shower curtain is stored with these straps. There is a 360 degree track for the curtain when in use. The curtain is made from plastic, which can promote mold growth and it is bulky. We replaced it with a polyester unit.
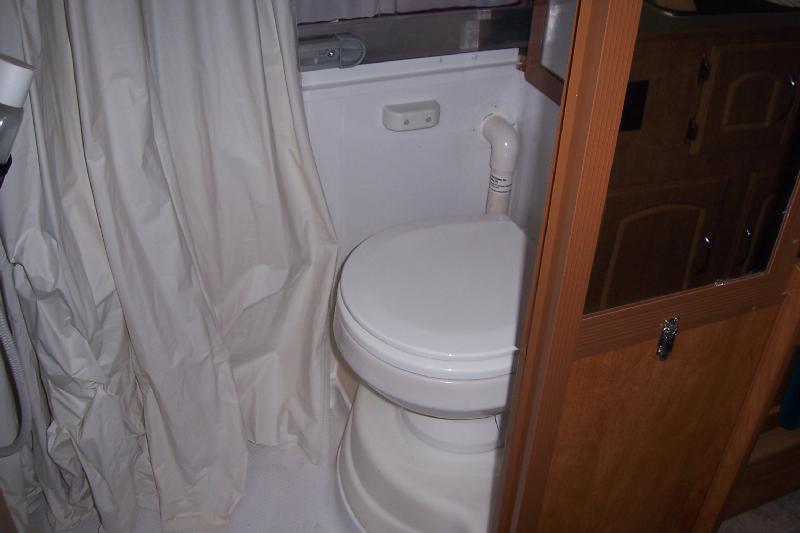
The toilet is made from porcelain and drains into a built-in 10 gallon black water tank. My preference at the time was to my a 2005 model Niagara that came with a cassette toilet, which allows easy off loading when camping by carrying the waste cassette to a dumping facility. But the cassette toilet was big and bulky and made from some sort of plastic. Joyce insisted on the porcelain toilet.
The 10 gallon black water holding tank conundrum
A family of four is going to fill up the waste tank over 2 or 3 days. If you are not camping in a campsite with a sewer hook-up, then it will require one of the following solutions:
- Close up the camper and tow it to a dump station, then return to your campsite and set up again.
- Some sort of a tote to off-load the waste and then transport over 100 lbs of tote and waste to a dump station. Not very enticing in my mind.
I did some careful calculations before buying the camper. The toilet situation was of great concern. I figured that the toilet would capture about the same amount of waste as our old Port-a-Potti, which would last us at least a week. So we have never had a problem. But for those considering a tent trailer with a small built-in black water system, think this one through before purchasing!
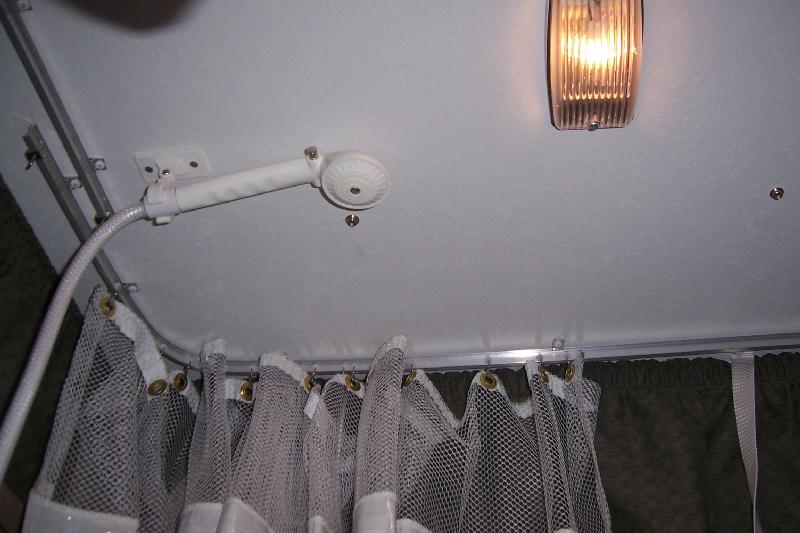
Above: Shower head and incandescent light fixture. The light fixture is long gone.
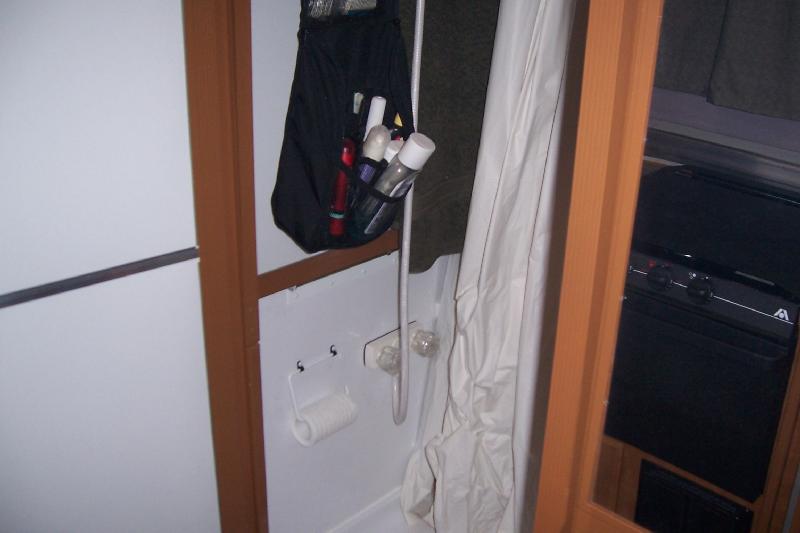
Shower controls.

The shower enclosure even has a mirror.
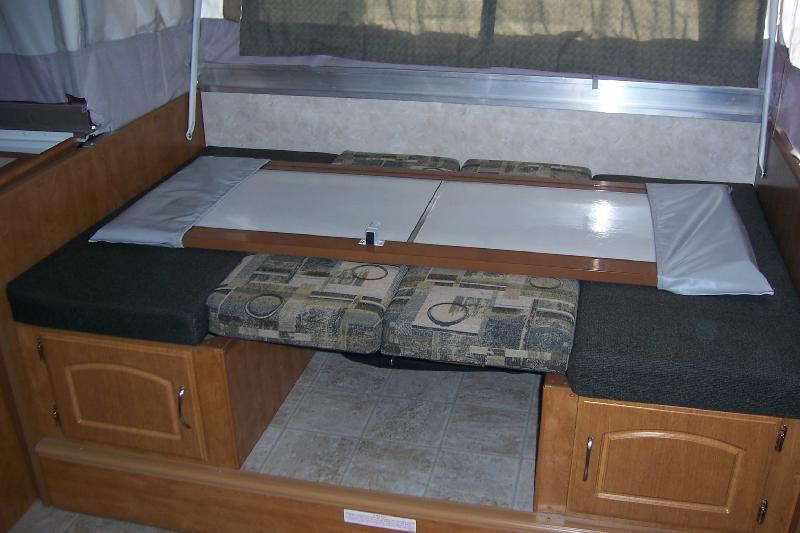
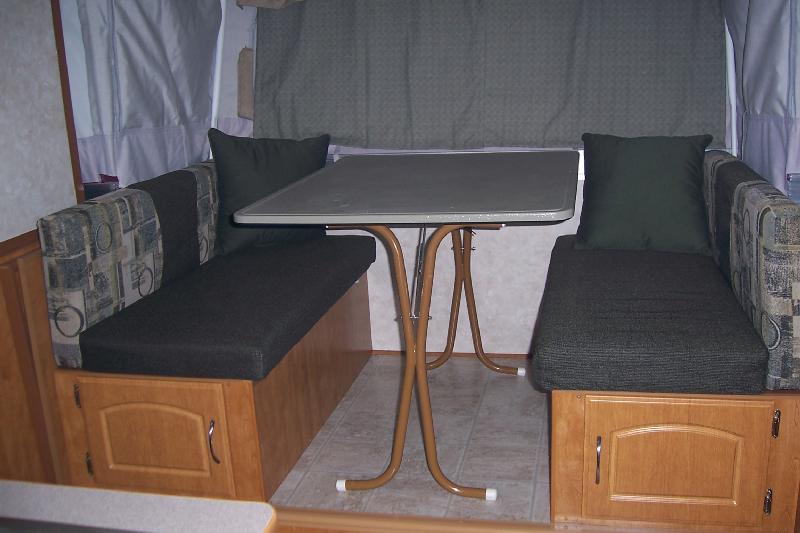
Slide Out Dinette
The dinette is located in the center of the camper. To provide more living space, the dinette slides out.
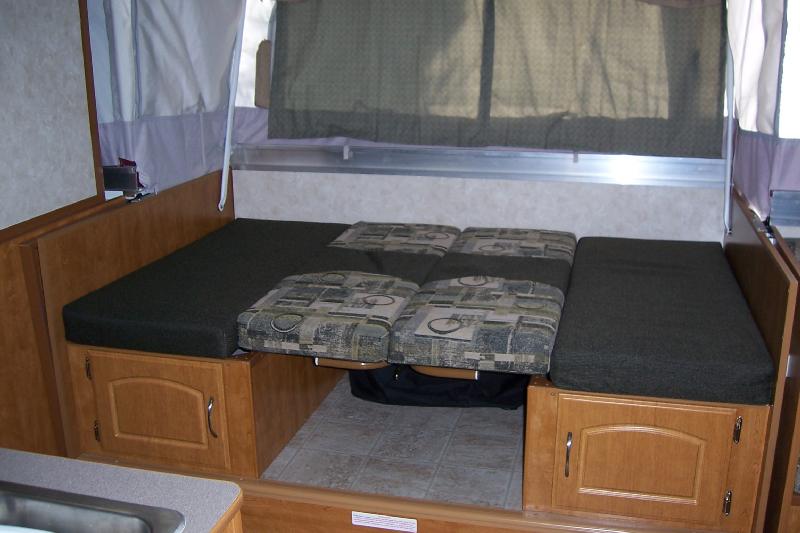
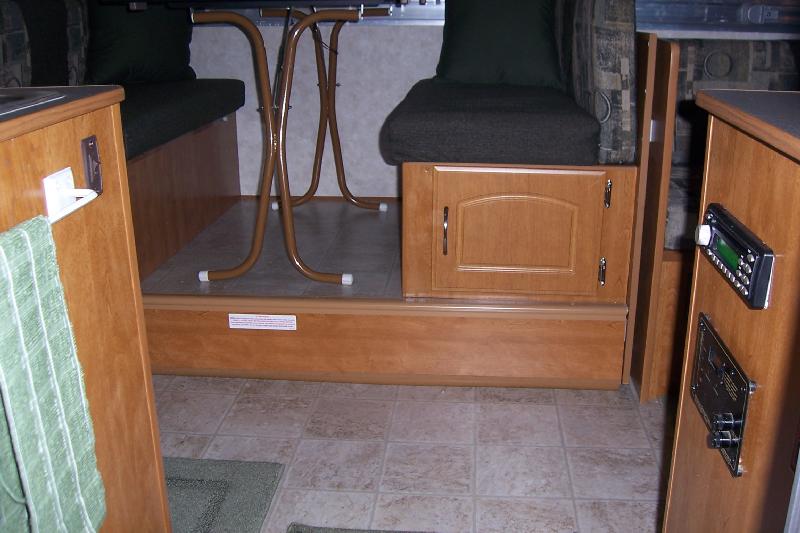
Above: The green cushions are the seats. The dining table is stored between the seat cushions above the floor, which provides additional travel storage. The back cushions are stored on top of the table.
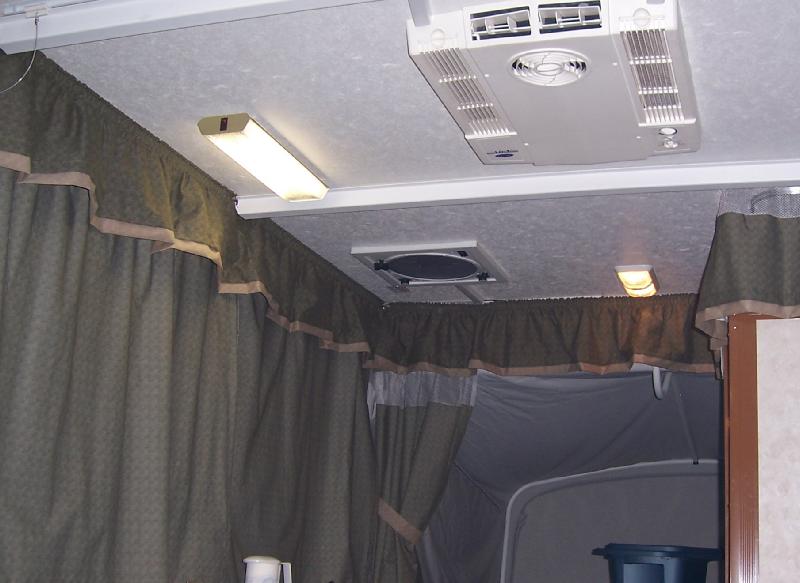
Above you will see a tiny light and fan combo. Two of these came with the camper. They are awful. Very little light and very little air moved by the fan. Installed a 12 volt fluorescent fixture where this combo unit plugged in. For ventilation I installed a roof mounted Fantastic Vent, plus we have a portable 12 volt Endless Breeze fan.
Fantastic Vent
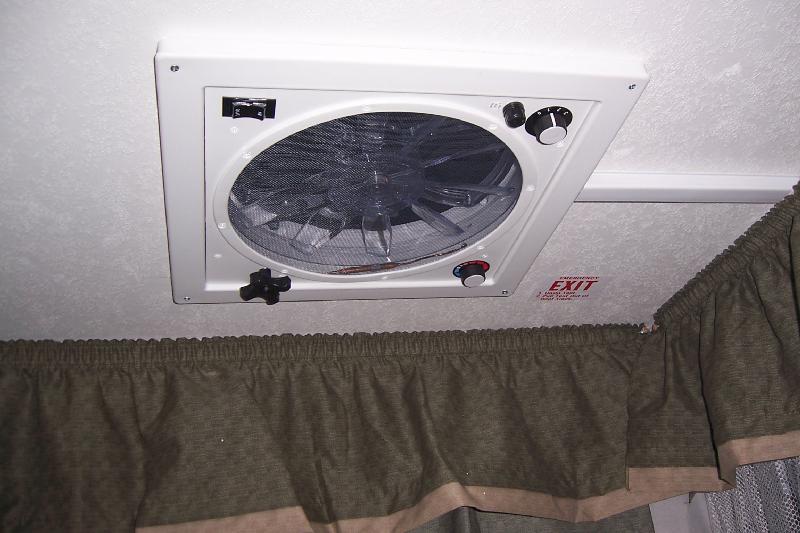
The vent motor can run in exhaust or intake mode. Also has several speeds.
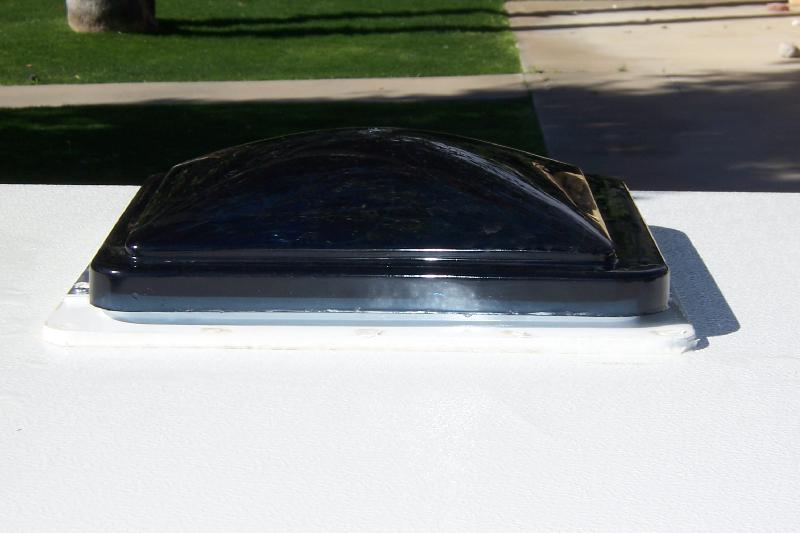
Fantastic Vent on the roof. I like the dark color.
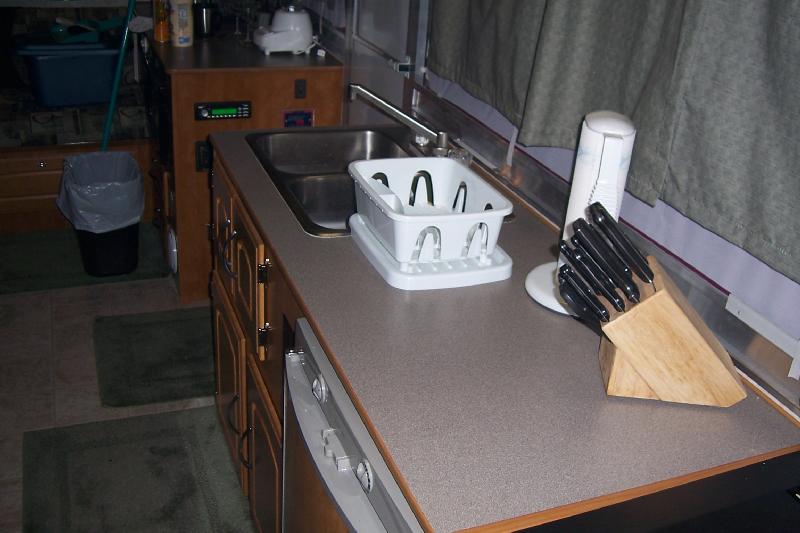
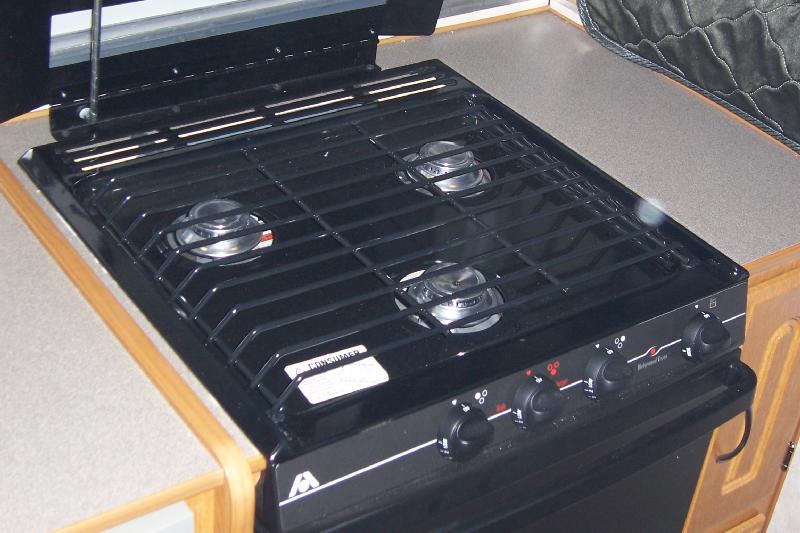
Kitchen, Counters, and Appliances
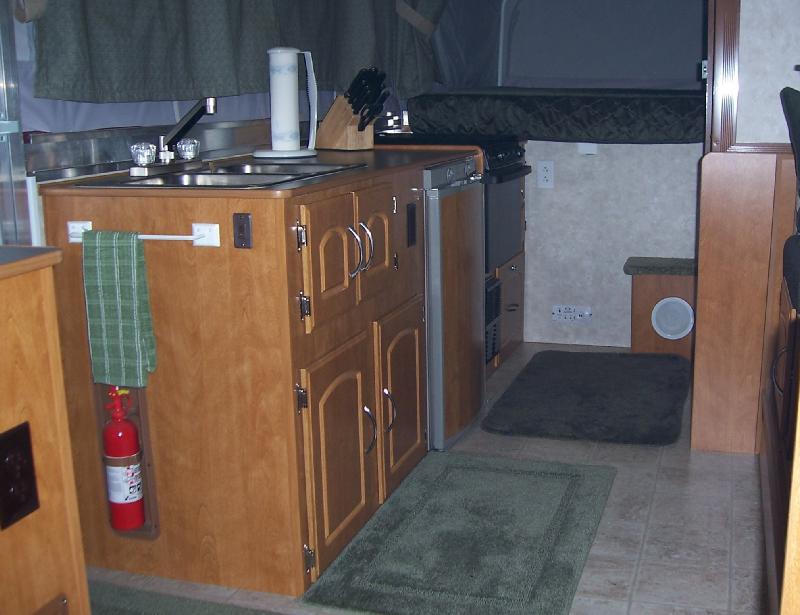
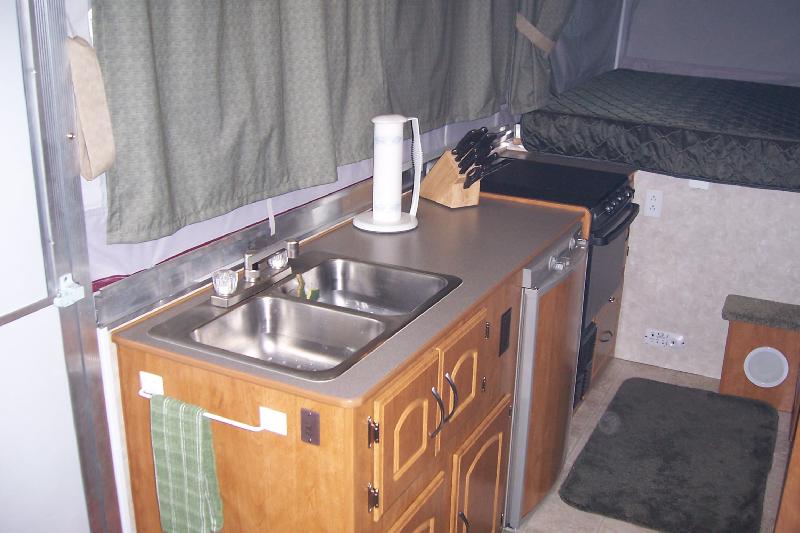
We added the towel holder.
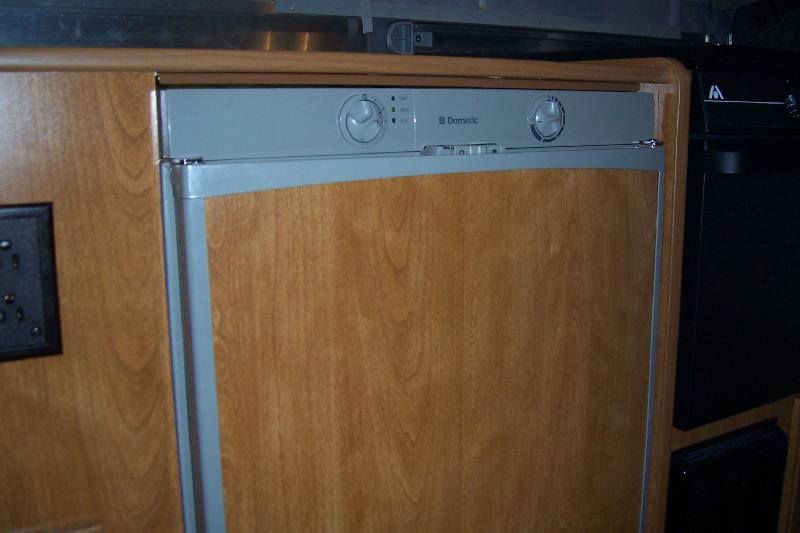
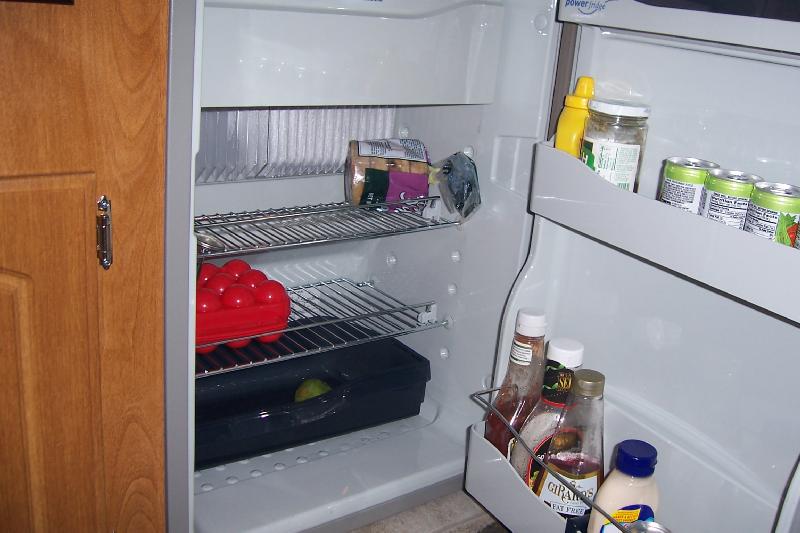
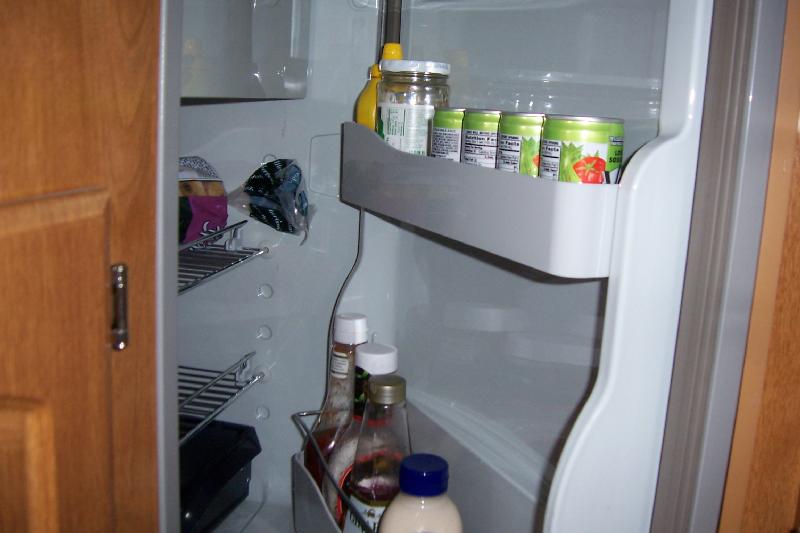
The refrigerator runs on 12 volts (not recommended!), 110 volts, and propane (most efficient).
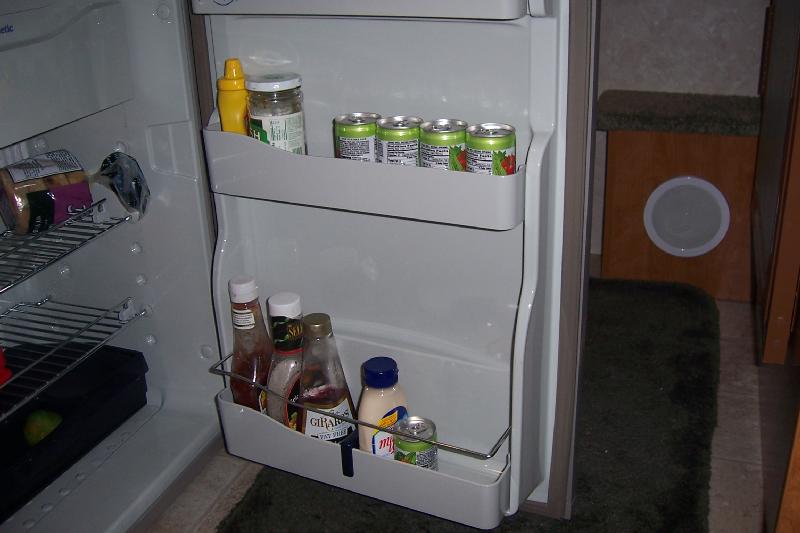
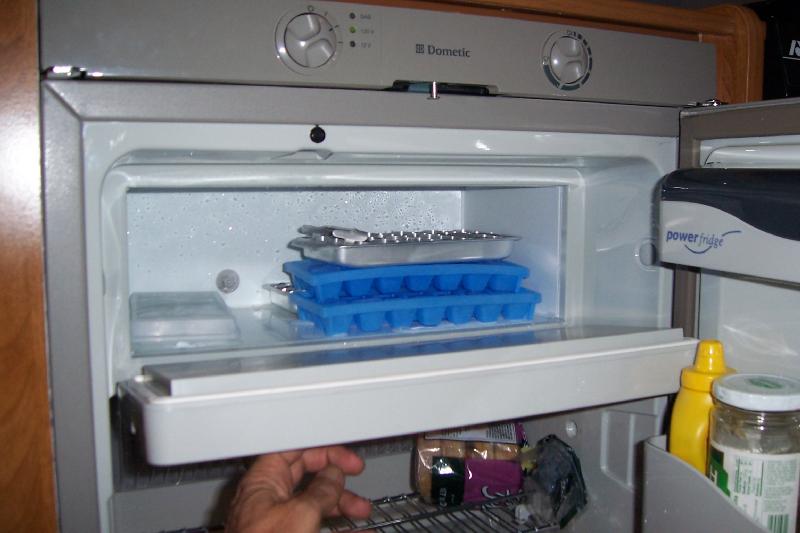
Yep. It even has an ice maker. Works well too. Only it isn’t very big.
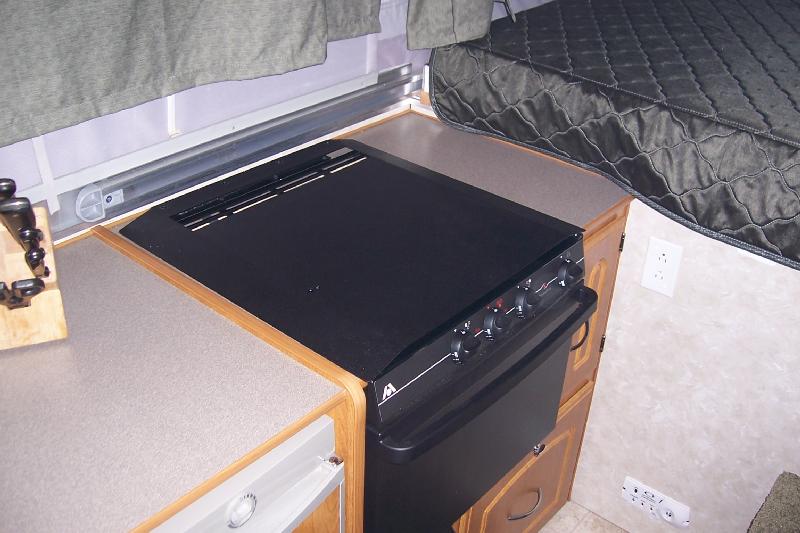
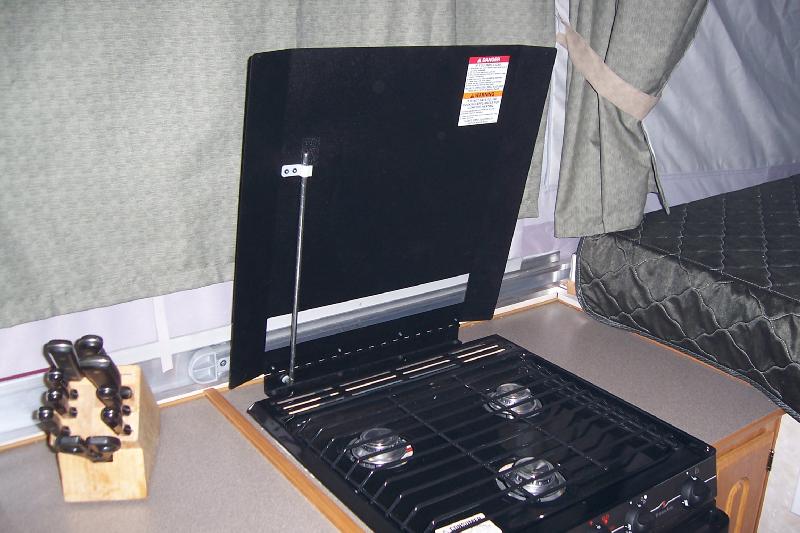
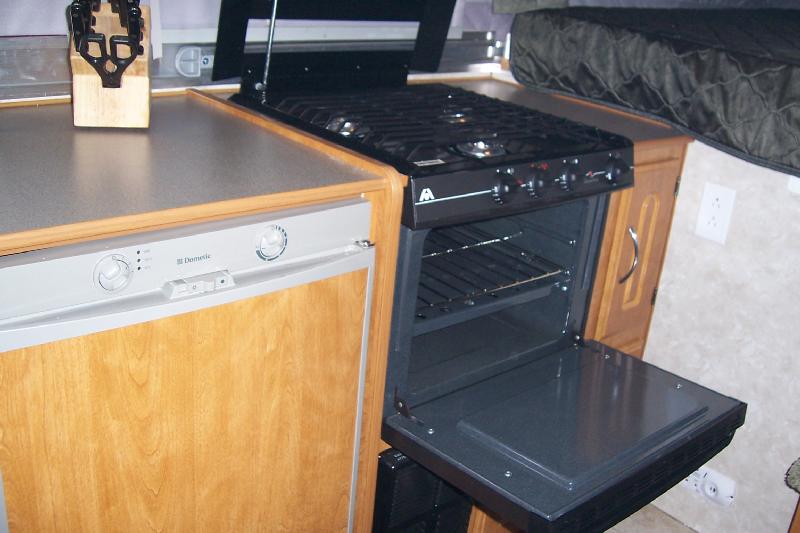
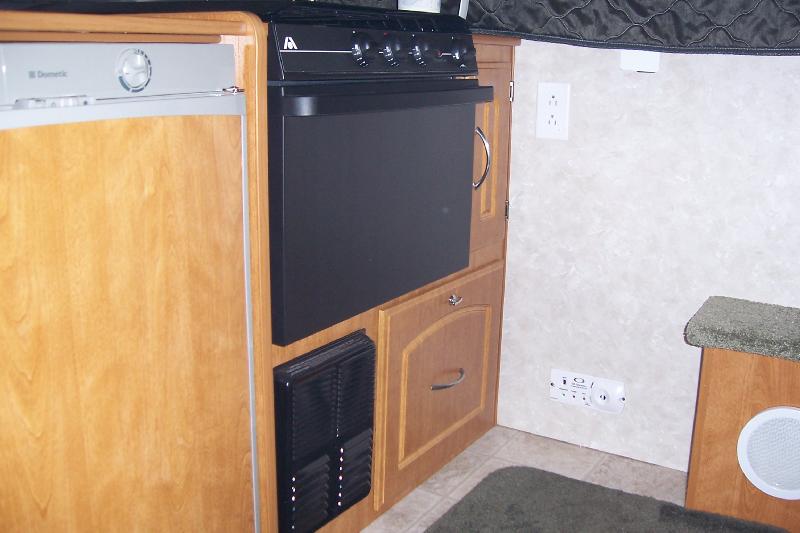
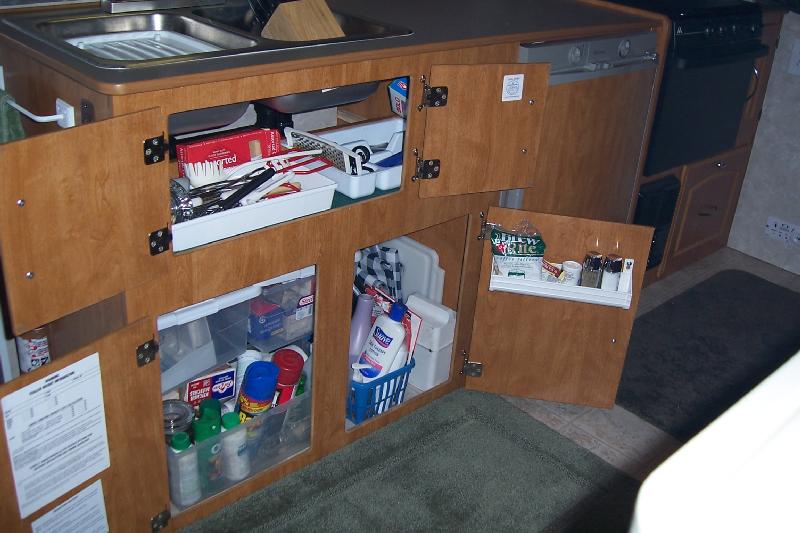
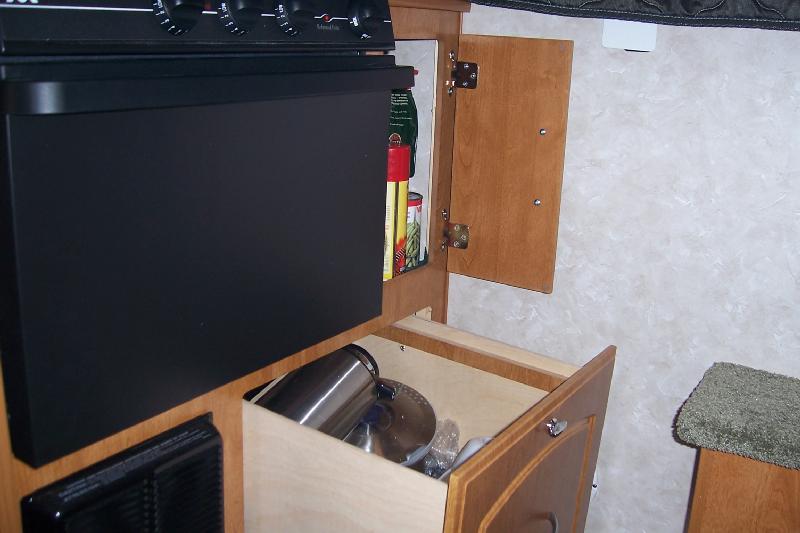
Above: That dark thing below the oven is the furnace. Also below and to the side of the oven is additional storage. The construction of these two storage areas was pitiful at best. I ended rebuilding both.
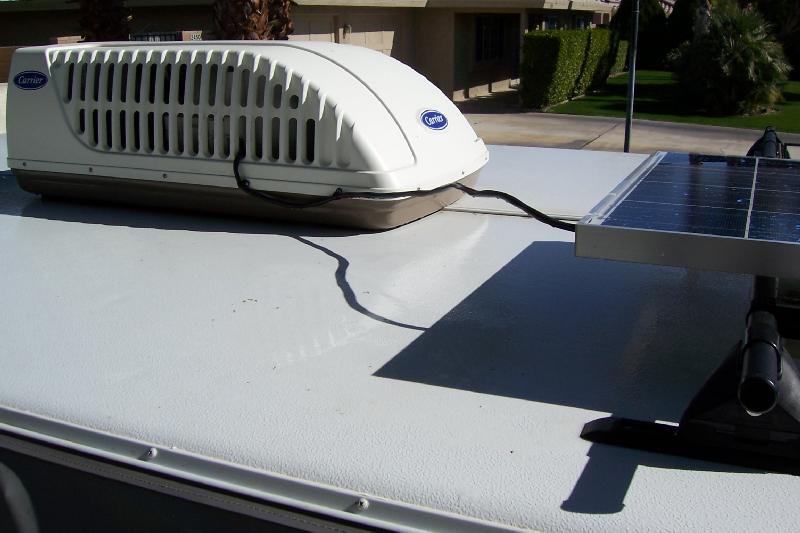
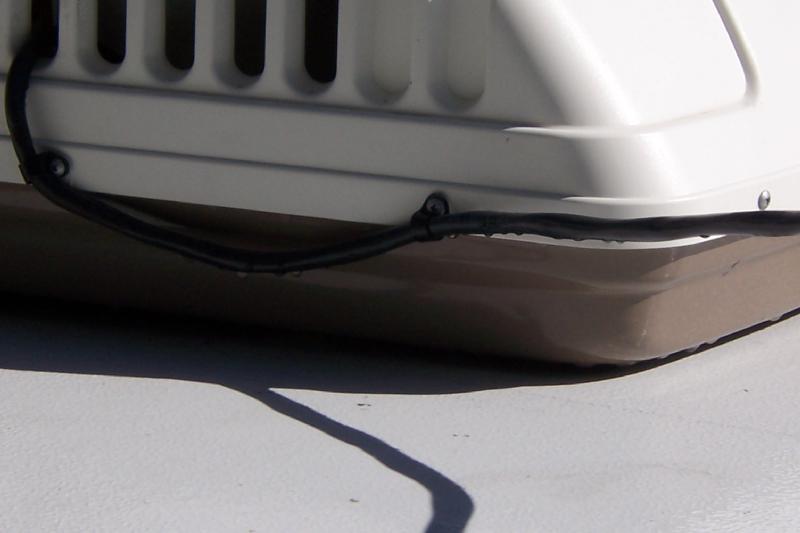
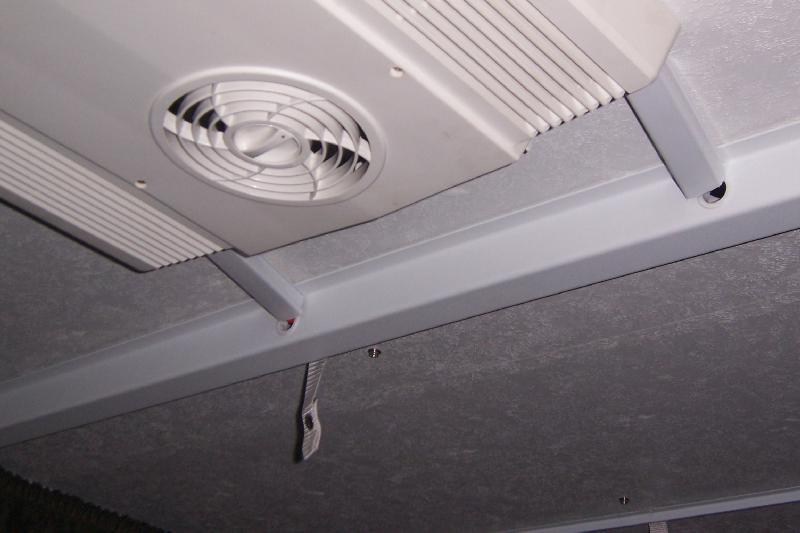
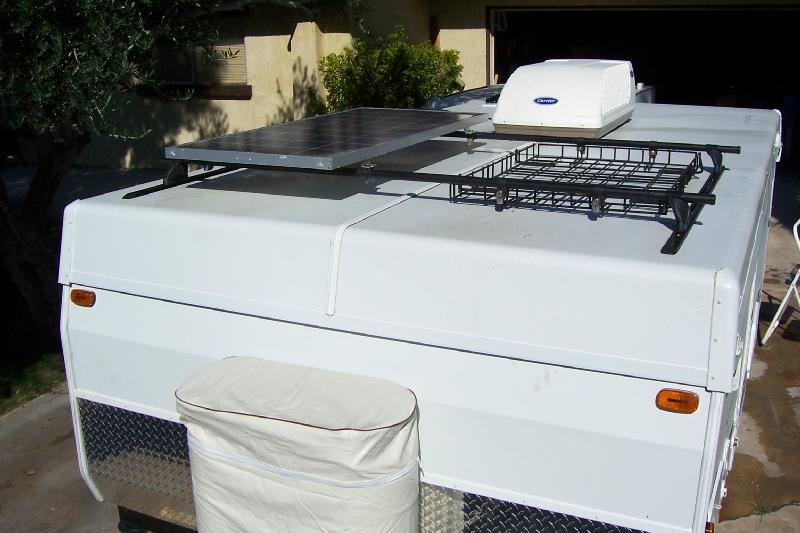
Roof Top Air Conditioner
We installed this ourselves. We rarely use it unless boating on the Colorado River in hot weather, or working on the camper in the driveway during summer. We eventually bought a low profile unit when we upgraded our suspension. Also when we installed the air conditioner we installed the solar system. You can read about both:

Other Stuff
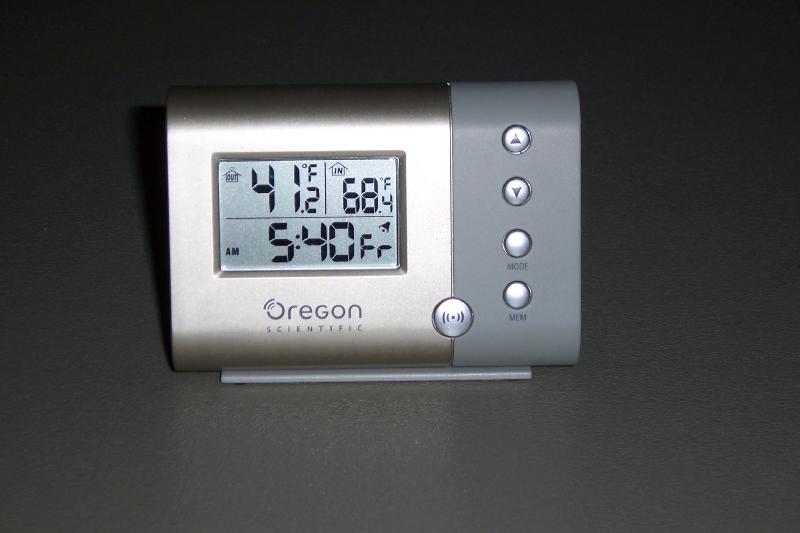
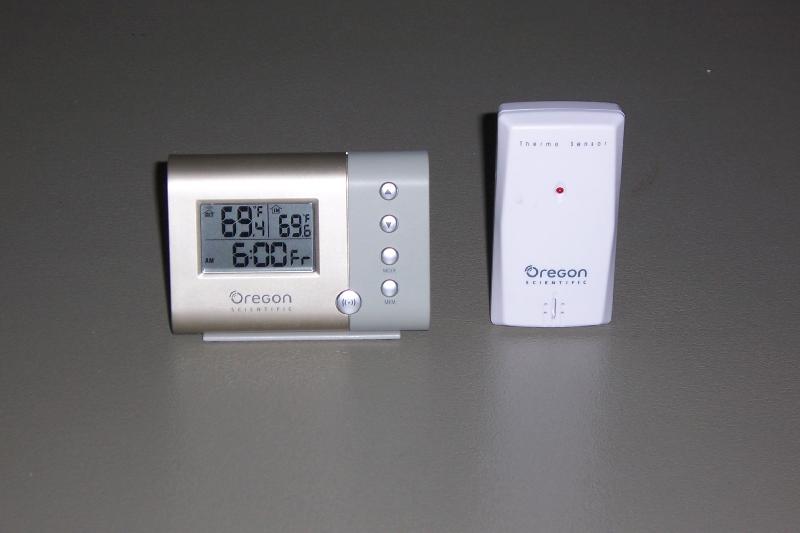
Weather Station
This weather station shows the temperature inside the refrigerator and the ambient temperature in the camper. It is also a clock with alarm.
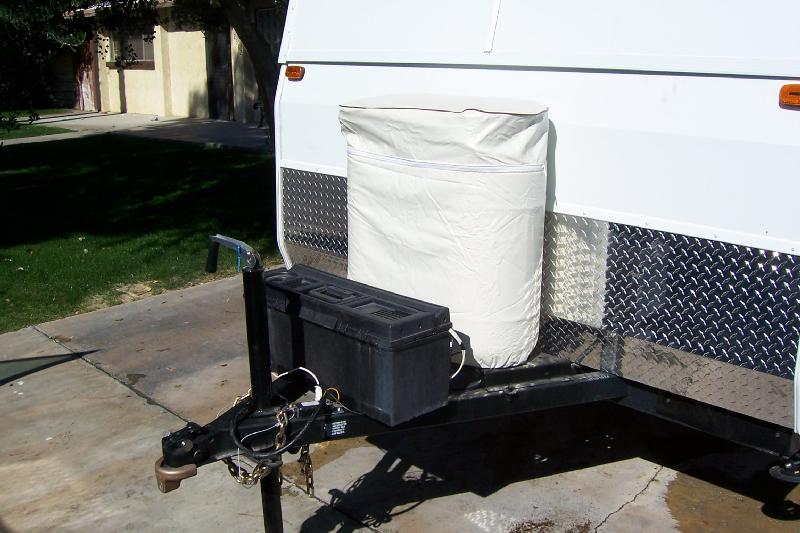
Dual 10 gallon (40lb) propane tanks.
These are huge. Most large travel trailers use 7.5 gallon (30lb) tanks, and small campers use one or two 5 gallon (20lb) tanks. We often camp for long periods of time, so the solar and propane enable use to camp indefinitely.
The front of the camper has “diamond plating” to protect against road debris. I don’t like it. When backing up into a camping sport at night, it reflects from the tow vehicle’s back-up lights. It’s awful.
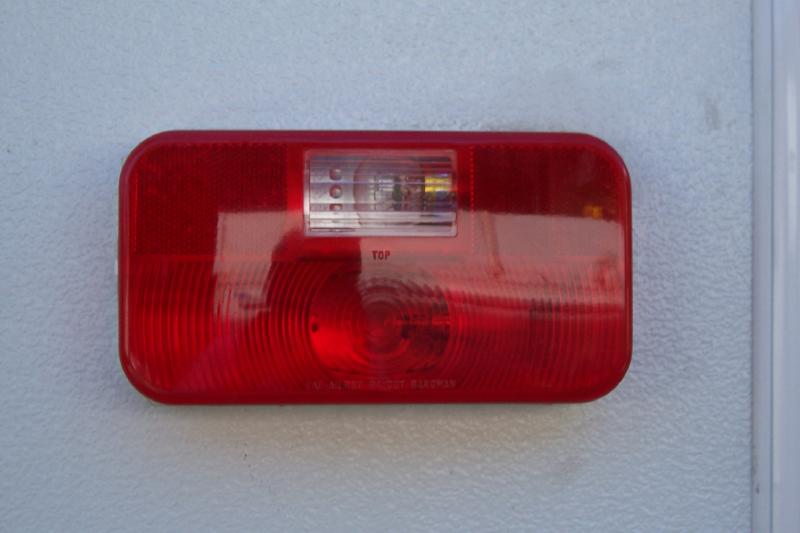
New Tail Light Fixtures
Most trailers do not have back-up lights. I bought these direct replacement Bargman units with a back-up light fixture. I had to run wiring to the front of the camper to connect with the wire plug to the tow vehicle.
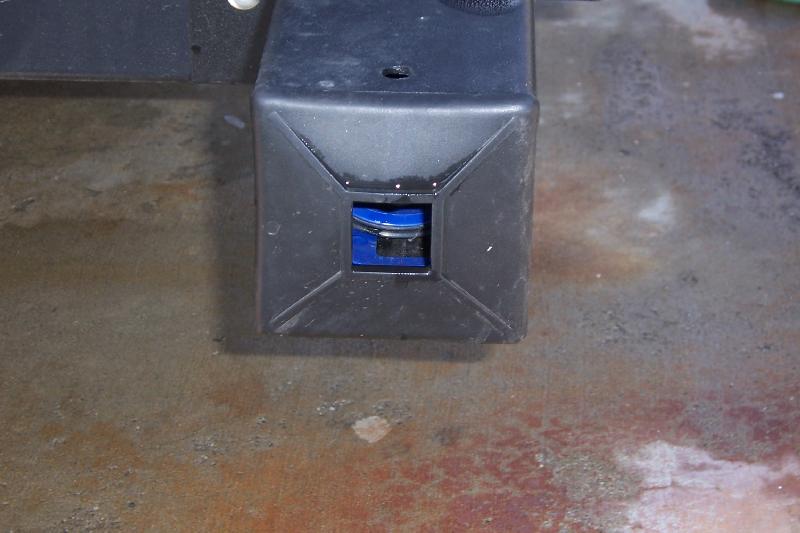
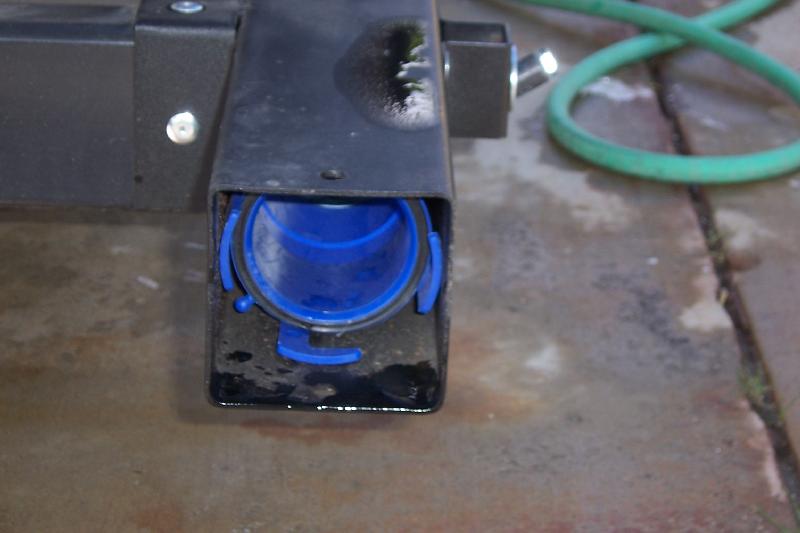
Sewer Hose
This is stored in the rear bumper. I think we have used it twice when we were visiting my son at college and the campground had sewer hook ups.
Maiden Voyage