Back in August we arrived at our campsite in the Sierra Nevada late in the afternoon. Compared to what we are used to, the temperature was much cooler. We set up, cooked dinner and sat around with a bottle of wine to consume.
Shortly after we got into bed, Joyce asked, “Did you open the roof vent?”
“No”
“Well, I can see lots of stars through the vent opening. You should probably close the vent since it is going to be close to freezing tonight.”
I got up to close the vent and noticed the vent lid was missing. Not a good thing, since we would be here for two weeks and afternoon thunder showers are the norm.
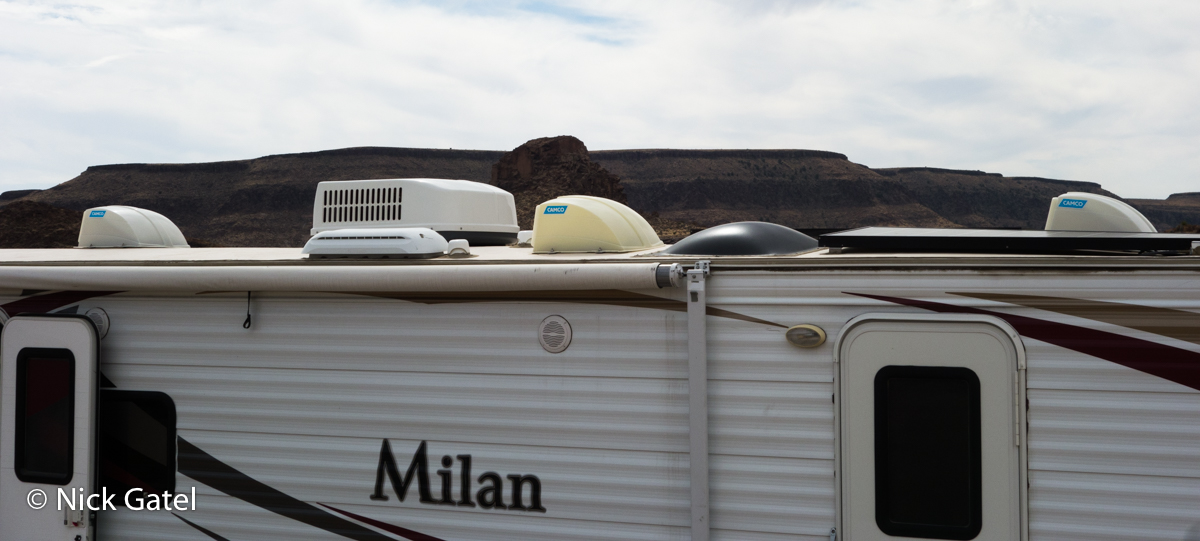
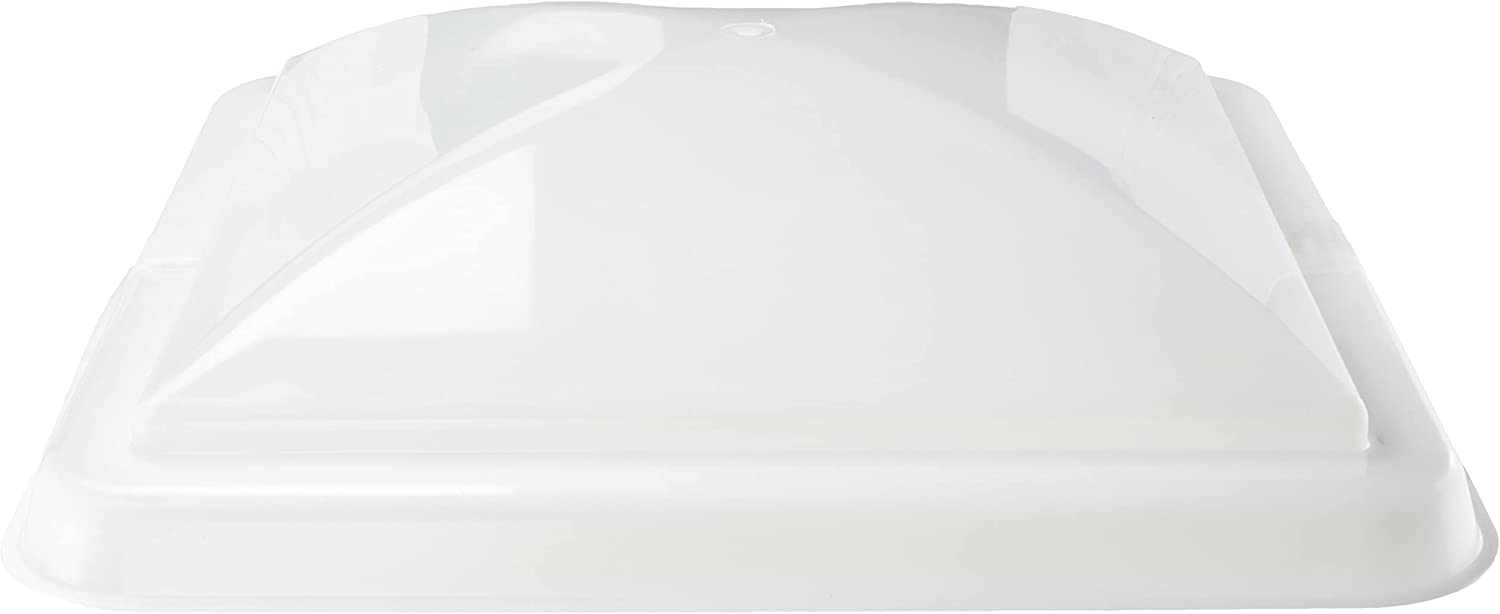
Roof Vent Lid
I had replaced all three of our roof vent lids three years ago, as I outlined in this post. What gives? Perhaps I didn’t properly adjust the locking tab. Or perhaps it might have gotten damaged the couple of times we forgot the close the vent when packing up the camper and getting ready to drive home. Whatever it was, I needed a roof vent lid and there wasn’t going to be one available anywhere close to where we were camped. Plus, I would need a ladder.
Since we would be driving to my daughter’s house for a visit from the campground in a couple weeks, the best plan was to order a new lid from Amazon and have it shipped to her house.

This got me to thinking that perhaps now would be a good time to add roof vent covers. Something I had considered several times, but never got around to doing.
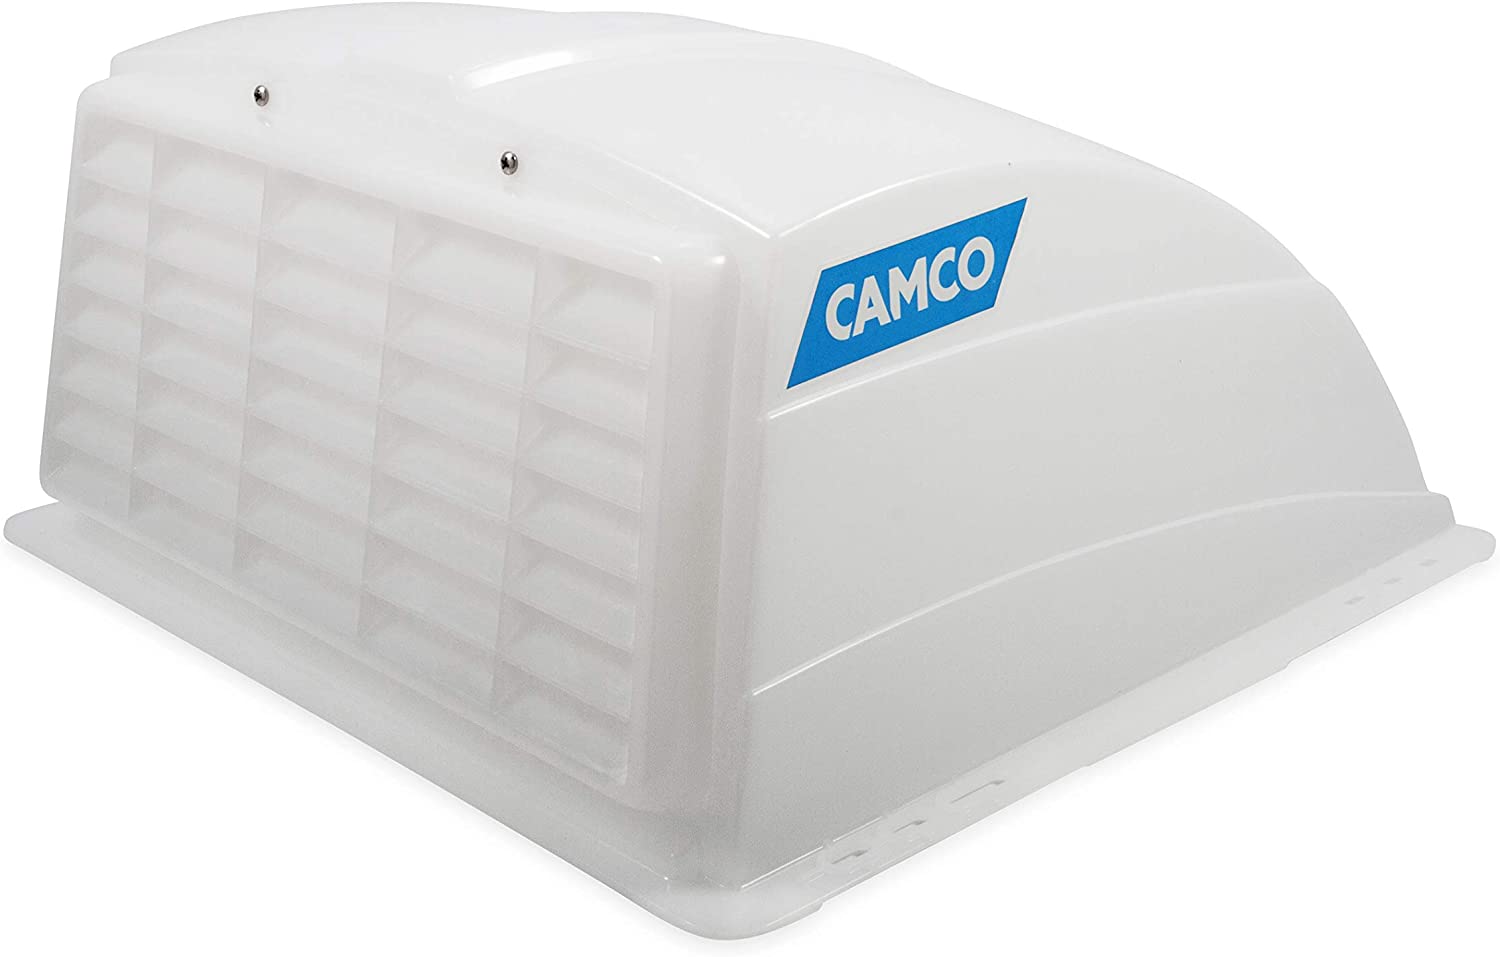
Roof Vent Cover
What is it? It’s a cover that allows the vent to remain open in bad weather. If I had installed these years ago when I first thought about it, we would have been fine even if the vent lid came loose. But then, with the roof vent cover, the lid probably wouldn’t have come loose, and even if it had, the vent cover would have prevented it from flying away while driving down the road.
So I decided to purchase three covers and one vent lid.
I had to walk a short distance to get cell phone reception and I ordered the replace lid and three vent covers to be shipped to my daughter’s house.
During the next two weeks we got a little bit of rain in the afternoons, which was easily taken care of by laying a trash bag on our bed and a small plastic container to catch any rain water.
Installation
Installation was pretty straight forward and although I don’t carry many tools in the camper, I had all the needed tools. All I needed was a ladder, which my daughter and son-i-law had.

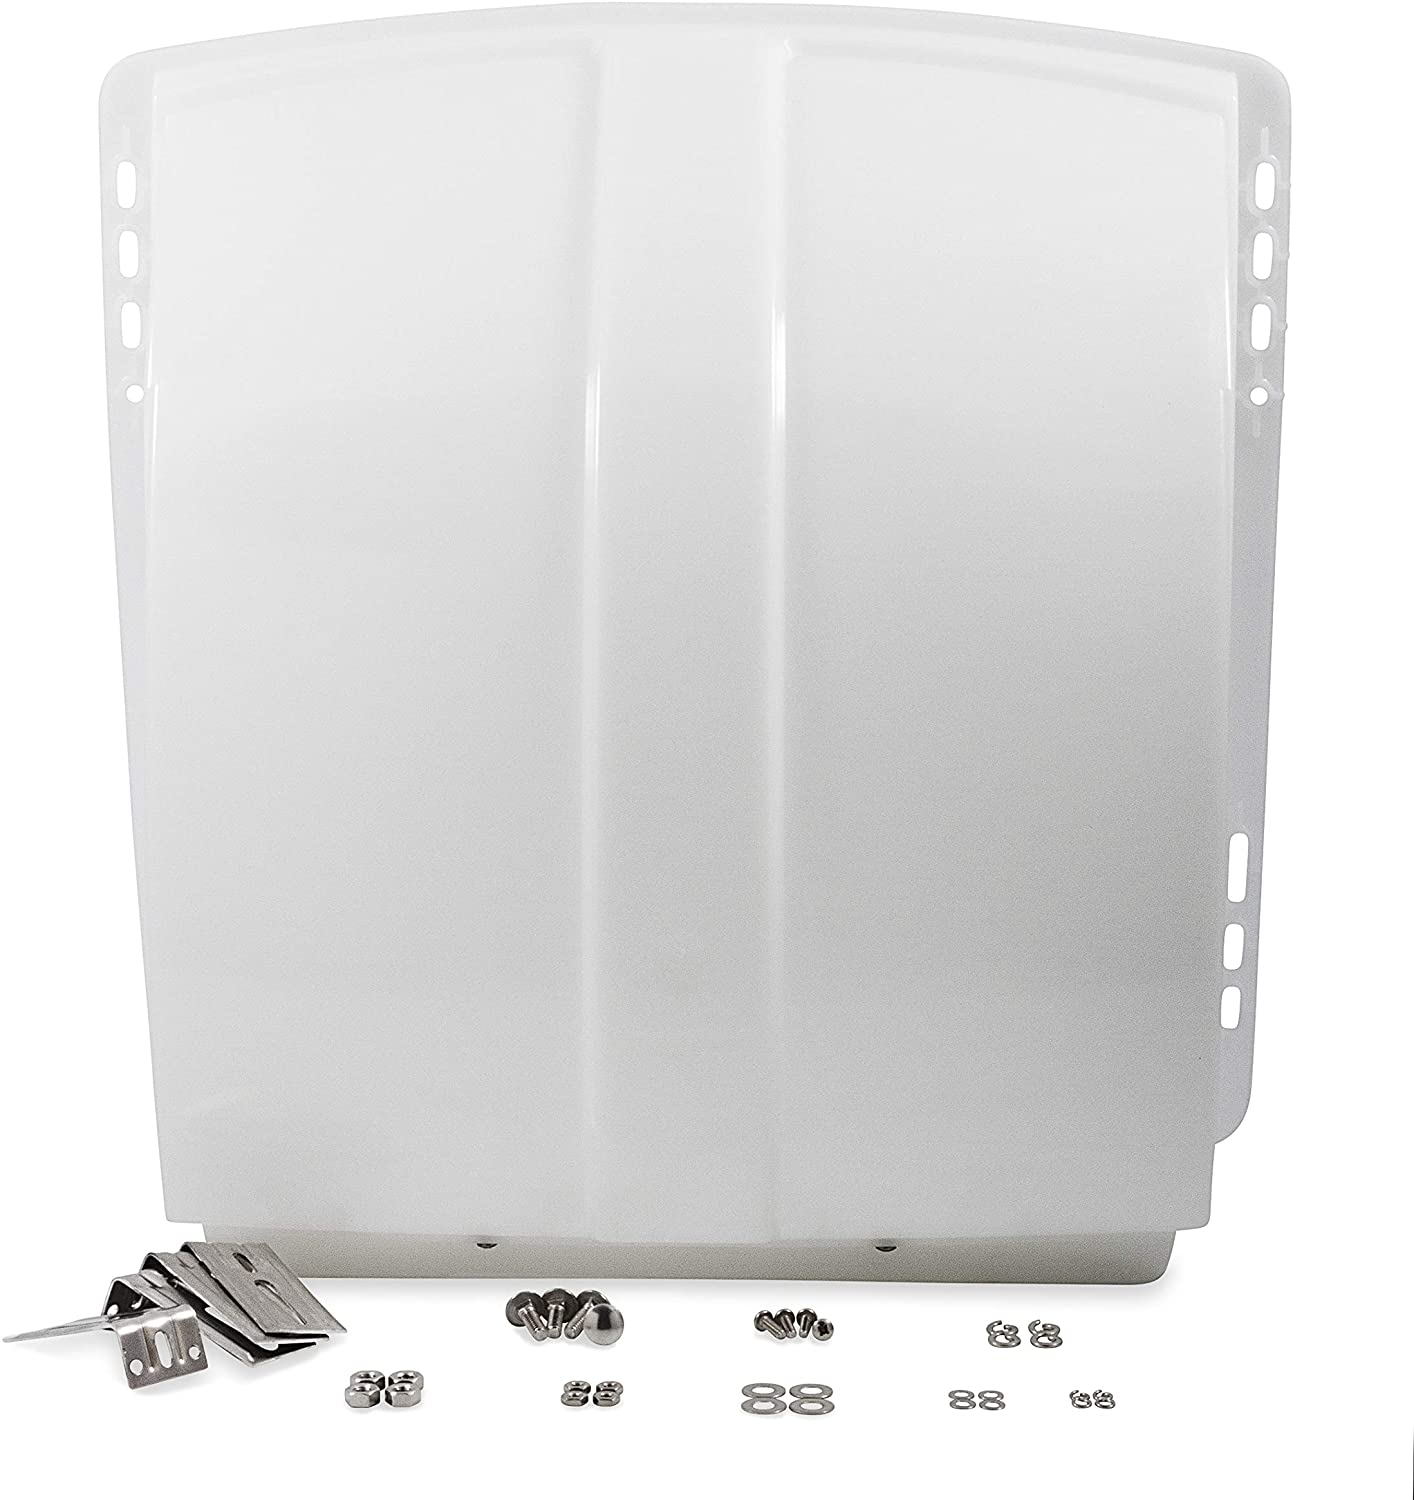
The vent cover comes with four mounting bracket, screws, washers, nuts, and instructions.
Using the vent cover as a template by centering it over the vent, I marked the locations for each of the brackets with a pencil. Then I removed the vent cover and drilled four holes into the metal vent frame that extends above the roof.
From there is was a simple matter to attached the vent cover with the screws, washers and nuts. From there I installed the other two covers. Probably took me an hour to complete everything.
So far we’re happy with them. Earlier this month on our trip to the Mohave Desert, we had quite a thunderstorm and downpour one night. We were able to leave the roof vents open and not a single drop of water got into the trailer.

This website may be compensated for linking to other sites for sales of products. As an Amazon Associate I earn a small fee from qualifying purchases at no additional cost to the purchaser.


