Regrets
One would (or should) be truly happy if they went through life without any regrets. To never feel remorse or sadness for any action they took, or not squandering any part of their life already lived — leaving only excitement for what the future will bring.
For the most part, I am that person. Not saying I have always made good choices, but my choices have always been thought out, and if they did not work out the way I had hoped; then no regrets.
So why “for the most part,” am I that person? Because I recently discovered that I did not know how to properly tie a shoelace. Now that in itself is not a big deal, but then it occurred to me that I may have taught my children how to do it wrong — but then I don’t know if I was the one who taught them. Maybe their mother did.
Proper shoelace tying procedures (bunny ears method) — note: you can start with the left end or the right end, just reverse the steps:
- Cross the right end over the left end
- Make both ends into loops
- Cross the loops over each other in the opposite direction of step 1; in this case left over right
- Run the left loop around the right
- Insert the left loop into the hole created by both loops
Step 1
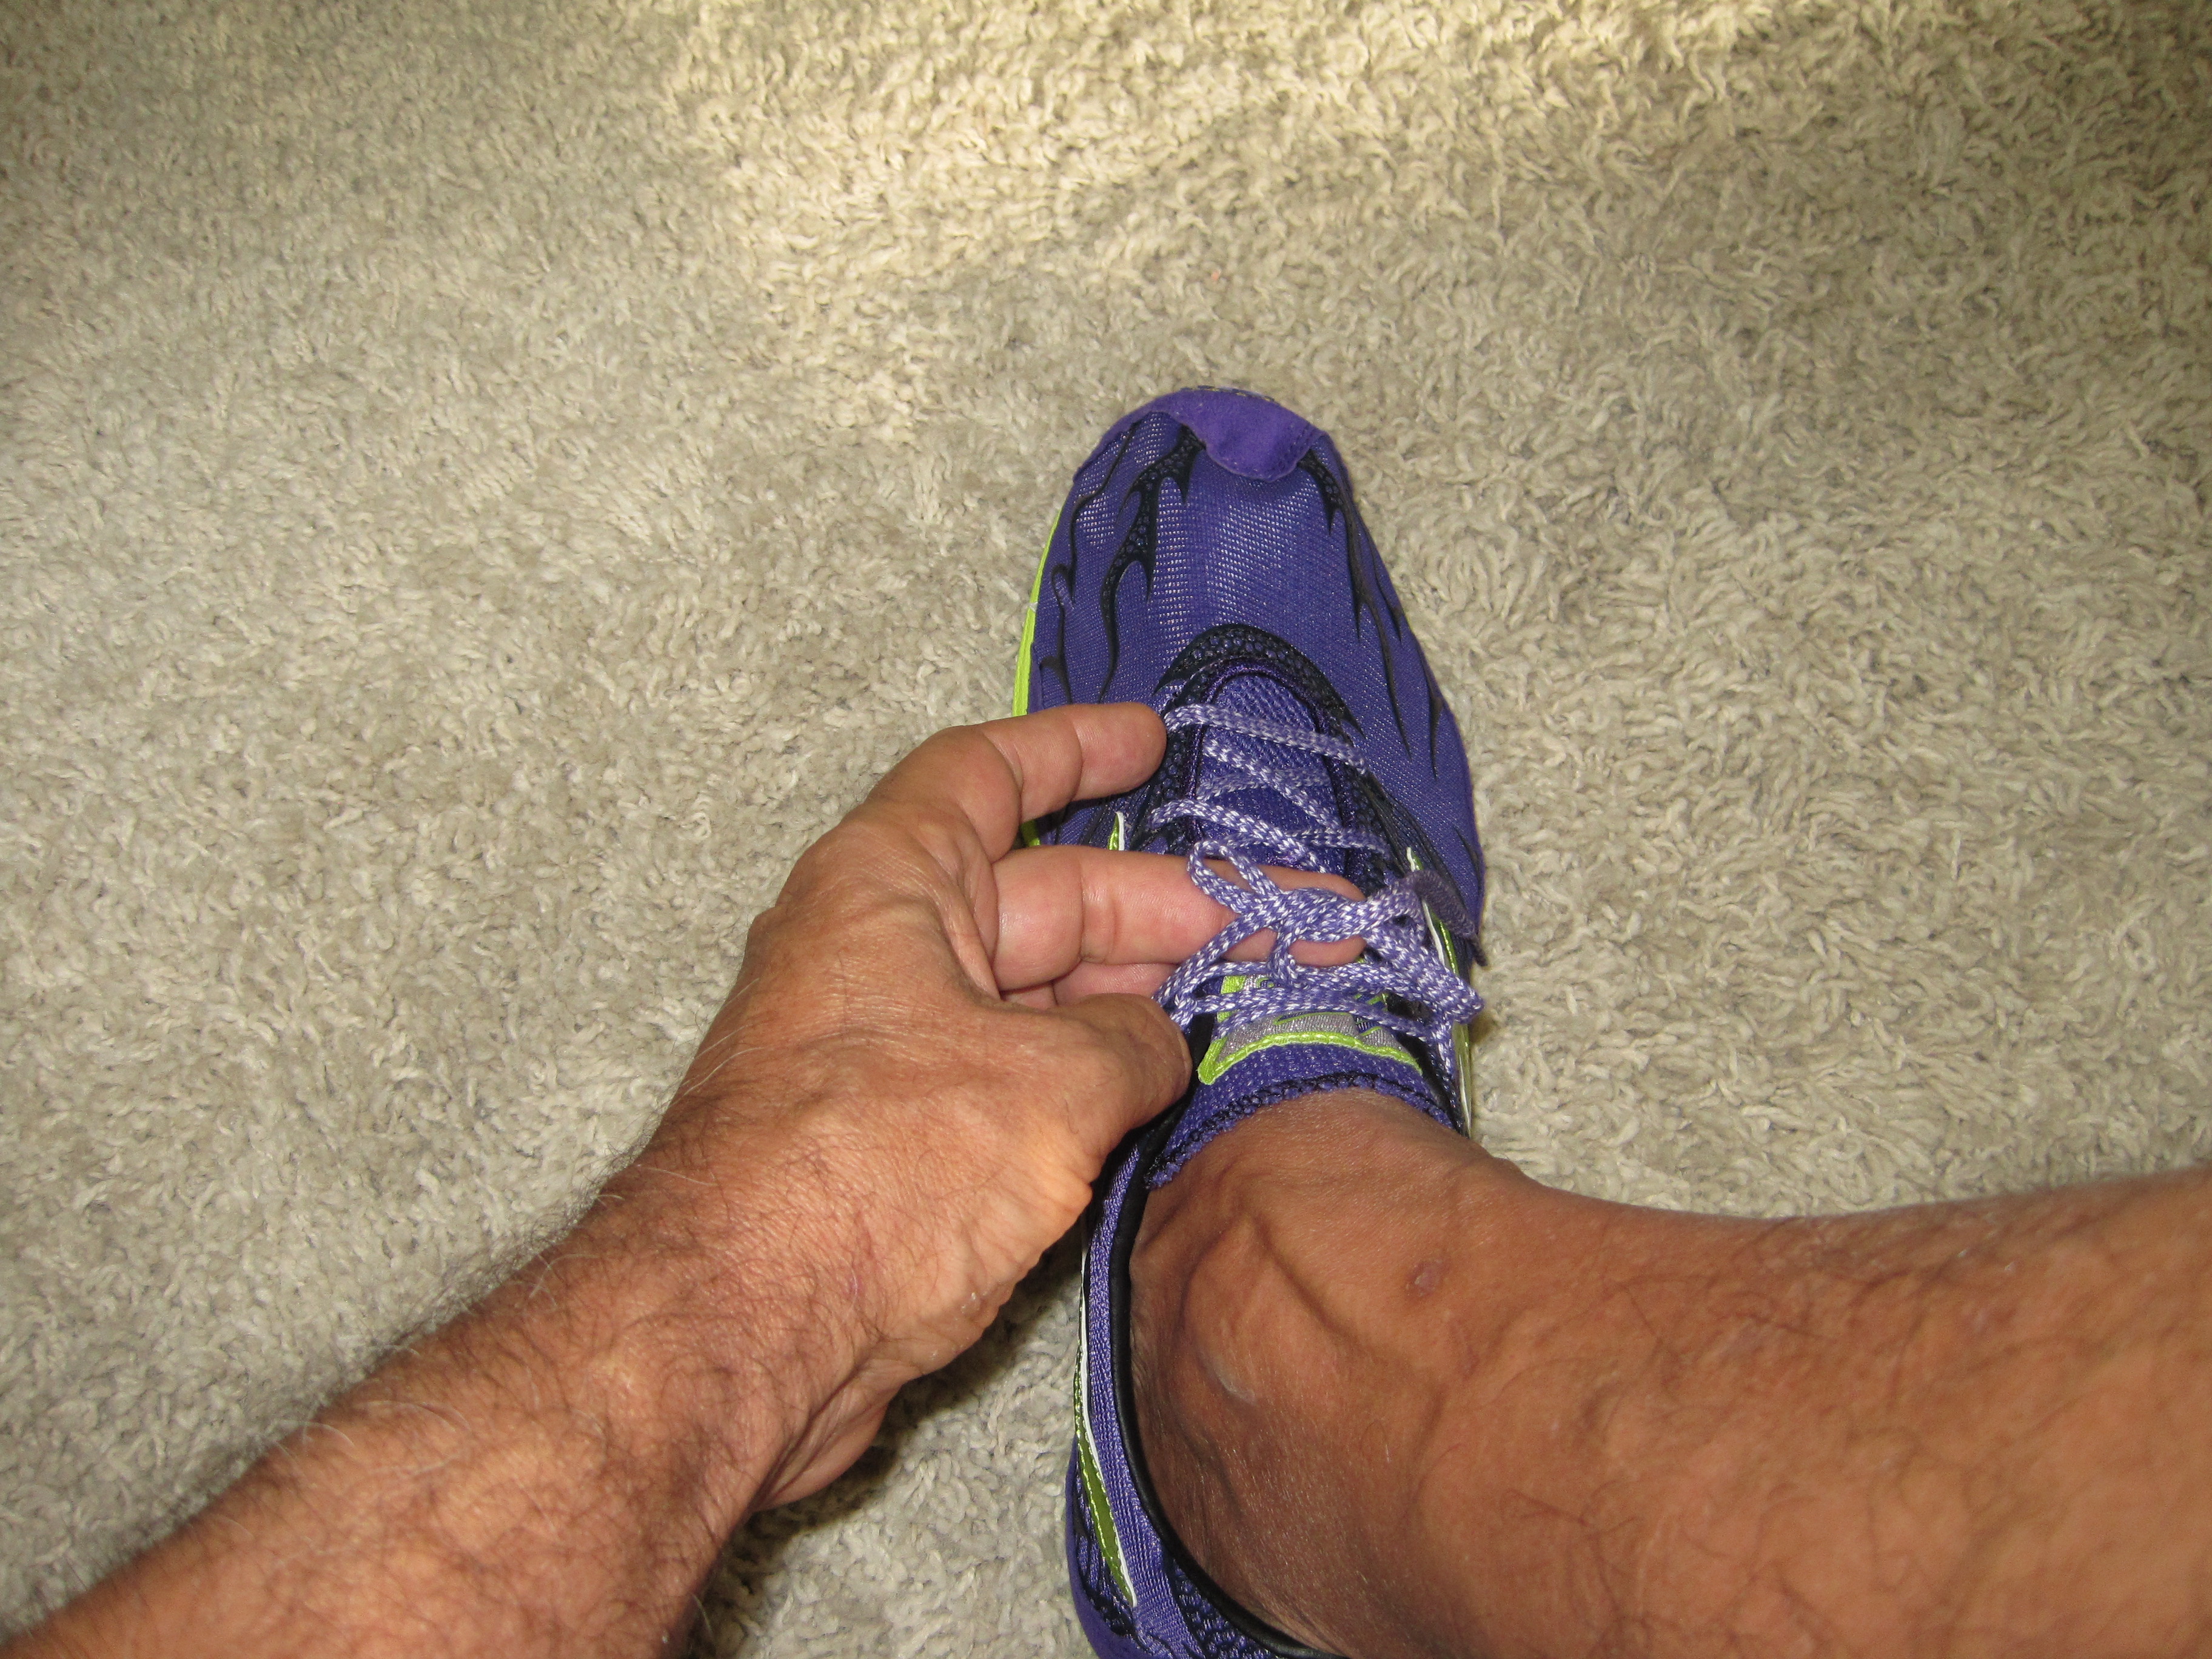
 Cross the two ends of the lace — in this case, right over left.
Step 2
 Loop each end of the lace into bunny ears.
Step 3
 Cross the loops (bunny ears) over each other in the opposite direction you tied the first know. You will now have a center hole below the bunny ears.
Step 4
 Insert the left loop into the hole.
In the video below I demonstrate how to tie shoelaces. If you do it wrong the lace will be crooked, which means you tied a “Granny Knot,” not a Bunny Ears Knot.
For everything shoelaces visit Ian’s Shoelace Site!


