The main purpose of this post is to discuss how to maintain leather hiking boots.
First, I’d like to talk about boots in general. For the past eight years, ever since I started this blog, I have been an outspoken advocate of running shoes for backpacking. Not, trail running shoes in particular, but even lighter more gossamer shoes.
I am beginning to change my mind.
Sometimes Running Shoes are the Wrong Tool for the Conditions
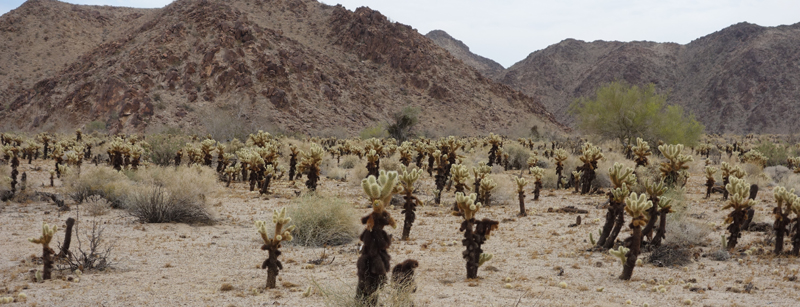
I have suffered a lot of minor pain and anguish when hiking in places like this. Any mesh shoe isn’t going to protect my feet against Jumping Cholla or other Cacti quills and thorns. Even a high top ultralight nylon shoe doesn’t do the job. One needs leather boots. Leather boots are heavy.
Running Shoes Have a Very Short Lifespan
Running shoes and their nylon cousins do not last long. Most people discard them after 400 or 500 miles of use. Most running shoes cannot be re-crafted — replacing worn out outer soles and other failures. Over the past twelve years I have gone through a couple dozen running shoes that have only been used for backpacking trips. I have discarded around twenty-four pair of shoes.
Environmental Considerations
If we consider the current state of the backpacking industry (gear makers) and those who partake of the sport, we see a strong voice for protecting our environment and nowadays calls to address climate change along with other issues. It seems contradictory that most hikers wear disposable nylon shoes that end up in landfills. Along with this we hear a demand to end oil dependence and to switch to alternate forms of energy.
Guess what? Nylon comes from oil. There are many ways nylon and other petroleum byproducts are not good for the environment if we look at the life of these products “from cradle to grave.” We can recycle some of them, which may make us feel good by rationalizing our actions.
Leather boots also have an environmental impact, especially if one thinks the cattle industry is a bad thing. But boots can be re-crafted over and over.
I am not saying you should make any decisions or change your opinion. That is up to you and I am not advocating any position.
Economic Considerations
Given that the average running shoes probably costs over $100 a pair, at least most of what I have purchased over the past twelve years, I have spent probably close to $3,000 on backpacking shoes. Had I kept using my old leather boots over this period, which I originally paid under $100 in the ‘80s, and if I had them re-crafted a couple of times during the past twelve years, my cost would have been well under $500.
I’m really questioning if it makes sense to keep buying these expensive shoes every year. My Salomon XA Pro 3D, one of the most popular trail running shoes ever, which are at the higher end of weight for this kind of shoe, weigh 15.75 ounces each. My Danner Mountain Light leather boots weigh 29.675 ounces each, just less than double. Will a total of less than two pounds of extra weight for the pair ruin a trip? Hardly. Will they work better? No, they are not better most of the time. It is just food for thought.
Back to Boots
Recently I bought a pair of Salomon nylon/leather hiking boots. They’re more robust than my current Salomon trail runners and offer more protection. My first question is, how long will they last? Since I haven’t worn them much, there is no need to discuss the specifics of this boot.
What I have done recently, is start wearing my old leather boots again. Here is a weight comparison:
- Salomon Trail Runners (pair) = 31.50 ounces
- Salomon Boots (pair) = 34.00 ounces
- Danner Mountain Light Leather Boots (pair) = 59.35 ounces
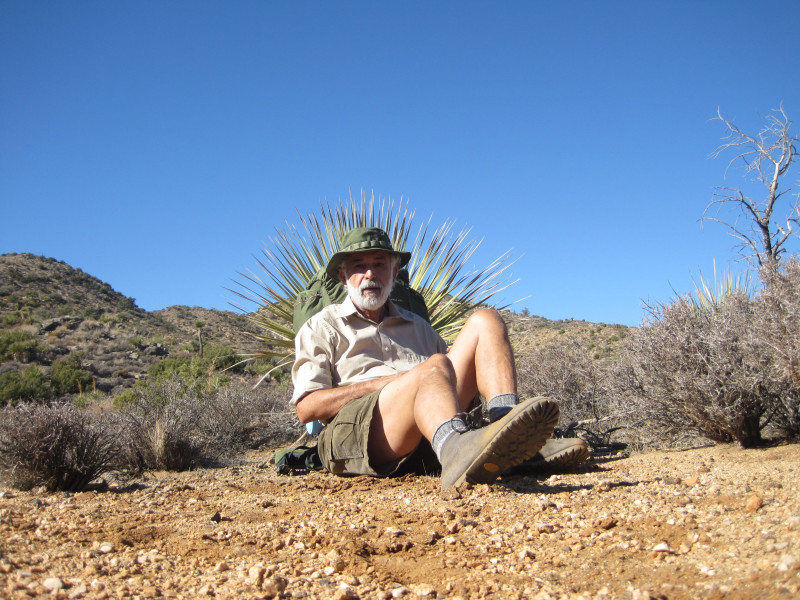
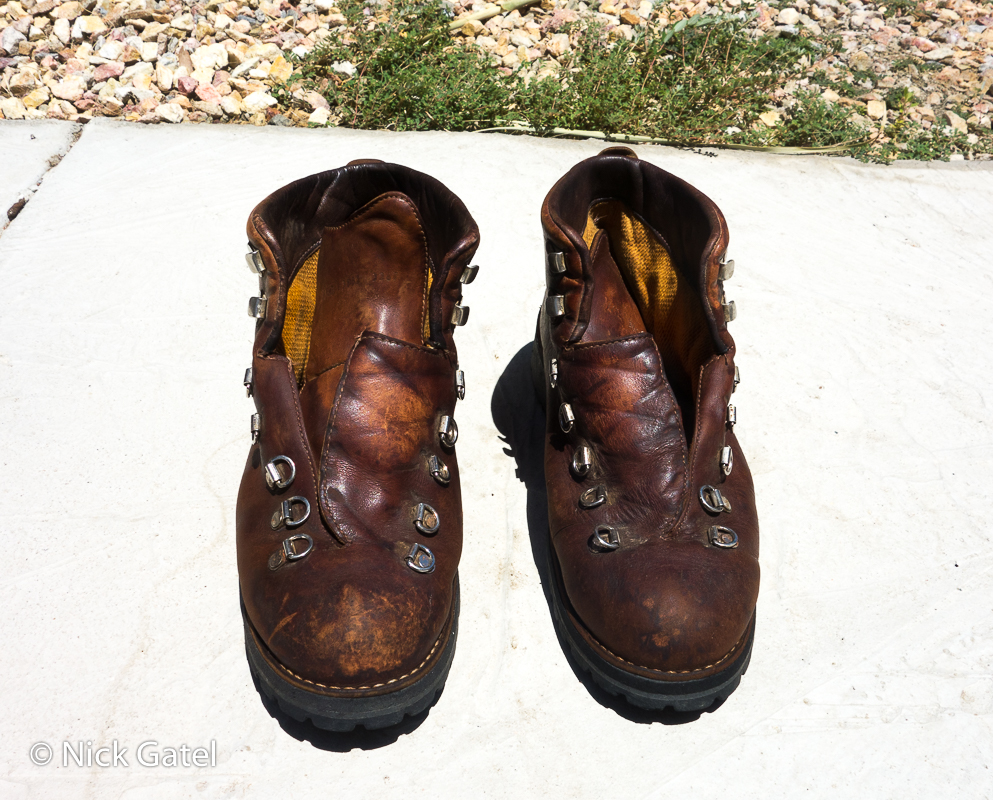
In the picture at the beginning of this post, I am wearing a pair of Pivetta DMC boots. I bought these in the ‘70s. That picture was taken in 2012. It had been quite a while since I had worn them. They were replaced with my Danner Mountain Lights in the mid eighties, but I kept the Pivettas in my gear closet. The main reason they were replaced by Danners is the heel was a very narrow design. On that trip in 2012 and a couple others, I found the boots had become too small. Actually my feet had gotten one size bigger over the years.
One “lucky” thing about my Danner boots, is when I purchased them I wore a size 10.5 D. I bought a size 11.5 D Danner because I wanted to start wearing a silk liner sock with two pairs of wool socks. Leather boots usually have to be broken in and the leather linings often cause hot spots leading to blisters. I thought this might be a solution.
What I didn’t realize at the time was Danner used a Cambrelle polyester fabric lining. These linings are super tough and soft, highly breathable, and really do not requiring much break-in.
Over the decades my feet have gotten larger and I now wear a size 11.5 D, and a single pair of Darn Tough brand “Hiker” wool socks resulting in a perfect fit today.
Keep in mind I haven’t definitively decided to abandon trail runners for backpacking. I am going to go back to boots for a while, and especially leather boots. We shall see how this grand experiment goes. The main reason I switch from boots was to lighten all my gear as I approached the youthful age of 60. Now I am approaching 70. Next year I may report I have changed my mind and have returned to running shoes again.
Leather Boot Care
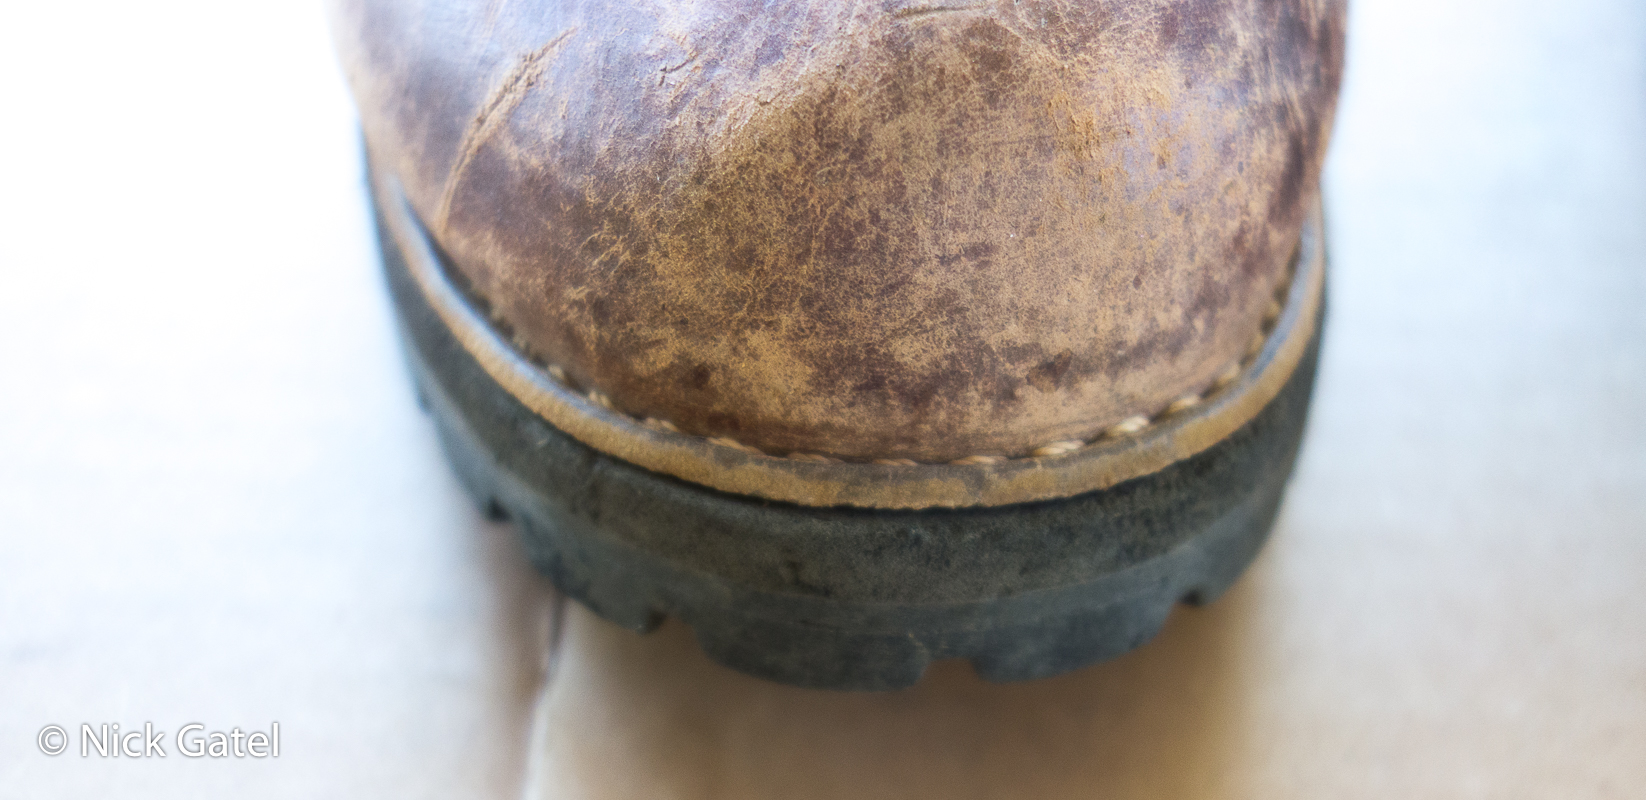
In order for a leather boot to be recraftable (new soles, liners, repairs, etc.) the leather has to be maintained. The goal is to keep the leather soft and pliable. If the leather becomes cracked, especially where the upper is sewn to the midsole, it may become unable to be recrafted.
There are different types of leather and processes to prepare the material before the boot is constructed. It is very important to review the manufacturer’s recommendations and to use the specified methods and products. My Danner boots are made from full-grain leather. To be honest, I really don’t know what this means. I do have the cleaning and conditioning instructions, which is the most important thing to know.
Leather is a breathable material, meaning dirt can penetrate into the material, especially into seams. So let’s go through the steps:
Get Your Boots Ready
Remove the shoelaces!

Gather Your Cleaning & Conditioning Supplies

In my domain, the garage, I only have these large sponges that I use for washing our vehicles, laying tile, etc. I don’t have smaller sponges. We do have nice smaller sponges in our kitchen and laundry room. Those sponges are not mine to use. Joyce hides these sponges from me. She is not going to let any sponge leave her area of control to be used for work in the garage or to clean icky shoes or boots. I didn’t want to make a special trip to the store for a new smaller sponge. The large sponge worked.
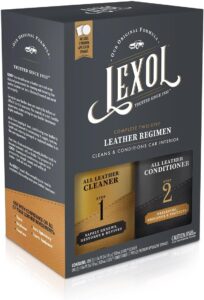
Danner sells leather cleaner made by the company Lexol, and their own branded leather conditioner. Both were out of stock on their website, probably due to the coronavirus pandemic. I already had a tin of Danner Boot Dressing.
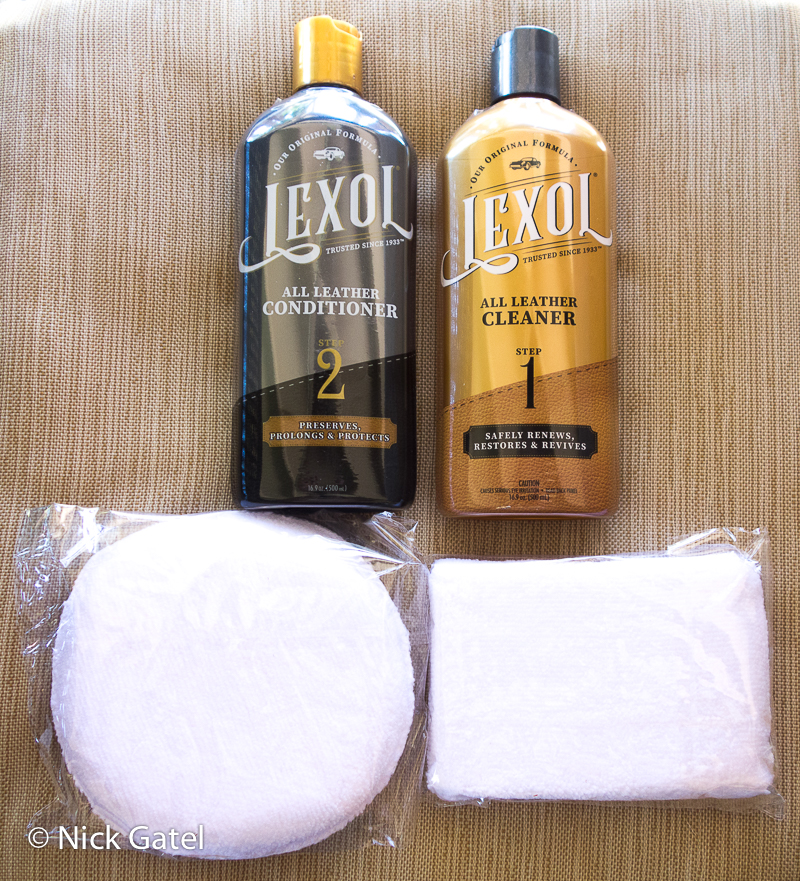
I went ahead and bought a kit on Amazon that included leather cleaner, conditioner, and sponges/applicators. This solved Joyce’s bad attitude about her sponges. I knew I probably wouldn’t need the leather conditioner for this maintenance session, but it would be good for the future. I can’t say how well the Lexol conditioner will work on my boots versus Danner’s Boot Dressing, but Lexol is one of the well-respected companies for leather products. Remember, Danner sells their leather cleaner.
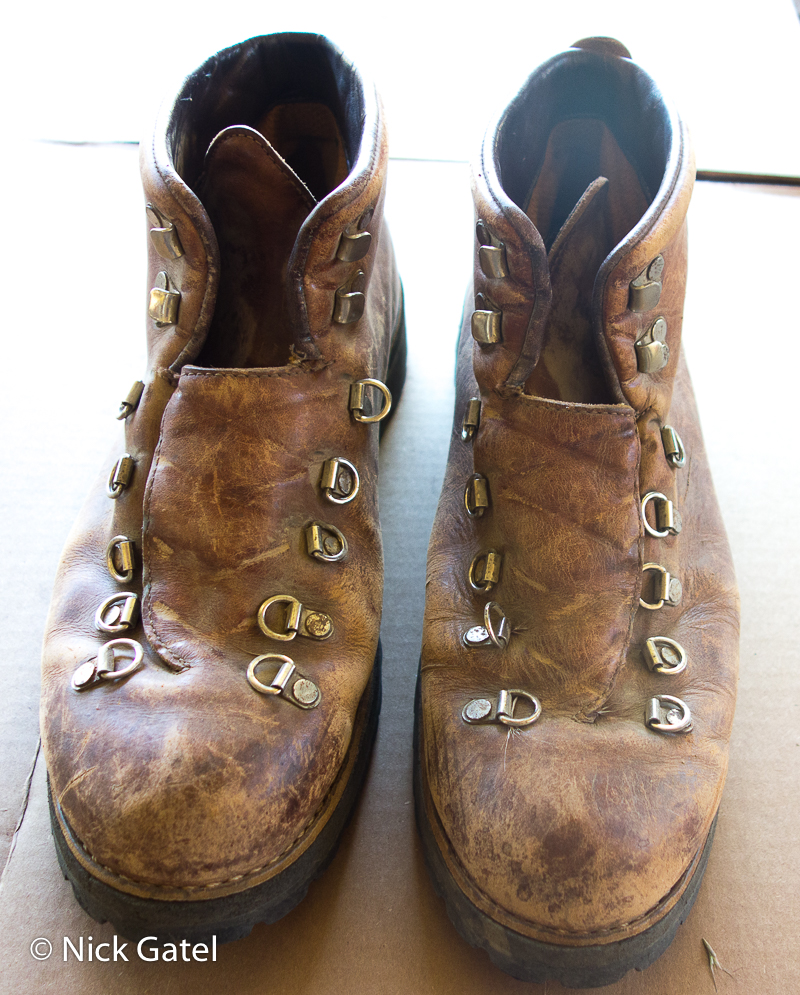
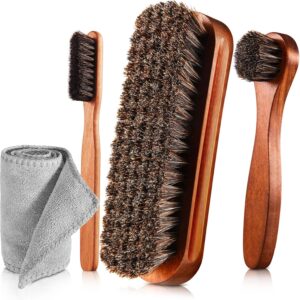
Clean Your Boots With a Brush
First the shoelaces should be removed. A brush will help loosen any caked on crude, particularly in the nooks and crannies.
Wash Your Boots
Start with a sponge or cloth. The boots don’t need to be soaked it water, but scrubbed to further loosen any material.
You want to pay close attention to any seams or sewn areas that do collect dirt, grime, and crud.
After washing and rinsing with tap water, I washed the boots with the cleaner and one of my newly found sponges.
With the leather cleaner you simply massage the cleaner into the leather with a sponge or cloth, then clean a couple times with a clean sponge or cloth. Below you can see how dirty the sponge became when I washed the boots with the leather cleaner, after I had already brushed and washed them with tap water.

The boots were kind of wet after my initial tap water cleaning session with the humongous car wash sponge, so I wanted to dry them a bit before applying the conditioner.

You never, ever, want to dry boots with a hair dryer or put them in an oven! Should you need to dry a pair of boots, you can purchase a special boot dryer. But I have a really good free boot dryer here.
Apply Conditioner
This step is simple. Liberally apply the conditioner, massaging it into the leather. Make sure it gets into all sewn seams and the nooks and crannies. Wipe dry with a clean cloth and let the boots dry overnight.
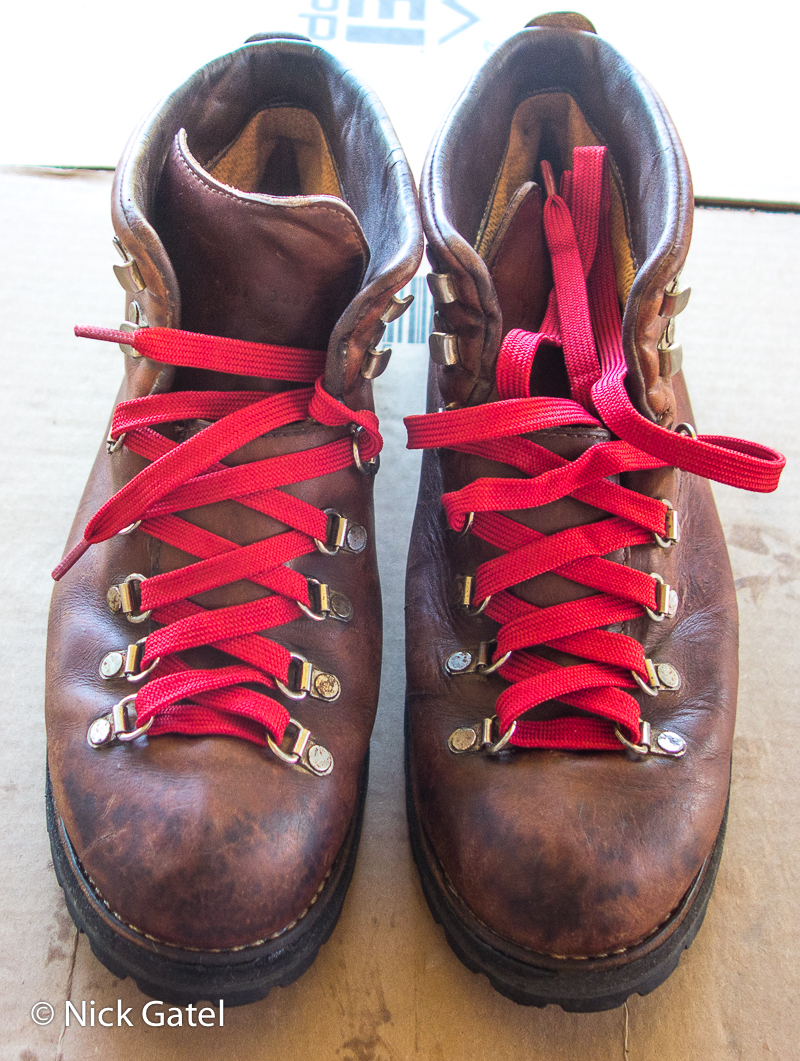
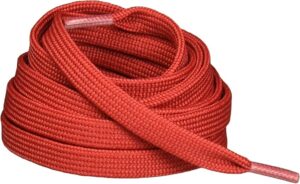
A long time ago I had replaced the flat shoelaces with these round ones, mostly because I thought the original red laces stood out too much.
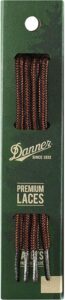
Round laces work best with eyelets. Not so well with the D-rings on these boots. So I went ahead and bought a new pair of flat Danner shoelaces. After the boots were completely dry after conditioning, I laced up the new ones.
This website may be compensated for linking to other sites or for sales of products. As an Amazon Associate I earn a small fee from qualifying purchases at no additional cost to the purchaser.
4 Pcs Horsehair Shine Shoes Brush Kit
![]()
Lexol Leather Conditioner and Cleaner Kit
![]()
Danner Laces 63″
![]()
Danner 63″ Flat Shoe Laces
![]()