Small tent trailers don’t come with showers. On extended trips where there are no public facilities the lack of a shower is less than inconvenient. Over the years I used a solar shower system with an outdoor shower enclosure. Setting up and taking done this shower was a lot of work and I needed to park the camper close to a large tree, and hoist a heavy solar shower (5 gallons of water is approximately 50 pounds) using a pulley system I devised. To say the least, this was a lot of work every day. But it did the job.
In 2003 I decided to tackle this problem and come up with a better solution. One possibility was a portable heated shower system. Both Coleman and Zodi made such systems. They still were quite a bit of work to set up and use daily, plus I would still need some sort of an outdoor shower enclosure.
Over at popupexplorer.com my friends Bill (Oz & Us) and Bart (EveryBodyHauls) had both installed portable shower systems inside their tent trailers using a plastic laundry room sink. But the problem with both was that these were still portable systems. The laundry sink, which served as the shower pan, had to be set-up and then taken down after each use; because the shower was set up in the middle of their campers. After a couple of months of exploring solutions, I finally came up with a solution that would work in our small camper. Soon Bill and Bart would convert their portable systems to a permanent installation based on my design.
Under Dinette Shower System
I decided that building a permanent shower under a dinette seat would the installation of fixed drain, could be set-up and left up during the camping trip while still having access to the seat when the shower was not in use, and would take little storage space. Since I was already rebuilding the camper from scratch, I had more options than someone who would try and do the same with an existing dinette. But both Bill and Bart were able to easily replicate the shower.
Since my trailer did not come with the plumbing to support a shower, I had to install a water supply system first. See my Water Supply System.
Construction
A standard laundry tub is 30″ X 30″ square, which is the same dimension as a simple shower. So it makes a perfect shower pan. Plus, the tall sides make it perfect for storing stuff when in travel mode.
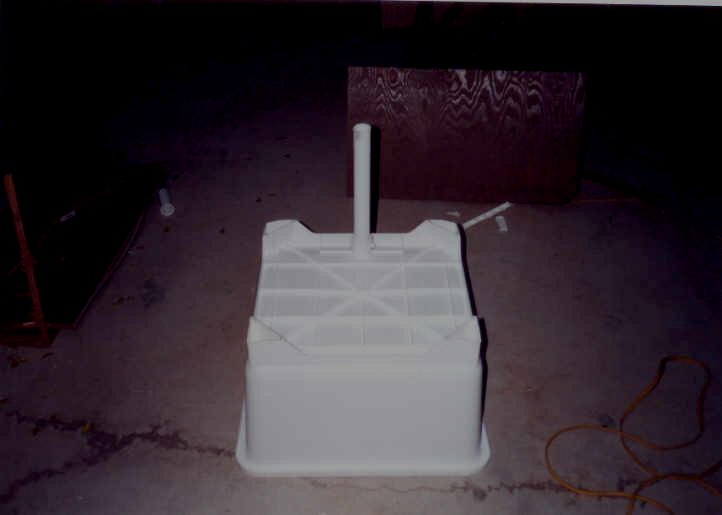
Above: Standard laundry tub.

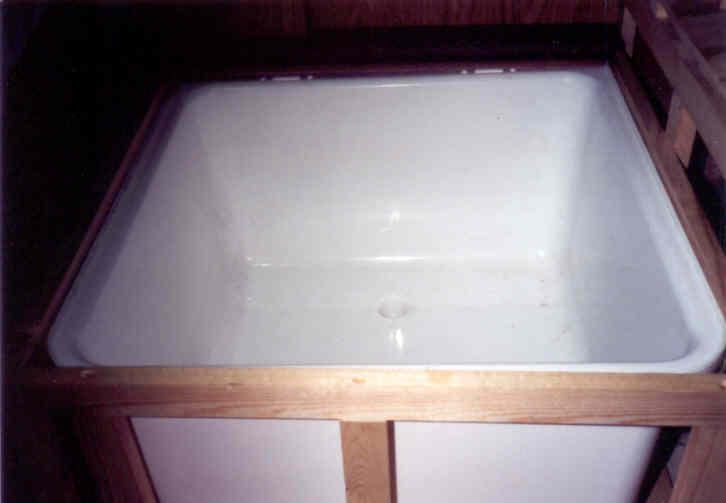
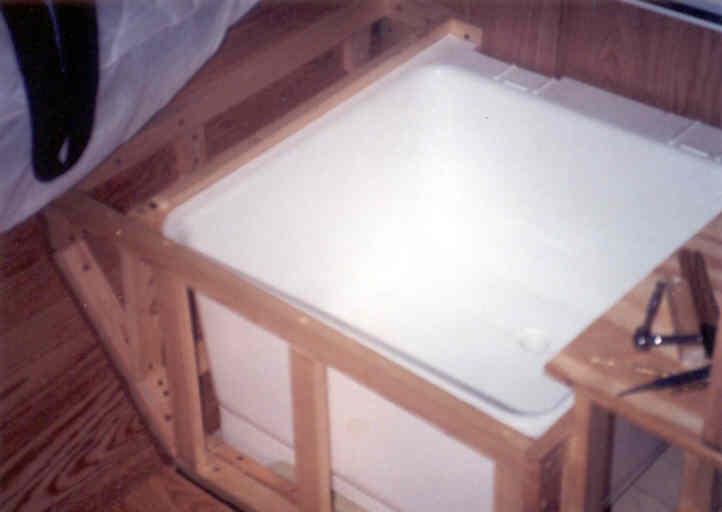
Above: Framing the dinette seat, which will also house the shower tub.
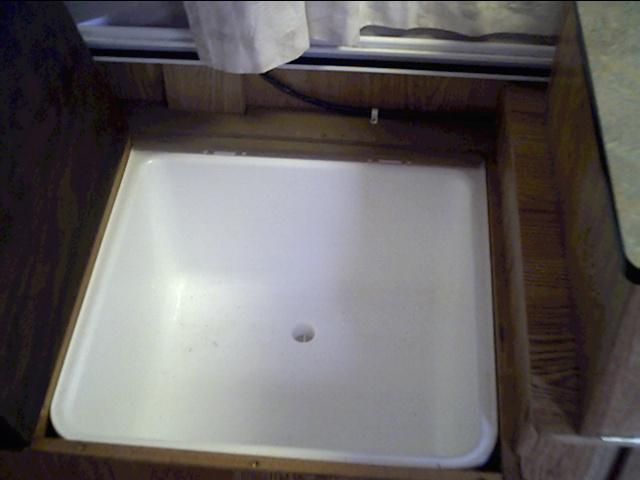
Above: Tub after woodwork and cabinets were finished.
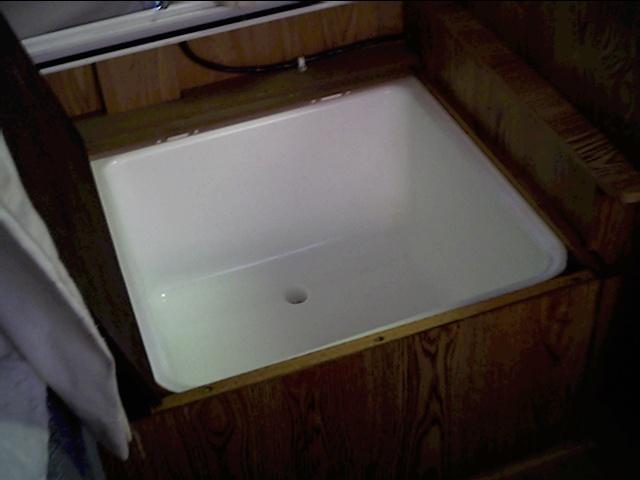
Above: The black cable above the back of the tub is the solar panel feed cable.
Above: Dinette seat in travel mode.
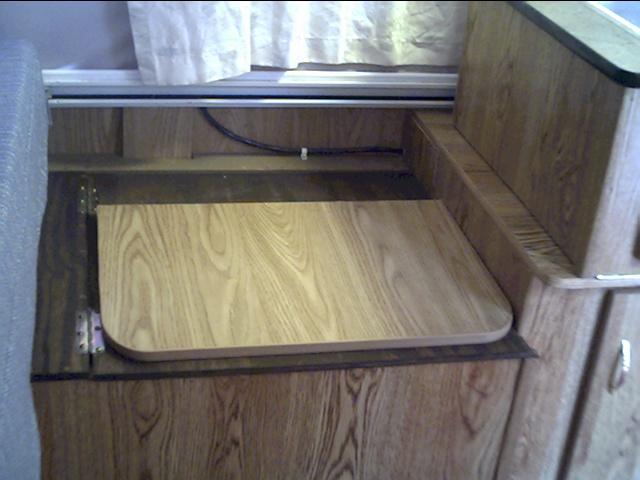
Above: Preparing to set-up seat.
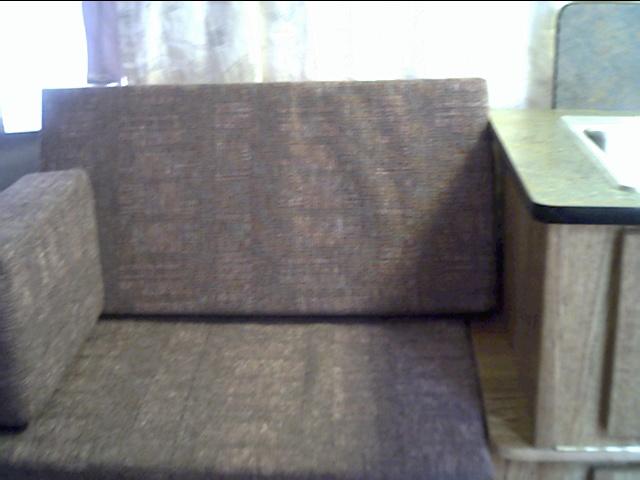
Above: Cushions in place.
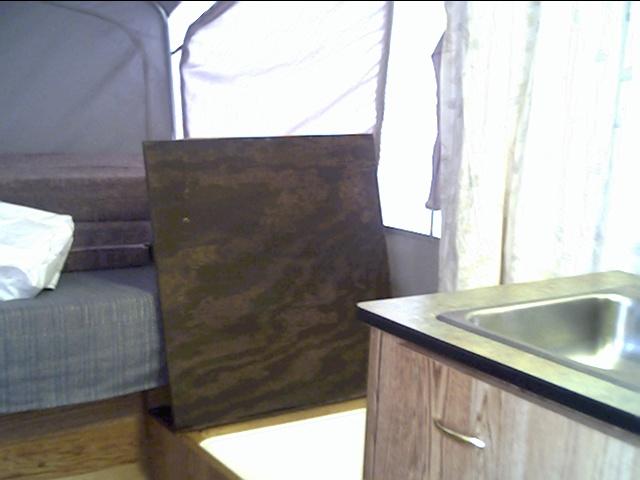
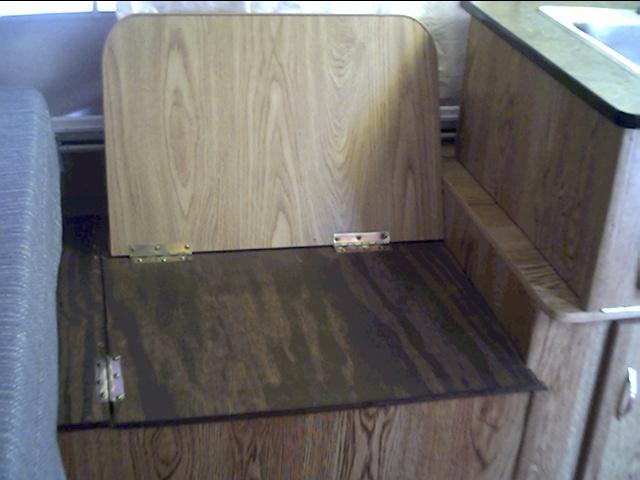
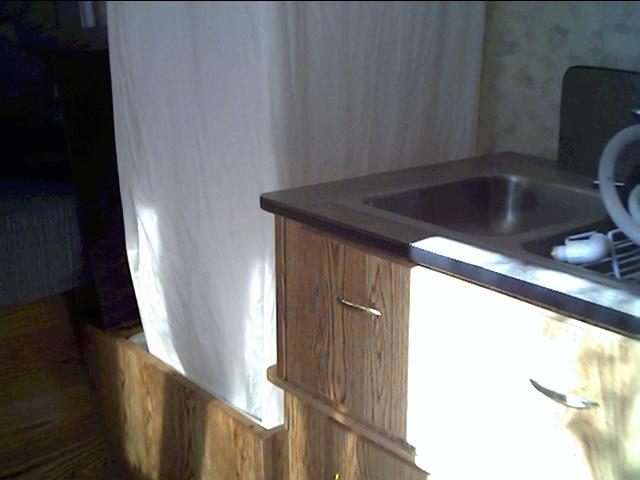
Above: Remove cushions, lower the seat back, and then lift the hinged assembly for access to the shower. Note that the sink is next to the shower. This will make it easy to run water to the shower.

Above: I installed an outside door for access to the back of the shower pan, should maintenance or repairs be needed. The gray hose is the drain for our double sink.
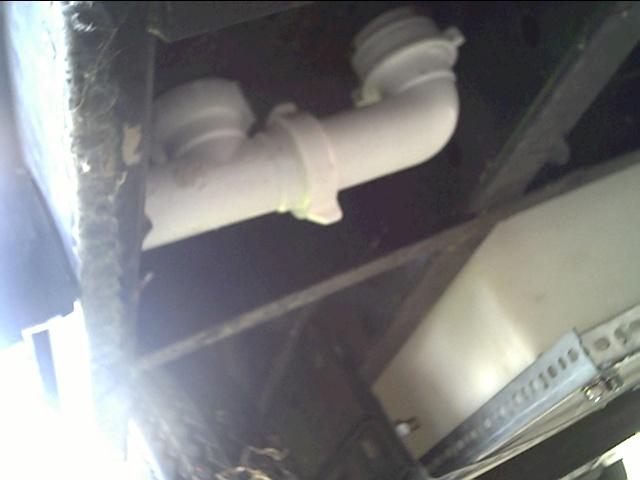
Above: The shower drain and the sink drain connect here to the standard RV sewer drain.
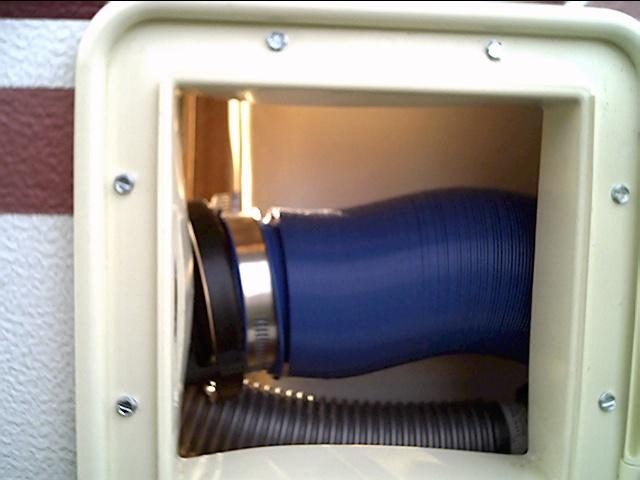
Above: The outdoor shower access door makes this a great place to store the sewer hose.
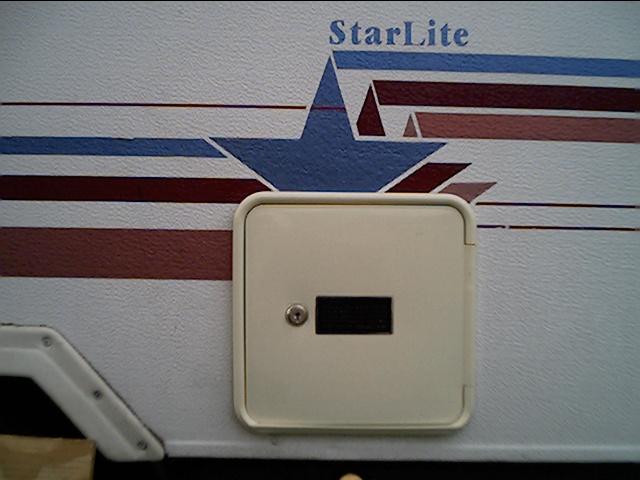
Above: Access door closed and locked.
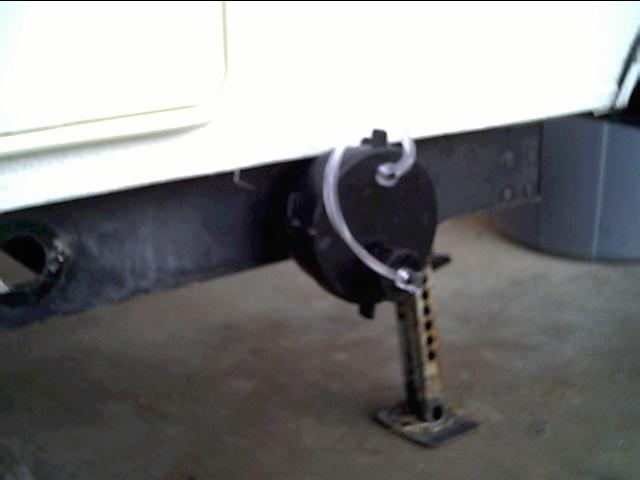
Above: Standard RV Sewer fitting.
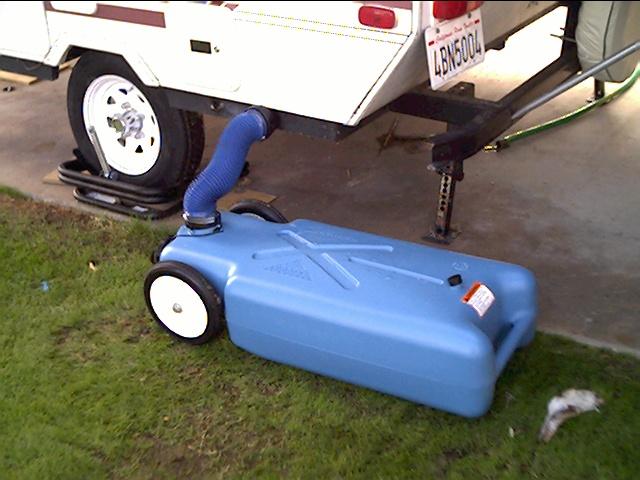
Above: Gray water tote connected to sewer connection.
Water Supply
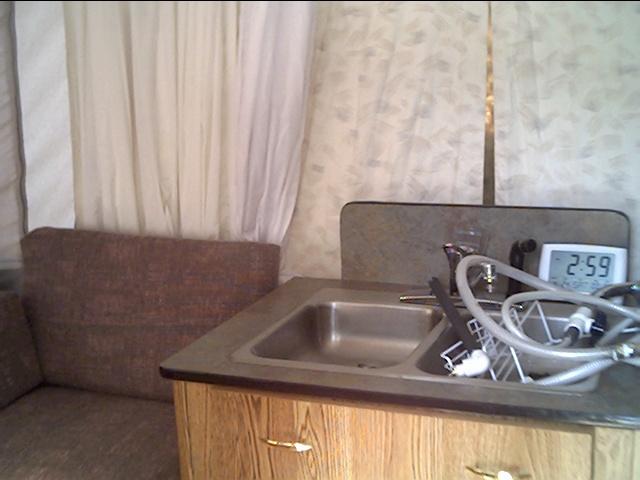
I decided to use the sink to supply water to shower, instead of hard plumbing the shower to the water system. This works well. But if I were to do it again, I would probably install a faucet inside the tub.
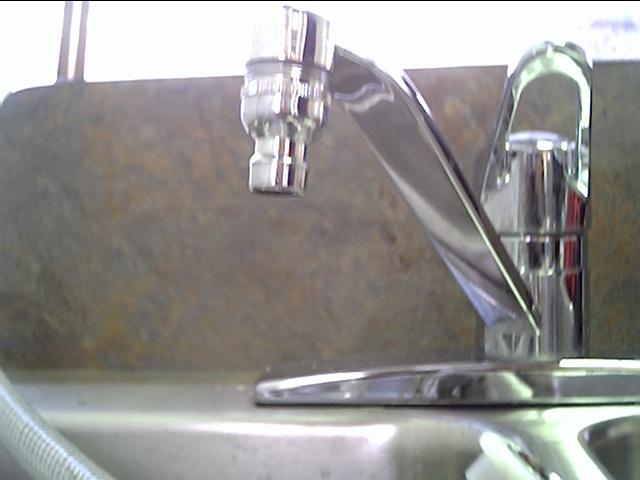
Above: A portable dishwasher hose connection fitting is permanently attached to the faucet of the sink.
To use the shower, we turn on the sink and adjust the water temperature. Then we connect the hose for the shower head to the fitting on the end of the faucet.
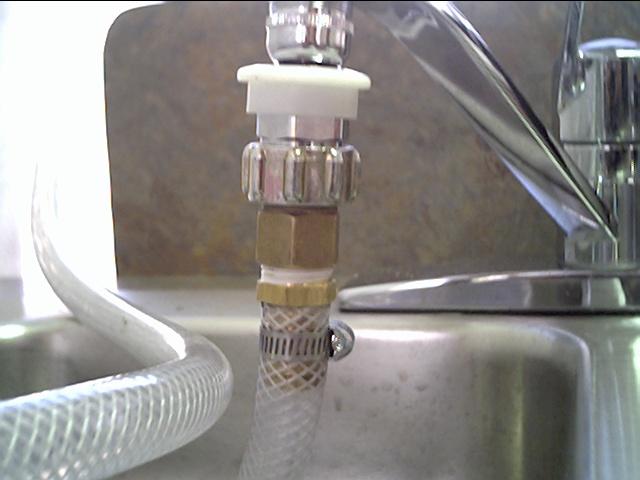
Above: Quick connect fitting snaps the shower feed hose the the faucet.
Shower Curtain Version 1
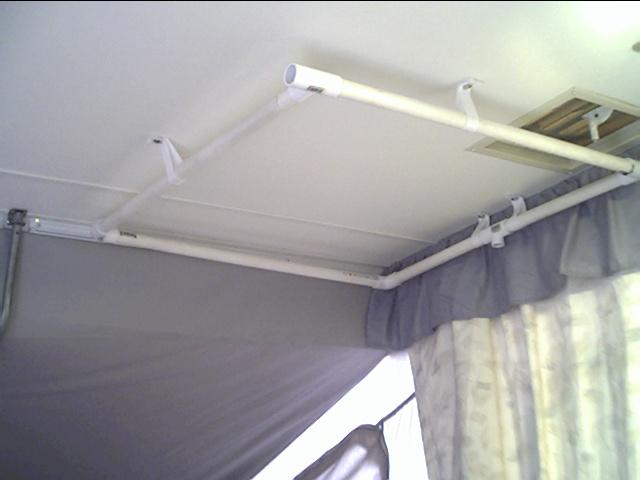
What I really wanted to use was a track system mounted to the roof similar to those used in hospitals or large tent trailers. However I was unable to locate one. I devised a system using PCV pipe, which had to be assembled on each camping trip. This is because I wanted the shower curtain frame to be larger than the tub, so we would have ample room to shower. It really didn’t take long to set it up, but later I improved upon this design.
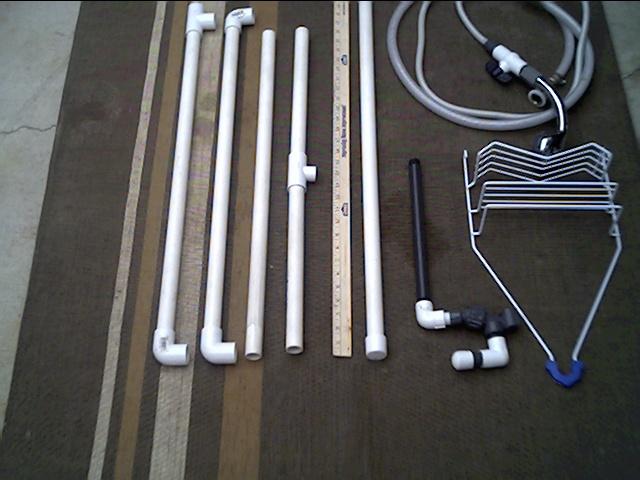
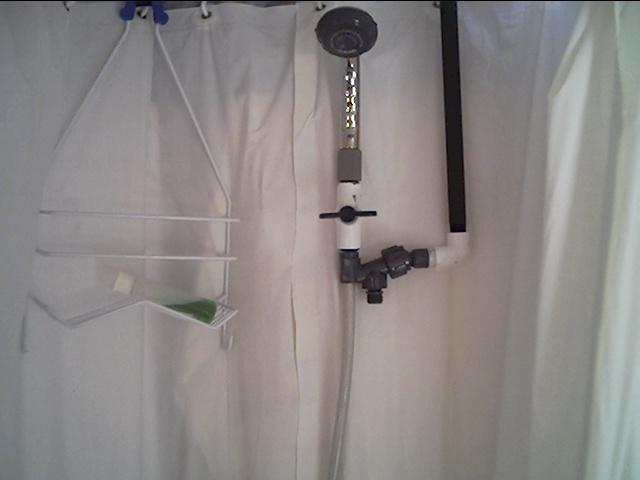
Above: All the components for the shower curtain rod, privacy curtain rod, shower plumbing, and rack to hold shampoo, soap, etc.
To suspend the shower curtain rod, I bought some nylon webbing, and used snaps on the ends so the I could connect the ends of the straps to form loops that would hold the curtain rod.
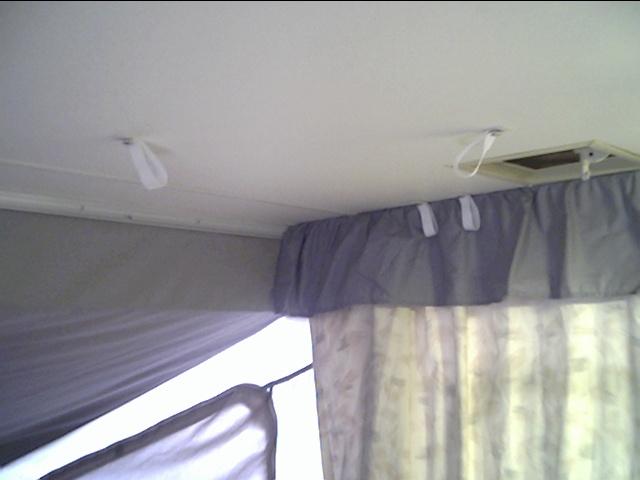
Above: Nylon webbing snapped to form the loops that will suspend the shower curtain rod. Note that I built the shower under the existing roof vent.
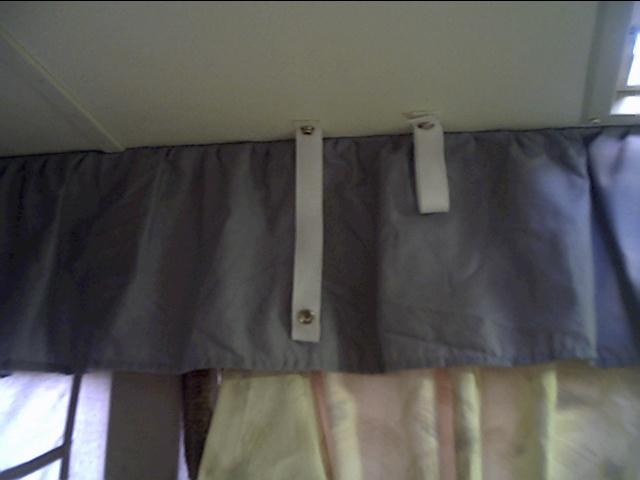
Above: Nylon webbing shown unsnapped and snapped.
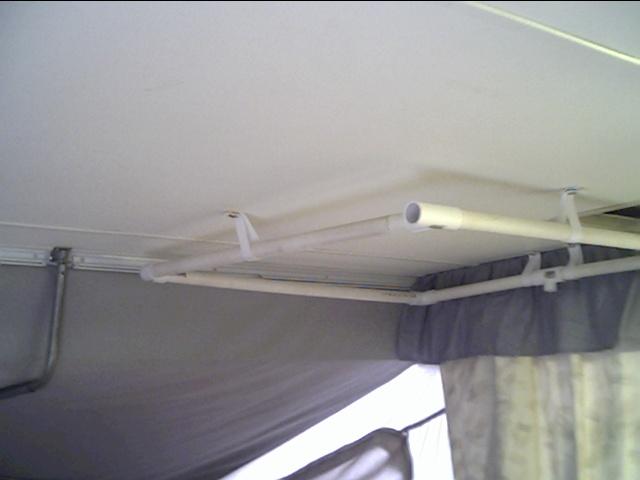
Above: Frame assembled. Note the open fitting at the front of the rod. I will slide in another piece of PCV tubing to form a rod extension for a privacy curtain.
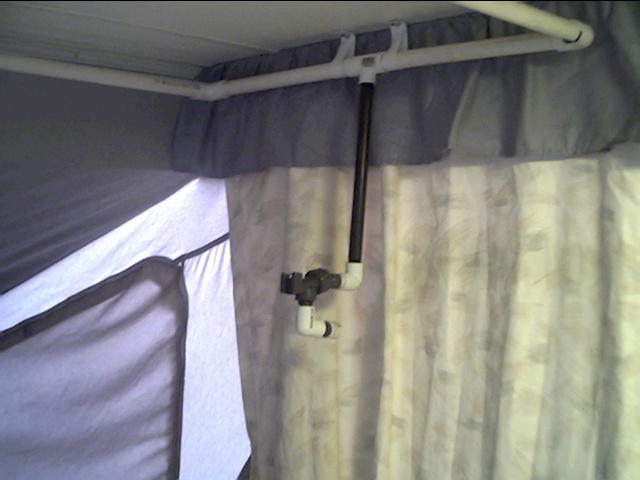
Above: Assembling the shower head holder.
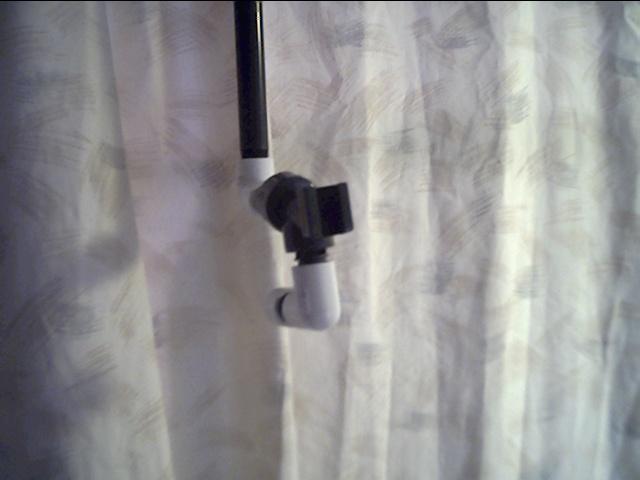
Above: The shower head will snap into the fitting so the head can be fixed or removed and used as a a hand-held.
Above: Shower head assembled.
Above: Attaching the shower curtain.
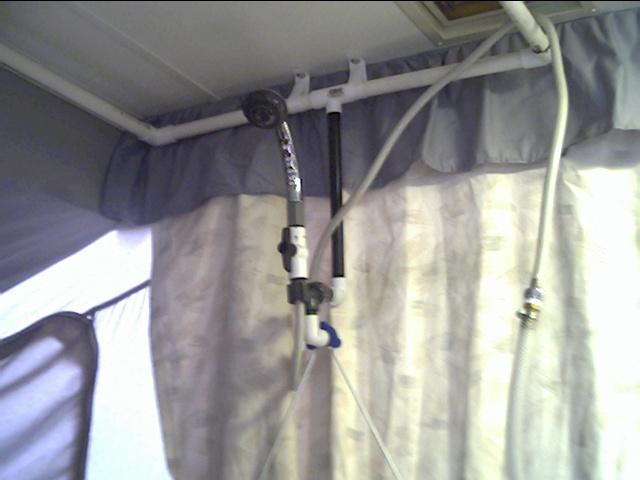
Above: Close-up of shower head. Note the on/off valve below the shower head, which is used to conserve water.
Above: Shower curtain.
Above: You can see the water hose that is connected to the sink.
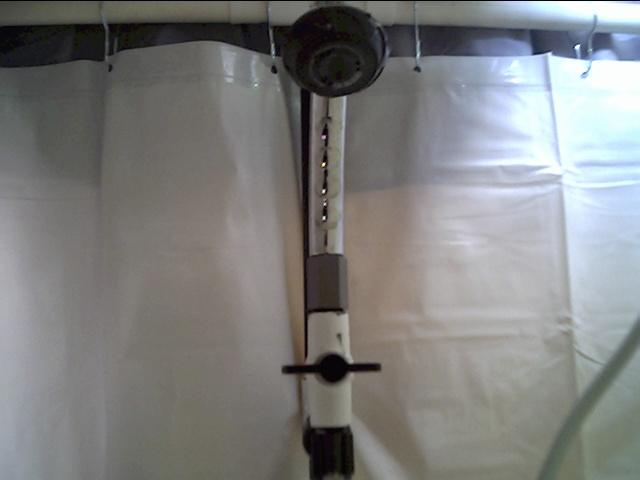
Above: Close up of shower head and on/off valve.
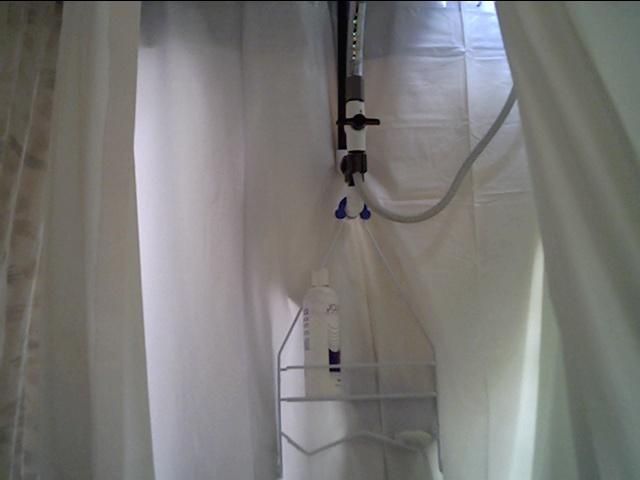
Above: The shower caddy below the shower head.
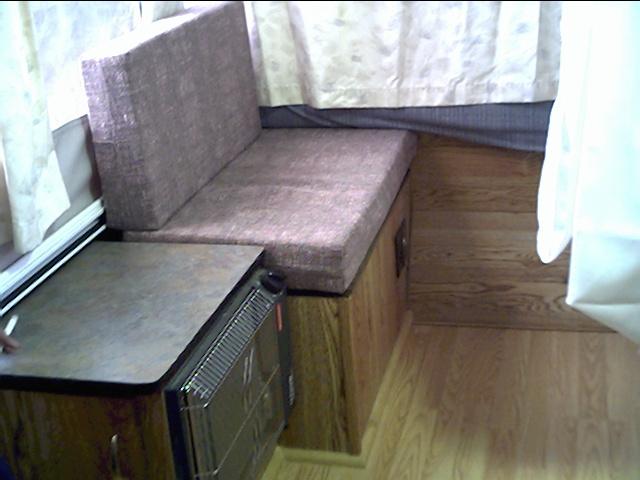
Above: This seat is opposite the shower. In front of the seat is the built in Wave 6 heater. This works great in cold weather when you want to take a shower. Also, when the privacy curtain is closed, the seat makes a great place to dress.
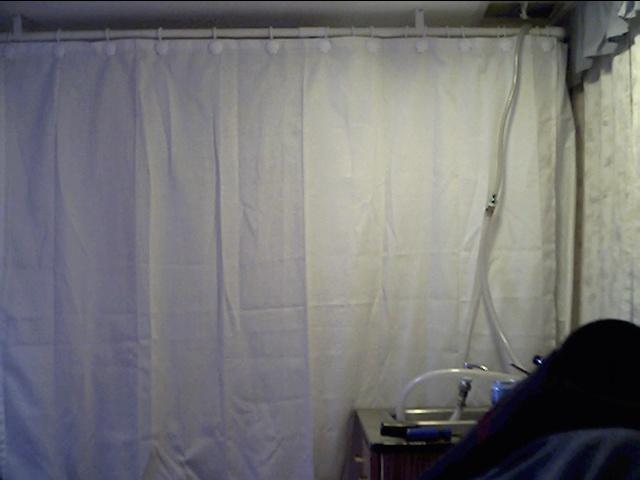
Above: The privacy curtain closed. This sections off the rear of the camper and one can take a shower and dress in privacy.
Shower Curtain Version 2
The original shower curtain was made from plastic. It took too long to dry off and had some times would get mold on it. After quite a bit of searching I found a 130″ long polyester curtain. This curtain packed smaller, dried quicker, and did not get mold on it. At this point I came up with a better curtain rod system too.
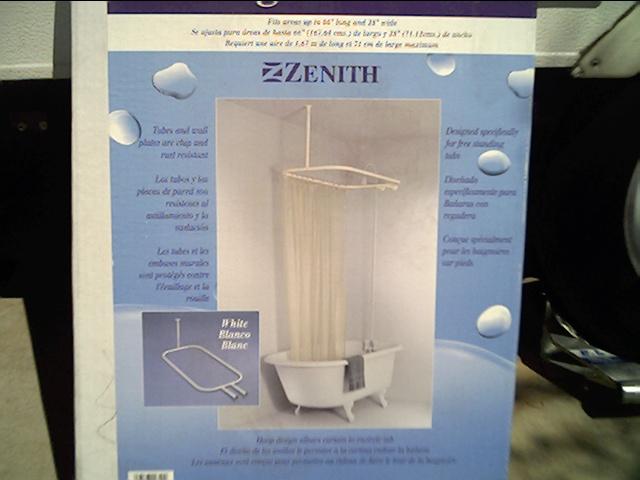
Above: I found this shower curtain rod kit at Lowes.
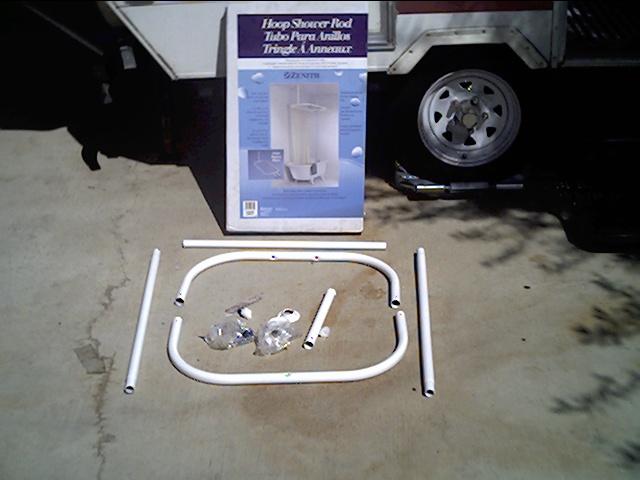
Above: Trying to figure out how I am going to make this work. Once that was figured out, time to put it together.
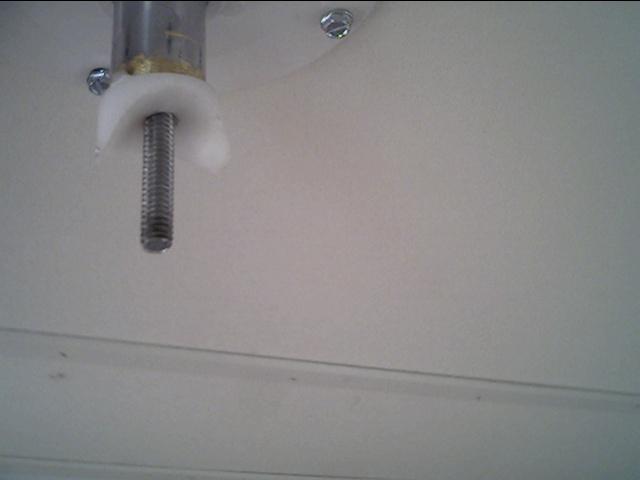
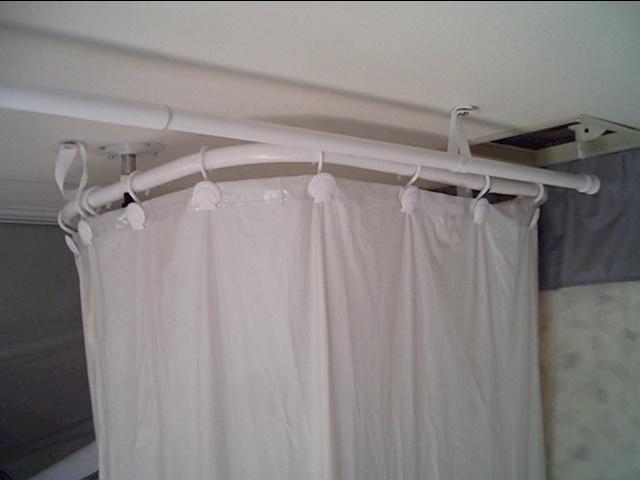
Above: Securing the end of the rod assembly.
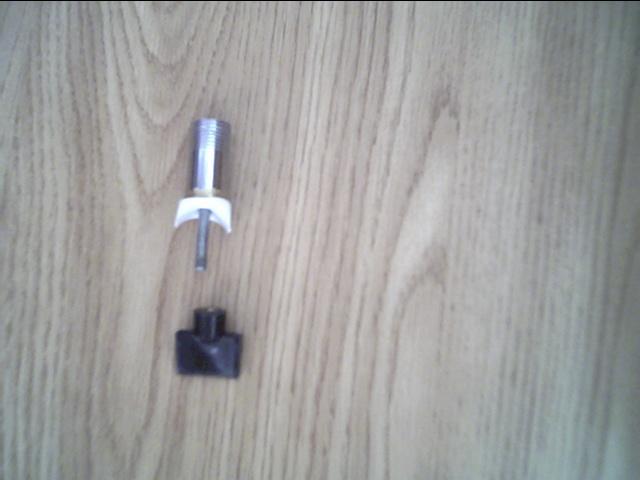
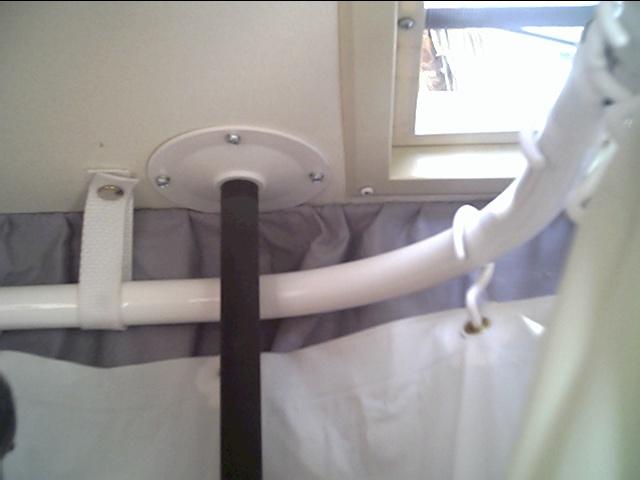
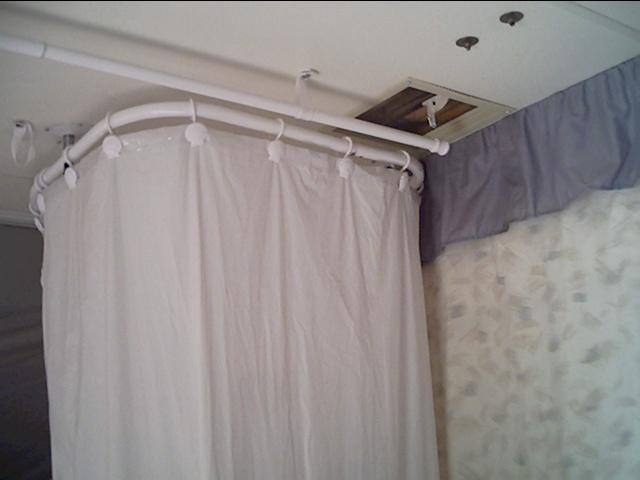
Above: This will be a quicker and more secure way to hold the other end of the curtain rod to the ceiling. Plus there will be fewer straps hanging from the ceiling to get in the way of the curtain hangers.
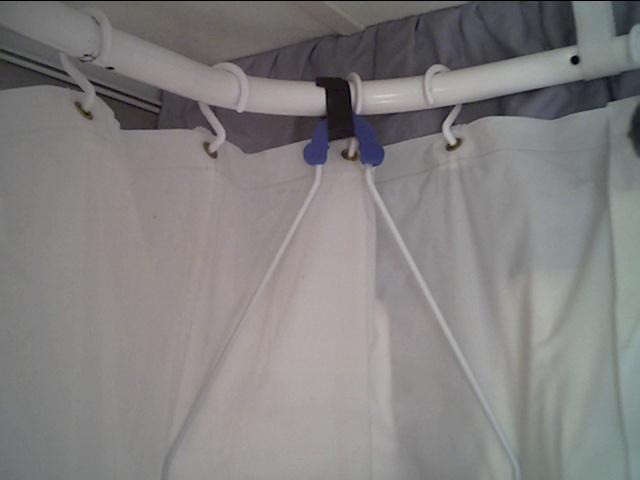
Above: Preparing the center curtain rod hanger.
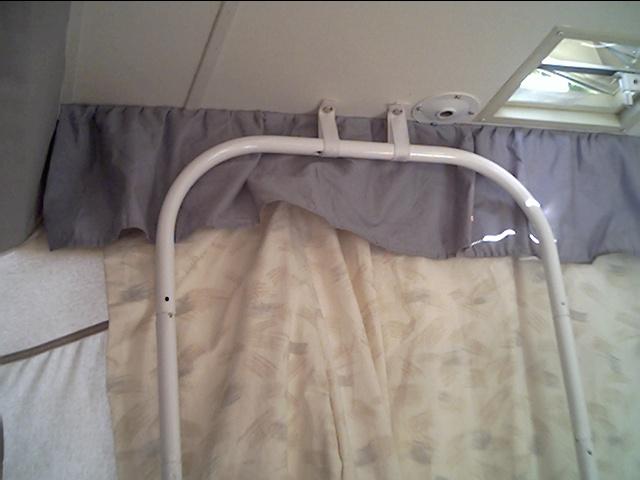
Above: Rod installed.
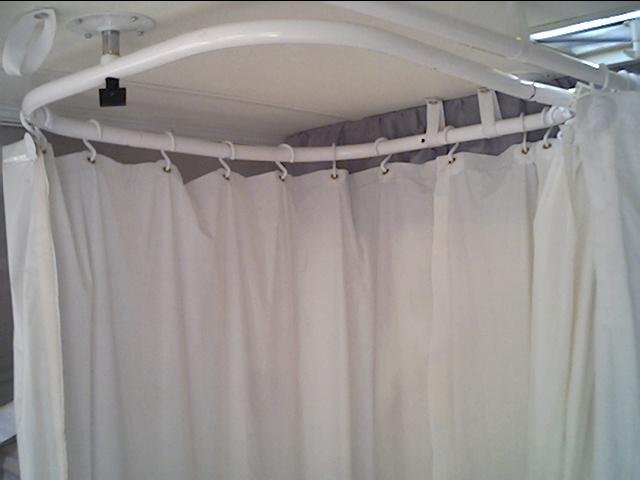
Above: Once the curtain hanger is installed between the two straps, it becomes very easy to open and close the curtain.

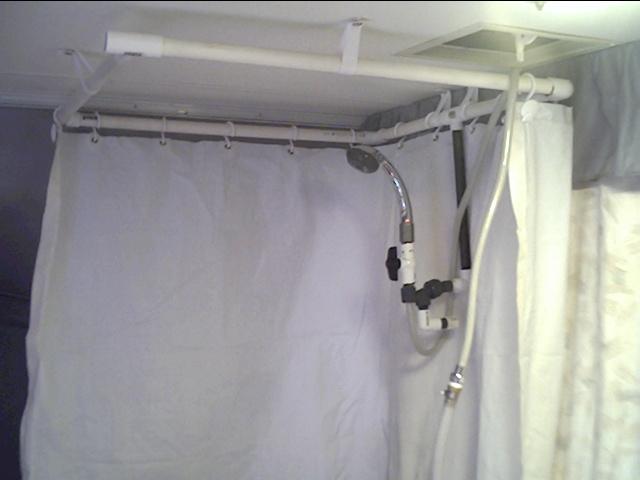
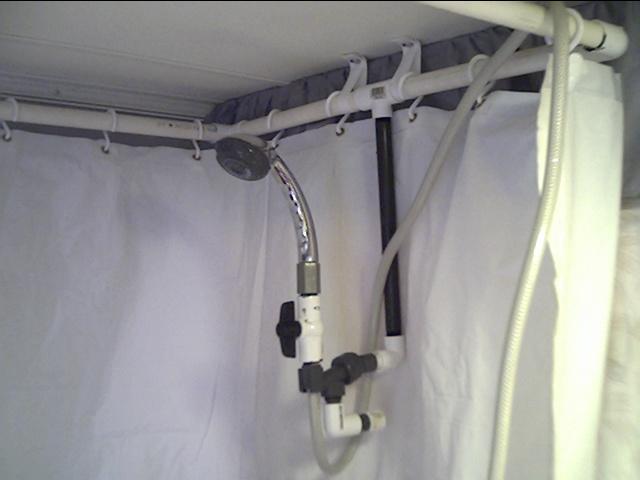
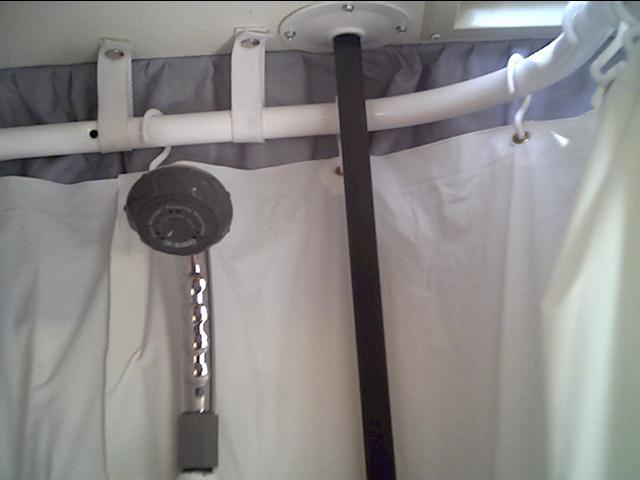
Above: This fitting will make it easy to hang the shower head.
Above: PCV pipe to hang shower head.
Above: Shower head installed. With the new rod we can hang the caddy from the rod, instead of connected it to the shower head assembly.
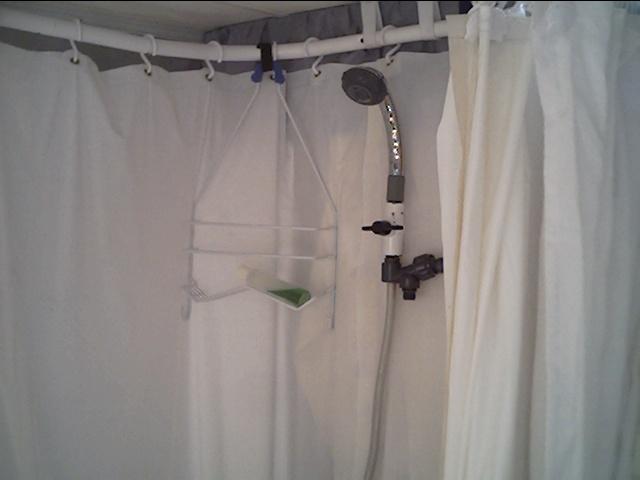
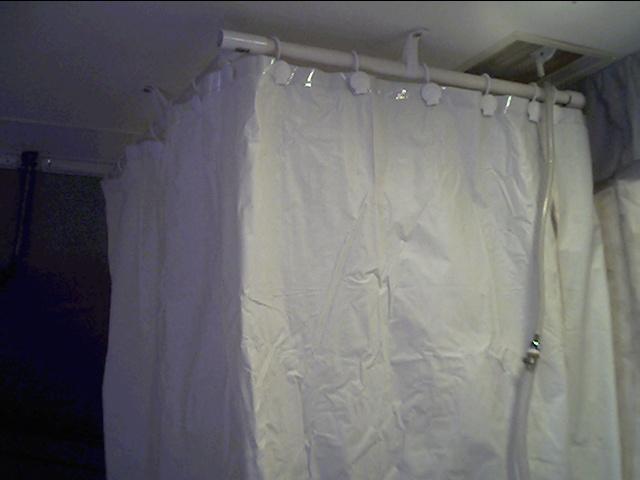
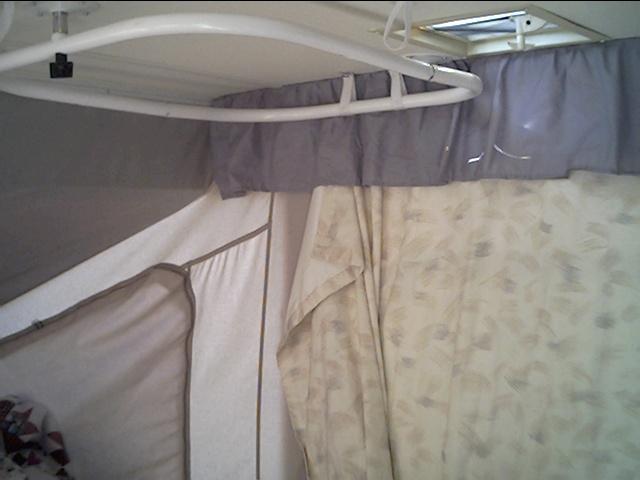
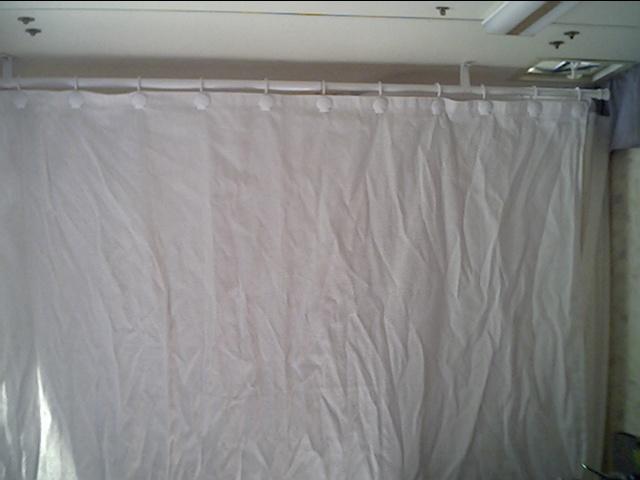
Above: Shower curtain quickly dries and can be left up during the camping trip.
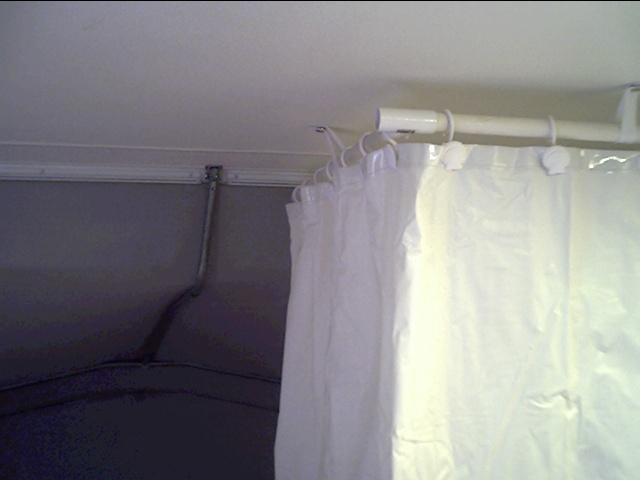
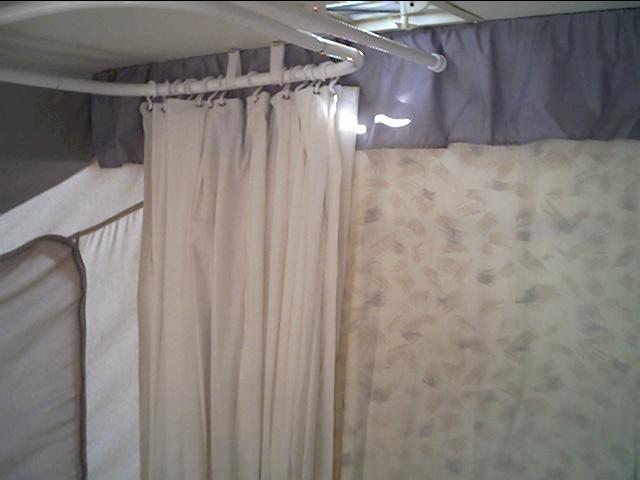
Above: Instead of integrating the privacy curtain rod to the shower curtain rod as I did in version 1, we now have a separate rod. Faster set-up and take down with this system and easier to open and close the privacy curtain!!
Above: Close up of rods.
Above: Privacy curtain closed.
Above: The shower curtain tapers down into the shower tub.
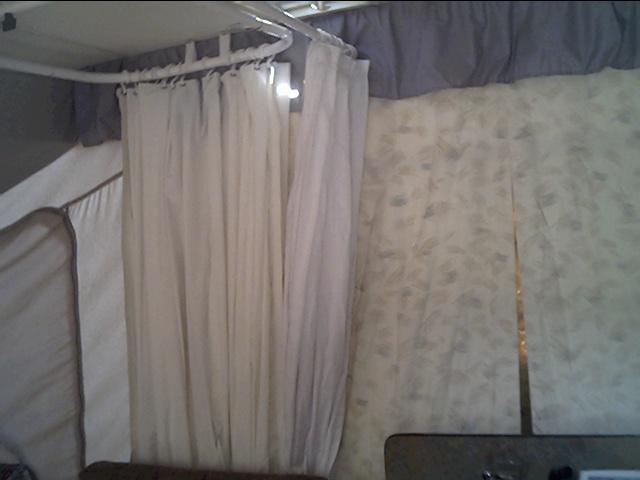
Above: Shower and privacy curtain pulled back when not in use.
Above: Shower and privacy curtains are stored behind the dinette seat when not in use.