Back in August we arrived at our campsite in the Sierra Nevada late in the afternoon. Compared to what we are used to, the temperature was much cooler. We set up, cooked dinner and sat around with a bottle of wine to consume.
Shortly after we got into bed, Joyce asked, “Did you open the roof vent?”
“No”
“Well, I can see lots of stars through the vent opening. You should probably close the vent since it is going to be close to freezing tonight.”
I got up to close the vent and noticed the vent lid was missing. Not a good thing, since we would be here for two weeks and afternoon thunder showers are the norm.
I liked the new pull-down kitchen faucet we installed during our house remodel so much that I thought a similar faucet would work well in our camper too. Joyce agreed.
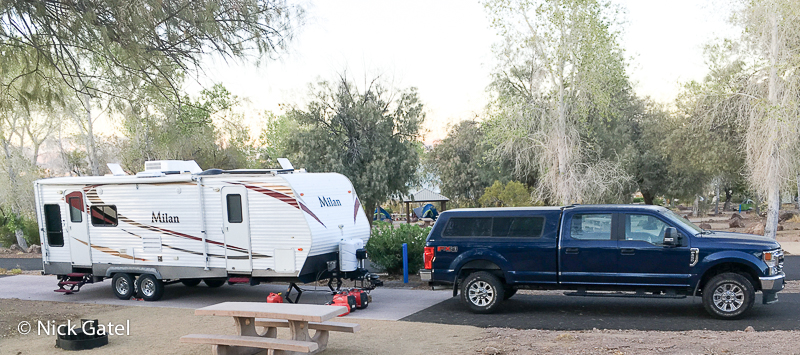
In over 15,000 miles, I never had a problem with the Bargman cable that connected our Milan 26RLS travel trailer and our 2012 Ford Expedition, even though the socket on the Expedition was below the bumper. That changed a bit with our 2020 Ford F-250 Super Duty, which has the connection socket above the bumper. The connection plug above the bumper is a huge advantage for easy access.
Back in August we were driving home with the trailer in tow and the dash had a message stating, “Trailer Disconnected,” or something similar. When I pulled over the cable was connected and secure, but I noticed it had been pinched and the rubber covering was cut along with a wire. I was able to quickly repair it and continue home. Continue reading Bargman Trailer Hitch Cable Routing→
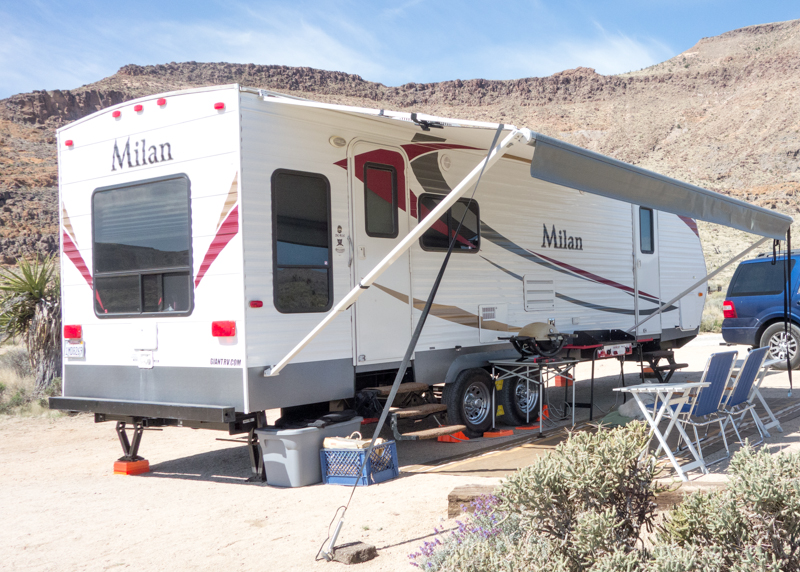
When we remodeled our camper we were going to need some batteries and additional propane (LPG) tanks for extended camping trips. I removed the existing hardware for the single battery and single LPG tank and re-engineered the set-up.
Above: The original set-up included a single propane tank and an itty bitty battery tray below it that could only hold a small Group 24 battery.
I started by installing the batteries and hardware. Then I installed dual LPG hardware and tanks.
Above: I found this toolbox at Lowes that was the perfect dimension for two Group 27 batteries.
Above: I installed two pieces of angled aluminum to the trailer’s frame. I then bolted the tool box to the aluminum channels.
Above: Because of the shape of the front of the camper, and the need for the box to be as close to the camper body, to allow room for the propane tanks, the battery box is oriented to open out from the camper body.
Above: Batteries installed.
Above: the toolbox makes a good place to sit your beer can.
Next step was to bolt a dual propane bottle tray to the frame in front of the battery box.
Above: A lock to keep the honest people honest.
Above: This regulator automatically switches tanks when the first one runs empty. Very convenient if the first tank runs out of LPG in the middle of the night. It also has a gauge at the top to let you know when the first tank is empty.
When we first purchased our Niagara, we just transferred the battery and solar system from our old Starcraft. [see link]
Above: Interstate batteries and “toolbox” battery compartment.
Given that we were beginning to camp at times for up to 3 weeks in winter, with the chance of cloudy skies and little or no sun, it became necessary to upgrade our battery bank. The Interstate battery bank had a “useful” capacity of 75 amp hours (50% of total) and a pair of Trojan T-125 batteries would increase our useful capacity to 120 amp hour, which is a 60% increase in capacity.
The Trojan batteries are much larger than what we had and would require a larger battery box. I found this one (above) that is designed specifically for the T-125s.
I added the locks and clasps to keep the honest people honest.