Many years ago, before the age of Internet, I did some drywall work, using a couple home improvement books as a tutor. Normally, I prefer reading than watching a video to learn how to do something. Things like hanging drywall, which require a learned skill, are much different. Watching someone show you how to tape and finished drywall joints is much better than reading about it.
Since there are many good videos on how to install drywall, I’m not going to try and pass myself as an expert and tell you how. Instead, I’ll share links to a couple good sites a little later.
What I want to do is share some things I have learned over time, and some tools that worked best for me.
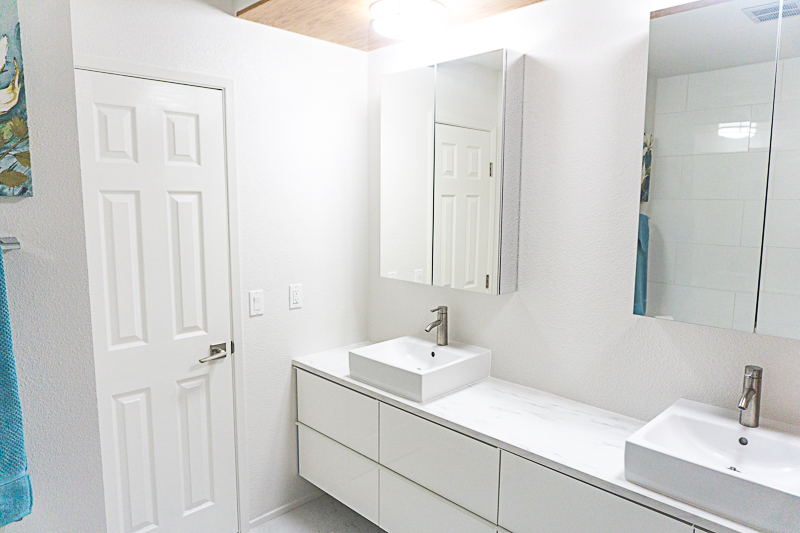
During our house remodel I replaced all the drywall in some rooms, and in other rooms I replaced sections, particularly where I opened walls to move water lines and electrical. When I removed interior walls, I had to fill in the gaps in the ceiling with drywall. In two rooms, the old ceiling drywall was so damaged; I installed drywall over the old ceilings. Overall most of the finished work looks professional, although I know the spots where it isn’t perfect. The final judge is Joyce, who is happy with the final results. She was so happy with the final results of the entire project, she bought me a new truck!
Drywall
Drywall is gypsum covered on each side with a thin paper coating. Gypsum is a soft chalky material that can easily crumble, and the paper coating keeps everything in place. Some drywall comes with a water resistant paper to be used in areas where there might be a lot of moisture, such as bathroom where there is a shower or bathtub. The most common size it 4’ X 8’ with a ½ inch thickness. I did buy 4’ X 12’ sheets for our guest bathroom and laundry room ceilings. All the interior drywall was ½ inch thick, except for the exterior walls of the house, which was 5/8 inch.
Our house is a single story wood framed building, with 8-foot ceilings. This is the most common housing structure in California, so it has to be my reference point in this discussion.
Steps
- Remove old drywall
- Install new drywall
- Tape the seams and joints
- Finish the seams and joints and any surface defects
- Final finishing of the drywall surfaces
- Install trim such as baseboards, window and door casements
Ceiling Rafters and Wall Studs
Ceiling Rafters
Before removal of the old drywall it is good to understand how the house is framed, which will make removal easier and avoid damage to sections of drywall you may want to leave in place.
Rafters run from exterior wall to exterior wall. When drywall is installed, the ceiling is done first, then the walls.
Below is a picture of the rafters in our garage (red arrows). If I wanted to install ceiling drywall in the garage, I would fasten the drywall sheets to the rafters.
Our rafters are made from 2” X 4” lumber, however the actual size is 1.75” thick by 3.50” tall. Since the drywall is fastened to the thin edge, where the seams of two drywall panels meet, there is 1.75 inches of surface to fasten each edge of the drywall, and you do not want the fastener (nail or screw) to be too close to the edge of the drywall, because it can damage the edge. So, you want to minimize the number of long edges of drywall on rafters. This means we want our drywall to be fastened long edge perpendicular to the rafter. This also helps make the rafters more secure from movement.
Below is a great video that shows a ceiling layout. This happens to be a two-story building so the drywall is fastened to the floor joints of the second story. Floor joists is an equivalent term to roof rafters in a single story building for purposes of our discussion.
The edges of the drywall are butted against the wood top plates of the walls. This way, when the walls are covered with drywall, the ceiling drywall is under the top edge of the drywall on the walls.
This is important, because if you want to remove only the drywall covering the walls, you want to avoid damaging the ceiling drywall. Using a utility knife, you would score the joint between the ceiling and the walls, and then push the tip of the utility knife between the ceiling and wall, keeping the knife blade parallel to the flat surface of the ceiling. Because this joint has been filled with joint compound (similar to plaster) and tape, it is easy to separate the joint. Then remove the drywall cover the walls carefully, and no damage will occur to the ceiling. If you don’t score and cut the joint, then the joint tape and paint will tear the ceiling finish.
Wall Studs
Just like the rafters, drywall should be hung perpendicular to the studs, that is, horizontally. Also, they should be staggered as shown in the ceiling rafter video above.
Preparing Wall Studs Prior to Drywall installation
It is nearly impossible to make walls perfectly true and flat. However do not want an excessively wavy wall. This is where finishing a wall with joint compound helps — to feather the joints to look flat and true. You’ll see this in some videos I will share later.
But some of the studs are going to be out of kilter: some twisted, some sticking out too far and some recessed beyond the plane of the wall. For severe cases, studs can be planed and others built up with paper drywall shims.
Start by using a 48” level and placing horizontal to the studs. As you move the level horizontally along the length of the wall, you can identify any studs that stick out too far or are excessively recessed.
Next place the level on each stud, to check it is perpendicular to the floor.

Drywall Hanging Tools
Drywall Lift
Attaching a full sheet of drywall isn’t easy — unless you have the right tool — a drywall lift. I bought this one from Amazon. I also used it to attach twenty-five 4’ X 8’ sheets of plywood to the living room ceiling.
Drywall Fasteners
Nails or Screws? I found screws are much superior, especially for the ceiling. But using either requires some attention. Both have recessed heads so the joint compound will fill the head. Also either has to be set below the surface without puncturing the paper covering of the drywall.
Set your drill to low speed (usually the #1 switch position), then adjust the torque ring to a low setting. Start with 1 then adjust until you get the desired torque.
Using a drywall “set bit” will prevent driving the screws too far. However, occasionally it will not go quite far enough, and I just use a hand screwdriver to give it an addition ¼ to ½ turn.
A handy tool to lift a sheet of drywall that is just above the floor is a “foot pedal.”
Tape and Finish Drywall Joints
Below are two websites that I found to be the best on YouTube.
One thing will come up: Should you use a drywall pan or a hawk?

For small repair jobs a pan is fine. For all others, the hawk is far superior. I learned this the hard way — experience.
How we got to this point of two options is interesting. Back in the 1950s and earlier, most walls were finished with wooden lathe strips nailed to the wall studs, and then finished with plaster. Skilled plasters completed this work using plaster hawks and trowels. After the plaster was finished, painters finished up. In those days, paint cans and brushes, or paint pans and rollers were the tools of the trade.
Then drywall became popular, since is was less labor intensive, less expensive, and less skill was required. Some plasters shifted to this work, and continued using hawks and trowels. Some painters moved to drywall installation, using a pan (a common painter tool) and a trowel.
Finishing the Drywall
If you watch the Renovision and/or Vancouver Carpenter videos, you will see they do not finish the walls with a textured finish. Both gentlemen are in Canada, and it appears that textured finishes are not widely popular. Here in the US, almost all walls have a textured finish. The proper method, according to all the manufacturer specifications I have researched:
- Tape and finish joints with joint compound, using three thin coats of compound, allow each coat to dry before sanding. Sand after each coat.
- Apply a coat of drywall primer.
- Apply texture and let dry.
- Apply another coat of primer.
- Best to use two thin coats of paint rather than just one thicker coat.
Texture Coats
There are many patterns, such as “orange peel” or “knock-off.” If anything other than a small drywall repair, do yourself a favor and buy a drywall gun and hopper.
Spray Can Texture
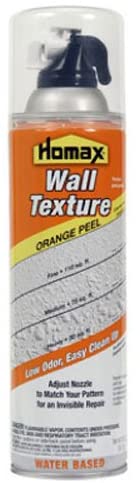
There are shelves of these in your local big box hardware store.
My experience over the years is at least 25% of these cans fail — either nothing comes out, sprays improperly, the coverage is much less than stated on the can, or the entire contents don’t come out — even when I follow the directions exactly.
Texture Gun & Hopper
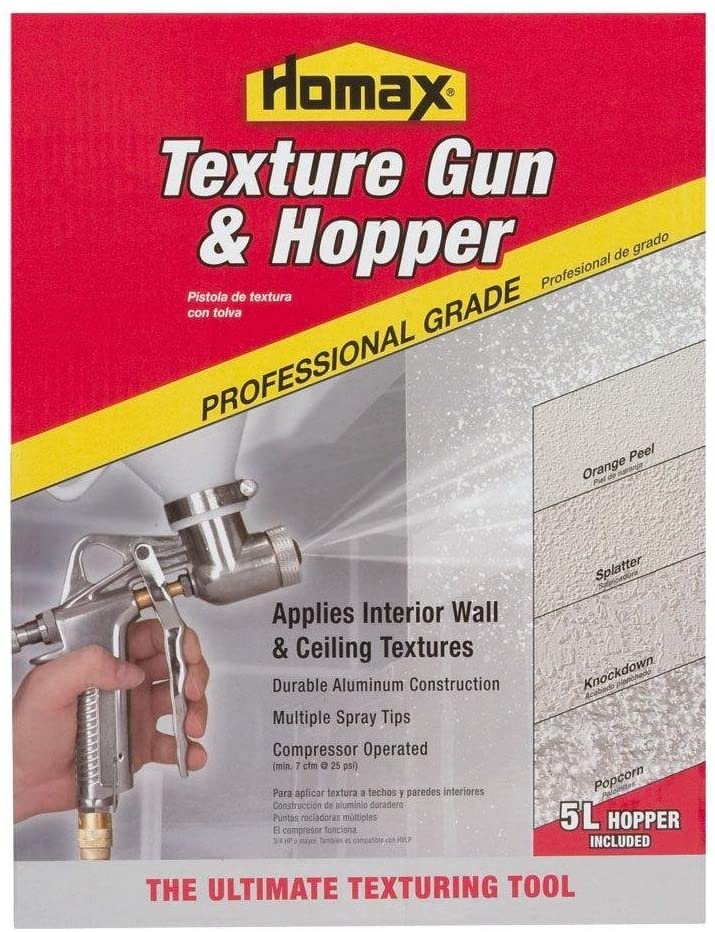
This tool costs about the same as just four cans of the texture spray.
You can buy specialty texture in bags that need to be mixed with water. I just buy 5 gallon containers or pre-mixed joint compound and thin it with water.
Spraying with a gun is messy work. So you want to cover any areas you don’t want overspray with painter’s plastic, to include floors — even unfinished cement floors.
The texture needs to be pretty thin — thinner than pancake mix. So you will want to practice on a scrap of drywall. What is important is not applying too much texture. Depending on the finish you desire, your coverage will probably be 60% — 85%.
Trim & Final Finishes
After our walls and ceilings were finished, to include the final coat of paint, it was time to install baseboards, doors and trim. All received two thin coats of primer, and were painted before installation. Even thought Joyce wanted to argue the paint can, said one coat and not primer needed. For the paint, I thinned it so we could apply two thin coats.
Installing Baseboards And Trim
Baseboards were cut with a power miter saw, using an extra fine finish blade, to ensure precise angles and supper smooth cuts. All were fastened with appropriate sized finish nails/brads using pneumatic nail guns. Nail heads must be below the surface of the material and a few nails needed an extra tap or two with a nail punch.
Mitered joints and nail holes were filled with non-shrinking wood putty, dried, sanded, and another round of putty, drying and sanding completed. Then the sanded areas received a touch-up of primer. Yes, it’s a lot of work requiring much patience, but the results are worth the extra effort.
The exposed edges of trim that are on top of drywall, where filled with acrylic caulk, as were the door trim to doorframe lines. Then two coats of paint were applied.


This website may be compensated for linking to other sites or for sales of products. As an Amazon Associate I earn a small fee from qualifying purchases at no additional cost to the purchaser.