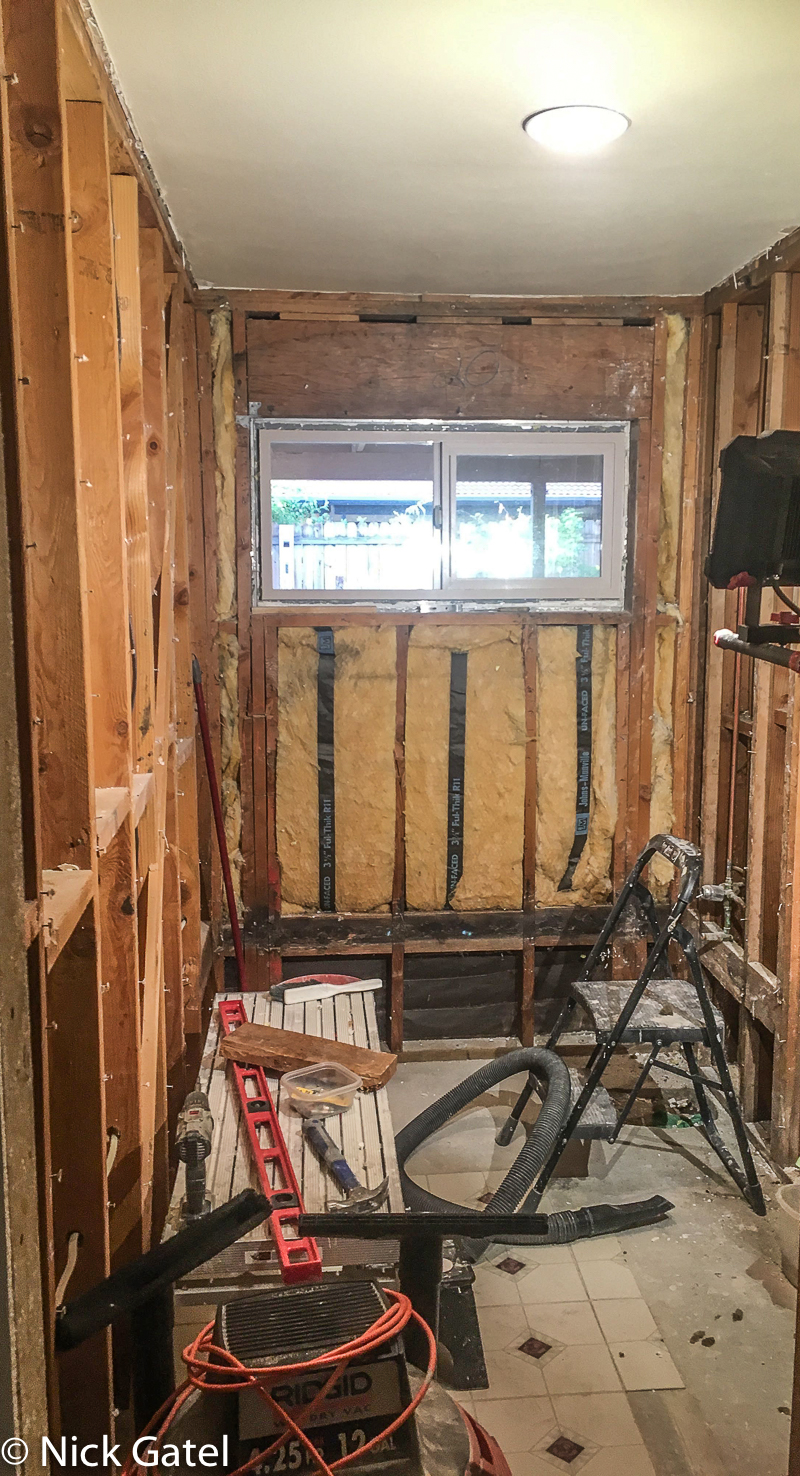
Continuing my series on our house remodel. In an earlier post I discussed the importance of planning. In this post I’ll review the demolition preparation phase, with an eye to planning.
During this phase I didn’t take a lot of pictures because my focus was on the work to be done, not documenting it. Our house was built in 1979 and that same year a contractor built four other homes with the same floor plan. I recently found pictures of a home with the exact same floor plan. This home is pretty much in the same state as it was originally built. I’ll share some of those pictures and explain how and why I changed our house – mostly the things I removed – and why.
Floor Plan
The house is approximately 1600 square feet. Originally the house had 3 bedrooms and 1.75 baths. All the bedrooms were fairly large. To compensate for these large bedrooms, the living room was small. There was a smallish dining area next to the kitchen.
Note: All the pictures below are not our house, but an empty house that is currently for sale. All the fixtures, cabinets, etc. are not the originals. Prior to our remodel, we had all the original fixtures, cabinets, etc.
Dining Nook
This view is from the living room looking towards the rear of the house.
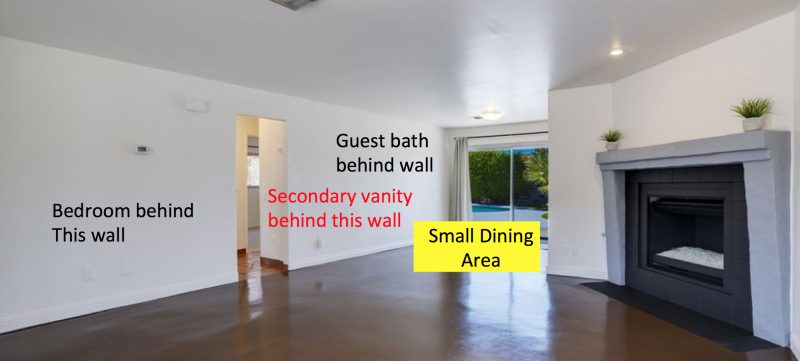
We decided to keep the dining area. Desiring a formal dining room, I removed the wall between the living room and bedroom (see left side of picture above).
Also, there was this weird secondary vanity in the area behind the dining area (see center of picture in red text above). We decided to remove the wall here, remove the vanity and install a wet bar that would be open to the living room/dining area. Why a wet bar? I don’t know why we did this, since we both don’t drink anything other than an occasional glass of wine or a beer.
Secondary Vanity Area
These pictures show the original secondary vanity that was adjacent to the guest bathroom. I am fairly certain it is the original vanity painted white versus the original dark walnut color. The vanity top and sink look like the original.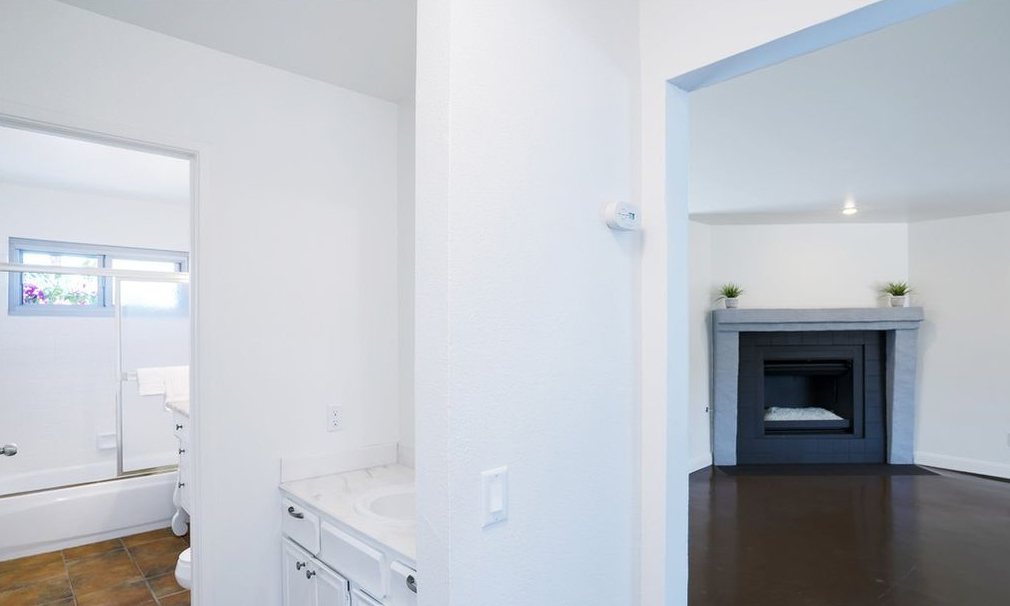
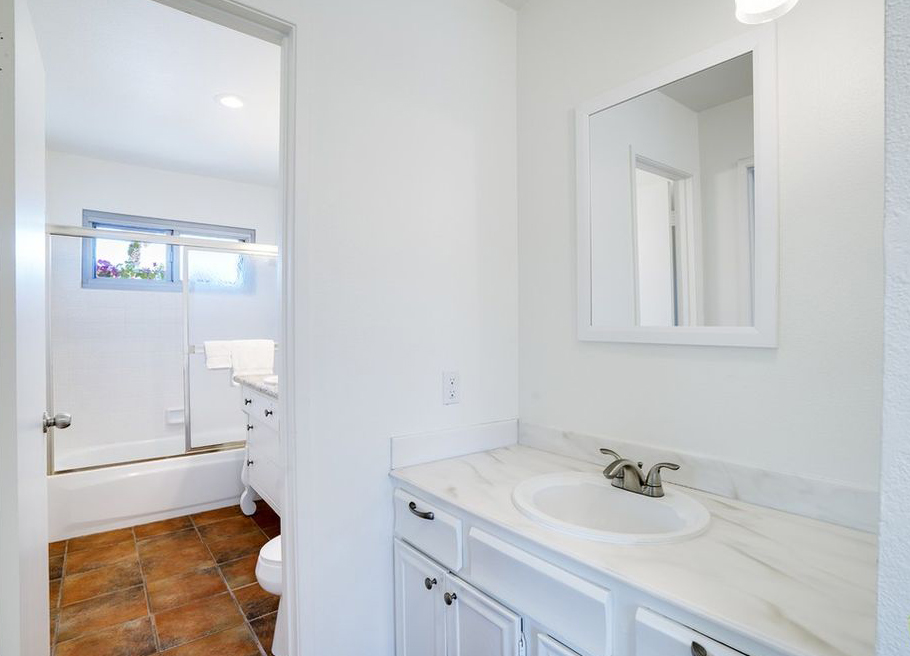
In the picture above, we removed this vanity (right) and the wall behind it. Then we built a wall in front of the vanity shown in the picture above.
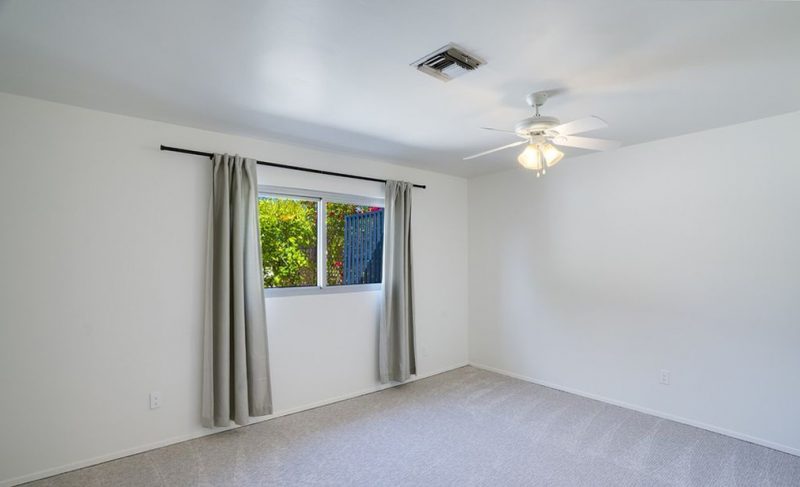
Bedroom #2
This is the bedroom we wanted to convert into a formal dining room.
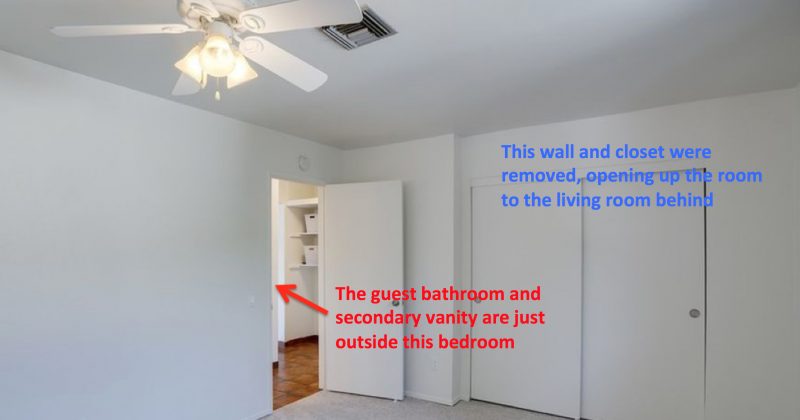
Bedroom #3
This bedroom is adjacent to the bedroom above (#2) and is also next to the guest bathroom. We convert this into an office for primary use, to include oak wall cabinets for storage. We also would use it as a guest bedroom.
Living Room
View of the living room looking towards the front of the house from the dining nook area.
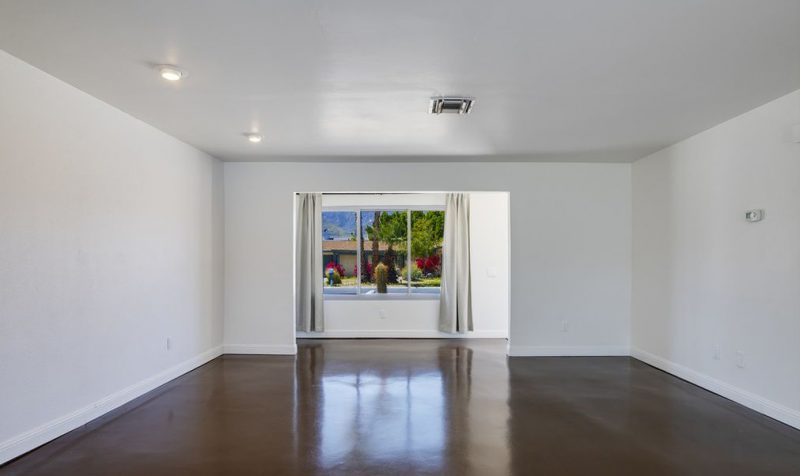
In the above picture, the wall on the right is the wall we would remove to convert the bedroom into a formal dining room. Looking straight ahead is a large picture window we would remove and replace with glass blocks for privacy and to help cool the house. In front of the picture window is a wall with a large opening, creating a faux hallway. It was a complete waste of space and we would remove it.
A view of the faux living room wall (below) and the doorway into the master bedroom. Not only would we remove this wall, we would replace the single bedroom door with a double door (right side of the picture below).
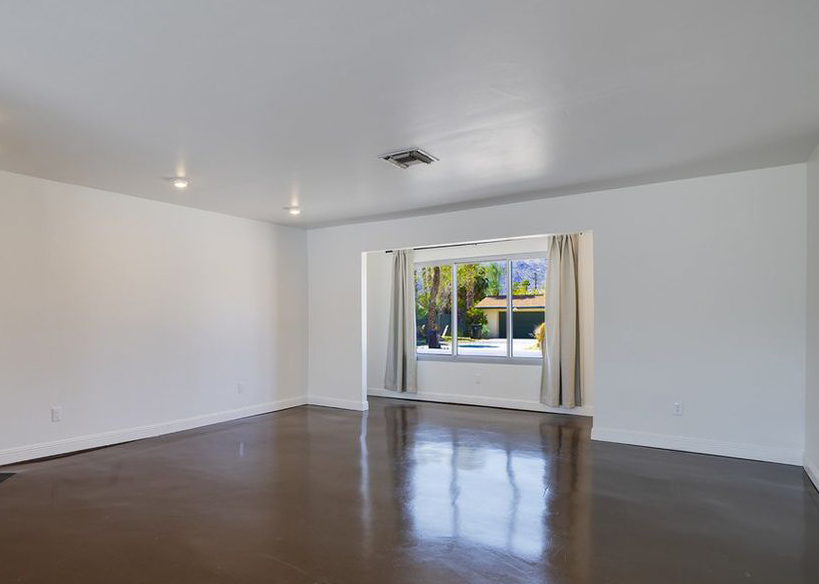
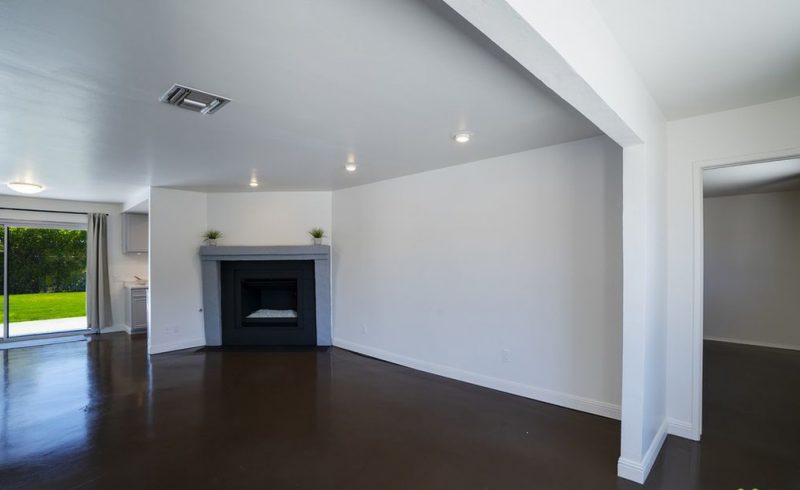
In the picture above, the brown floor is the cement slab that has been painted with epoxy paint. We ended up covering all our floors with tile and laminate flooring.
Fireplace
The original fireplace did not have a mantle. The fireplace was surrounded with a reddish-brown tile that covered the entire wall from ceiling to floor. In this picture, most of the tile has been removed; the remaining tiles painted black to match the fireplace box and a mantle with columns has been added.

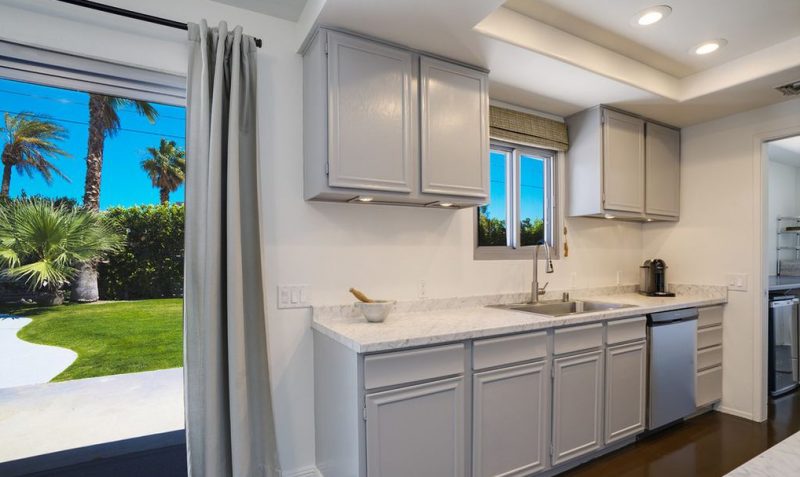
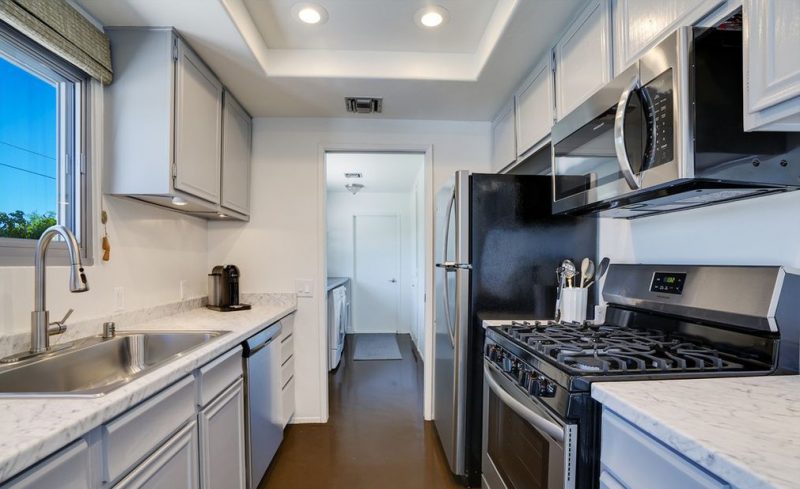
Kitchen
A simple galley kitchen, there wasn’t a lot that could be done without some really, really major construction. So we would end up upgrading the cabinets, countertops, and flooring.
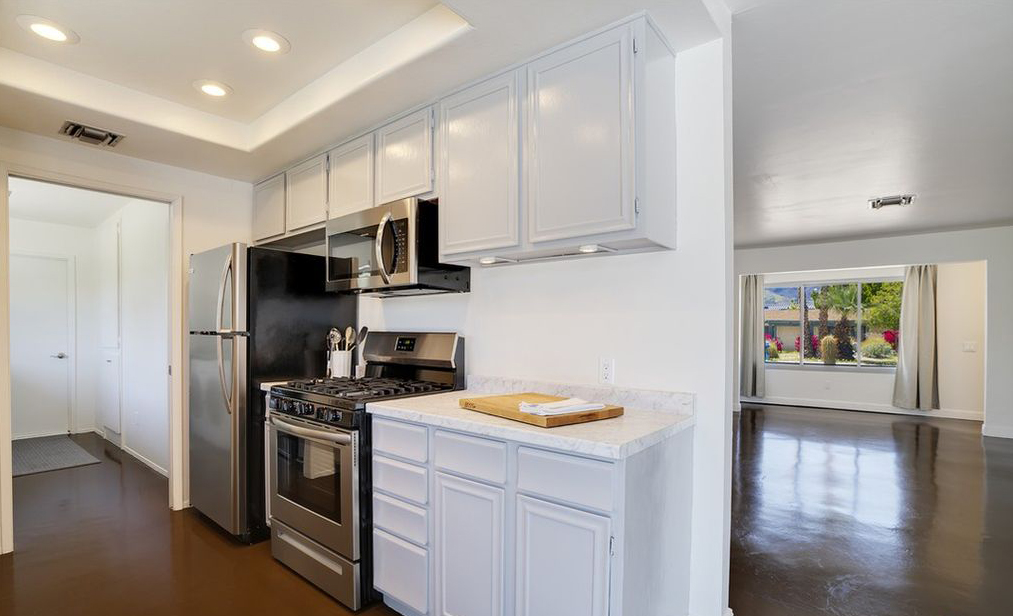
The kitchen cabinets in the picture below are the originals. It appears they have been painted white or used another means to change them from the original walnut color. The 1970’s white ceramic tile has been replaced with a more modern look.
Below is a picture showing the adjacent laundry room behind the kitchen. Note the recessed ceiling in the kitchen with ceiling lights. Originally the recessed has two 48” fluorescent fixtures with two bulbs in each, and was covered with three 2’ X 4’ plastic lenses. We would struggle with a satisfactory solution.
Master Bedroom & Master Bath
There was one really crazy thing in our master bedroom and bath.

As you can see (above) there are three doors in one wall. Going from left to right: entrance to the bathroom (door open), a linen closet (door closed), and the wardrobe closet (door open).
The linen closet wasn’t very deep, maybe 24” deep, and it took up room in the master bath. The linen closet also made the entire wall useless because no furniture could be placed against that wall. So it had to go!
In the picture below, you can see the vanity butts up against the rear of the closet wall, about 24” of wasted space in the bathroom.
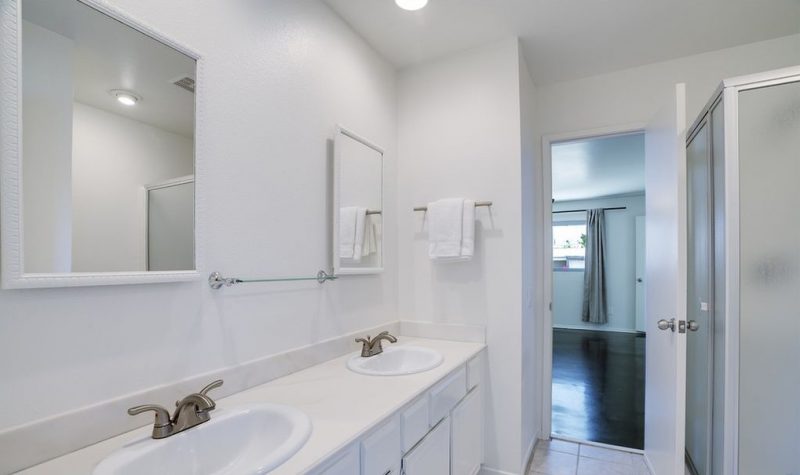
The vanity, countertop, sinks, and medicine cabinets all appear original, with the medicine cabinets and vanity painted white. The shower on the right also looks like the one that came with the house.
The master bedroom walk-in closet came with a built-in hamper (see below).
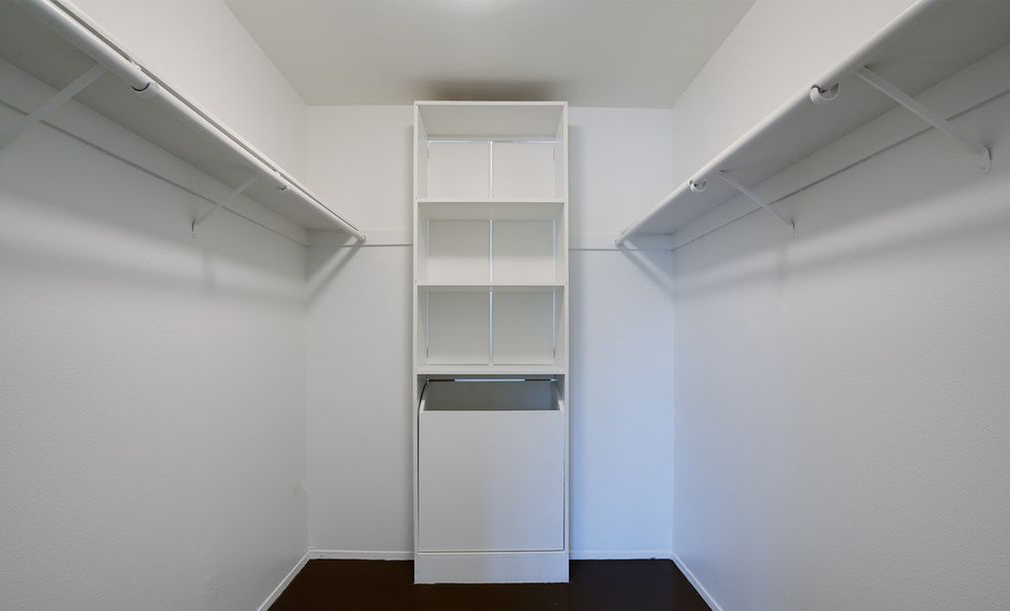
Dirty clothes are placed in the hamper shown above. The laundry room is behind the hamper, and the hamper can be opened from the laundry room. Also, the shelves above the hamper can be accessed from the laundry room via two tall doors. It really is a nifty design, but we found it took up too much storage space, and we would rather store things like linens in the cabinets in the laundry room. So we decided to remove it, make the rear wall solid and increase the closet storage.
The Challenge
So this was the plan. The question remained; whether an old auto mechanic, with zero construction training or skills, could do the work. And more importantly, could he meet the discerning quality requirements of the spousal unit?
Next up: The Master Bathroom Demolition