Continuing the Home Remodel series. In the last post, I wrote about preparing for demolition, which was really a planning exercise.
In this post I’ll discuss what I tore out, why I tore it out, and what unexpected problems I found.
Strategy
There was a lot of work to be done, such as moving plumbing and electrical. So I decided the easiest thing would to remove all the drywall (except the ceiling). I just needed to start from scratch.
Ceiling Lights
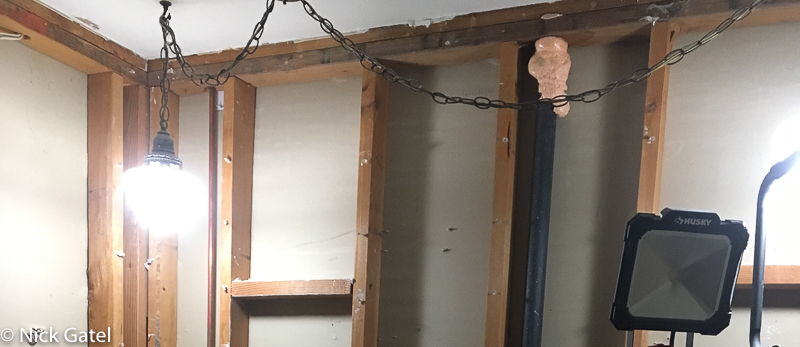
One thing I needed to deal with were the lights in the ceiling, which had one electrical outlet and a chain and wire connecting to a second light. The most obvious solution would be to go up into the attic and run new wiring and electrical outlets. I wanted to avoid this for a couple of reasons. One was this area of the attic was not very high as the slope of the roof was close to the exterior wall. The second was we had all new blown-in insulation in the attic and I didn’t want to have a bunch of it fall into the bathroom and then have to go up into the attic and put it back.
Remove Master Bedroom Closet Framing
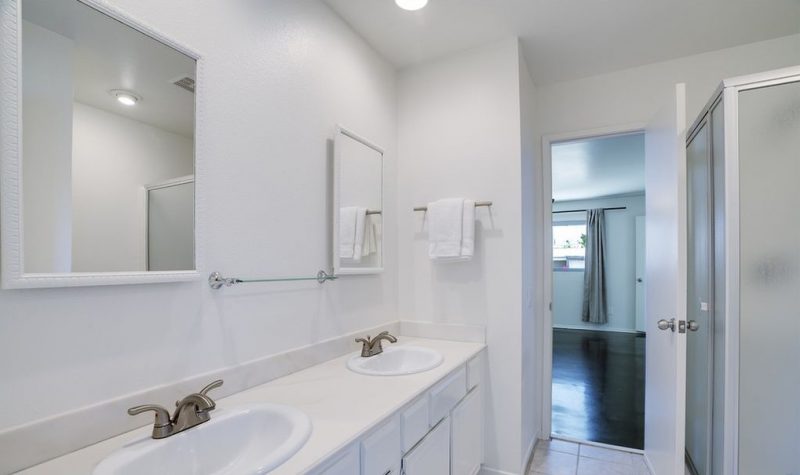
From the last post, I mentioned the bedroom closet that took up space in the bathroom. This had to be removed. In the picture below (not our house) you can see the far end of the vanity is adjacent to the approximately 24” deep closet.
In addition to this, there were several electrical cables running down through the ceiling and into the closet wall. Where the wires came through the ceiling would be in an open area above to vanity, so I needed a solution.
My solution was to build a shallow drop ceiling. This would not only make it easier to run wires, but would visually separate the vanity area from the rest of the bathroom.

 In the picture above, you can see the closet frame is removed and a new false wall is framed, giving us just enough room for the wall switches for the ceiling lights and the exhaust fan. I was also able to run the wires for the switches in the space created by the false, saving me a lot of time, headache, and work.
Also look at the bottom plate for the new false wall (in the picture above) that sits on the floor. Bottom plates need to be secured to the floor, especially for earthquake mitigation. I used a .22 caliber fastening tool, which uses special low power bullets to drive the fastener through the wood an into the cement. It works well.
Shower Demolition
The old shower was built into the corner, using an old fashion mortar bed. The mortar bed was over 1” thick, which allowed the tile setter to easily work around wall studs that were not true. Removing this old tile and mortar was a physically demanding job and the debris was heavy. Some of the bottom plates (the 2” X 4” boards on the floor) were water damaged from the shower leaking over the years and would need replacement.
I also needed to replace the shower valve, as parts were no longer available. Installing a new shower valve required soldering new copper pipes. Also some of the wall studs were nowhere near true and would have to be re-worked so the new cement board would be true. I would be installing new wall tile, using thin-set mortar that would only be 3/8” thick, so an uneven wall had to be avoided.
Shower area after demolition.
New shower valve and pipes, replaced twisted wall stud.
Shower Pan
 The old shower pan was “built-in.” This means a wooden curb made from 4” X 4” lumber created the sides opposite the walls. In the picture above, you can see the dark gray in the center. Along the left and bottom of this dark area, light colored cement is seen. It was along these edges that the curbs were built. On top of all of this, to include the gray area, a waterproof tar paper was laid, and on top of this a thick mortar bed, then the tile for the shower pan floor.
Building a new floor pan with this kind of construction was a little beyond my confidence level. So I wanted to use a pre-fabricated pan that I could just lay on the floor. This was problematic. Look at the picture above and you will see a red towel in the sewer pipe. This is the shower drain. It is 17 inches from one wall and 19 inches from the other. Most prefabricated pans have a drain 12 inches from each wall. Looking at the picture again, you can see I would have to jackhammer out a bunch of cement, and then fill it pack with cement or mortar to accommodate the common 12 X 12 inch drain.
You will also notice in the picture above, the sewer pipe with the red rag in it is surround by dirt. The final job does require a certain radius of dirt around it (I forgot the specification).
I was finally able to find a pan online that had a center drain, 18 inches from each wall. I had to chisel out a little bit of cement and then install a new sewer drain elbow. The pan is made from acrylic/fiberglass.

I won’t go into all the details of installing it, but a base of mortar or “mud” cement has to be spread under the pan to level it, support the weight, and keep in place. At the same time the sewer pipe has to be exactly center just under the hole in the center of the pan.
The most common method to install the drain is to use PCV cement to glue the drain to the sewer pipe just under the pan, creating the chance of errors that cannot be undone. I found this truly awesome solution for the drain:

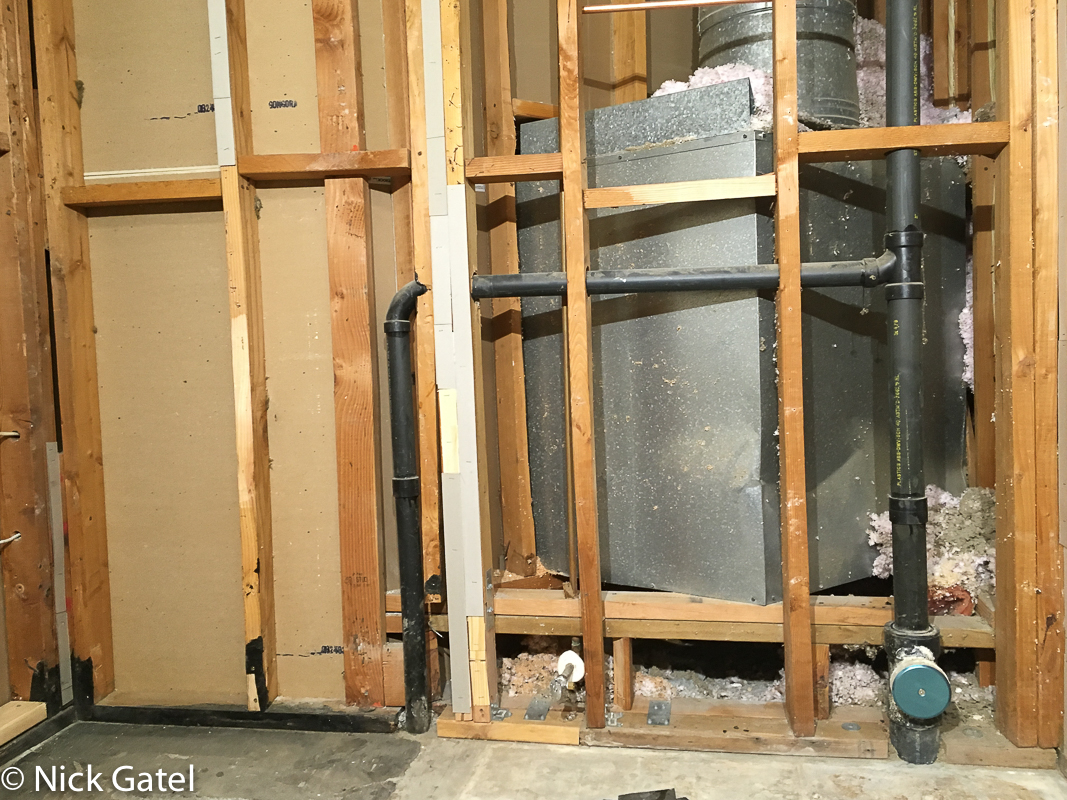
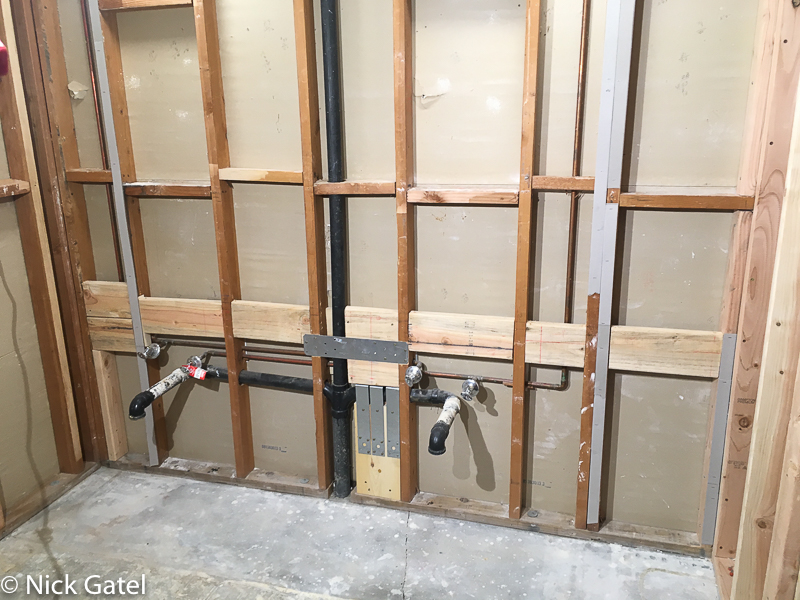
Water Supply to Kitchen
Since I had all the walls opened, I decided to run a water supply to the kitchen for the refrigerator’s icemaker and water dispenser.
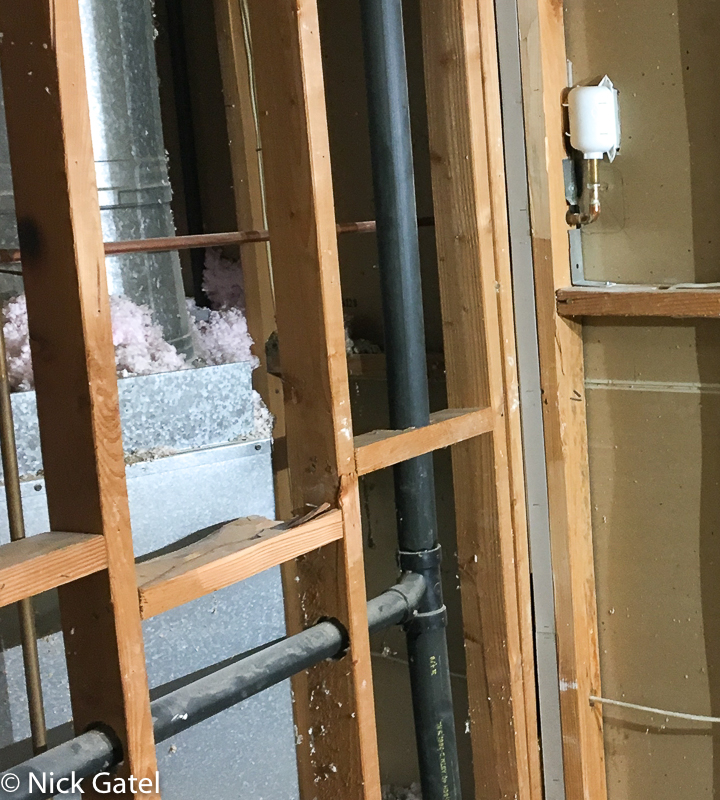
The white fixture on the right (above) is the fixture for the water supply to the kitchen on the other side of the wall. If you follow the pipe to the fixture through the wall and then it runs across the middle of the picture. Now you can see why I just removed all the drywall for this major bathroom remodel.
Preparing Walls for Drywall
It is nearly impossible to make a wall perfectly straight. But it is possible to get darn close. The wall below was in pretty bad shape. If you look closely, you can see gray material on some of the wall studs. These are cardboard wallboard shims to build up low spots. I used planes to remove high spots.
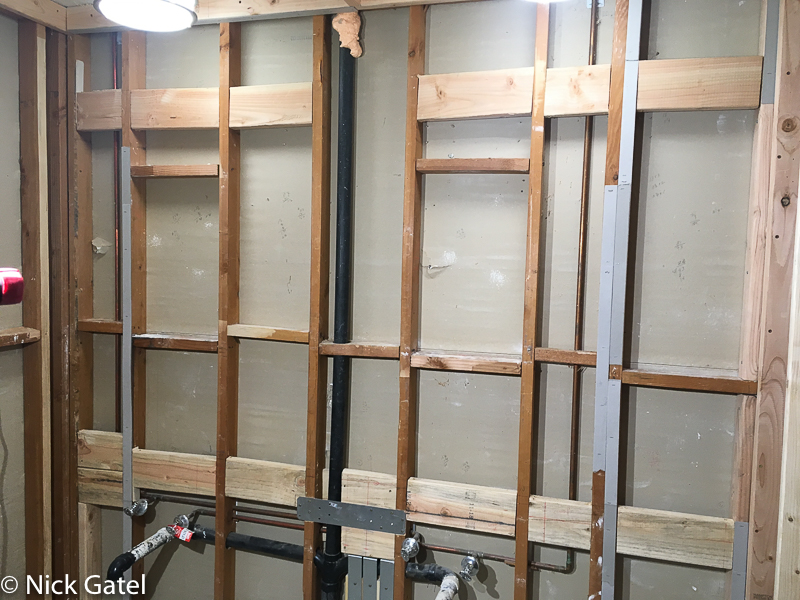
At the top of the wall and at the bottom you will see thick 2” X 8” boards between some of the wall studs. These blocks will make it easy to attach the Ikea medicine cabinets and the Ikea wall mounted floating vanity. Ikea uses unique mounting hardware and it is almost impossible to mount their products to the studs. With these “cabinet blocks,” I didn’t have to do a bunch of precise measurements. I could worry about exact measurements when installing the cabinets and vanity because I knew there was an ample support points behind the wall for each mounting bracket.
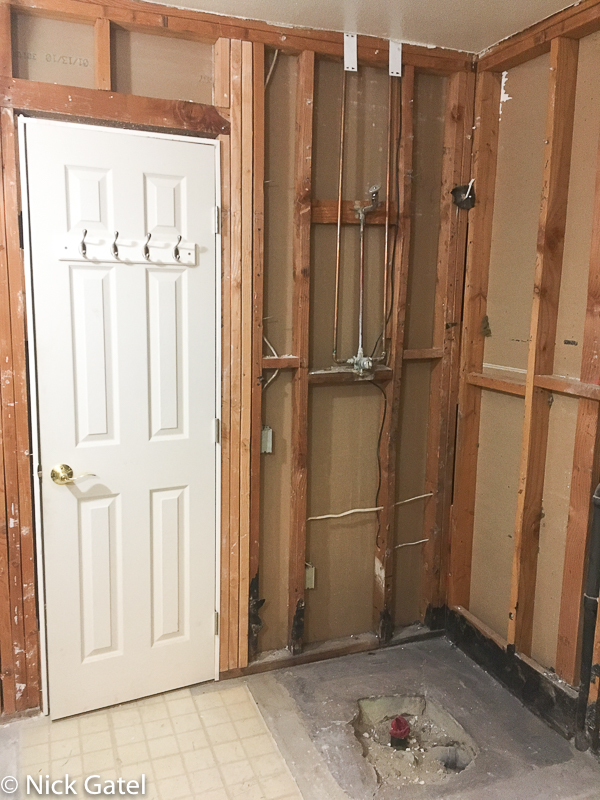
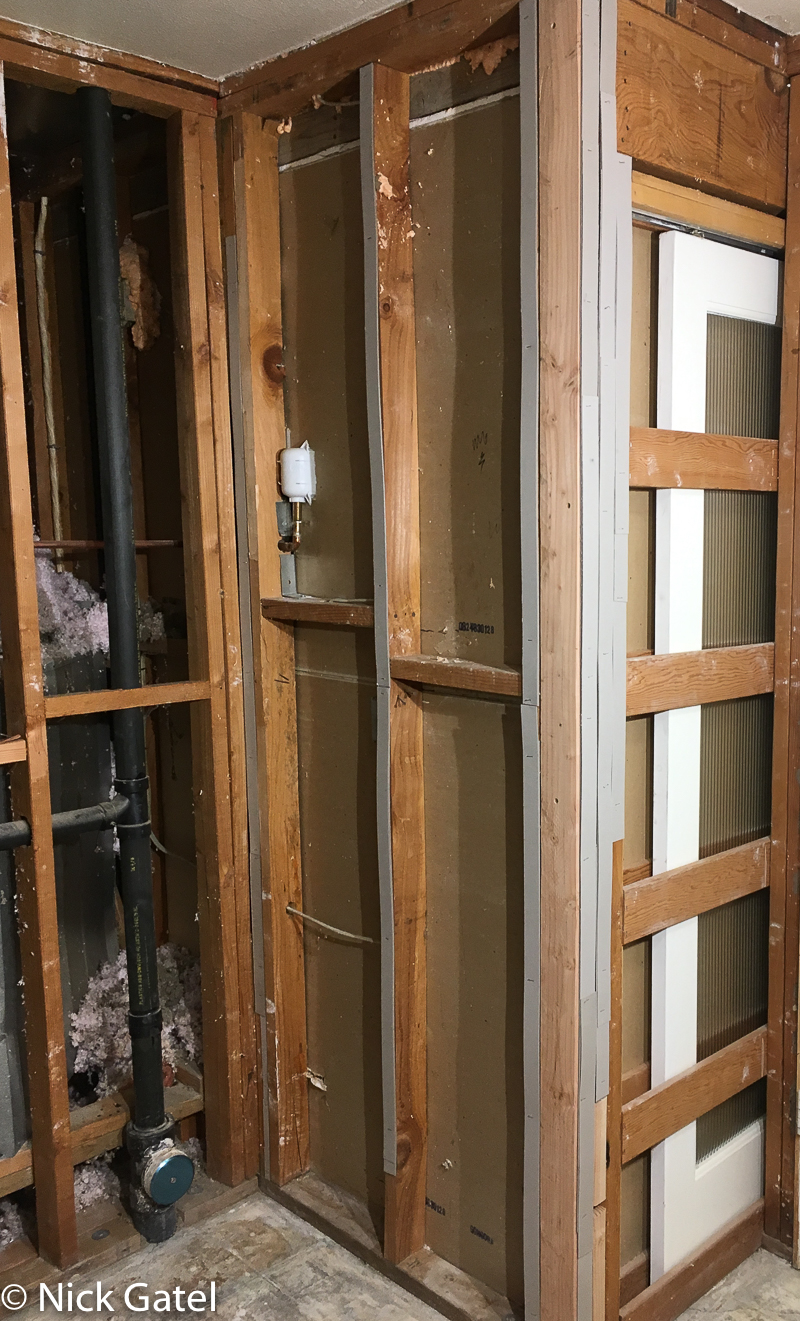
Pocket Door Access
We have a pocket door between our kitchen and laundry room. A pocket door is a door that slides into a wall and is hidden when it is open. Since the walls in the master bath were exposed, it was easy to install a new door and the required hardware. The picture below shows the white pocket door frame and glass center inside the wall framing, on the right.
That’s it for now. Next up: The Kitchen Demolition Disaster.
This website may be compensated for linking to other sites or for sales of products. As an Amazon Associate I earn a small fee from qualifying purchases at no additional cost to the purchaser.