
Recently I wrote about how we got the most money for our “trade-in” by selling it to CarMax. That post explained the condition of vehicles in determining the wholesale value, and that our 2012 Ford Expedition was excellent in all categories. Part of the reason is I had installed mud guards (a.k.a. mud flaps or splash guards) to help protect against damage from stones, pebbles, gravel, and other flying debris. Having been 100% satisfied with our Husky Liners Mud Guards, I ordered a set for out 2020 F-250 Super Duty truck.
OEM or Aftermarket Mud Guards?
In the post about wheel locks, I discussed the advantages of using OEM parts. This doesn’t hold for all parts, and mud guards is one of them. Most of the offerings from Ford were super expensive (over $400 a pair) and all of them has some sort of Ford logo. Seems Ford wants me to pay money to further advertise their products 🙂
Our old set of mud guards on our 2013 Ford Expedition have held up incredibly well and looked brand new when we detailed the vehicle to sell it.
I like to stick with products that work.
Installation
These are fairly easy to installed, since they are not universal fit but specifically made to fit our vehicle. Husky Liners does make universal fit guards, and this will complicated the installation on most vehicles. Husky Liners has this video for installation on Ford trucks:
Tips
Adhesive Film
I found a few things were not exactly matched to how I installed them and differed from the printed instructions.
First was the application of the clear 3M adhesive film. The film is applied to the outer edge of the fender where the guard will fit against the metal. The printed instructions recommend cleaning the fender to remove any grime or wax, and two cleaners are recommended to do this:
- 3M Brand Adhesive Cleaner or
- DuPont Prep-Sol Brand Solvent Cleaner
These may be fine products, but it is against the law to sell them in the People’s Republic of California. Since our truck is new, I just washed the truck.
Secondly in both the video and in the written instructions, it suggests this method:
The Paint Protection Film is a precut template of film used to protect the mud guard mounting surfaces of your fenders against wear. The templates (left and right side) can be removed from the backing liner by folding the liner at the center cut of the template, separating the film sides and peeling the film templates from the backing liner.
This is much more difficult than it seems. What I did was remove the entire film, separate the pieces (putting one back of the paper backing), installing the other on the fender. Then I went to the other fender, removing the remaining piece from the backing paper and installing it on the second fender.
Fasteners for the Front
The installation kit came with three fastener parts:

The included screws are a little longer and have a much larger washer than the OEM screws in the front wheel, so don’t be tempted to use the factory screws.
The u-clips slide over the metal part of the fender. If your vehicle has a plastic trim piece like the picture below, you will remove the screws, but leave the trim piece in place. The mug guard is designed to fit over the trim. The u-clip will slide behind the trim and over the metal fender metal. If you look at the two u-clips above (in the center) you will see the top one has a splint that holds the screw securely – this side of the u-clip needs to be on the back slide of the fender metal. The smooth side (lower u-clip in the picture) will sit between the plastic trim and the fender metal. The hole in the u-clip must be centered with the holes in the fender where the original screws attached.
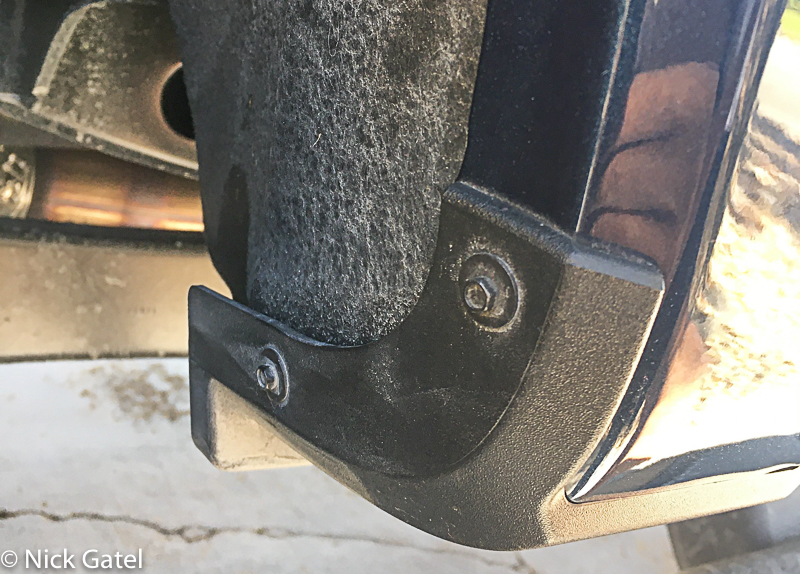
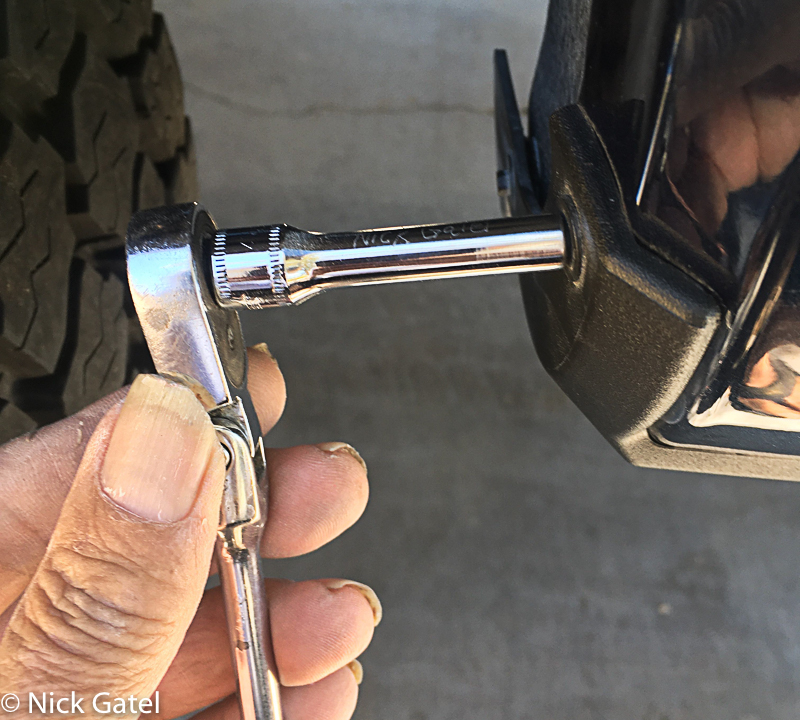
The spring clip is used to secure the top of the mud guard to the fender. You could drill a hole and use a screw, but it isn’t necessary.
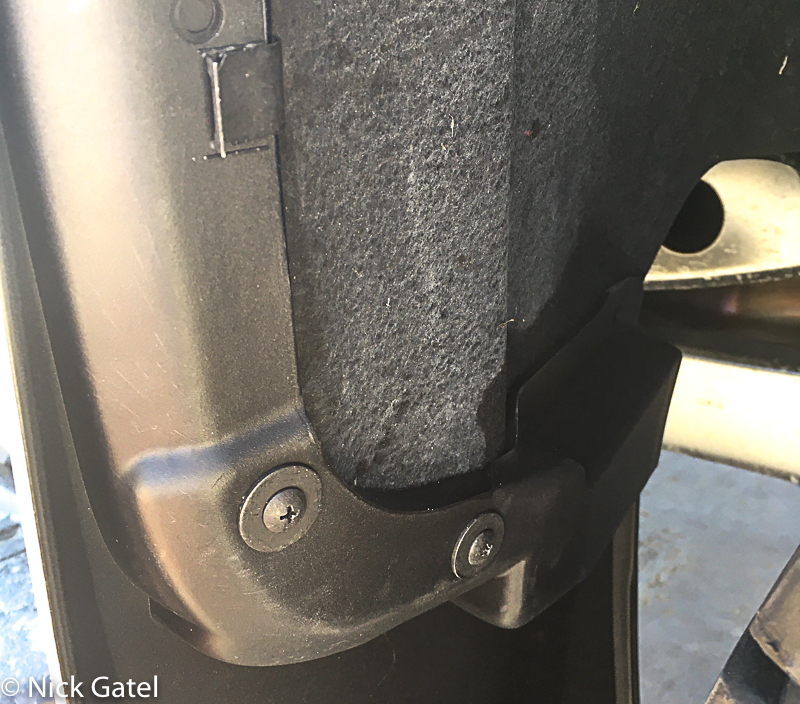
Fasteners for the Rear
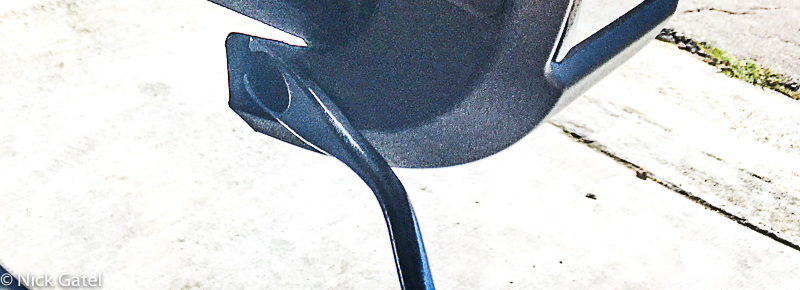
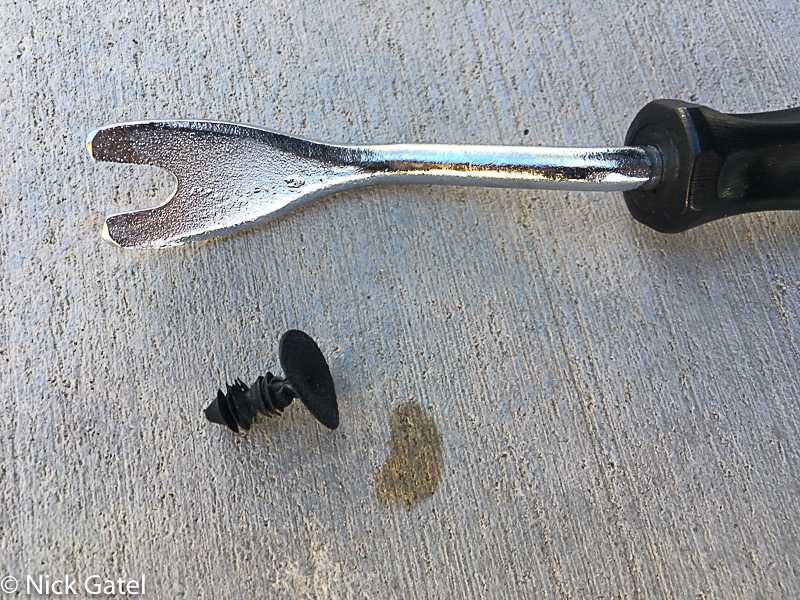
The instructions say to remove and throw away the two factory fasteners. That is because they are pressed in plastic fasteners. Don’t try to reuse them, they will be damaged removing them and won’t hold well. I have special tools for removing these kinds of fasteners:
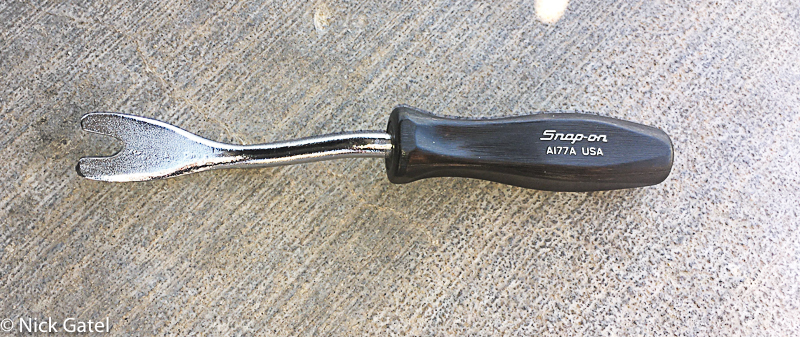
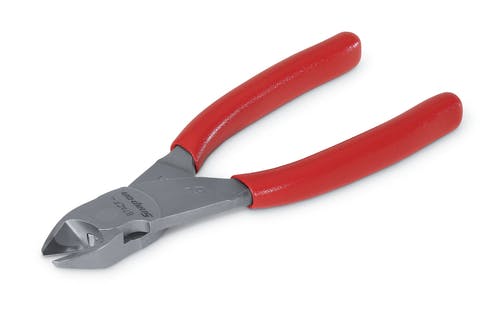
Alternatively, you can probably slide a pair of diagonal cutters under the plastic head and cut the fastener off.
Pricing
Husky Liners sells directly to the public with free shipping. I bought this and the previous set from Amazon. I saved $4 on the set for the F-250 by using Amazon.
As a “heads-up,” when I clicked on the item using Amazon Garage (see post on online tools) the top left verified it would fit our 2020 F-250, but the description showed it fit 2015-2017 F-150 trucks (see photo below). Checking the part number in the description details, it matched the part number on Husky Liners’ web page. Since I already installed them, it was the correct part for our truck 😉
This website may be compensated for linking to other sites or for sales of products. As an Amazon Associate I earn from qualifying purchases.


