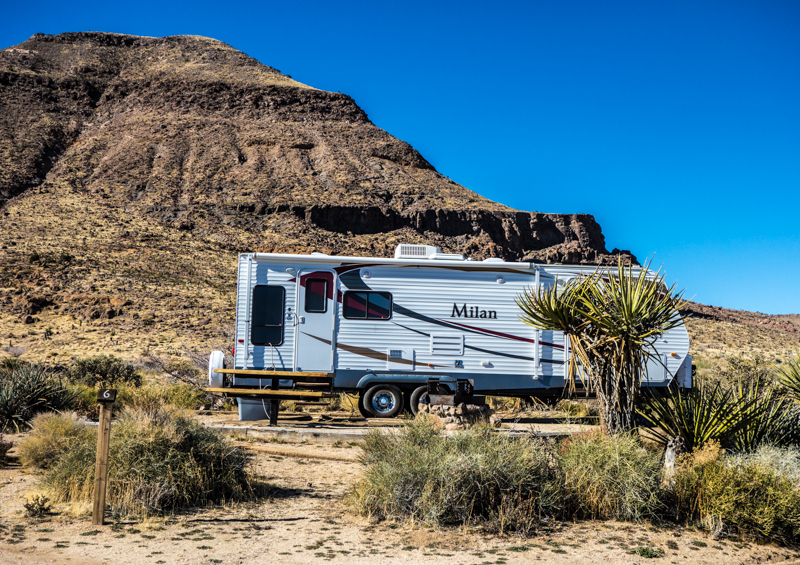
Back in 2013, before we bought our double-axle Eclipse Milan 26RLS, I wrote this post on How to Level and Stabilize a Tent Trailer. I should have titled it, How to Chock, Level, and Stabilize a Tent Trailer.
I finally have, after almost five years and some not-so-good products, come up with the solutions to quickly and securely level, chock, and stabilize our travel trailer.
Through trial and error, and a couple of almost disastrous and dangerous events with our Milan, I have finally figured things out so we can camp safe and secure. Not only have I eliminated some potentially serious problems, our travel trailer now sits rock solid without any noticeable shaking when we move about inside.
Hopefully this post will help my readers who own campers to avoid some of the mistakes I have made with our tandem axle travel trailer.

The solutions include a pair of Andersen Camper Levelers, a Fastway ONEStep Chock, an Ultra-Fab Odyssey 4000 electric tongue jack, a pair of BAL Industries X-Chock tire stabilizers, and replacement stabilizers jacks that are 6” taller than the originals that came with the trailer. I will review each of these and go through the process of how to level, chock, and stabilize a tandem axle travel trailer. The steps should be applicable to any multi-axle trailer including 5th wheels.
When we bought our Milan almost 5 years ago I bought some Lynx blocks for leveling side-to-side, a pair of Camco Wheel Stops to “chock” the wheels, and an Ultra-Fab Odyssey 4000 power tongue jack for leveling front-to-rear. Oh boy, did I learn a lot over the years. Probably the most important lesson is that “wheel chocks” are not necessarily wheel chocks.
Wheel Stops and Wheel Stabilizers are not Chocks
What I have learned is the fact that these “wheel stops” or “wheel stabilizers” are not designed or meant to “secure” the trailer.
What I didn’t understand is that these kinds of wheel stops are not “Chocks,” but are stabilizing tools.
The instructions that came with our Camco Wheel Stops included this warning (which I completely missed):
CAUTION: This product is intended to help stabilize a recreational vehicle and is not intended for use on heavy commercial type trucks or trailers. Always use brake and wheel chocks to safely secure vehicle.
Opps! I thought these things were wheel “chocks.” I was wrong.
We often (usually) camp in places that are not level as you can see in the pictures below.

On two different occasions our trailer has slid off the leveling blocks and the tongue jack block and the trailer has moved backwards at least a couple of feet – this is the potentially dangerous mentioned earlier.
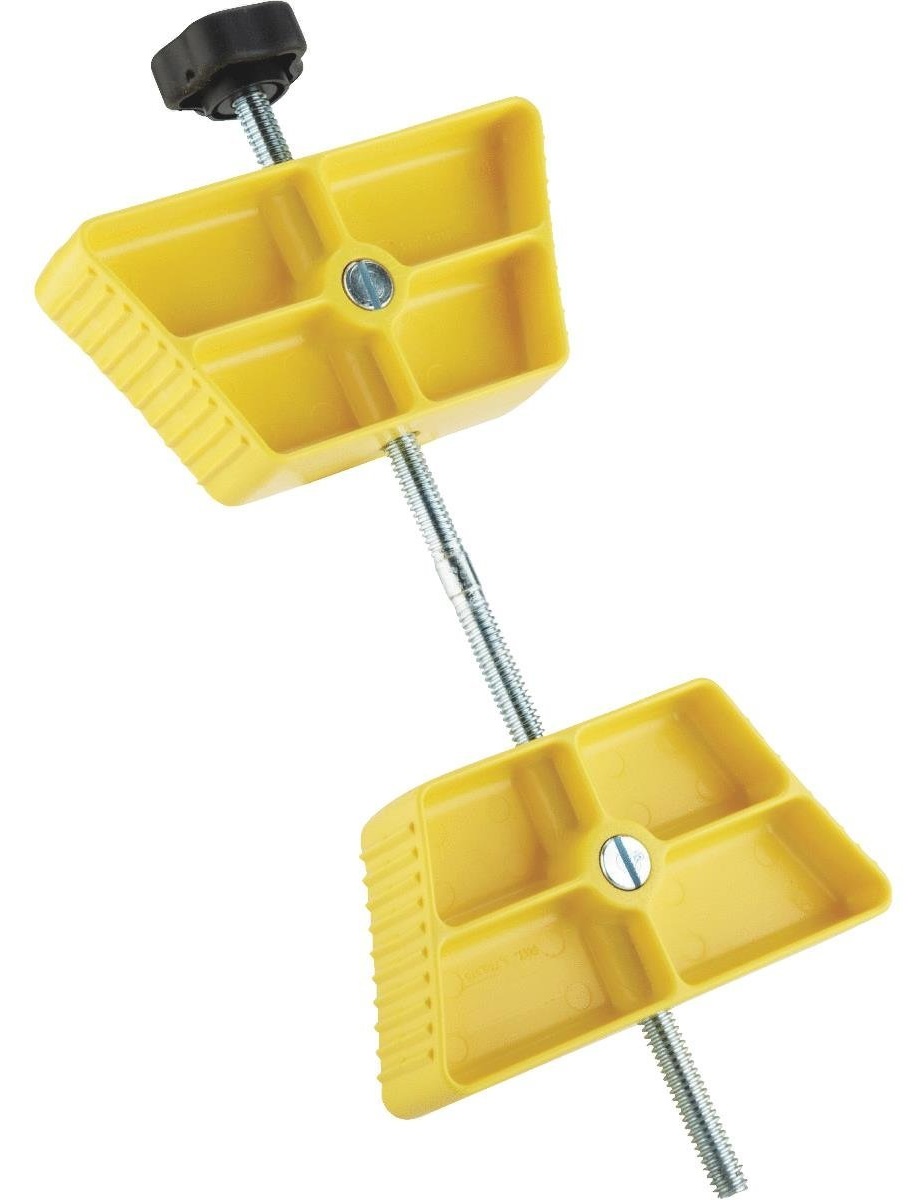
The one thing I did not like about our Camco “Wheel Stops” is the adjustment knob is tightened by hand. A little bit of Google research found these BAL Industries X-Chocks that come with a ratcheting wrench to tighten them. Much better.

So I ordered a pair and found this WARNING in the instructions:
Warning! Do not use the BAL Chock as a parking brake for your trailer.
Be sure to level your trailer before installing the BAL Chock between the trailer tires.
Remove the BAL Chock from your tires before connecting the trailer to the tow vehicle.
Operating the tongue jack (up and down) can cause unnecessary stress to the BAL Chock. If you do not remove the BAL Chock from your tires before operating, your trailer’s jack could damage the Chock and void the Manufacturer’s warranty.
Below is the marketing blurb on BAL Industries website:
Introducing BAL’s newest addition to its premier line of Sta-BAL-ization products…
- The X-Chock starts off where the Deluxe Tire Locking Chock left off but it’s new, slimmer design will fit into more axle applications.
- Provides added stabilization and prevents tire shifts by applying opposing force to tandem tire applications.
- As opposed to other chocks, the X-Chock works with the tires’ natural movement instead of against them.
- Fits even the tightest of applications retracting down to 1 3/8” and extends to 10”.
- Rust inhibitive coating.
- Plated ratchet wrench with comfort bumper included.
- Lightweight, easy to store.
- Lockable for added security with optional 28015 Pad Lock.
- Made in the USA!
- U.S. PATENT #8,365,875
Notice that the heading states the X-Chock is an addition to BAL’s stabilization product line.
In other words but some sort of brake on your wheels… the Camco Wheel Stop and the BAL X-Chock are not brakes, but wheel stabilizers. I know, it’s confusing because most accessories that are sold as chocks do indeed act as a brake to keep the trailer from rolling.
I’m not an engineer, but I suspect that when you use a wheel stop like the Camco Wheel Stop or the BAL X-Chock the wheels are locked on a plane parallel to the center of each axle. Locking the wheels and then leveling the trailer front to rear is going to apply torque to the axle springs, which creates torsional forces – not a good thing. Especially, as in our case, when the 833 pounds of fresh water that sits behind our axle is transferred to our black and grey water waste tanks that sit in front of the axles. This was probably a contributing factor the two times our trailer slipped off the leveling blocks.
Okay, let’s get down to the nitty-gritty
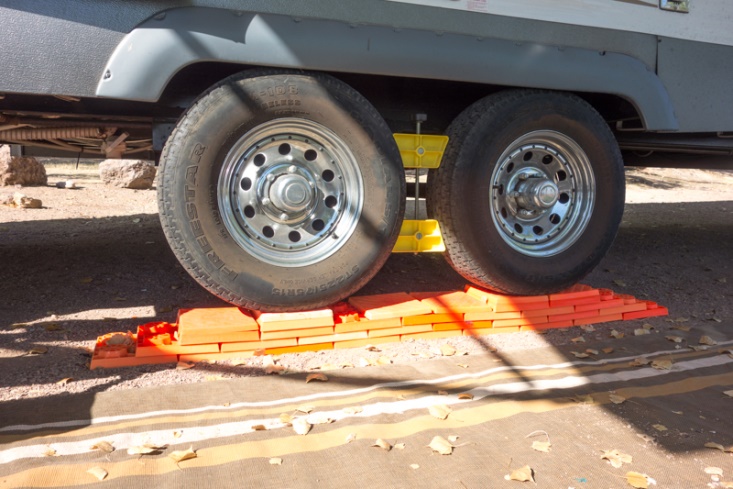
Step 1: Level the Trailer From Side to Side
Andersen Camper Levelers are the best camper leveling product I have ever used

Some users complain that the levelers slip on cement or wet grass when driving the wheels onto the levelers. Andersen sells a rubber pad that is placed on the ground under the leveler to eliminate this problem. I did buy the rubber pads but haven’t needed to use them. I suspect that this mostly happens when the trailer is backed up onto the levelers. I had the same problem with the Lynx blocks, but found that if I place the levelers (either type) in front of the wheels and pull the trailer forward onto the levelers they don’t slide. It takes me about one minute to level the trailer side-to-side with the Andersen Camper Levelers and I can get it perfectly level versus any kind of block because blocks are not adjustable. For example the Lynx blocks are 1” high, so you add or subtract a block to “almost” get the trailer level.
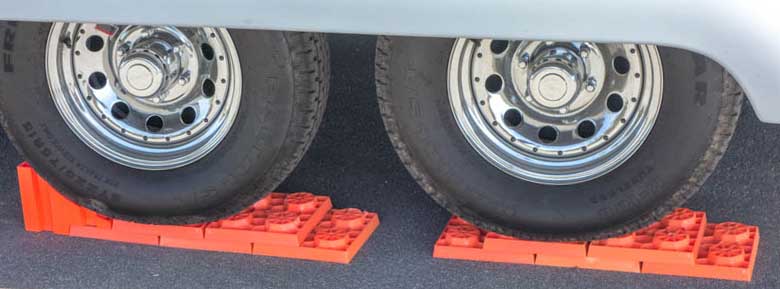
The following series of pictures demonstrate how to level the low side of the trailer:
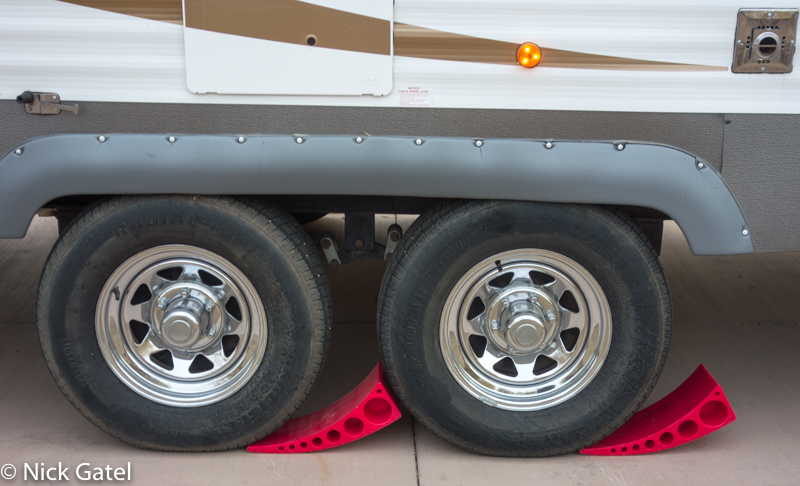
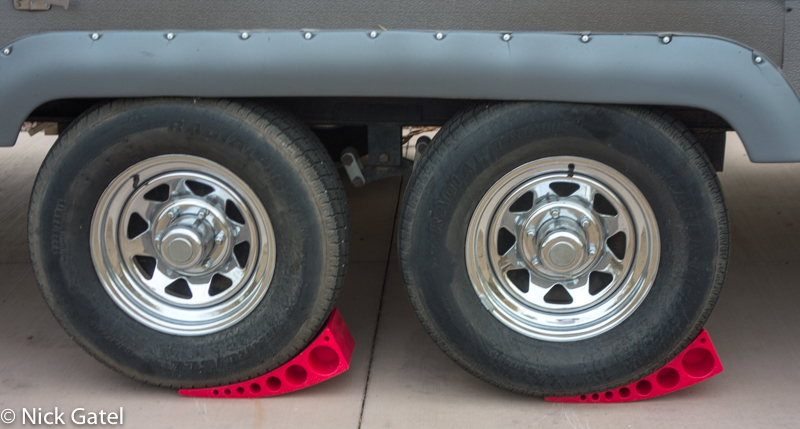
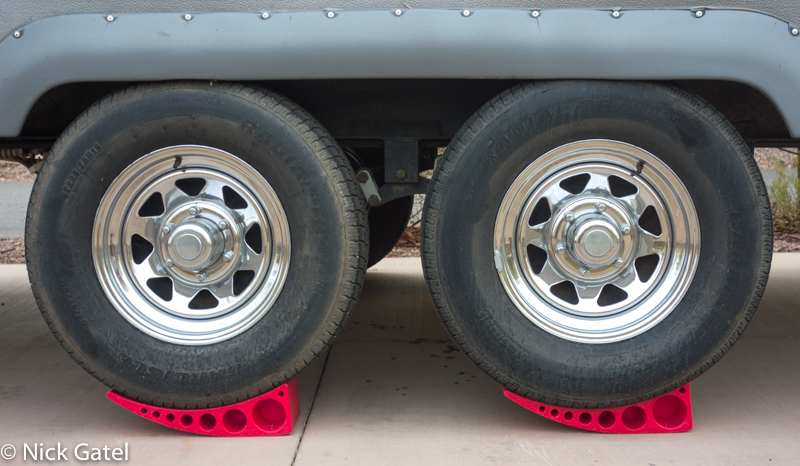

Notice in the above picture that the leveler is curved, which helps secure and stabilize the trailer.
Our axles are fairly close together and the levelers “just” fit. The included instructions state you can cut up to 4” off the narrow end if your axles are even closer together.
Some users have reported their levelers broke in half. Apparently there was a problem with the plastic manufacturing, which Andersen says have been fixed. Andersen has an unlimited replacement warranty should a leveler break.
This website may be compensated for linking to other sites for sales of products. As an Amazon Associate I earn a small fee from qualifying purchases at no additional cost to the purchaser.
Andersen Camper Leveler System
![]()
Step 2: Chock the Trailer Wheels on the Opposite Side of the Levelers (a.k.a. as “secure or brake” the wheels)
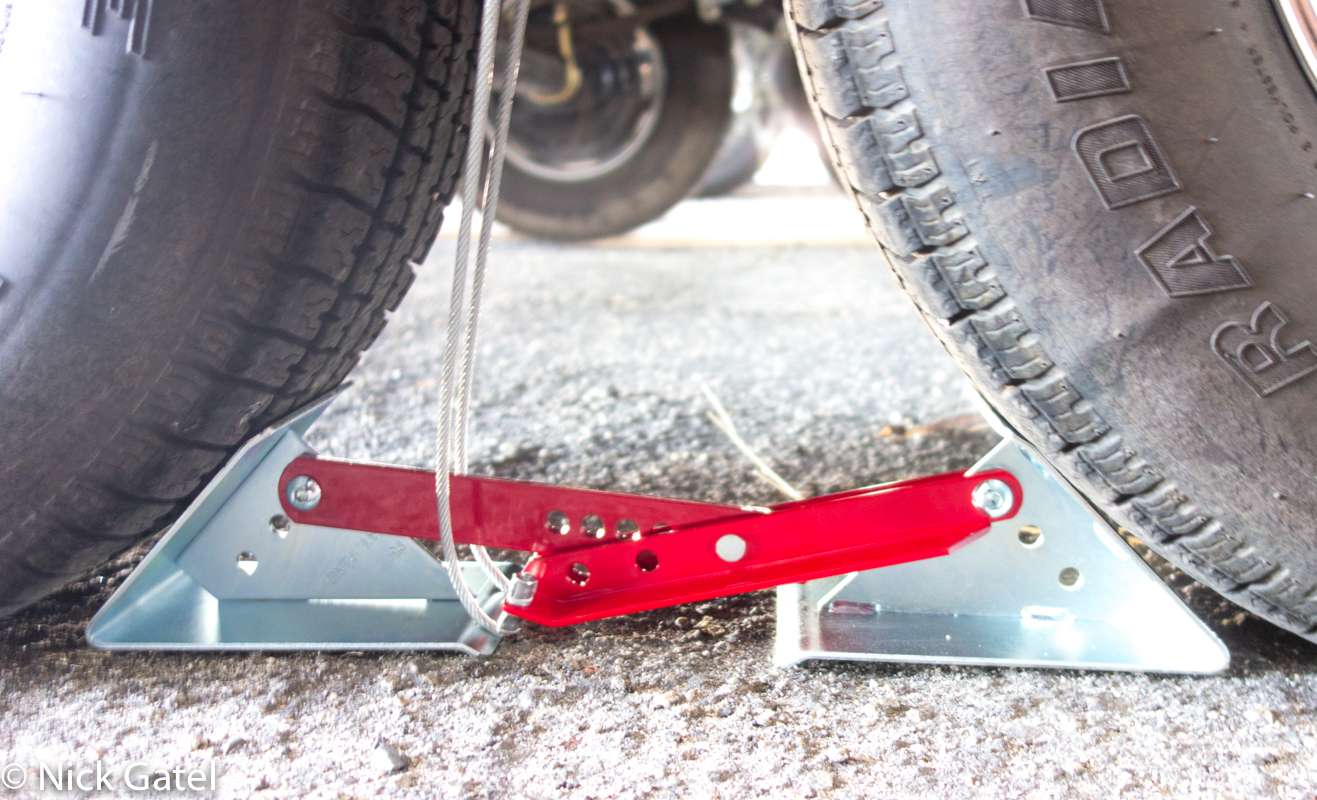
I am absolutely thrilled with the Fastway ONEStep Chock
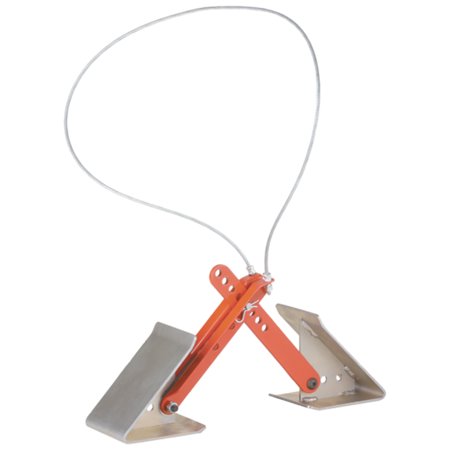
Before the first use, the chock has to be adjusted to match the distance between the tires. The set is quick and the instructions are easy to follow.
Takes about 15 seconds to put in place and it is SECURE!


A padlock can be placed in the chock as a theft deterrent. The instructions show how to do it.
You probably noticed the long vinyl covered steel cable in the pictures above. This is used to unlock the chock. Just pull up on the cable (it takes a good tug) and the locking mechanism releases.
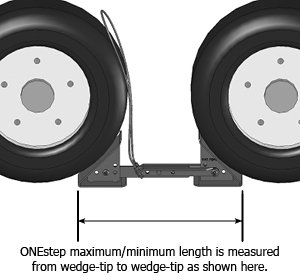
Before purchasing, you will need to do a bit of measuring. I didn’t have to measure because I know our trailer tires are fair close together and the standard chock would fit. Here are the specs from the Fastway website:
Standard ONEstep Chock:
- Fits Tandem Axle trailers with typical axle spacing & suspension.
- Powder coated scissor arms.
- Zinc plated wedges.
- UV resistant coated cable handle.
- Minimum length (wedge tip to wedge tip): 16 inches.
- Maximum length (wedge tip to wedge tip): 24 inches.
- Warranty: Limited 1 year.
ONEstep XL Chock:
- Fits Tandem Axle trailers with extended or “Wide –track” suspensions.
- Powder coated scissor arms.
- Zinc plated wedges.
- UV resistant coated cable handle.
- Minimum length (wedge tip to wedge tip): 16 inches.
- Maximum length (wedge tip to wedge tip): 30 inches.
- Warranty: Limited 1 year.
Fastway ONESTEP Wheel Chock for Tandem Axle Trailers

![]()
Step 3: Unhitch the Trailer and Level Front to Rear
We love our Ultra-Fab Odyssey 4000 Tongue Jack
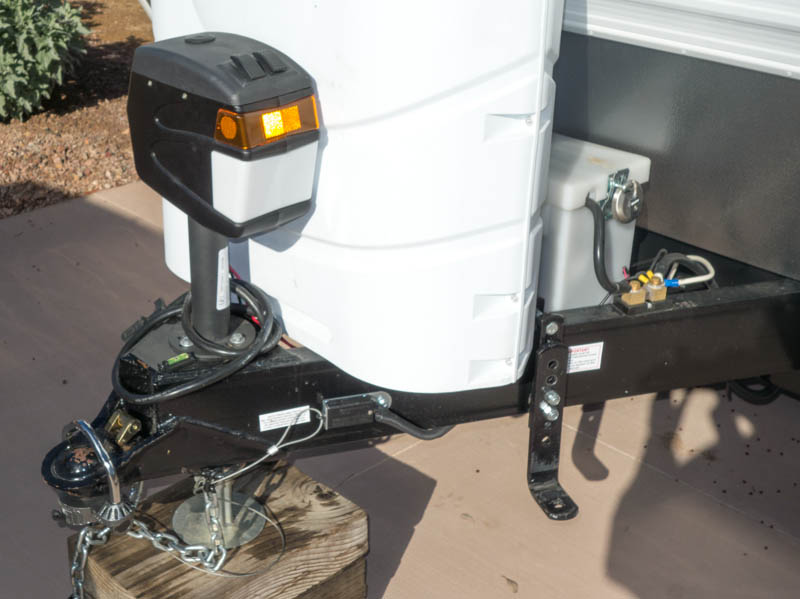
We replaced the manual tongue jack on our 2006 Fleetwood Niagara with an Ultra-Fab Ultra 3000. We like it so much that we bought an Ultra-Fab Odyssey 4000 before we even took delivery on our Milan, which came with a manual jack. Here’s a review I did on the Odyssey 4000 a few years ago.
The two incidents when our trailer slide off the leveling blocks the tongue jack was on a wood block and slide off hitting the ground very hard – almost 900 pounds of tongue weight impacting the tongue jack with a lateral force – it didn’t faze the Odyssey 4000 at all! As often as we camp along with this kind of abuse and it keeps on working. I highly recommend this product!!
Ultra-Fab 4,000 lb The Phoenix Electric Tongue Jack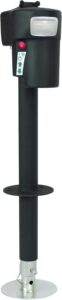
![]()

![]()
Ultra-Fab Electric Tongue Jack Cover
![]()
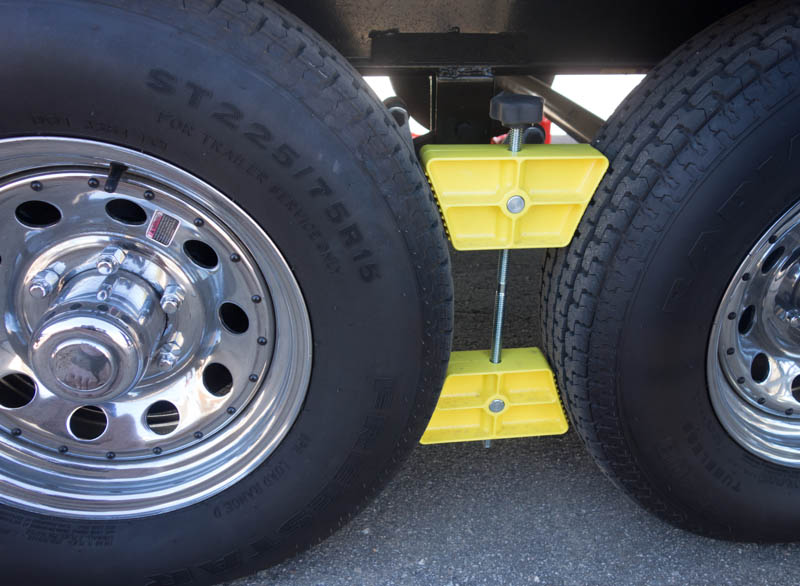
Step 4: Stabilize the Wheels
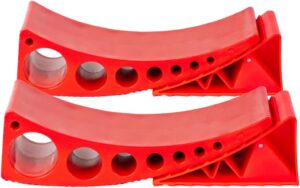
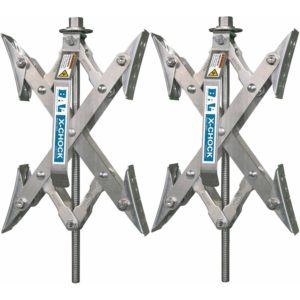
The BAL Industries X-Chock really helps make our trailer “Rock Steady”

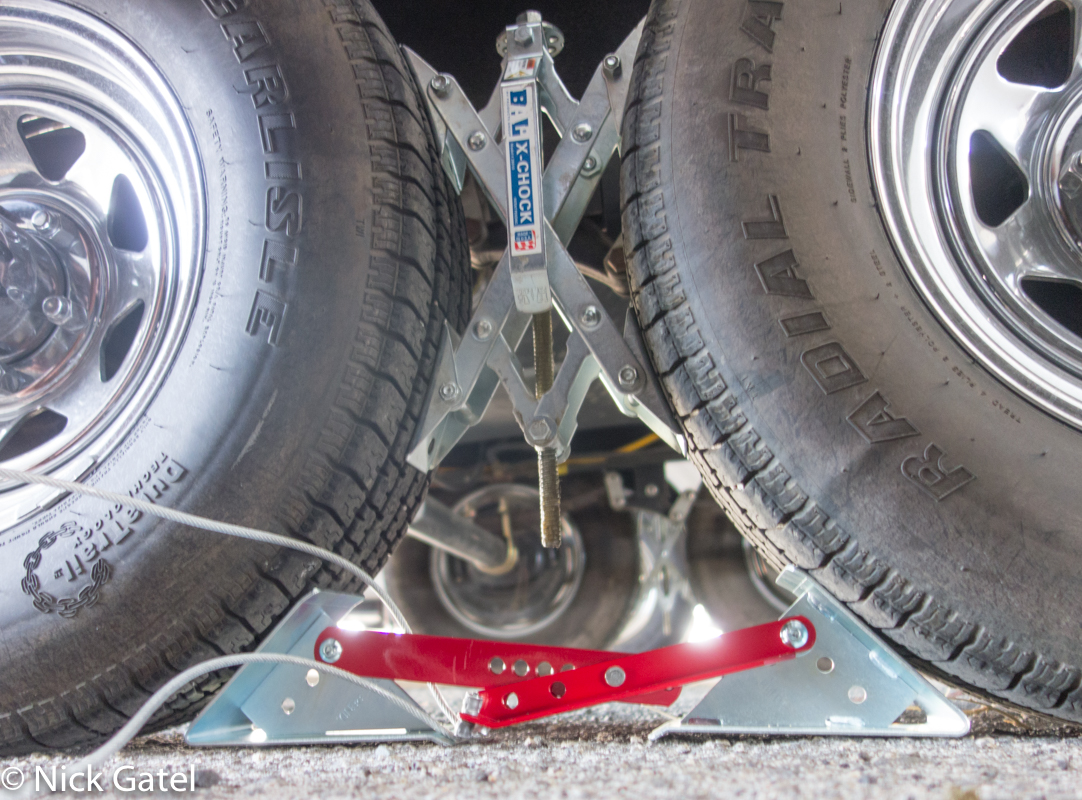

Like the Fastway chock, you need to do some measuring to get the right size X-Chock.
Per the BAL Industry website the standard X-Chock, “Fits even the tightest of applications retracting down to 1 3/8 inch and extends to 10 inches.”
The X-Tended Fit X-Chock, “The same great features of the original X-Chock in a wider application. Extends up to 17 inches to accommodate wide track axle spacing commonly found on Bullet, LaCrosse, PrimeTime, Passport, North Trail, etc.”
They come with a ¾” ratchet wrench.
X-Chock Wheel Stabilizer
![]()
Step 4: Lower the Stabilizer Jacks
Just enough to be snug – don’t lift the trailer

Here’s the post I wrote about our stabilizer upgrade.
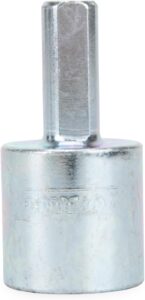
I use a 20 volt portable drill to raise and lower the stabilizers. You can get a special ¾” socket on Amazon.
Camco RV Leveling Scissor Jack Socket Drill Adapter
![]()
Disclosure: I bought all of these items on Amazon with my own money. PopupBackpacker.com pays the bills through marketing links, receiving small commissions from vendors, at no additional cost to the reader. This post contains said links.